1、效果展示
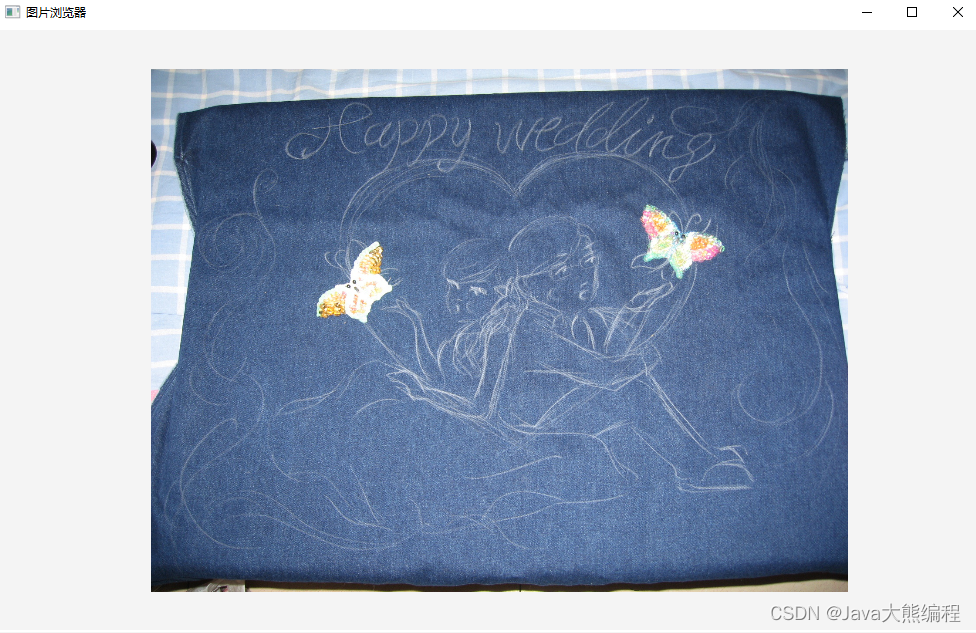
效果展示:
样式图片:
2、代码
import com.tobiasy.applet.pdf.utils.FileUtils;
import com.tobiasy.applet.pdf.utils.ResourceUtils;
import javafx.application.Application;
import javafx.geometry.Pos;
import javafx.scene.Scene;
import javafx.scene.control.ScrollPane;
import javafx.scene.image.Image;
import javafx.scene.image.ImageView;
import javafx.scene.layout.AnchorPane;
import javafx.scene.layout.VBox;
import javafx.stage.Stage;

import java.io.File;
import java.io.FileInputStream;

public class ImagesViewer extends Application {

    public static void main(String[] args) {
        launch(args);
    }

    public ImagesViewer() {
    }

    public ImagesViewer(String title, String url) {
        this.title = title;
        this.url = url;
    }

    private static double size = 1;
    private static double count = 1.0;

    @Override
    public void start(Stage primary) {
        AnchorPane root = new AnchorPane();
        ScrollPane scrollPane = new ScrollPane();
        scrollPane.setStyle("-fx-border-color: #ffffff;-fx-background-color: #ffffff;");
        root.getChildren().add(scrollPane);

        Image image = new Image(url);
        double width = image.getWidth();
        double height = image.getHeight();
        double percent = 1000 / image.getWidth() < 600 / image.getHeight() ? 1000 / image.getWidth() : 600 / image.getHeight();
        if (percent < 1) {
            width = width * percent;
            height = height * percent;
        }

        VBox vBox = new VBox();
        vBox.setPrefWidth(1000);
        vBox.setPrefHeight(600);
        vBox.setAlignment(Pos.CENTER);
        scrollPane.setContent(vBox);

        ImageView imageView = new ImageView();
        imageView.setImage(image);
        imageView.setFitWidth(width);
        imageView.setFitHeight(height);
        vBox.getChildren().add(imageView);
        size = 1;
        count = 1;
        imageView.setOnScroll(event -> {
            if (event.getDeltaY() > 0) {
                count = count + 1.0 / 10;
                size = 1.0 / 200 * (count - 1) * (count - 1) * (count - 1) + 1;
                imageView.setFitWidth(imageView.getFitWidth() * size);
                imageView.setFitHeight(imageView.getFitHeight() * size);
                count++;
            } else {
                count = count - 1.0 / 10;
                double y = 1.0 / 200 * (count - 1) * (count - 1) * (count - 1) + 1;
                size = y < 0 ? size : y;
                imageView.setFitWidth(imageView.getFitWidth() / size);
                imageView.setFitHeight(imageView.getFitHeight() / size);
                count--;
            }
        });

        Scene scene = new Scene(root);
        primary.setTitle(title);
        // 设置软件头部icon
//        File iconFile = ResourceUtils.getIconFile();
//        FileInputStream inputStream = FileUtils.getFileInputStream(iconFile);
//        primary.getIcons().add(new Image(inputStream));
        primary.setScene(scene);
        primary.setWidth(1000);
        primary.setHeight(700);
        primary.show();
    }

    private String title = "图片浏览器";
    private String url = "https://img.zcool.cn/community/015ede57b04f050000018c1b1409b4.JPG?x-oss-process=image/auto-orient,1";
}
3、核心代码讲解
3.1 图片缩放核心代码
        count = count - 1.0 / 10;
        double y = 1.0 / 200 * (count - 1) * (count - 1) * (count - 1) + 1;
        size = y < 0 ? size : y;
        imageView.setFitWidth(imageView.getFitWidth() / size);
        imageView.setFitHeight(imageView.getFitHeight() / size);
        count--;
这是图片缩小核心代码,由第一行可以看出,每次宽度缩小1/10个像素,其次第二行中看到一个三次函数,这是用来降低平滑度的,这里我们先说一下为什么要用它,如果宽度每次缩小1/10,当宽度很小时,图片缩小程度会越来越慢,因此我不想让它按照正比进行缩放,而是想让它随着图片的缩小而越来越快,但是这里的越来越快我们也可以根据需求设置相应的速度,于是我们大概知道了这个函数的图像:

横轴代表代码中的count(图片宽度), 纵轴代表size(放大倍数),由图像可知,当图片宽度被缩小(小于1方向)时,缩得越小,其斜率越大,换言之也就是缩小的越快,同样的道理,放大也是一样的,这样我们就能够顺利解决上面我们碰到的问题了。
3.2 设置软件头部icon
        File iconFile = ResourceUtils.getIconFile();
        FileInputStream inputStream = FileUtils.getFileInputStream(iconFile);
        primary.getIcons().add(new Image(inputStream));
首先我们或得到一个File对象,再通过File对象获取到其输入流,再通过输入流创建一个Image对象,最后将Image对象添加到Stage对象中去就好啦。
3.3 计算图片宽高比例
        double width = image.getWidth();
        double height = image.getHeight();
        double percent = 1000 / image.getWidth() < 600 / image.getHeight() ? 1000 / image.getWidth() : 600 / image.getHeight();
        if (percent < 1) {
            width = width * percent;
            height = height * percent;
        }
第三行的计算其实我们就是想得到一个最比例,这个比例刚好将图片放置在1000*600的容器里面,这里为什么要这样做的目的就是为了既适应长>宽的也要适应宽>长的图片,总而言之就是将长大于1000的或者宽大于600的图片进行缩放显示。
3.4 鼠标滚动事件
上面我们说过图片缩放,这里究竟是通过什么操作来实现的呢,其实就是滚动鼠标来实现的,那我们来看看滚动事件触发的函数:
        imageView.setOnScroll(event -> {
            // 缩放具体逻辑
            if (event.getDeltaY() > 0) {
                // 这里是向上滚动滚轮(即放大图片)
            } else {
                // 这里是乡下滚动滚轮(即缩小图片)
            }
        }
代码已经贴出来了,并且已经加上具体的事件处理了,内部嵌入核心的缩放图片逻辑就好啦。
核心代码除此之外就是其他比较简单的javafx语法了,如果有想继续学习javafx的,请持续关注我的文章,谢谢大家。
赶紧复制代码试试看吧