目录
1. 素材下载:
练习资料素材上传到如下链接,需要的自行下载:
案例:后台管理系统(VUE路由)素材![]() https://download.csdn.net/download/qq_57587705/85320825
https://download.csdn.net/download/qq_57587705/85320825
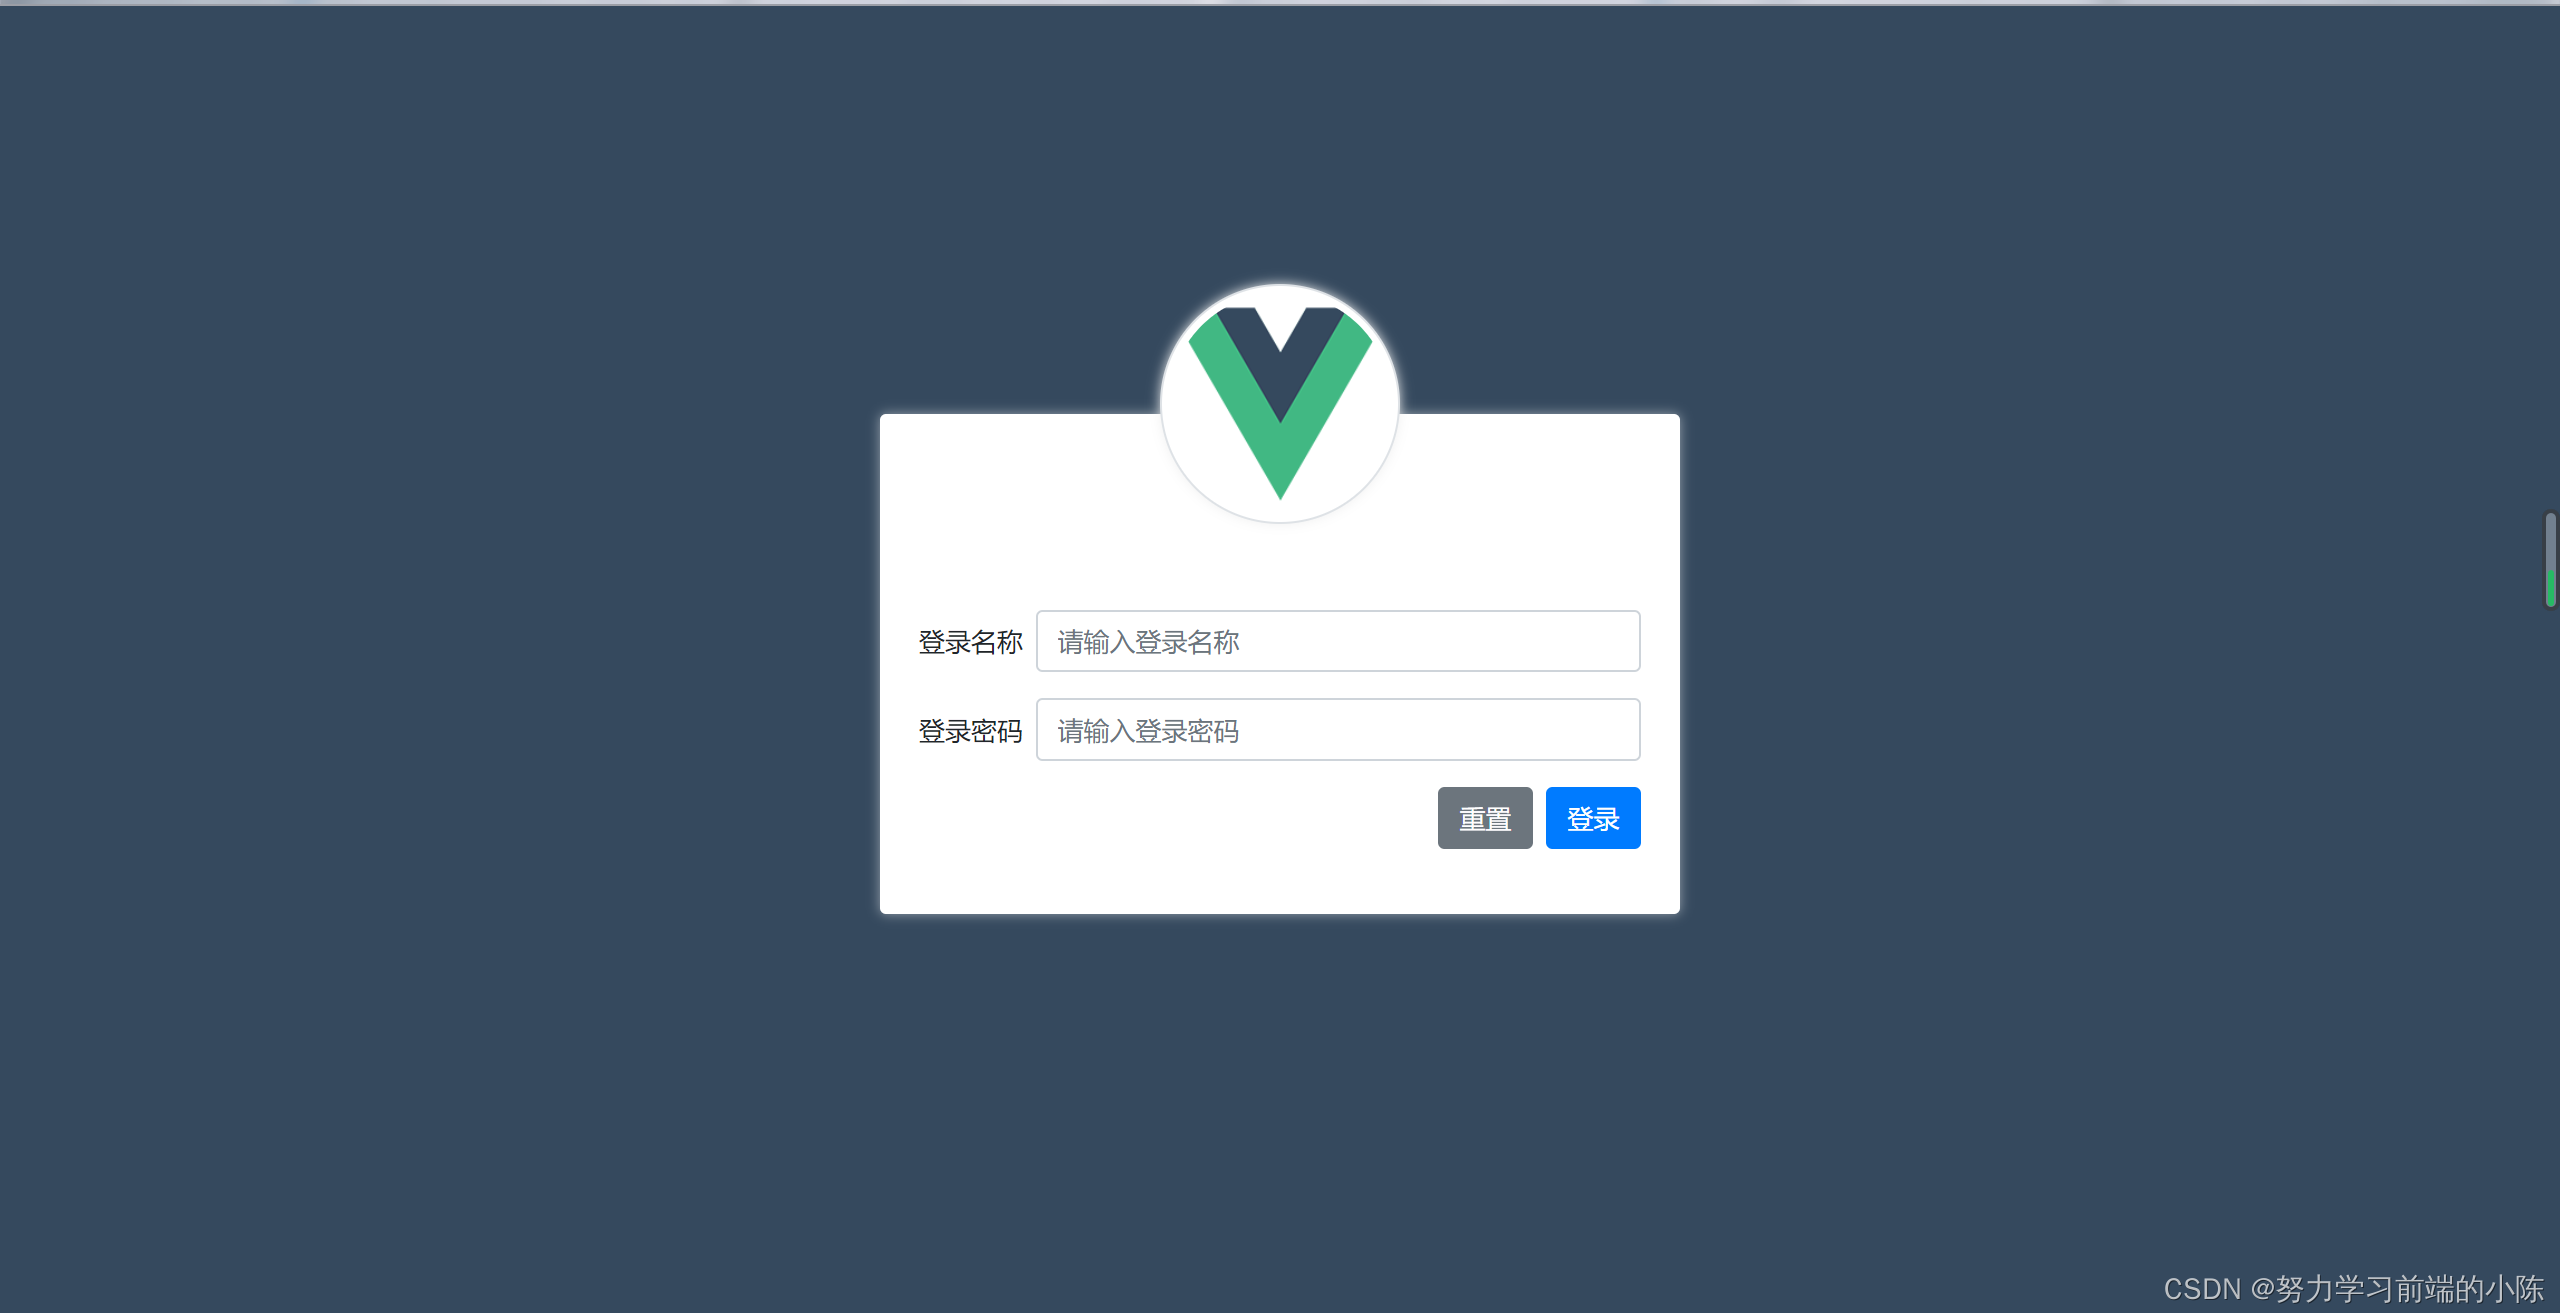
2. 案例效果

3. 案例用到的知识点
⚫ 命名路由
⚫ 路由重定向
⚫ 导航守卫
⚫嵌套路由
⚫ 动态路由匹配
⚫ 编程式导航
4. 案例各个部分的实例代码(这里只提供修改的代码)
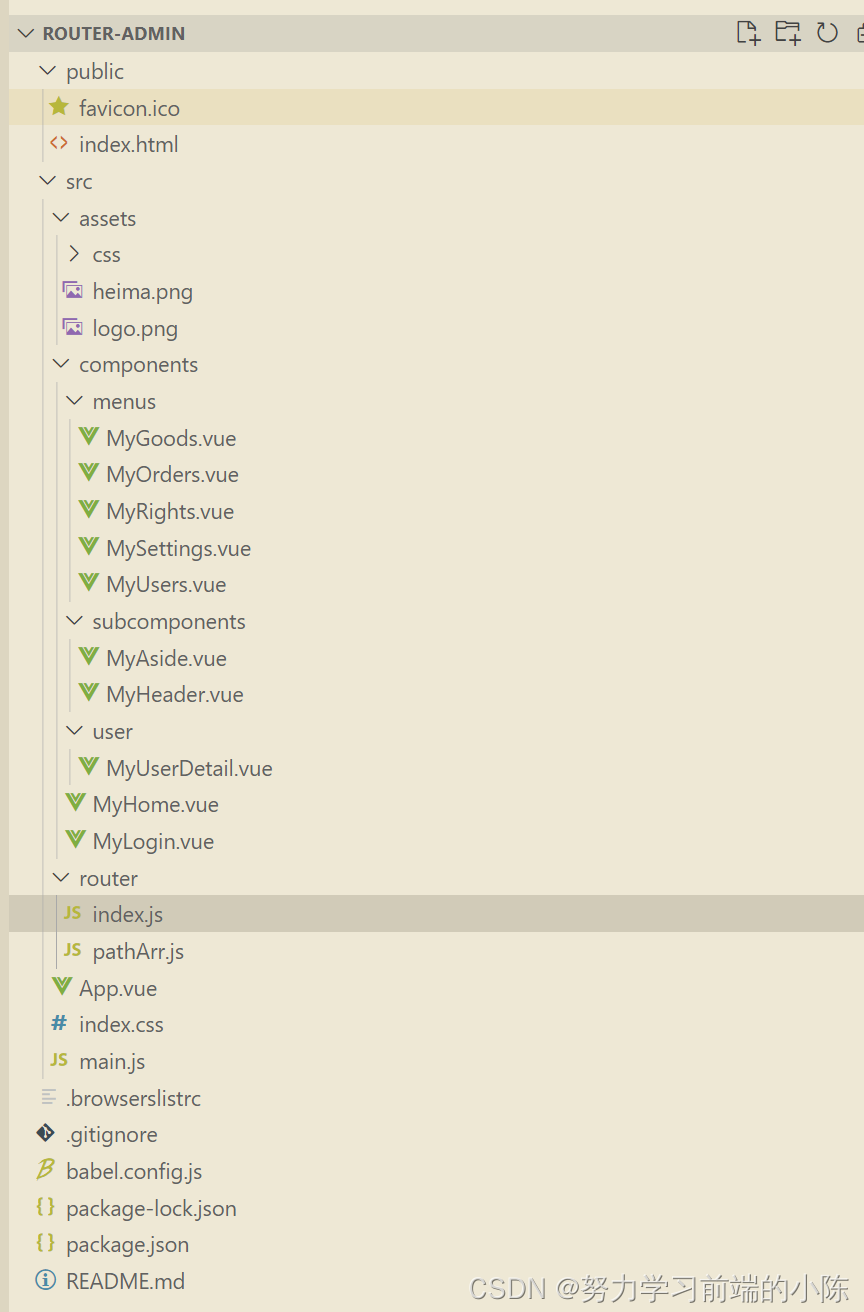
项目目录:
路由模块index.js部分:
import Vue from 'vue'
import VueRouter from 'vue-router'
import pathArr from '@/router/pathArr.js'

// 导入需要的组件
import Login from '@/components/MyLogin.vue'
import Home from '@/components/MyHome.vue'

import Users from '@/components/menus/MyUsers.vue'
import Rights from '@/components/menus/MyRights.vue'
import Goods from '@/components/menus/MyGoods.vue'
import Orders from '@/components/menus/MyOrders.vue'
import Settings from '@/components/menus/MySettings.vue'
import UserDetail from '@/components/user/MyUserDetail.vue'

Vue.use(VueRouter)

const router = new VueRouter({
  routes: [
    { path: '/', redirect: '/login' },
    // 登录的路由规则
    { path: '/login', component: Login },
    // 后台主页的路由规则
    {
      path: '/home',
      component: Home,
      redirect: '/home/users',
      children: [
        { path: 'users', component: Users },
        { path: 'rights', component: Rights },
        { path: 'goods', component: Goods },
        { path: 'orders', component: Orders },
        { path: 'settings', component: Settings },
        // 用户详情页的路由规则
        { path: 'userinfo/:id', component: UserDetail, props: true }
      ]
    }
  ]
})

// 全局前置守卫
router.beforeEach(function(to, from, next) {
  if (pathArr.indexOf(to.path) !== -1) {
    const token = localStorage.getItem('token')
    if (token) {
      next()
    } else {
      next('/login')
    }
  } else {
    next()
  }
})

export default router
main.js部分:
import Vue from 'vue'
import App from './App.vue'
// 导入路由模块
import router from '@/router'

// 导入样式
import './assets/css/bootstrap.css'
import './index.css'

Vue.config.productionTip = false

new Vue({
  render: h => h(App),
  router
}).$mount('#app')
App.vue部分:
<template>
  <!-- 占位符 -->
  <router-view></router-view>
</template>

<script>
export default {
  name: 'MyApp'
}
</script>

<style lang="less" scoped></style>
MyHome.vue部分:
<template>
  <div class="home-container">
    <!-- 头部区域 -->
    <MyHeader></MyHeader>

    <!-- 页面主体区域 -->
    <div class="home-main-box">
      <!-- 左侧边栏 -->
      <MyAside></MyAside>
      <!-- 右侧内容主体区域 -->
      <div class="home-main-body">
        <router-view></router-view>
      </div>
    </div>
  </div>
</template>

<script>
// 头部区域组件
import MyHeader from './subcomponents/MyHeader.vue'
// 左侧边栏组件
import MyAside from './subcomponents/MyAside.vue'

export default {
  name: 'MyHome',
  // 注册组件
  components: {
    MyHeader,
    MyAside
  }
}
</script>

<style lang="less" scoped>
.home-container {
  height: 100%;
  display: flex;
  flex-direction: column;

  .home-main-box {
    height: 100%;
    display: flex;
    .home-main-body {
      padding: 15px;
      flex: 1;
    }
  }
}
</style>
MyLogin.vue部分:
<template>
  <div class="login-container">
    <div class="login-box">
      <!-- 头像区域 -->
      <div class="text-center avatar-box">
        <img src="../assets/logo.png" class="img-thumbnail avatar" alt="" />
      </div>

      <!-- 表单区域 -->
      <div class="form-login p-4">
        <!-- 登录名称 -->
        <div class="form-group form-inline">
          <label for="username">登录名称</label>
          <input
            type="text"
            class="form-control ml-2"
            id="username"
            placeholder="请输入登录名称"
            autocomplete="off"
            v-model.trim="username"
          />
        </div>
        <!-- 登录密码 -->
        <div class="form-group form-inline">
          <label for="password">登录密码</label>
          <input
            type="password"
            class="form-control ml-2"
            id="password"
            placeholder="请输入登录密码"
            v-model.trim="password"
          />
        </div>
        <!-- 登录和重置按钮 -->
        <div class="form-group form-inline d-flex justify-content-end">
          <button type="button" class="btn btn-secondary mr-2" @click="reset">重置</button>
          <button type="button" class="btn btn-primary" @click="login">登录</button>
        </div>
      </div>
    </div>
  </div>
</template>

<script>
export default {
  name: 'MyLogin',
  data() {
    return {
      username: '',
      password: ''
    }
  },
  methods: {
    reset() {
      this.username = ''
      this.password = ''
    },
    login() {
      if (this.username === 'admin' && this.password === '666666') {
        // 登录成功
        // 1. 存储 token
        localStorage.setItem('token', 'Bearer xxxx')
        // 2. 跳转到后台主页
        this.$router.push('/home')
      } else {
        // 登录失败
        localStorage.removeItem('token')
      }
    }
  }
}
</script>

<style lang="less" scoped>
.login-container {
  background-color: #35495e;
  height: 100%;
  .login-box {
    width: 400px;
    height: 250px;
    background-color: #fff;
    border-radius: 3px;
    position: absolute;
    left: 50%;
    top: 50%;
    transform: translate(-50%, -50%);
    box-shadow: 0 0 6px rgba(255, 255, 255, 0.5);
    .form-login {
      position: absolute;
      bottom: 0;
      left: 0;
      width: 100%;
      box-sizing: border-box;
    }
  }
}

.form-control {
  flex: 1;
}

.avatar-box {
  position: absolute;
  width: 100%;
  top: -65px;
  left: 0;
  .avatar {
    width: 120px;
    height: 120px;
    border-radius: 50% !important;
    box-shadow: 0 0 6px #efefef;
  }
}
</style>
MyUserDetail.vue部分:
<template>
  <div>
    <button type="button" class="btn btn-light btn-sm" @click="$router.back()">后退</button>
    <h4 class="text-center">用户详情 --- {

   { id }}</h4>
  </div>
</template>

<script>
export default {
  name: 'MyUserDetail',
  props: ['id']
}
</script>

<style lang="less" scoped></style>
MyAside.vue部分:
<template>
  <div class="layout-aside-container">
    <!-- 左侧边栏列表 -->
    <ul class="user-select-none menu">
      <li class="menu-item">
        <router-link to="/home/users">用户管理</router-link>
      </li>
      <li class="menu-item">
        <router-link to="/home/rights">权限管理</router-link>
      </li>
      <li class="menu-item">
        <router-link to="/home/goods">商品管理</router-link>
      </li>
      <li class="menu-item">
        <router-link to="/home/orders">订单管理</router-link>
      </li>
      <li class="menu-item">
        <router-link to="/home/settings">系统设置</router-link>
      </li>
    </ul>
  </div>
</template>

<script>
export default {
  name: 'MyAside'
}
</script>

<style lang="less" scoped>
.layout-aside-container {
  width: 250px;
  height: 100%;
  border-right: 1px solid #eaeaea;
}

.menu {
  list-style-type: none;
  padding: 0;
  .menu-item {
    line-height: 50px;
    font-weight: bold;
    font-size: 14px;
    font-family: -apple-system, BlinkMacSystemFont, 'Segoe UI', Roboto, Oxygen, Ubuntu, Cantarell, 'Open Sans',
      'Helvetica Neue', sans-serif;
    &:hover {
      background-color: #efefef;
      cursor: pointer;
    }
    a {
      display: block;
      color: black;
      padding-left: 30px;
      &:hover {
        text-decoration: none;
      }
    }
  }
}

// 设置路由高亮效果
.router-link-active {
  background-color: #efefef;
  box-sizing: border-box;
  position: relative;
  // 伪元素实现路由高亮效果
  &::before {
    content: ' ';
    display: block;
    width: 4px;
    height: 100%;
    position: absolute;
    left: 0;
    top: 0;
    background-color: #42b983;
  }
}
</style>
MyHeader.vue部分:
<template>
  <div class="layout-header-container d-flex justify-content-between align-items-center p-3">
    <!-- 左侧 logo 和 标题区域 -->
    <div class="layout-header-left d-flex align-items-center user-select-none">
      <!-- logo -->
      <img class="layout-header-left-img" src="../../assets/heima.png" alt="" />
      <!-- 标题 -->
      <h4 class="layout-header-left-title ml-3">黑马后台管理系统</h4>
    </div>

    <!-- 右侧按钮区域 -->
    <div class="layout-header-right">
      <button type="button" class="btn btn-light" @click="logout">退出登录</button>
    </div>
  </div>
</template>

<script>
export default {
  name: 'MyHeader',
  methods: {
    logout() {
      // 1. 清空 token
      localStorage.removeItem('token')
      // 2. 跳转到登录页面
      this.$router.push('/login')
    }
  }
}
</script>

<style lang="less" scoped>
.layout-header-container {
  height: 60px;
  border-bottom: 1px solid #eaeaea;
}

.layout-header-left-img {
  height: 50px;
}
</style>
MyUsers.vue部分:
<template>
  <div>
    <!-- 标题 -->
    <h4 class="text-center">用户管理</h4>

    <!-- 用户列表 -->
    <table class="table table-bordered table-striped table-hover">
      <thead>
        <tr>
          <th>#</th>
          <th>姓名</th>
          <th>年龄</th>
          <th>头衔</th>
          <th>操作</th>
        </tr>
      </thead>
      <tbody>
        <tr v-for="item in userlist" :key="item.id">
          <td>{

   { item.id }}</td>
          <td>{

   { item.name }}</td>
          <td>{

   { item.age }}</td>
          <td>{

   { item.position }}</td>
          <td>
            <a href="#" @click.prevent="gotoDetail(item.id)">详情</a>
          </td>
        </tr>
      </tbody>
    </table>
  </div>
</template>

<script>
export default {
  name: 'MyUser',
  data() {
    return {
      // 用户列表数据
      userlist: [
        { id: 1, name: '嬴政', age: 18, position: '始皇帝' },
        { id: 2, name: '李斯', age: 35, position: '丞相' },
        { id: 3, name: '吕不韦', age: 50, position: '商人' },
        { id: 4, name: '赵姬', age: 48, position: '王太后' }
      ]
    }
  },
  methods: {
    gotoDetail(id) {
      //   /home/userinfo/1
      //   /home/userinfo/2
      //   /home/userinfo/3
      this.$router.push('/home/userinfo/' + id)
    }
  }
}
</script>

<style lang="less" scoped></style>
pathArr.js部分:
这个 js 文件用来 存储权限路径;
权限路径可以单拿出来,但是建议封装到一个模块中(模块化思想)
export default ['/home', '/home/users', '/home/rights']
其他部分:
本案例中,下面四个组件没有改变,引用了就可以了

其他配置文件均没有变化
5.VUE路由总结
① 能够知道如何在 vue 中配置路由
createRouter、app.use(router)
② 能够知道如何使用嵌套路由
通过 children 属性进行路由嵌套
③ 能够知道如何实现动态路由匹配
使用冒号声明参数项、this.$route.params、props: true
④ 能够知道如何使用编程式导航
this.$router.push、this.$router.go
⑤ 能够知道如何使用导航守卫
路由实例.beforeEach((to, from, next) => { /* 必须调 next 函数 */ })