这里写目录标题
一级目录
报错
1.greenlet大小报错
ValueError: greenlet.greenlet has the wrong size, try recompiling. Expected
解决方法(python3.6)
升级版本即可
pip install gevent==20.9.0
pip install greenlet==0.4.17
其他配置
1. conda配置清华源
- 查看配置源信息:
(pytorch) [root@iZ8vb83k83fmv00mvromkqZ pycharm_project_987]# conda info
Current conda install:

               platform : linux-64
          conda version : 4.3.30
       conda is private : False
      conda-env version : 4.3.30
    conda-build version : 3.10.5
         python version : 3.6.5.final.0
       requests version : 2.27.1
       root environment : /root/anaconda3  (writable)
    default environment : /root/anaconda3/envs/pytorch
       envs directories : /root/anaconda3/envs
                          /root/.conda/envs
          package cache : /root/anaconda3/pkgs
                          /root/.conda/pkgs
           channel URLs : https://mirrors.tuna.tsinghua.edu.cn/anaconda/pkgs/main/linux-64/linux-64
                          https://mirrors.tuna.tsinghua.edu.cn/anaconda/pkgs/main/linux-64/noarch
                          https://mirrors.tuna.tsinghua.edu.cn/anaconda/pkgs/main/noarch/linux-64
                          https://mirrors.tuna.tsinghua.edu.cn/anaconda/pkgs/main/noarch/noarch
                          https://mirrors.tuna.tsinghua.edu.cn/anaconda/pkgs/main/linux-64
                          https://mirrors.tuna.tsinghua.edu.cn/anaconda/pkgs/main/noarch
                          https://mirrors.tuna.tsinghua.edu.cn/anaconda/pkgs/r/linux-64
                          https://mirrors.tuna.tsinghua.edu.cn/anaconda/pkgs/r/noarch
                          https://mirrors.tuna.tsinghua.edu.cn/anaconda/pkgs/msys2/linux-64
                          https://mirrors.tuna.tsinghua.edu.cn/anaconda/pkgs/msys2/noarch
                          https://mirrors.tuna.tsinghua.edu.cn/anaconda/pkgs/free/linux-64
                          https://mirrors.tuna.tsinghua.edu.cn/anaconda/pkgs/free/noarch
            config file : /root/.condarc
             netrc file : None
           offline mode : False
             user-agent : conda/4.3.30 requests/2.27.1 CPython/3.6.5 Linux/3.10.0-862.14.4.el7.x86_64 CentOS Linux/7.5.1804 glibc/2.17
                UID:GID : 0:0
- 添加镜像源:

方法1:通过上图路径找到.condarc文件,进入直接编辑即可
channels:
  - defaults
show_channel_urls: true
default_channels:
  - https://mirrors.tuna.tsinghua.edu.cn/anaconda/pkgs/main/linux-64
  - https://mirrors.tuna.tsinghua.edu.cn/anaconda/pkgs/main/noarch
  - https://mirrors.tuna.tsinghua.edu.cn/anaconda/pkgs/main
  - https://mirrors.tuna.tsinghua.edu.cn/anaconda/pkgs/r
  - https://mirrors.tuna.tsinghua.edu.cn/anaconda/pkgs/msys2
  - https://mirrors.tuna.tsinghua.edu.cn/anaconda/pkgs/free/
custom_channels:
  conda-forge: https://mirrors.tuna.tsinghua.edu.cn/anaconda/cloud
  msys2: https://mirrors.tuna.tsinghua.edu.cn/anaconda/cloud
  bioconda: https://mirrors.tuna.tsinghua.edu.cn/anaconda/cloud
  menpo: https://mirrors.tuna.tsinghua.edu.cn/anaconda/cloud
  pytorch: https://mirrors.tuna.tsinghua.edu.cn/anaconda/cloud
  pytorch-lts: https://mirrors.tuna.tsinghua.edu.cn/anaconda/cloud
  simpleitk: https://mirrors.tuna.tsinghua.edu.cn/anaconda/cloud
方法2:
1.添加国内镜像源
运行Anaconda Prompt
conda config --add channels https://mirrors.ustc.edu.cn/anaconda/pkgs/free/
conda config --add channels https://mirrors.ustc.edu.cn/anaconda/pkgs/main/
........
2.设置启动设置好的国内镜像源
conda config --set show_channel_urls yes
3.查看是否添加上了源
conda config --show
4.如果镜像源失效了,或者想换成其他的源,怎么删除呢?
conda config --remove channels https://mirrors.ustc.edu.cn/anaconda/pkgs/free/
conda config --remove channels https://mirrors.ustc.edu.cn/anaconda/pkgs/main/
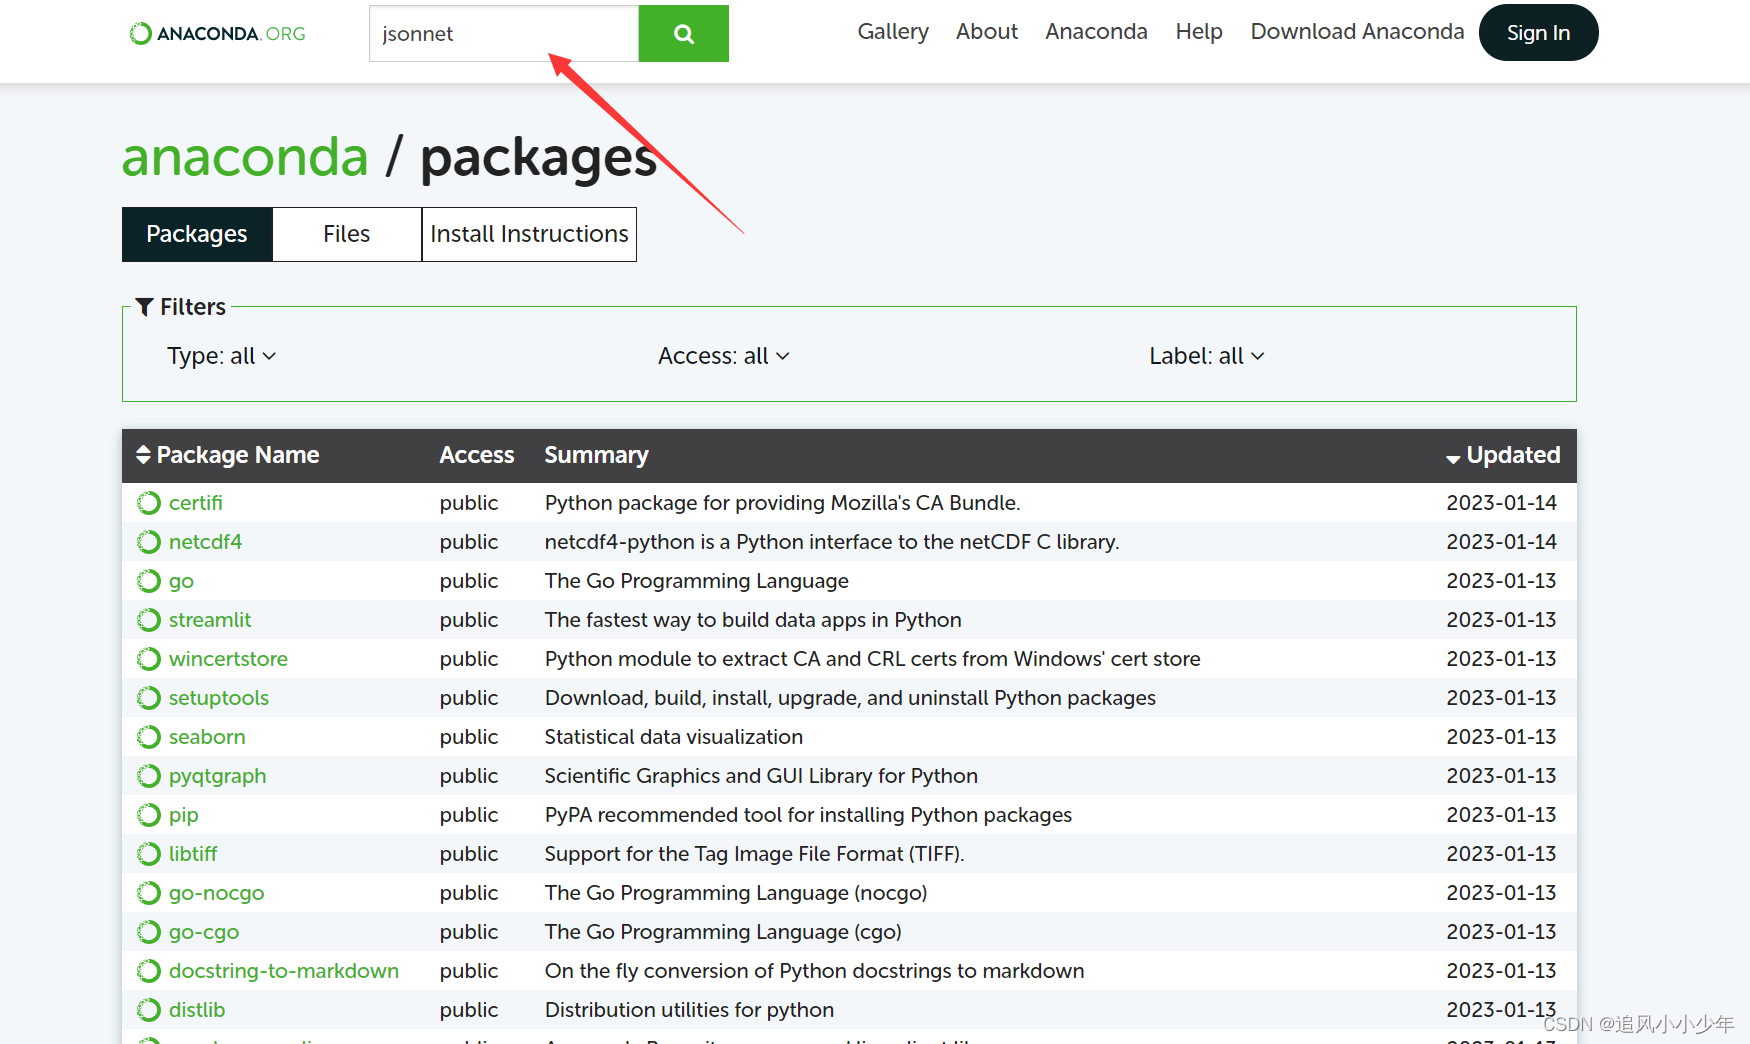
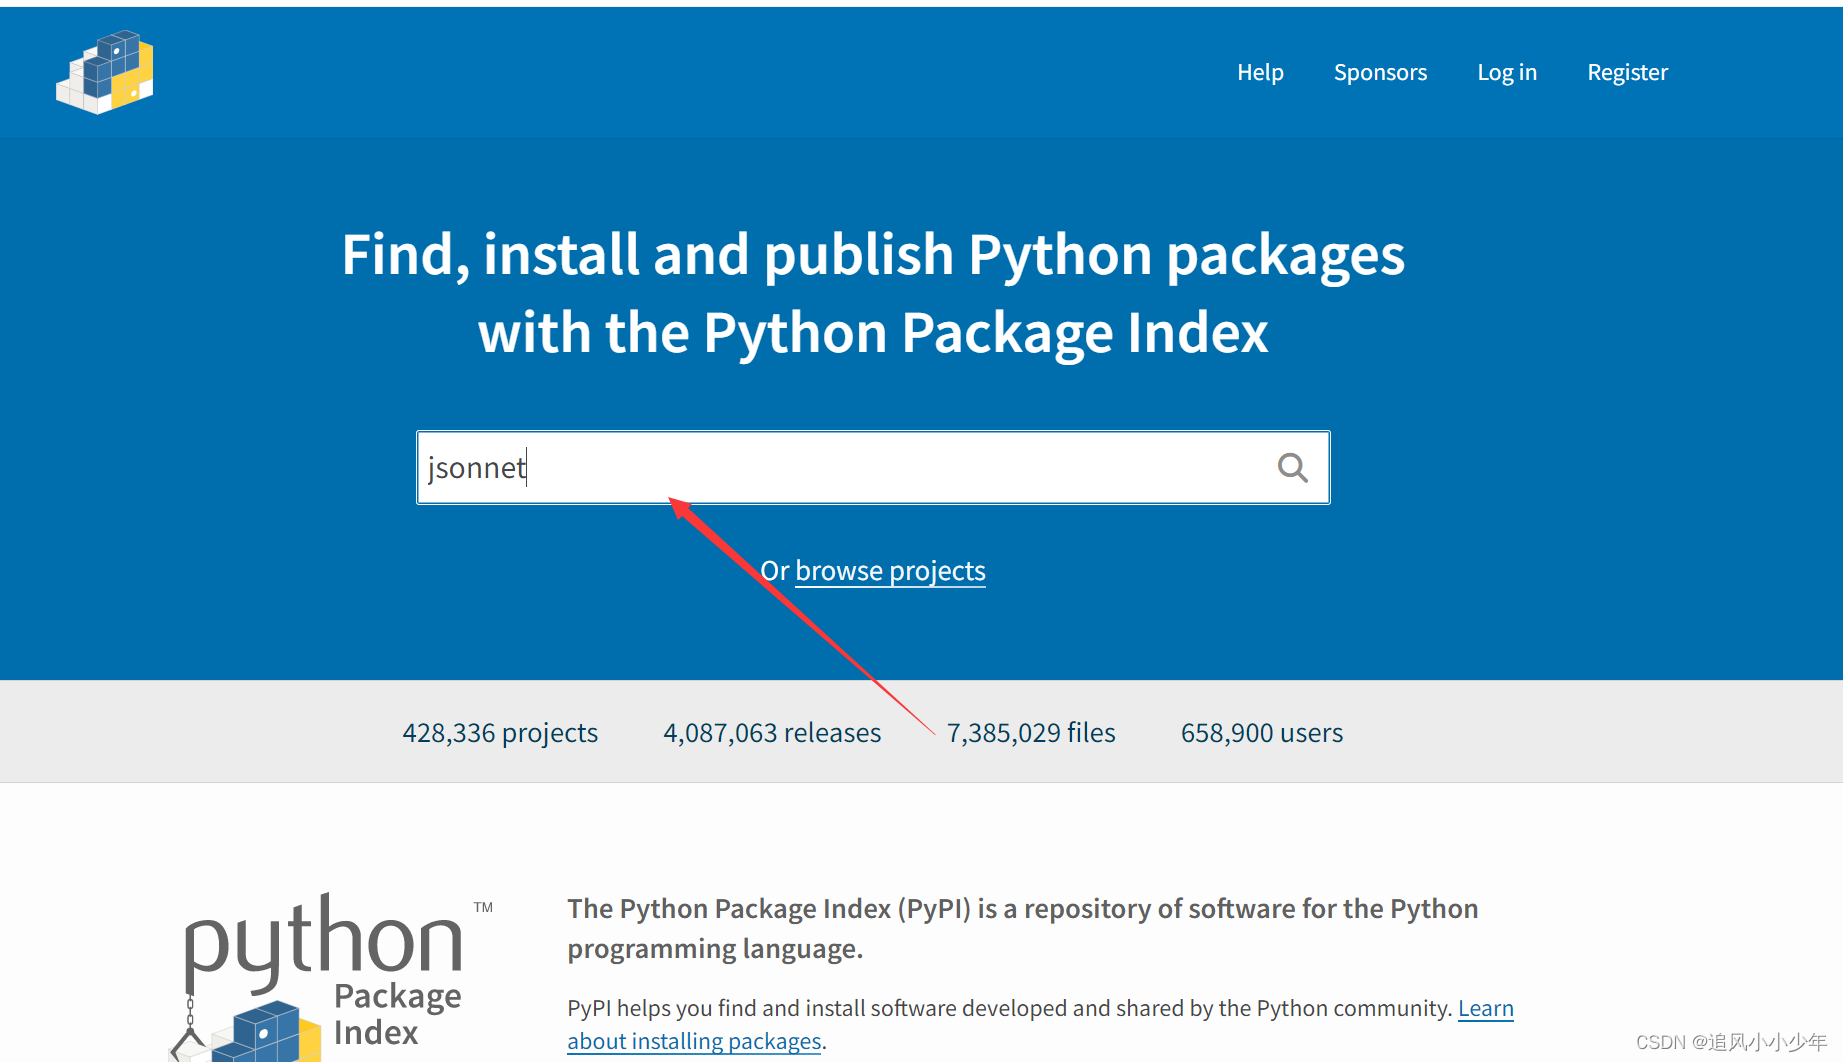
2. jsonnet的安装(有些版本的allennlp安装前要求)
- 方法1:首先尝试pip安装
pip install jsonnet
- 方法2:方法1不行的话conda强制安装
conda install -c conda-forge jsonnet
然而我的conda老是报进程被杀死的错误,在检查了conda源没有错误后,我使用方法三

- 方法3:
先提供两个下载包的网站
然后下载jsonnet的.tar.gz压缩包传到服务器上去,然后运行解压缩命令到一个文件夹中,再cd到这个文件夹内,解压缩后会有setup.py这个文件,运行这个文件即可安装
解压缩命令
tar -zxvf jsonnet-0.16.0.tar.jz /tmp/data#自己定义
运行setup.py(视情况改变路径)
cd /tmp/data
python setup.py install
3. allennlp的安装
首先说明scibert源码要求安装的allennlp版本是0.9.0的,它所对应的pytorch版本是1.2.0
- pytorch与allennlp版本匹配
allennlp1.1.0rc3 可以匹配 torch1.6.0
allennlp1.0.0rc1 可以匹配 torch1.3.1
allennlp0.9.0 可以匹配 torch1.2.0
allennlp0.8.0也可以匹配torch1.2.0
allennlp0.8.0可以匹配torch1.1.0
alennlp0.8.0可以匹配torch1.1.0
allennlp0.7.1可以匹配torch0.4.1
你可以按照官网的提示先 cd 到相应的目录下然后运行
pip install -r requirements.txt
这条语句会去github上安装相应的allennlp版本,需要用到 git 所以如果报错你先装一下git相关的包,安装allennlp之前它会自动下载1.2.0的pytorch,但是在很多情况下下载过程中老是会报错,所以建议先自己装对应版本的pytorch,再运行这段代码,如果运行这段代码过程中报有关jsonnet的错,请先手动安装jsonnet. github进去比较困难,有时候要多执行几次才能进去
安装特定版本的pytorch(CPU)
conda install pytorch torchvision torchaudio cpuonly -c pytorch
===>
conda install pytorch==1.2.0 torchvision torchaudio cpuonly -c pytorch
运行过程
- 一台服务器
- python 3.6环境
- 安装anaconda
- 创建一个虚拟环境
- pycharm(专业版)远程连接服务器(解释器)
- 上传代码
pycharm远程连接情况


- scibert论文网址:https://arxiv.org/pdf/1903.10676.pdf
- pytorch的安装与卸载
- 激活创建的虚拟环境(不同的版本,语句可能有所差别)
[root@iZ8vb83k83fmv00mvromkqZ ~]# source activate pytorch
- 转移到代码目录
(pytorch) [root@iZ8vb83k83fmv00mvromkqZ ~]# cd /tmp/pycharm_project_987