1.xpath
1.1 xpath使用:
- google提前安装xpath插件,按ctrl + shift + x 出现小黑框
- 安装lxml库
pip install lxml ‐i https://pypi.douban.com/simple - 导入lxml.etree
from lxml import etree - etree.parse() 解析本地文件
html_tree = etree.parse('XX.html') - etree.HTML() 服务器响应文件
html_tree = etree.HTML(response.read().decode('utf‐8') - .html_tree.xpath(xpath路径)
1.2 xpath基本语法:
1.路径查询
//:查找所有子孙节点,不考虑层级关系
/ :找直接子节点
2.谓词查询
//div[@id]

//div[@id="maincontent"]
3.属性查询
//@class
4.模糊查询
//div[contains(@id, "he")]

//div[starts‐with(@id, "he")]
5.内容查询
//div/h1/text()
6.逻辑运算
//div[@id="head" and @class="s_down"]

//title | //price
1.3 示例:
xpath.html
<!DOCTYPE html>
<html lang="en">
<head>
    <meta charset="UTF-8"/>
    <title>Title</title>
</head>
<body>
    <ul>
        <li id="l1" class="class1">北京</li>
        <li id="l2" class="class2">上海</li>
        <li id="d1">广州</li>
        <li>深圳</li>
    </ul>
</body>
</html>
from lxml import etree

# xpath解析
# 本地文件:                                          etree.parse
# 服务器相应的数据    response.read().decode('utf-8')  etree.HTML()


tree = etree.parse('xpath.html')

# 查找url下边的li
li_list = tree.xpath('//body/ul/li')
print(len(li_list))  # 4

# 获取标签中的内容
li_list = tree.xpath('//body/ul/li/text()')
print(li_list)  # ['北京', '上海', '广州', '深圳']

# 获取带id属性的li
li_list = tree.xpath('//ul/li[@id]')
print(len(li_list))  # 3

# 获取id为l1的标签内容
li_list = tree.xpath('//ul/li[@id="l1"]/text()')
print(li_list)  # ['北京']

# 获取id为l1的class属性值
c1 = tree.xpath('//ul/li[@id="l1"]/@class')
print(c1)  # ['class1']

# 获取id中包含l的标签
li_list = tree.xpath('//ul/li[contains(@id, "l")]/text()')
print(li_list)  # ['北京', '上海']

# 获取id以d开头的标签
li_list = tree.xpath('//ul/li[starts-with(@id,"d")]/text()')
print(li_list)  # ['广州']

# 获取id为l2并且class为class2的标签
li_list = tree.xpath('//ul/li[@id="l2" and @class="class2"]/text()')
print(li_list)  # ['上海']

# 获取id为l2或id为d1的标签
li_list = tree.xpath('//ul/li[@id="l2"]/text() | //ul/li[@id="d1"]/text()')
print(li_list)  # ['上海', '广州']
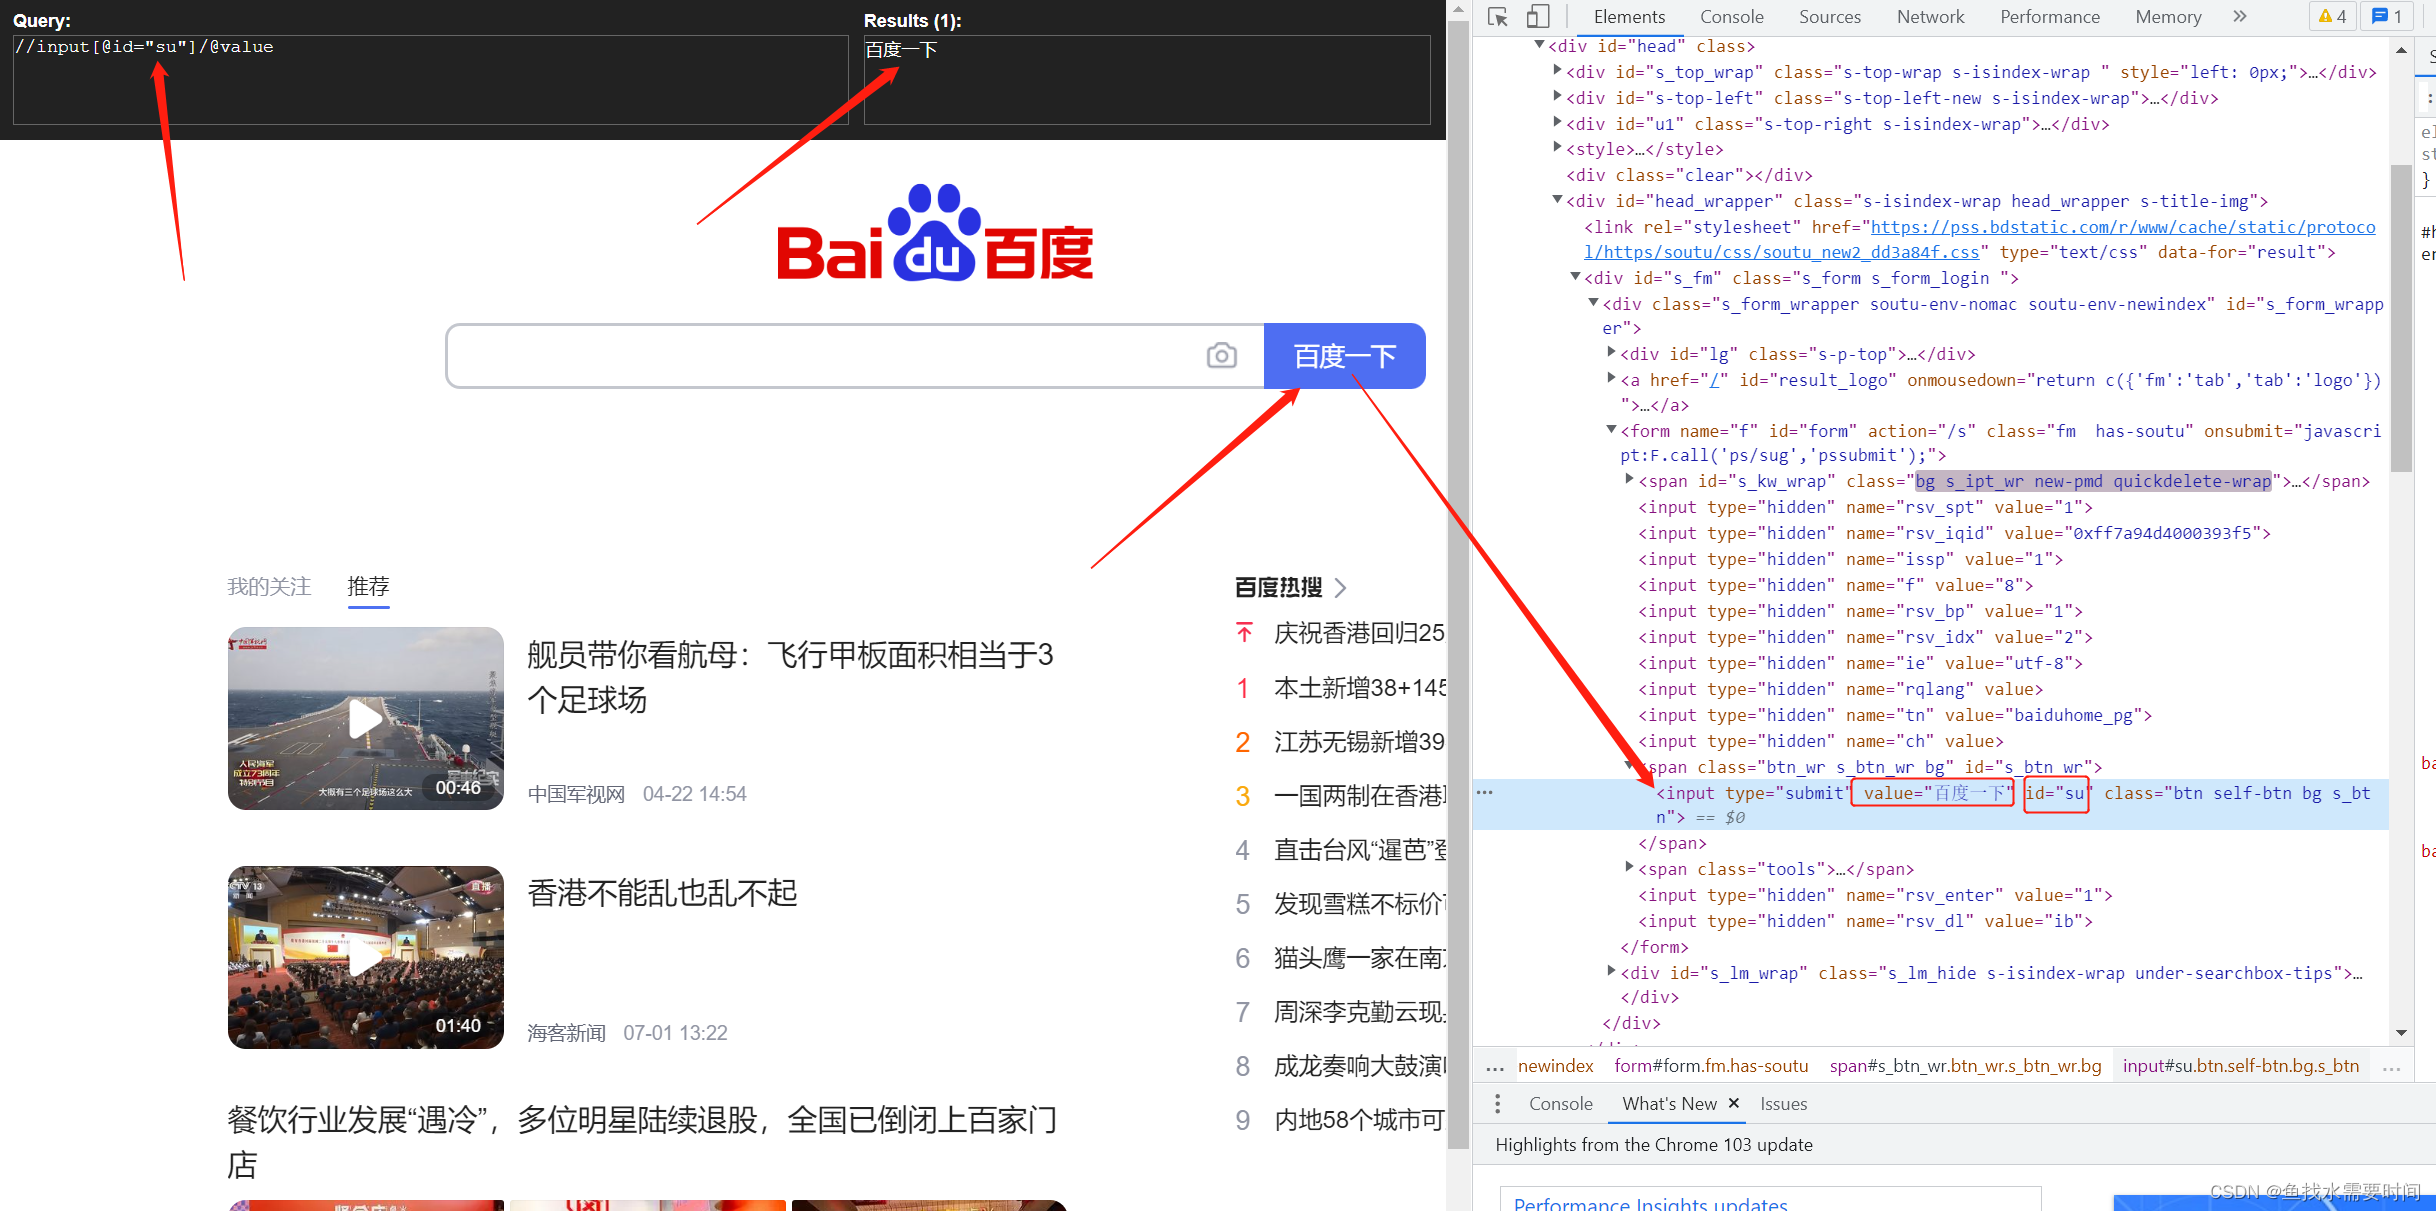
1.4 爬取百度搜索按钮的value
import urllib.request
from lxml import etree

url = 'http://www.baidu.com'
headers = {


    'User-Agent': 'Mozilla/5.0 (Windows NT 10.0; Win64; x64) AppleWebKit/537.36 (KHTML, like Gecko) Chrome/103.0.0.0 Safari/537.36'
}

request = urllib.request.Request(url=url, headers=headers)
response = urllib.request.urlopen(request)
content = response.read().decode('utf-8')

tree = etree.HTML(content)
value = tree.xpath('//input[@id="su"]/@value')

print(value)
1.5 爬取站长素材的图片:
# 需求 下载的前十页的图片
# https://sc.chinaz.com/tupian/qinglvtupian.html   1
# https://sc.chinaz.com/tupian/qinglvtupian_page.html

import urllib.request
from lxml import etree


def create_request(page):
    if (page == 1):
        url = 'https://sc.chinaz.com/tupian/qinglvtupian.html'
    else:
        url = 'https://sc.chinaz.com/tupian/qinglvtupian_' + str(page) + '.html'

    headers = {


        'User-Agent': 'Mozilla/5.0 (Windows NT 10.0; Win64; x64) AppleWebKit/537.36 (KHTML, like Gecko) Chrome/92.0.4515.159 Safari/537.36',
    }

    request = urllib.request.Request(url=url, headers=headers)
    return request


def get_content(request):
    response = urllib.request.urlopen(request)
    content = response.read().decode('utf-8')
    return content


def down_load(content):
    #     下载图片
    # urllib.request.urlretrieve('图片地址','文件的名字')
    tree = etree.HTML(content)

    name_list = tree.xpath('//div[@id="container"]//a/img/@alt')

    # 一般设计图片的网站都会进行懒加载
    src_list = tree.xpath('//div[@id="container"]//a/img/@src2')
    print(src_list)
    for i in range(len(name_list)):
        name = name_list[i]
        src = src_list[i]
        url = 'https:' + src

        urllib.request.urlretrieve(url=url, filename='./loveImg/' + name + '.jpg')


if __name__ == '__main__':
    start_page = int(input('请输入起始页码'))
    end_page = int(input('请输入结束页码'))

    for page in range(start_page, end_page + 1):
        # (1) 请求对象的定制
        request = create_request(page)
        # (2)获取网页的源码
        content = get_content(request)
        # (3)下载
        down_load(content)
2. JsonPath
2.1 pip安装:
pip install jsonpath
2.2 jsonpath的使用:
obj = json.load(open('json文件', 'r', encoding='utf‐8'))

ret = jsonpath.jsonpath(obj, 'jsonpath语法')
JSONPath语法元素和对应XPath元素的对比:
| XPath | JSONPath | Description- |
|---|---|---|
| / | $ | 表示根元素 |
| . | @ | 当前元素 |
| / | . or [] | 子元素 |
| … | n/a | 父元素 |
| // | … | 递归下降,JSONPath是从E4X借鉴的。 |
| * | * | 通配符,表示所有的元素 |
| @ | n/a | 属性访问字符 |
| [] | [] | 子元素操作符 |
| | | [,] | 连接操作符在XPath 结果合并其它结点集合。JSONP允许name或者数组索引。 |
| n/a | [start: end:step] | 数组分割操作从ES4借鉴。 |
| [] | ?() | 应用过滤表示式 |
| n/a | () | 脚本表达式,使用在脚本引擎下面。 |
| () | n/a | Xpath分组 |
示例:
jsonpath.json
扫描二维码关注公众号,回复:
14705180 查看本文章

{

     "store": {


    "book": [
      {

     "category": "修真",
        "author": "六道",
        "title": "坏蛋是怎样练成的",
        "price": 8.95
      },
      {

     "category": "修真",
        "author": "天蚕土豆",
        "title": "斗破苍穹",
        "price": 12.99
      },
      {

     "category": "修真",
        "author": "唐家三少",
        "title": "斗罗大陆",
        "isbn": "0-553-21311-3",
        "price": 8.99
      },
      {

     "category": "修真",
        "author": "南派三叔",
        "title": "星辰变",
        "isbn": "0-395-19395-8",
        "price": 22.99
      }
    ],
    "bicycle": {


      "author": "老马",
      "color": "黑色",
      "price": 19.95
    }
  }
}
import json
import jsonpath

obj = json.load(open('jsonpath.json', 'r', encoding='utf-8'))

# 书店所有书的作者
author_list = jsonpath.jsonpath(obj, '$.store.book[*].author')
print(author_list)  # ['六道', '天蚕土豆', '唐家三少', '南派三叔']

# 所有的作者
author_list = jsonpath.jsonpath(obj, '$..author')
print(author_list)  # ['六道', '天蚕土豆', '唐家三少', '南派三叔', '老马']

# store下面的所有的元素
tag_list = jsonpath.jsonpath(obj, '$.store.*')
print(
    tag_list)  # [[{'category': '修真', 'author': '六道', 'title': '坏蛋是怎样练成的', 'price': 8.95}, {'category': '修真', 'author': '天蚕土豆', 'title': '斗破苍穹', 'price': 12.99}, {'category': '修真', 'author': '唐家三少', 'title': '斗罗大陆', 'isbn': '0-553-21311-3', 'price': 8.99}, {'category': '修真', 'author': '南派三叔', 'title': '星辰变', 'isbn': '0-395-19395-8', 'price': 22.99}], {'author': '老马', 'color': '黑色', 'price': 19.95}]

# store里面所有东西的price
price_list = jsonpath.jsonpath(obj, '$.store..price')
print(price_list)  # [8.95, 12.99, 8.99, 22.99, 19.95]

# 第三个书
book = jsonpath.jsonpath(obj, '$..book[2]')
print(book)  # [{'category': '修真', 'author': '唐家三少', 'title': '斗罗大陆', 'isbn': '0-553-21311-3', 'price': 8.99}]

# 最后一本书
book = jsonpath.jsonpath(obj, '$..book[(@.length-1)]')
print(book)  # [{'category': '修真', 'author': '南派三叔', 'title': '星辰变', 'isbn': '0-395-19395-8', 'price': 22.99}]

# 	前面的两本书
book_list = jsonpath.jsonpath(obj, '$..book[0,1]')
# book_list = jsonpath.jsonpath(obj,'$..book[:2]')
print(
    book_list)  # [{'category': '修真', 'author': '六道', 'title': '坏蛋是怎样练成的', 'price': 8.95}, {'category': '修真', 'author': '天蚕土豆', 'title': '斗破苍穹', 'price': 12.99}]

# 条件过滤需要在()的前面添加一个?
# 	 过滤出所有的包含isbn的书。
book_list = jsonpath.jsonpath(obj, '$..book[?(@.isbn)]')
print(
    book_list)  # [{'category': '修真', 'author': '唐家三少', 'title': '斗罗大陆', 'isbn': '0-553-21311-3', 'price': 8.99}, {'category': '修真', 'author': '南派三叔', 'title': '星辰变', 'isbn': '0-395-19395-8', 'price': 22.99}]

# 哪本书超过了10块钱
book_list = jsonpath.jsonpath(obj, '$..book[?(@.price>10)]')
print(
    book_list)  # [{'category': '修真', 'author': '天蚕土豆', 'title': '斗破苍穹', 'price': 12.99}, {'category': '修真', 'author': '南派三叔', 'title': '星辰变', 'isbn': '0-395-19395-8', 'price': 22.99}]
3. BeautifulSoup
3.1 基本简介:
1.BeautifulSoup简称: bs4
2.什么是BeatifulSoup?
	BeautifulSoup,和lxml一样,是一个html的解析器,主要功能也是解析和提取数据
3.优缺点?
	缺点:效率没有lxml的效率高
	优点:接口设计人性化,使用方便
3.2 安装以及创建:
1.安装
	pip install bs4
2.导入
	from bs4 import BeautifulSoup
3.创建对象
	服务器响应的文件生成对象 soup = BeautifulSoup(response.read().decode(), 'lxml')
	本地文件生成对象 soup = BeautifulSoup(open('1.html'), 'lxml')
	注意:默认打开文件的编码格式gbk所以需要指定打开编码格式utf-8
3.3 节点定位:
1.根据标签名查找节点
	soup.a 【注】只能找到第一个a
		soup.a.name
		soup.a.attrs
2.函数
	(1).find(返回一个对象)
		find('a'):只找到第一个a标签
		find('a', title='名字')
		find('a', class_='名字')
	(2).find_all(返回一个列表)
		find_all('a') 查找到所有的a
		find_all(['a', 'span']) 返回所有的a和span
		find_all('a', limit=2) 只找前两个a
	(3).select(根据选择器得到节点对象)【推荐】
		1.element
			eg:p
		2..class
			eg:.firstname
		3.#id
			eg:#firstname
		4.属性选择器
			[attribute]
				eg:li = soup.select('li[class]')
			[attribute=value]
				eg:li = soup.select('li[class="hengheng1"]')
		5.层级选择器
			element element
				div p
			element>element
				div>p
			element,element
				div,p
					eg:soup = soup.select('a,span')
3.5 节点信息 :
(1).获取节点内容:适用于标签中嵌套标签的结构
	obj.string
	obj.get_text()【推荐】
(2).节点的属性
	tag.name 获取标签名
		eg:tag = find('li)
			print(tag.name)
	tag.attrs将属性值作为一个字典返回
(3).获取节点属性
	obj.attrs.get('title')【常用】
	obj.get('title')
	obj['title']
3.6 使用示例:
bs4.html
<!DOCTYPE html>
<html lang="en">
<head>
    <meta charset="UTF-8">
    <title>Title</title>
</head>
<body>

    <div>
        <ul>
            <li id="l1">张三</li>
            <li id="l2">李四</li>
            <li>王五</li>
            <a href="" id="" class="a1">google</a>
            <span>嘿嘿嘿</span>
        </ul>
    </div>


    <a href="" title="a2">百度</a>

    <div id="d1">
        <span>
            哈哈哈
        </span>
    </div>

    <p id="p1" class="p1">呵呵呵</p>
</body>
</html>
from bs4 import BeautifulSoup

# 通过解析本地文件 来将bs4的基础语法进行讲解
# 默认打开的文件的编码格式是gbk 所以在打开文件的时候需要指定编码
soup = BeautifulSoup(open('bs4.html', encoding='utf-8'), 'lxml')

# 根据标签名查找节点
# 找到的是第一个符合条件的数据
print(soup.a)  # <a class="a1" href="" id="">google</a>
# 获取标签的属性和属性值
print(soup.a.attrs)  # {'href': '', 'id': '', 'class': ['a1']}

# bs4的一些函数
# (1)find
# 返回的是第一个符合条件的数据
print(soup.find('a'))  # <a class="a1" href="" id="">google</a>

# 根据title的值来找到对应的标签对象
print(soup.find('a', title="a2"))  # <a href="" title="a2">百度</a>

# 根据class的值来找到对应的标签对象  注意的是class需要添加下划线
print(soup.find('a', class_="a1"))  # <a class="a1" href="" id="">google</a>

# (2)find_all  返回的是一个列表 并且返回了所有的a标签
print(soup.find_all('a'))  # [<a class="a1" href="" id="">google</a>, <a href="" title="a2">百度</a>]

# 如果想获取的是多个标签的数据 那么需要在find_all的参数中添加的是列表的数据
print(soup.find_all(['a','span']))  # [<a class="a1" href="" id="">google</a>, <span>嘿嘿嘿</span>, <a href="" title="a2">百</a><spa哈</span>]

# limit的作用是查找前几个数据
print(soup.find_all('li', limit=2))  # [<li id="l1">张三</li>, <li id="l2">李四</li>]

# (3)select(推荐)
# select方法返回的是一个列表  并且会返回多个数据
print(soup.select('a'))  # [<a class="a1" href="" id="">google</a>, <a href="" title="a2">百度</a>]

# 可以通过.代表class  我们把这种操作叫做类选择器
print(soup.select('.a1'))  # [<a class="a1" href="" id="">google</a>]

print(soup.select('#l1'))  # [<li id="l1">张三</li>]

# 属性选择器---通过属性来寻找对应的标签
# 查找到li标签中有id的标签
print(soup.select('li[id]'))  # [<li id="l1">张三</li>, <li id="l2">李四</li>]

# 查找到li标签中id为l2的标签
print(soup.select('li[id="l2"]'))  # [<li id="l2">李四</li>]

# 层级选择器
#  后代选择器
# 找到的是div下面的li
print(soup.select('div li'))  # [<li id="l1">张三</li>, <li id="l2">李四</li>, <li>王五</li>]

# 子代选择器
#  某标签的第一级子标签
# 注意:很多的计算机编程语言中 如果不加空格不会输出内容  但是在bs4中 不会报错 会显示内容
print(soup.select('div > ul > li'))  # [<li id="l1">张三</li>, <li id="l2">李四</li>, <li>王五</li>]

# 找到a标签和li标签的所有的对象
print(soup.select(
    'a,li'))  # [<li id="l1">张三</li>, <li id="l2">李四</li>, <li>王五</li>, <a class="a1" href="" id="">google</a>, <a href="" title="a2">百度</a>]

# 节点信息
#    获取节点内容
obj = soup.select('#d1')[0]
# 如果标签对象中 只有内容 那么string和get_text()都可以使用
# 如果标签对象中 除了内容还有标签 那么string就获取不到数据 而get_text()是可以获取数据
# 我们一般情况下  推荐使用get_text()
print(obj.string)  # None
print(obj.get_text())  # 哈哈哈

# 节点的属性
obj = soup.select('#p1')[0]
# name是标签的名字
print(obj.name)  # p
# 将属性值左右一个字典返回
print(obj.attrs)  # {'id': 'p1', 'class': ['p1']}

# 获取节点的属性
obj = soup.select('#p1')[0]
#
print(obj.attrs.get('class'))  # ['p1']
print(obj.get('class'))  # ['p1']
print(obj['class'])  # ['p1']
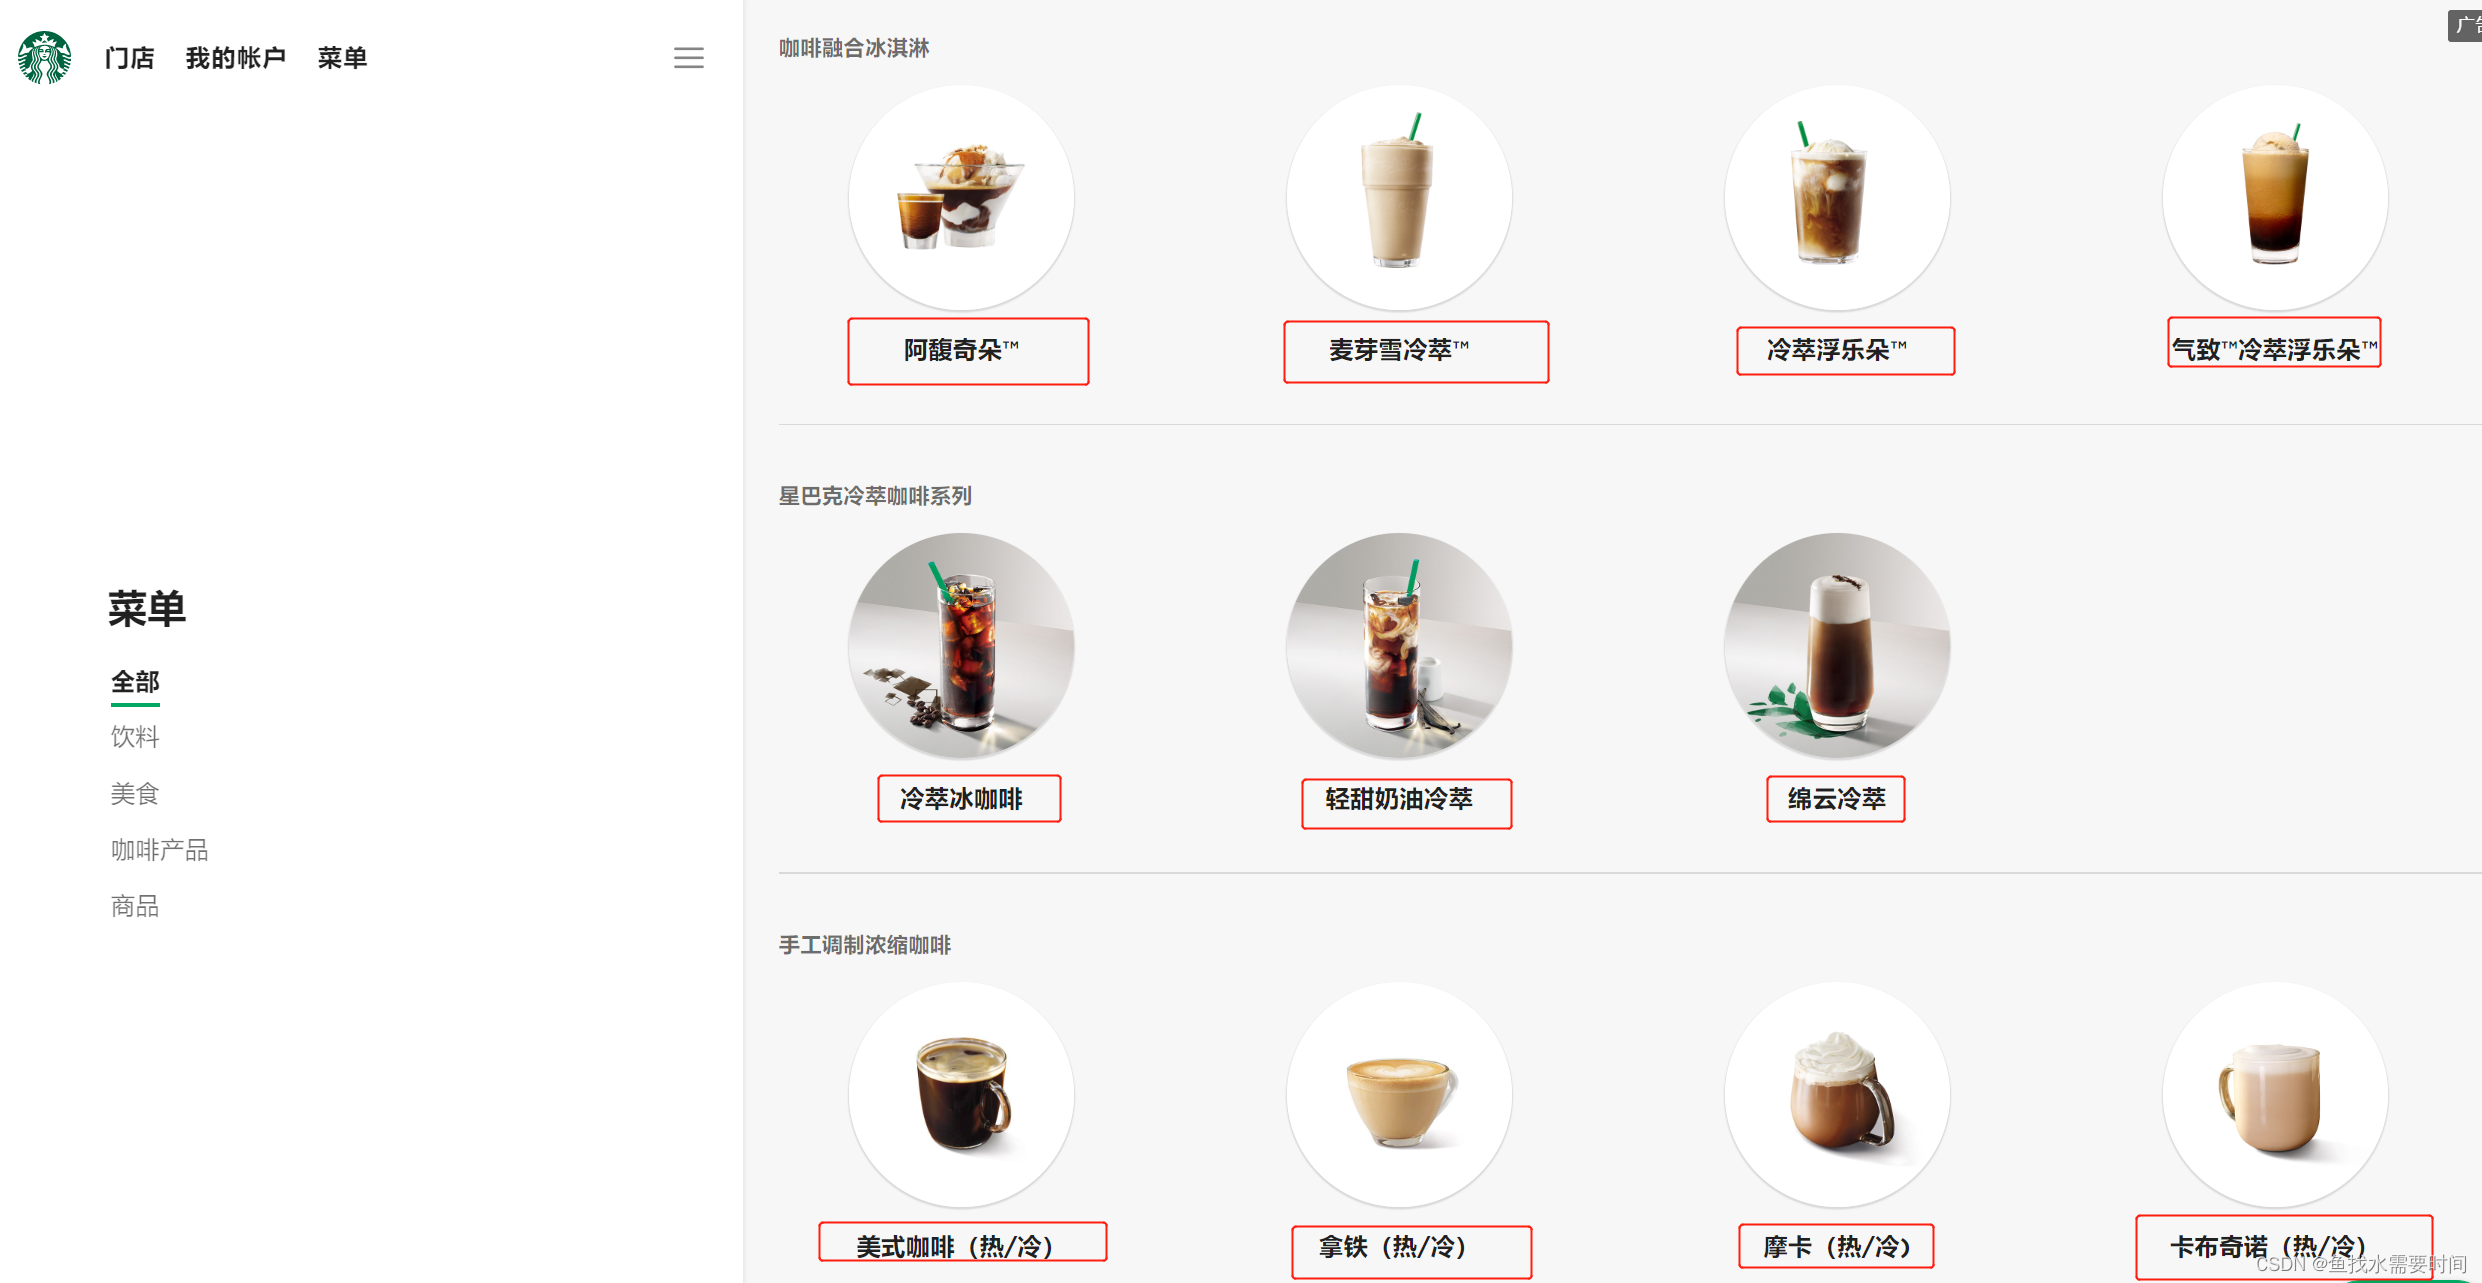
3.7 解析星巴克产品名称:
import urllib.request

url = 'https://www.starbucks.com.cn/menu/'

response = urllib.request.urlopen(url)

content = response.read().decode('utf-8')


from bs4 import BeautifulSoup

soup = BeautifulSoup(content,'lxml')

# //ul[@class="grid padded-3 product"]//strong/text()
# 一般先用xpath方式通过google插件写好解析的表达式
name_list = soup.select('ul[class="grid padded-3 product"] strong')

for name in name_list:
    print(name.get_text())