引言
邮箱验证码是一个常见的功能,常用于邮箱绑定、修改密码等操作上,这里我演示一下如何使用springboot实现验证码的发送功能;
这里用qq邮箱进行演示,其他都差不多;
准备工作
首先要在设置->账户中开启邮箱POP3/SMTP服务:

开启成功后会获取一个授权码,记住该授权码:
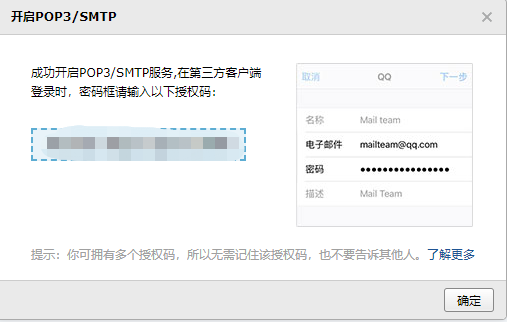
初步准备完成;
代码实现
引入依赖:
<dependency>
    <groupId>org.springframework.boot</groupId>
    <artifactId>spring-boot-starter-mail</artifactId>
</dependency>
application.yml中配置:
spring:
  mail:
    host: smtp.qq.com
    username: 邮箱号@qq.com # 发件人邮箱
    password: 授权码 # 邮箱授权码
    default-encoding: UTF-8
下面就是controller、service了
controller
@PostMapping("/code")
public BaseResponse<String> sendMessageToEmail(@RequestParam("email") String email) {


    if (StringUtils.isAnyBlank(email)) {


        throw new BusinessException(StatusCode.NULL_ERROR, "邮箱为空");
    }
    // 校验邮箱
    RegExpUtil.regExpVerify(RegExpUtil.emailRegExp, email, "邮箱格式错误");
    // 从redis中查看有没有该邮箱的验证码
    String verifyCode = (String) redisTemplate.opsForValue().get(RedisKey.EMAIL_CODE + email);
    if (!StringUtils.isAnyBlank(verifyCode)) {


        throw new BusinessException(StatusCode.SUCCESS, "验证码已发送=>" + verifyCode);
    }
    // 如果redis没有该手机号验证码,则获取验证码并发送短信
    verifyCode = RandomSmsNumUtils.getSixBitRandom(); // 获取六位验证码
    emailService.sendMessageToEmail(verifyCode, email);
    // 将该验证码存入redis
    redisTemplate.opsForValue().set(
            RedisKey.EMAIL_CODE + email,
            verifyCode,
            EMAIL_EXPIRED_TIME,
            TimeUnit.MINUTES);
    return ResultUtils.success("发送成功");
}
大致流程就是:校验邮箱->查redis判断邮件是否已发送->未发送则发送验证码->将发送的验证码存入redis
接下来是service,网上有很多发送的就是简单的文本验证码,类似这样的:

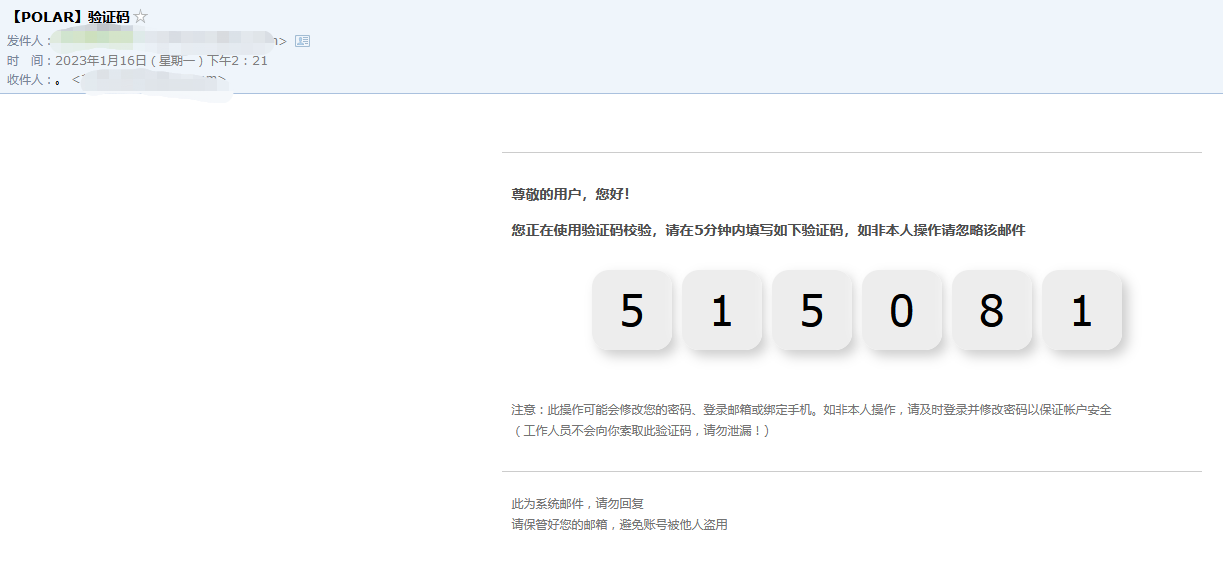
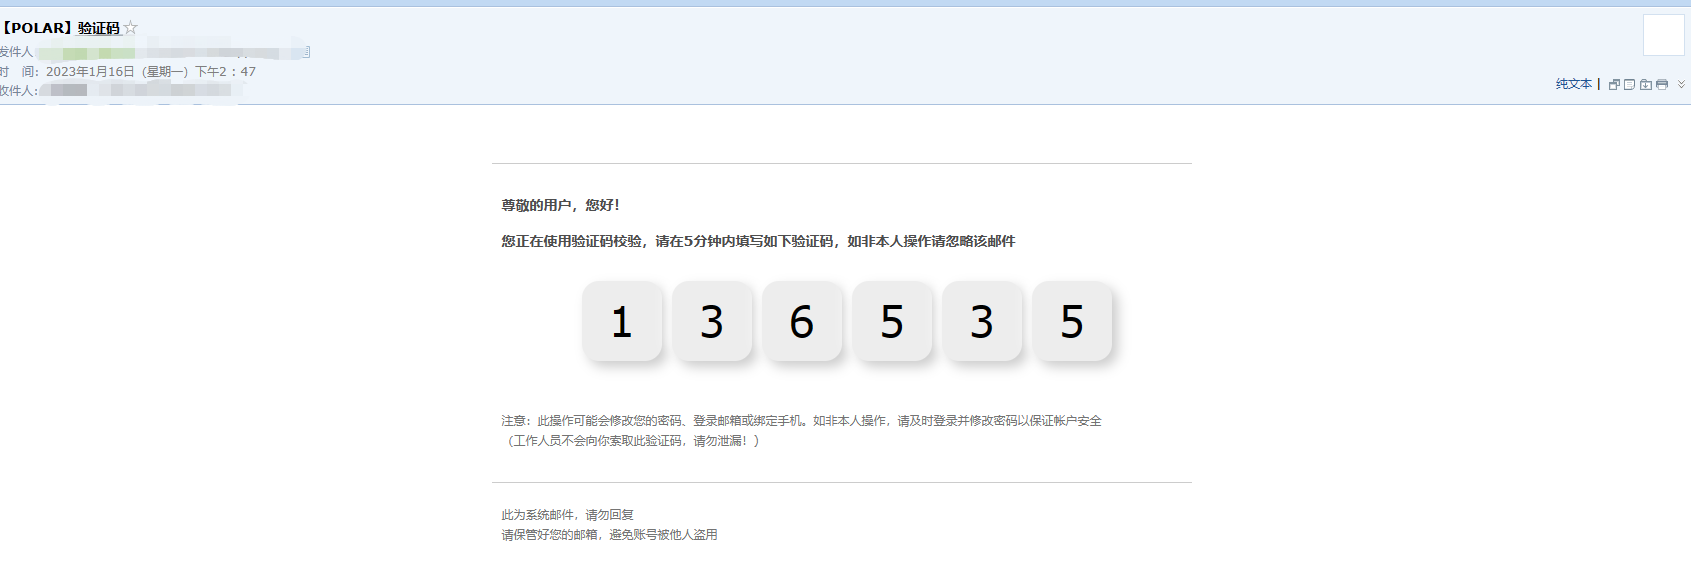
就是一个纯文本,不好看,所以接下来直接实现一个html模板email,如图:
html的解析可以用springboot自带的thymeleaf,引入依赖:
<dependency>
    <groupId>org.springframework.boot</groupId>
    <artifactId>spring-boot-starter-thymeleaf</artifactId>
</dependency>
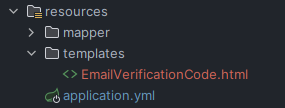
然后再resources文件下创建templates文件夹,创建一个html文件作为邮件模板:
该模板内容如下:
<!DOCTYPE html>
<html lang="en" xmlns:th="http://www.thymeleaf.org">
<head>
    <meta charset="UTF-8">
    <title>邮箱验证码</title>
    <style>
        table {


            width: 700px;
            margin: 0 auto;
        }

        #top {


            width: 700px;
            border-bottom: 1px solid #ccc;
            margin: 0 auto 30px;
        }

        #top table {


            font: 12px Tahoma, Arial, 宋体;
            height: 40px;
        }

        #content {


            width: 680px;
            padding: 0 10px;
            margin: 0 auto;
        }

        #content_top {


            line-height: 1.5;
            font-size: 14px;
            margin-bottom: 25px;
            color: #4d4d4d;
        }

        #content_top strong {


            display: block;
            margin-bottom: 15px;
        }

        #content_top strong span {


            color: #f60;
            font-size: 16px;
        }

        #verificationCode {


            color: #f60;
            font-size: 24px;
        }

        #content_bottom {


            margin-bottom: 30px;
        }

        #content_bottom small {


            display: block;
            margin-bottom: 20px;
            font-size: 12px;
            color: #747474;
        }

        #bottom {


            width: 700px;
            margin: 0 auto;
        }

        #bottom div {


            padding: 10px 10px 0;
            border-top: 1px solid #ccc;
            color: #747474;
            margin-bottom: 20px;
            line-height: 1.3em;
            font-size: 12px;
        }

        #content_top strong span {


            font-size: 18px;
            color: #FE4F70;
        }

        #sign {


            text-align: right;
            font-size: 18px;
            color: #FE4F70;
            font-weight: bold;
        }

        #verificationCode {


            height: 100px;
            width: 680px;
            text-align: center;
            margin: 30px 0;
        }

        #verificationCode div {


            height: 100px;
            width: 680px;

        }

        .button {


            color: #FE4F70;
            margin-left: 10px;
            height: 80px;
            width: 80px;
            resize: none;
            font-size: 42px;
            border: none;
            outline: none;
            padding: 10px 15px;
            background: #ededed;
            text-align: center;
            border-radius: 17px;
            box-shadow: 6px 6px 12px #cccccc,
            -6px -6px 12px #ffffff;
        }

        .button:hover {


            box-shadow: inset 6px 6px 4px #d1d1d1,
            inset -6px -6px 4px #ffffff;
        }

    </style>
</head>
<body>
<table>
    <tbody>
    <tr>
        <td>
            <div id="top">
                <table>
                    <tbody><tr><td></td></tr></tbody>
                </table>
            </div>

            <div id="content">
                <div id="content_top">
                    <strong>尊敬的用户,您好!</strong>
                    <strong>
                        您正在使用验证码校验,请在5分钟内填写如下验证码,如非本人操作请忽略该邮件
                    </strong>
                    <div id="verificationCode">
                        <button class="button" th:each="a:${verifyCode}">[[${a}]]</button>
                    </div>
                </div>
                <div id="content_bottom">
                    <small>
                        注意:此操作可能会修改您的密码、登录邮箱或绑定手机。如非本人操作,请及时登录并修改密码以保证帐户安全
                        <br>(工作人员不会向你索取此验证码,请勿泄漏!)
                    </small>
                </div>
            </div>
            <div id="bottom">
                <div>
                    <p>此为系统邮件,请勿回复<br>
                        请保管好您的邮箱,避免账号被他人盗用
                    </p>
<!--                    <p id="sign">——POLAR官方</p>-->
                </div>
            </div>
        </td>
    </tr>
    </tbody>
</table>
</body>
模板参考文章:传送门
接下来就是编写service了:
@Service("emailService")
public class EmailServiceImpl implements EmailService {


    @Resource
    private JavaMailSender javaMailSender;

    @Resource
    private TemplateEngine templateEngine;

    @Value("${spring.mail.username}")
    private String username;

    @Override
    public void sendMessageToEmail(String verifyCode, String email) {


        Context context = new Context(); // 引入Template的Context
        // 设置模板中的变量(分割验证码)
        context.setVariable("verifyCode", Arrays.asList(verifyCode.split("")));
        // 第一个参数为模板的名称(html不用写全路径)
        String process = templateEngine.process("EmailVerificationCode.html", context); // 这里不用写全路径
        MimeMessage mimeMessage = javaMailSender.createMimeMessage();
        try {


            MimeMessageHelper helper = new MimeMessageHelper(mimeMessage, true);
            helper.setSubject("【POLAR】验证码"); // 邮件的标题
            helper.setFrom(username); // 发送者
            helper.setTo(email); // 接收者
            helper.setSentDate(new Date()); // 时间
            helper.setText(process, true); // 第二个参数true表示这是一个html文本
        } catch (MessagingException e) {


            throw new BusinessException(StatusCode.SYSTEM_ERROR, "邮件发送异常");
        }
        javaMailSender.send(mimeMessage);
    }
}
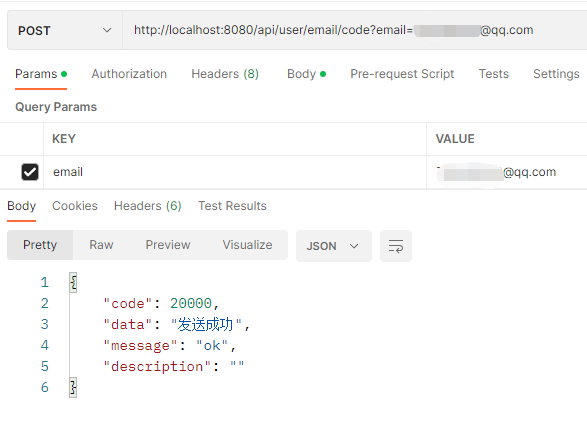
这就完成整体逻辑的编写了,接下来测试一下:
接收到的邮件:
查看redis:
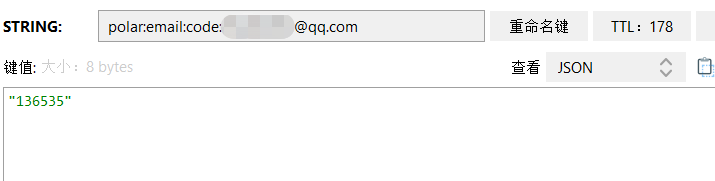
至此所有功能完成;