文章目录
Prometheus的安装
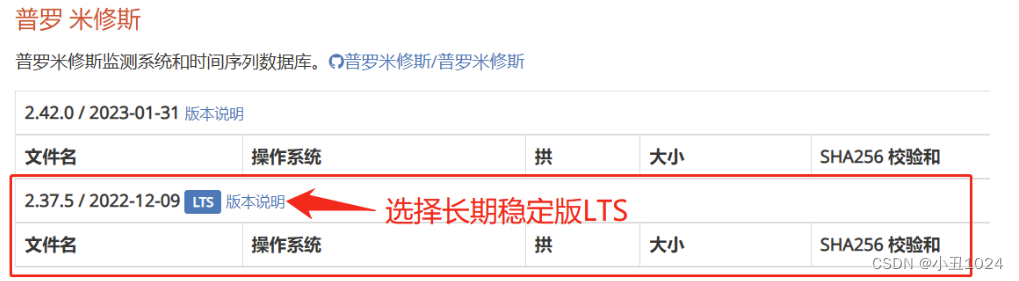
1.从官网中下载软件包到本地
Prometheus网址:
https://prometheus.io/download/

2.实验环境
系统:CentOS7.6
配置:4cpu、4g内存
安装软件:Prometheus server
3.Prometheus安装过程
3.1.上传Prometheus压缩包

[root@localhost61 ~]# ls
anaconda-ks.cfg  prometheus-2.37.1.linux-amd64.tar.gz
3.2.解压Prometheus压缩包
[root@localhost61 ~]# file prometheus-2.37.1.linux-amd64.tar.gz
prometheus-2.37.1.linux-amd64.tar.gz: gzip compressed data, from Unix
[root@localhost61 ~]# tar xvf prometheus-2.37.1.linux-amd64.tar.gz
[root@localhost61 ~]# mv prometheus-2.37.1.linux-amd64 prometheus
anaconda-ks.cfg  prometheus-2.37.1.linux-amd64.tar.gz
prometheus
或
#创建存放prometheus的文件夹
# mkdir -p /apps
#进入文件夹
# cd /apps
#下载prometheus最新的LTS版本
# wget https://github.com/prometheus/prometheus/releases/download/v2.37.5/prometheus-2.37.5.linux-amd64.tar.gz
#解压prometheus
# tar xvf prometheus-2.37.5.linux-amd64.tar.gz
#给prometheus做软连接
# ln -sv /apps/prometheus-2.37.5.linux-amd64 /apps/prometheus
‘/apps/prometheus’ -> ‘/apps/prometheus-2.37.5.linux-amd64’

代码注释:

-p:若所要建立目录的上层目录目前尚未建立,则会一并建立上层目录。
-sv:

-s:创建符号链接(软链接)。
-v:输出每个链接文件的名称。
3.3.启动Prometheus
[root@localhost61 ~]# cd prometheus
[root@localhost prometheus]# ls
console_libraries  LICENSE  prometheus      promtool
consoles           NOTICE   prometheus.yml
[root@localhost61 prometheus]# ./prometheus  --version #查看版本信息
prometheus, version 2.37.1 (branch: HEAD, revision: 1ce2197e7f9e95089bfb95cb61762b5a89a8c0da)
  build user:       root@3caaaea7ba87
  build date:       20220912-12:42:39
  go version:       go1.18.6
  platform:         linux/amd64
[root@localhost61 prometheus]# ./prometheus
如图表示启动成功:

3.4.网页端登陆输入当前机器的IP,运行Prometheus
1.查看Prometheus端口为9090
[root@localhost61 ~]# netstat -antp
Active Internet connections (servers and established)
Proto Recv-Q Send-Q Local Address           Foreign Address         State       PID/Program name
tcp        0      0 0.0.0.0:22              0.0.0.0:*               LISTEN      6631/sshd
tcp        0      0 127.0.0.1:25            0.0.0.0:*               LISTEN      6755/master
tcp        0      0 192.168.66.61:22        192.168.66.1:9658       ESTABLISHED 6891/sshd: root@pts
tcp        0     96 192.168.66.61:22        192.168.66.1:2170       ESTABLISHED 21835/sshd: root@pt
tcp6       0      0 :::22                   :::*                    LISTEN      6631/sshd
tcp6       0      0 ::1:25                  :::*                    LISTEN      6755/master
tcp6       0      0 :::9090                 :::*                    LISTEN      21828/./prometheus
tcp6       0      0 ::1:9090                ::1:36082               ESTABLISHED 21828/./prometheus
tcp6       0      0 ::1:36082               ::1:9090                ESTABLISHED 21828/./prometheus
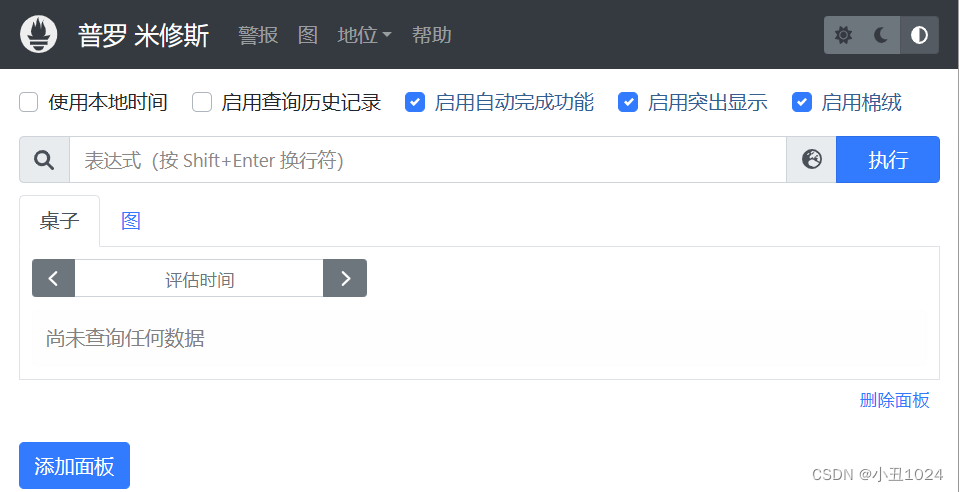
2.输入IP:端口号登录网页
192.168.66.61:9090

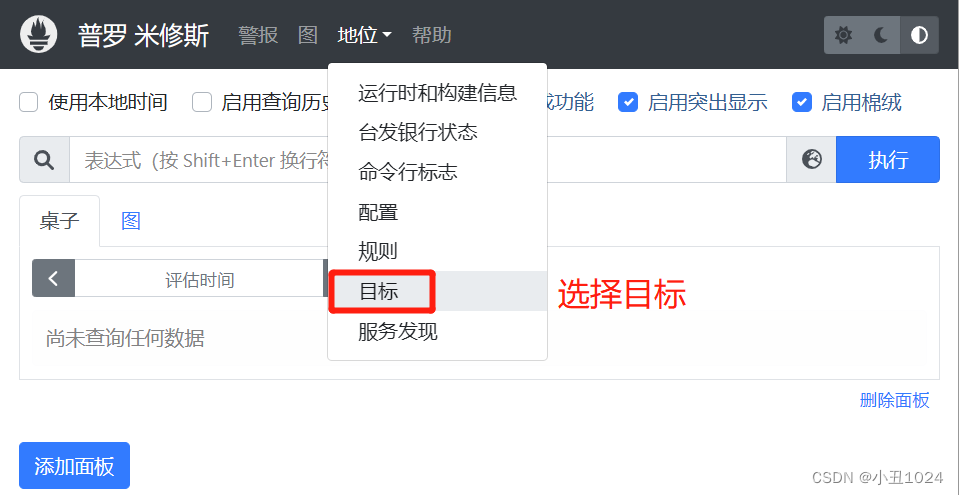
3.选择地位——点击目标进入
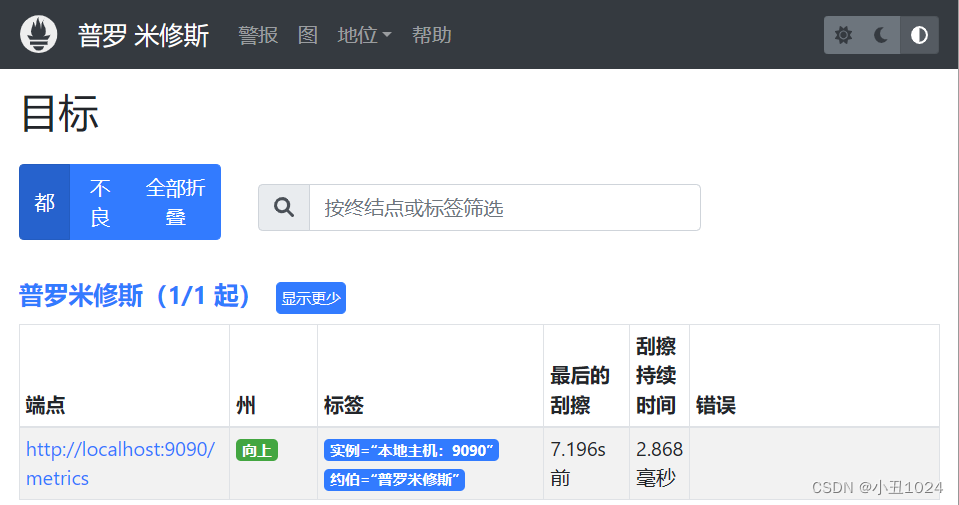
4.点击端点
1.方法一
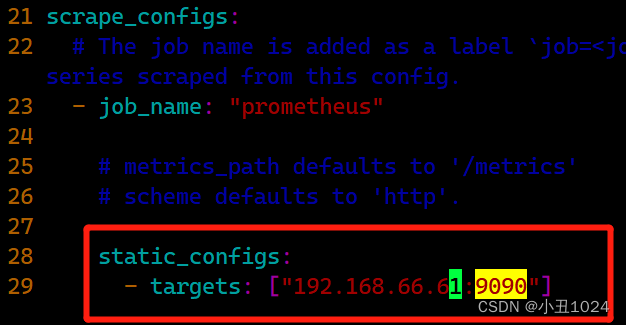
2.方法二:修改Prometheus下的 prometheus.yml 文件
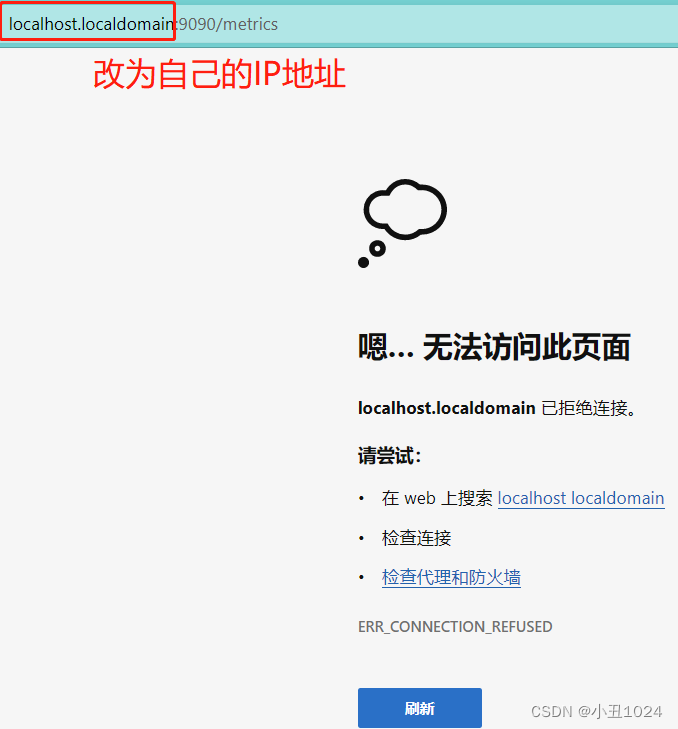
使用 http://ip:9090 进入Prometheus
查看Status下的Targets 发现监控本地主机显示 http://localhost:9090 虚拟机外无法访问
[root@localhost61 prometheus]# vim prometheus.yml
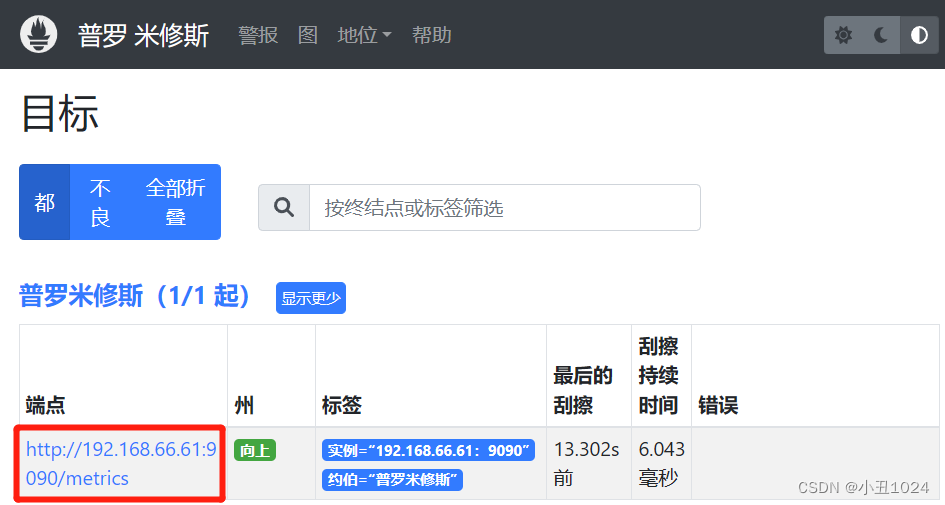
[root@localhost61 prometheus]#  pkill prometheus 	#杀死Prometheus进程
[root@localhost61 prometheus]#  ./prometheus & 	#重新启动prometheus
页面显示正常:
5.此页面中都是监控项:

6.点击指标资源管理器,可以搜索需要的监控项
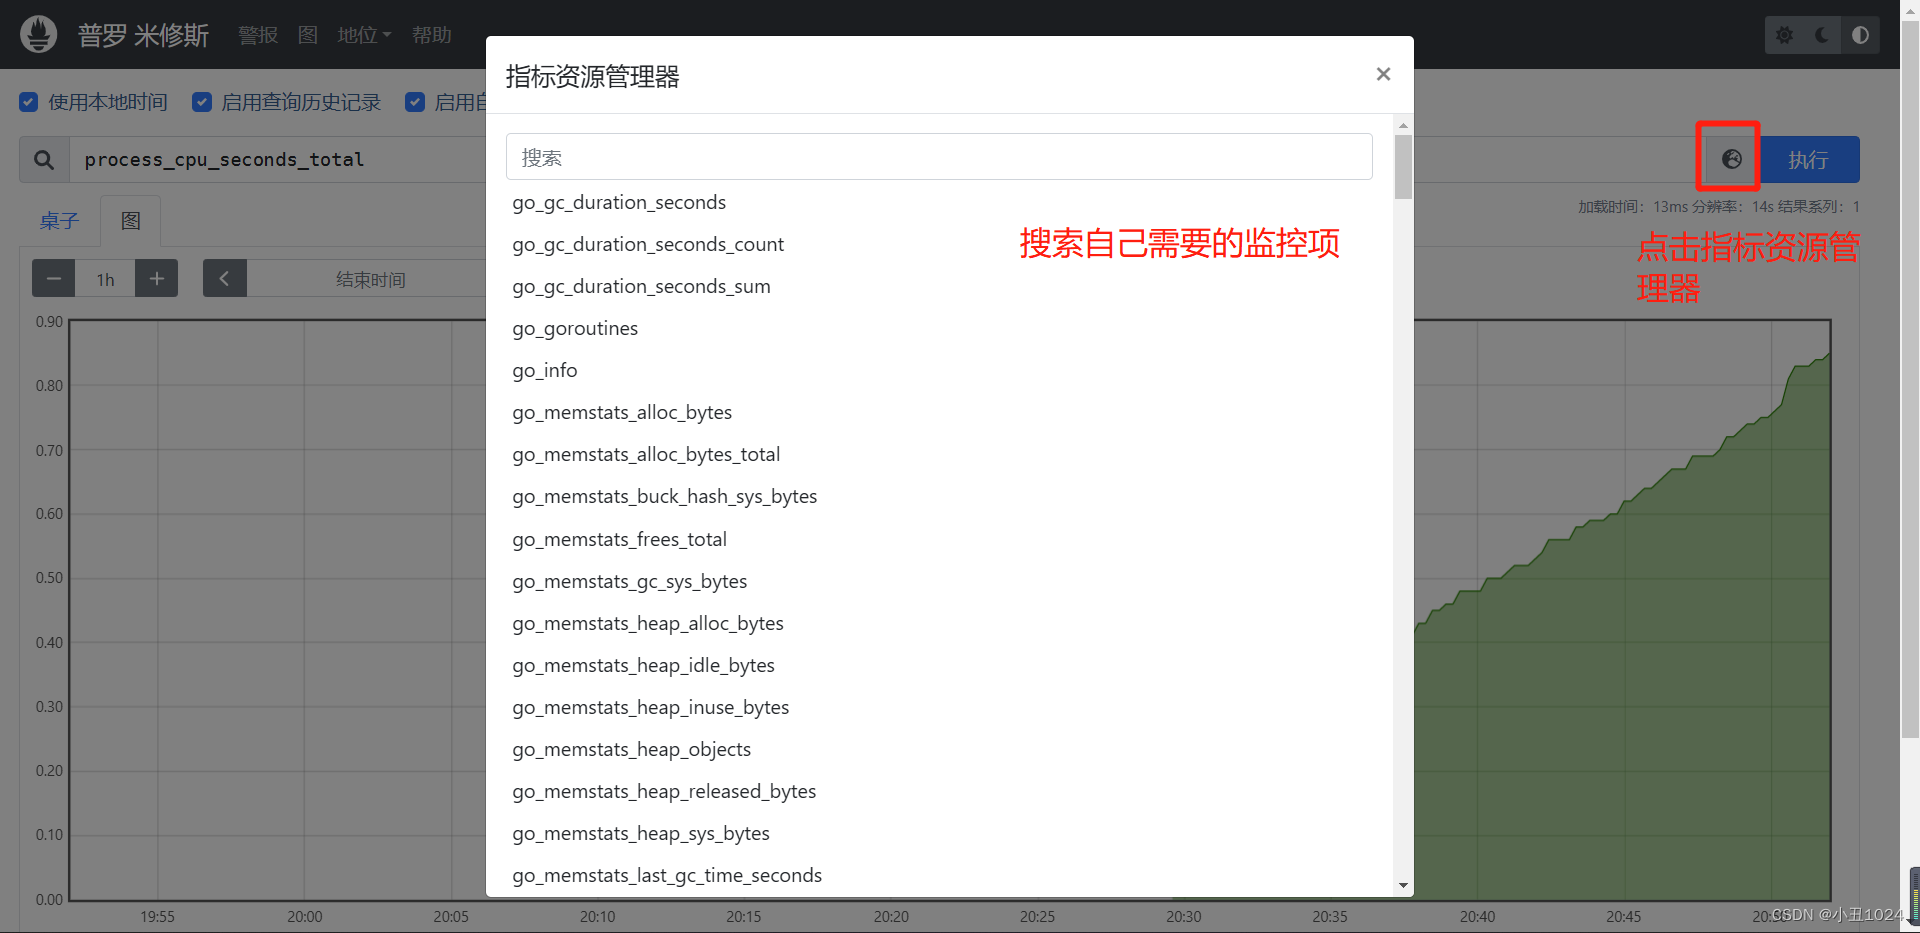
1.比如监控本机的CPU
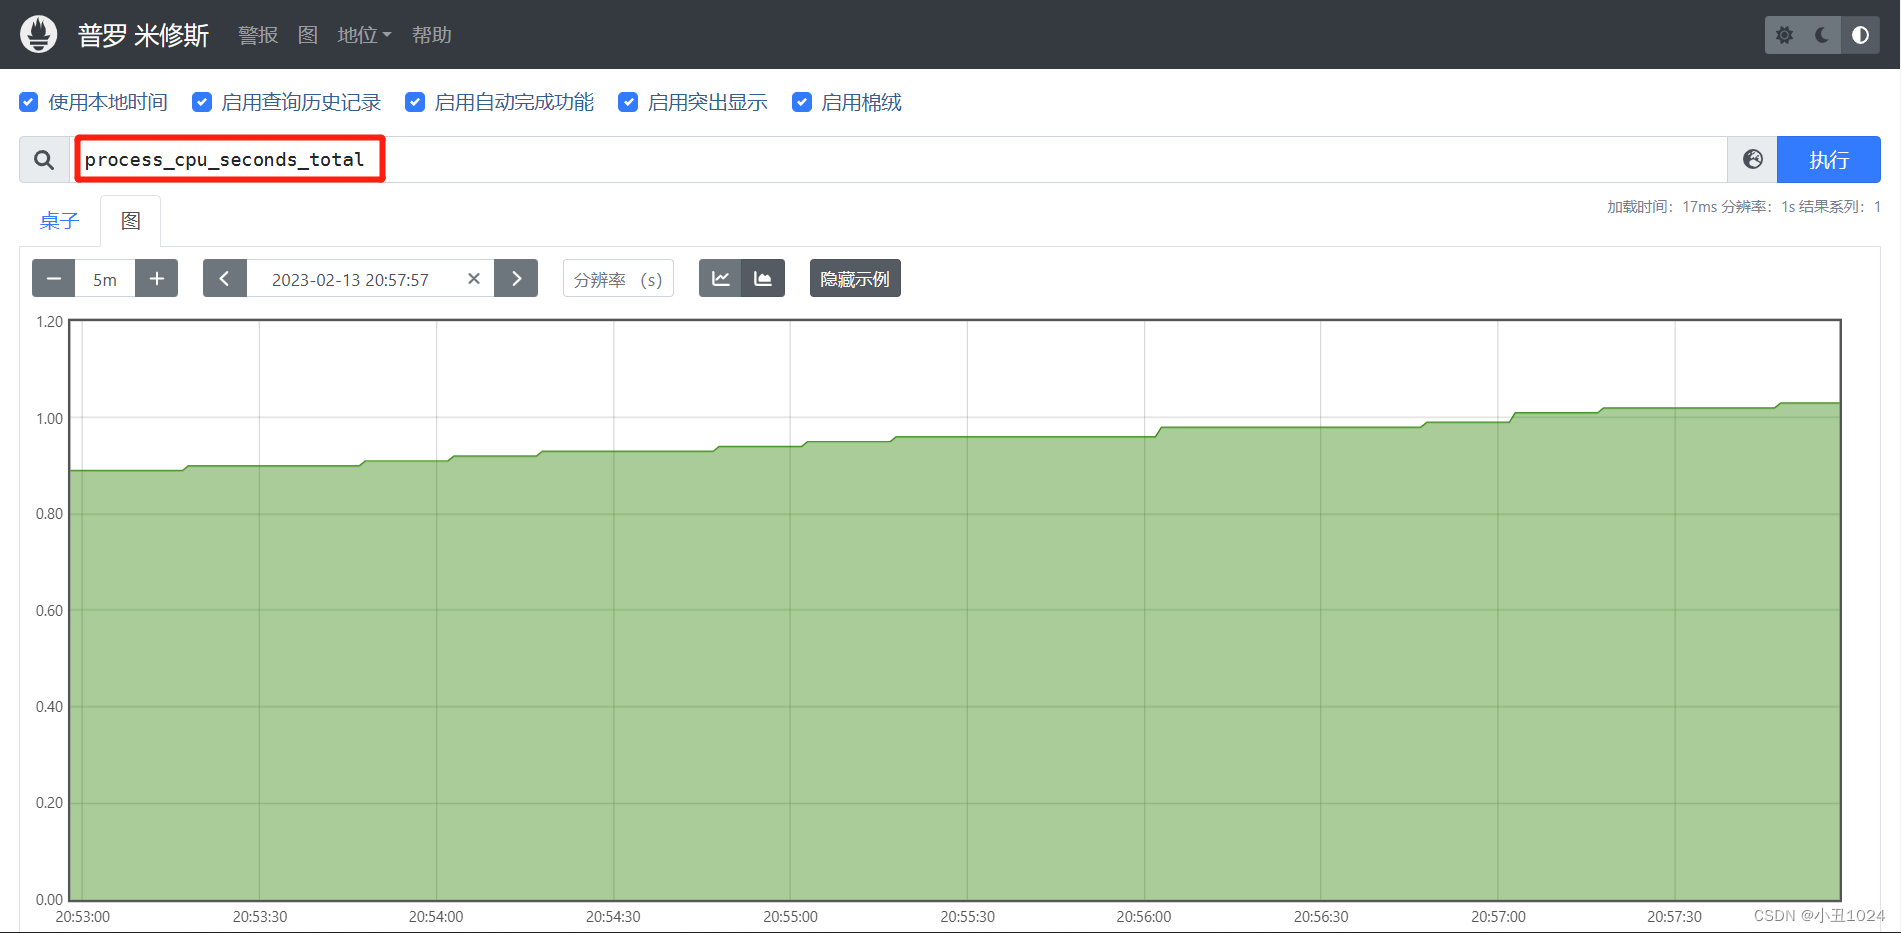
监控本地主机完成