文章目录
一、Nginx的介绍
nginx是一款Web服务器
nginx开源,高性能,高可靠web服务器,反向代理,正向代理,n
1.静态资源服务,通过本地文件系统提供服务
2.反向代理服务,延伸出包括缓存、负载均衡
3.负载均衡
4.网站
Nginx 开源版本 http://nginx.org
nginx.com
http://openresty.org
负载均衡:
1.性能指标:响应时间,并发请求数,吞吐量(单位tps,qps)
二、使用yum安装nginx
nginx不在的默认的yum源中, 可以使用epel或者官网提供的yum源来安装。
以下两种方法,选择任意一种即可
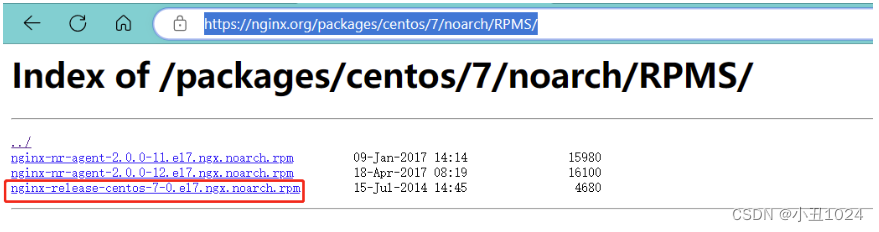
1.使用官网提供的源地址安装nginx(方法一)
网址:nginx.rog
rpm包:
https://nginx.org/packages/centos/7/noarch/RPMS/nginx-release-centos-7-0.el7.ngx.noarch.rpm
1.1.yum安装nginx
#下载nginx官网的源
[root@localhost ~]# rpm -ivh https://nginx.org/packages/centos/7/noarch/RPMS/nginx-release-centos-7-0.el7.ngx.noarch.rpm

#查看nginx的源
[root@localhost ~]# cd /etc/yum.repos.d/
[root@localhost yum.repos.d]# ls
back  CentOS-Media.repo  nginx.repo
[root@localhost ~]# yum repolist
#安装nginx
[root@localhost ~]# yum -y install nginx
2.使用epel包安装nginx
注意:恢复新的环境
2.1.安装nginx
[root@localhost ~]# yum -y install yum-utils
[root@localhost ~]# yum -y install epel-release
[root@localhost ~]# yum -y install nginx
2.2.启动nginx
[root@localhost ~]# systemctl start nginx
[root@localhost ~]# systemctl status nginx
[root@localhost ~]# nginx -v	#查看nginx的版本
nginx version: nginx/1.20.1
[root@localhost ~]# ps -ef |grep nginx
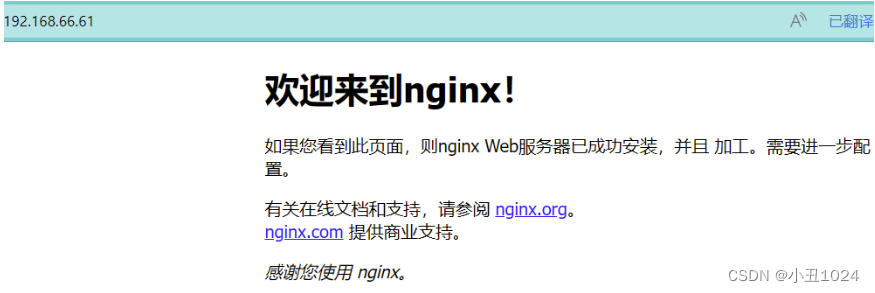
2.3.浏览器访问测试
网页端访问:192.168.66.61

[root@localhost html]# echo 123 > index.html
[root@localhost html]# systemctl restart nginx
[root@localhost html]# curl 192.168.66.61
123
三、编译的方式安装nginx
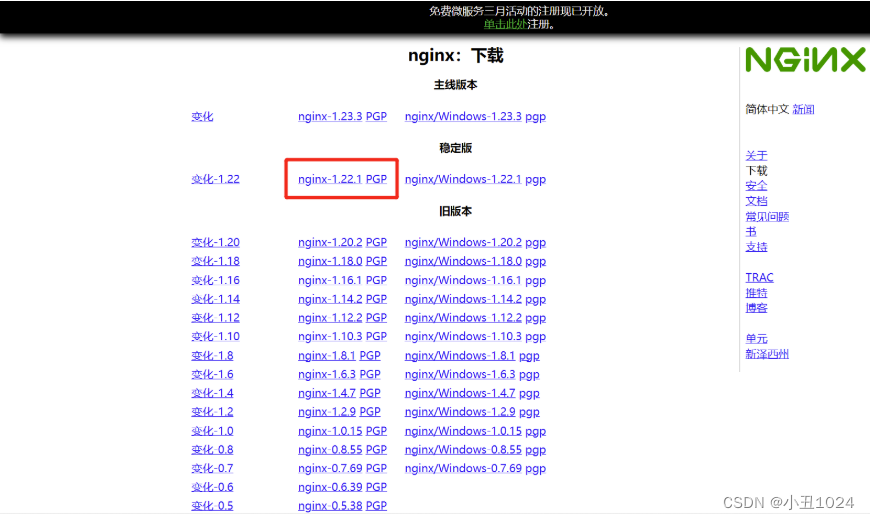
1.下载所需要的包
nginx包下载的地址: http://nginx.org/en/download.html
[root@localhost ~]# wget http://nginx.org/download/nginx-1.22.1.tar.gz
2.创建目录并解压nginx包
[root@localhost ~]# ls
anaconda-ks.cfg  nginx-1.22.1.tar.gz
[root@localhost ~]# mkdir tools
[root@localhost ~]# mv nginx-1.22.1.tar.gz tools/
[root@localhost ~]# cd tools/
[root@localhost tools]# tar xvf nginx-1.22.1.tar.gz
[root@localhost tools]# ls
nginx-1.22.1  nginx-1.22.1.tar.gz
[root@localhost tools]# cd nginx-1.22.1
[root@localhost nginx-1.22.1]# ls
auto     CHANGES.ru  configure  html     man     src
CHANGES  conf        contrib    LICENSE  README
3.安装编译需要的包
一般编译需要先安装gcc 和gcc-c++,如果没有会报错
[root@localhost nginx-1.22.1]# yum -y install gcc gcc-c++
[root@localhost nginx-1.22.1]# ./configure --prefix=/usr/local/nginx --with-http_ssl_module --with-http_stub_status_module --with-pcre
这里指定了 nginx 的安装路径为 /usr/local/nginx,同时启用了 SSL 和状态监控模块。
3.1.报错解决方法:
1.执行自动配置报错,具体错误信息去下:

2.需要安装PCRE,具体命令如下:
[root@localhost nginx-1.22.1]# yum -y install pcre-devel openssl openssl-devel
3.安装成功后,从新编译安装
[root@localhost nginx-1.22.1]# ./configure --prefix=/usr/local/nginx --with-http_ssl_module --with-http_stub_status_module --with-pcre
4.安装
使用make和make install进行安装
[root@localhost nginx-1.22.1]# make	#执行make命令
[root@localhost nginx-1.22.1]# make install	#执行make install
[root@localhost nginx-1.22.1]# echo $?
0
[root@localhost nginx-1.22.1]# whereis nginx #查看安装目录/usr/local/nginx
nginx: /usr/local/bin/nginx /usr/local/nginx
5.启动nginx
[root@localhost nginx-1.22.1]# cd /usr/local/nginx/sbin
[root@localhost sbin]# ls
nginx
[root@localhost sbin]# ./nginx
[root@localhost sbin]# ln -s /usr/local/nginx/sbin/* /usr/local/bin/
[root@localhost sbin]# ps -ef |grep nginx	#查看Nginx进程
root      28116      1  0 23:38 ?        00:00:00 nginx: master process ./nginx
nobody    28117  28116  0 23:38 ?        00:00:00 nginx: worker process
root      28137  21604  0 23:38 pts/0    00:00:00 grep --color=auto nginx
5.1.开始测试:浏览器输入IP:
192.168.66.61
6.简化默认的启动方式
6.1.默认的操纵方式,比如检查配置文件是否正确
[root@localhost nginx-1.22.1]# /usr/local/nginx/sbin/nginx -t
nginx: the configuration file /usr/local/nginx/conf/nginx.conf syntax is ok
nginx: configuration file /usr/local/nginx/conf/nginx.conf test is successful
6.2.使用软链接或者alias的形式来简化,这里使用软件链接:
[root@localhost sbin]# ln -s /usr/local/nginx/sbin/* /usr/local/bin/
6.3.查看配置文件是否正确
[root@localhost ~]# nginx -t	#查看配置文件是否正确
nginx: the configuration file /usr/local/nginx/conf/nginx.conf syntax is ok
nginx: configuration file /usr/local/nginx/conf/nginx.conf test is successful
6.4.nginx常用命令
./nginx #启动
./nginx -s stop #停止
./nginx -s quit #安全退出
./nginx -s reload #重新加载配置文件
ps -ef|grep nginx  #查看Nginx进程
6.5.关闭nginx只能通过杀死进程了
[root@localhost ~]# netstat -natup |grep nginx	#查看nginx的端口
tcp        0      0 0.0.0.0:80              0.0.0.0:*               LISTEN      28318/nginx: master
[root@localhost ~]# cat /usr/local/nginx/logs/nginx.pid	#查看nginx的进程号
28318
[root@localhost ~]# kill -3 28318	#关闭nginx
7.拓展内容
7.1.编译安装完nginx的配置文件位置
conf:/usr/local/nginx/conf,存放nginx的配置文件,nginx.conf是nginx服务最核心的主要的配置文件。
html:/usr/local/nginx/ html,保存nginx服务器的web文件。也可以更改为其它目录保存web文件。
logs:/var/logs/nginx,保存nginx服务器的访问日志、错误日志等日志。
sbin:/usr/local/nginx/,保存nginx二进制启动脚本。可以接受不同参数以实现不同的功能。

7.2.配置访问状态统计
我们在编译的时候添加了 –with-http_stub_status_module这个模块,你可以使用nginx -V查看是否包含这个模块。

然后修改配置文件:
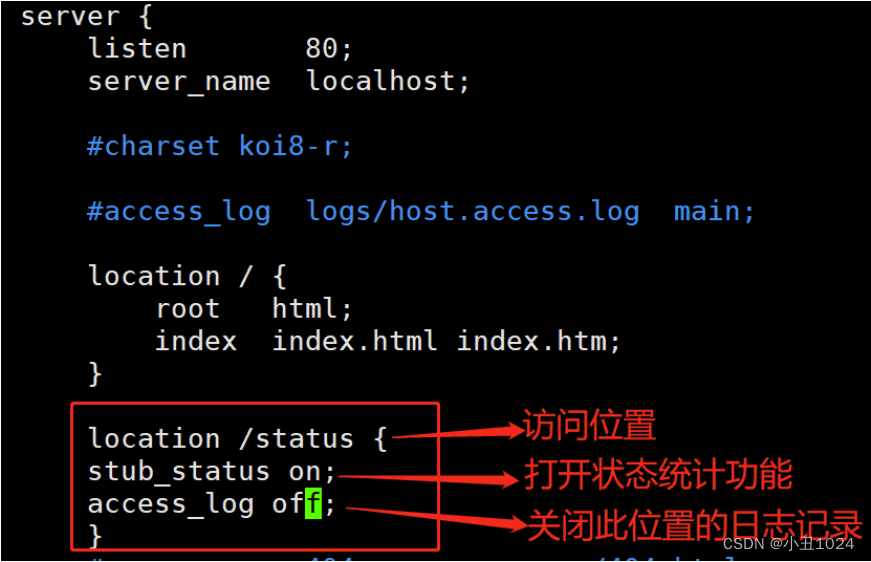
[root@localhost ~]# vim /usr/local/nginx/conf/nginx.conf
 location / {
            root   html;
            index  index.html index.htm;
        }
location /status {

	stub_status on;
	access_log off;

}
查看配置文件是否正确
[root@localhost ~]# nginx -t	#查看配置文件是否正确
nginx: the configuration file /usr/local/nginx/conf/nginx.conf syntax is ok
nginx: configuration file /usr/local/nginx/conf/nginx.conf test is successful
重启nginx
nginx
测试
192.168.66.61/status
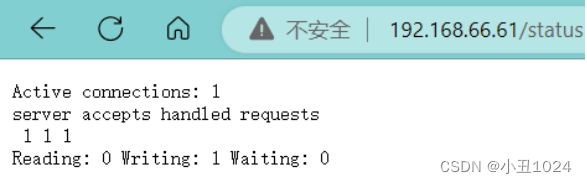
可以看到: 当前的活动连接数为1个
111 表示: 已处理的连接数为1, 成功的TCP握手次数为1, 已处理的请求数为1
[root@localhost ~]# curl http://192.168.66.61/status
Active connections: 1
server accepts handled requests
 3 3 2
Reading: 0 Writing: 1 Waiting: 0