前言:
作者:神的孩子在歌唱
大家好,我叫智
练习springboot+vue前后端分离的Demo
一. 设计数据库
这里用navicat创建了一张表

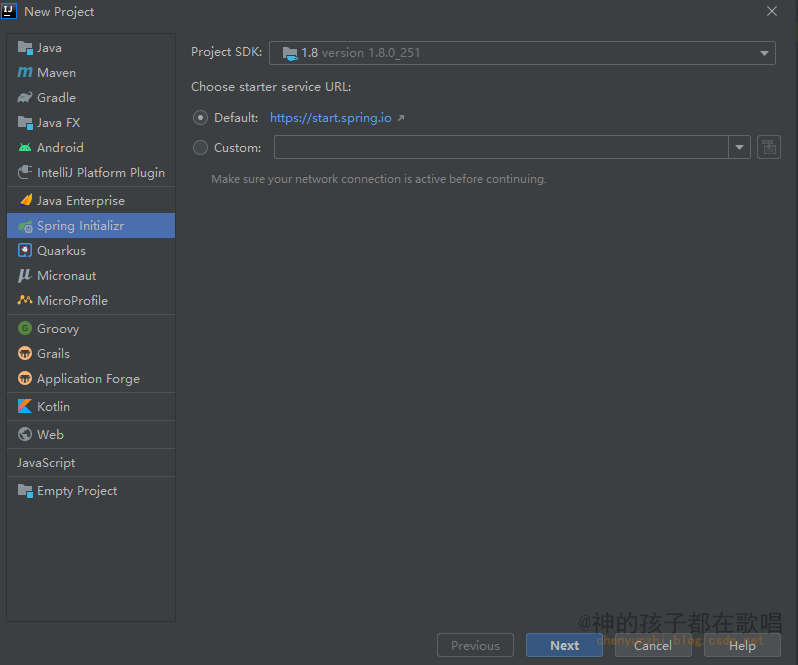
二 . springboot项目创建
打开idea

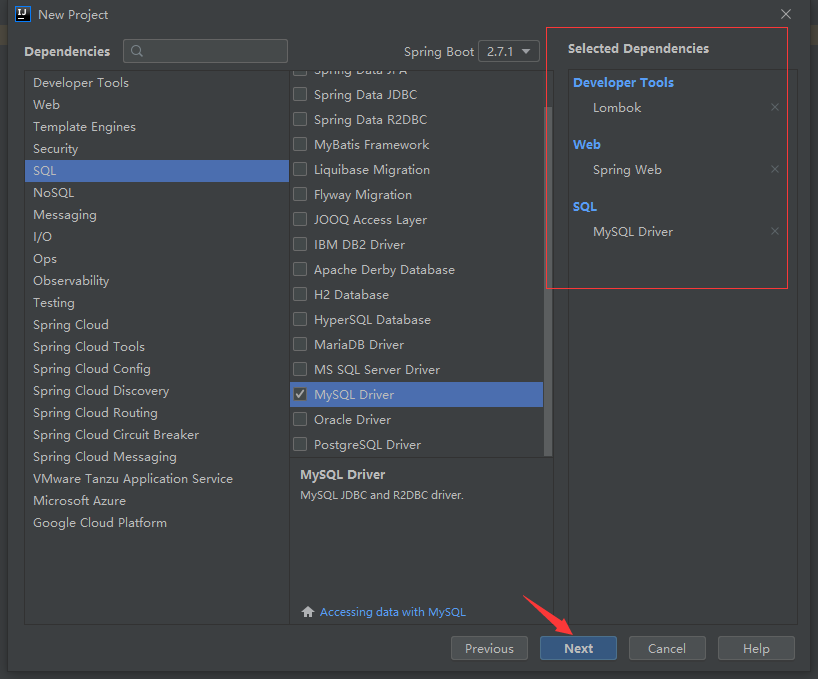
取好名字后就成功创建一个springboot项目了
2.1 基本配置
在pom.xml中导入mybatis-plus: https://baomidou.com/pages/24112f/
    <dependency>
        <groupId>com.baomidou</groupId>
        <artifactId>mybatis-plus-boot-starter</artifactId>
        <version>3.4.3</version>
    </dependency>
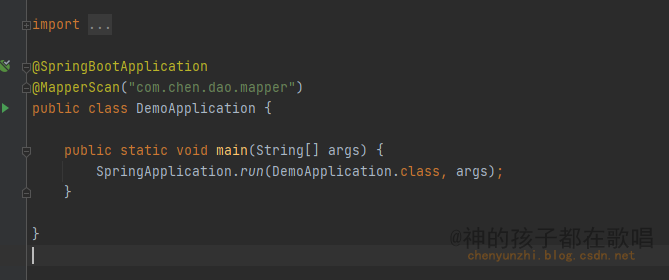
在 Spring Boot 启动类中添加 @MapperScan 注解,扫描 Mapper 文件夹:
@MapperScan("com.chen.dao.mapper")
编写配置文件properties
#server
#访问接口
server.port=8888
#应用名称
spring.application.name=cyz

#datasource数据库配置
spring.datasource.url=jdbc:mysql://localhost:3306/cyz?useUnicode=true&characterEncoding=UTF-8&serverTimeZone=UTC
spring.datasource.username=root
spring.datasource.password=123456
spring.datasource.driver-class-name=com.mysql.cj.jdbc.Driver

#mybatis-plus配置

#打印日志,打印到控制台看到一些sql语句
mybatis-plus.configuration.log-impl=org.apache.ibatis.logging.stdout.StdOutImpl
#标识表的前缀
mybatis-plus.global-config.db-config.table-prefix=cyz_
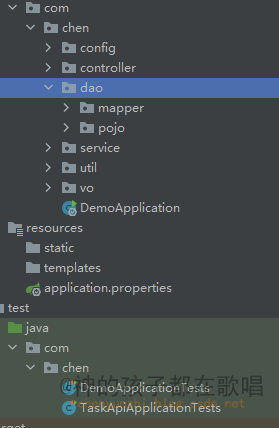
2.2 创建dao层
package com.chen.dao.pojo;

import io.swagger.annotations.ApiModel;
import io.swagger.annotations.ApiModelProperty;
import lombok.Data;

/**
 * @author: 那就叫小智吧
 * @date: 2022/6/25 17:50
 * @Version 1.0
 * @Description:
 */
@Data
@ApiModel("计划任务")
public class Task {


    private  Long id;

    // 计划内容
    private String body;

    // 创建时间
    private Long createDate;
}
mapper映射
package com.chen.dao.mapper;

import com.baomidou.mybatisplus.core.mapper.BaseMapper;
import com.chen.dao.pojo.Task;

/**
 * @author: 那就叫小智吧
 * @date: 2022/6/25 17:52
 * @Version 1.0
 * @Description:
 */
public interface TaskMapper extends BaseMapper<Task> {


}
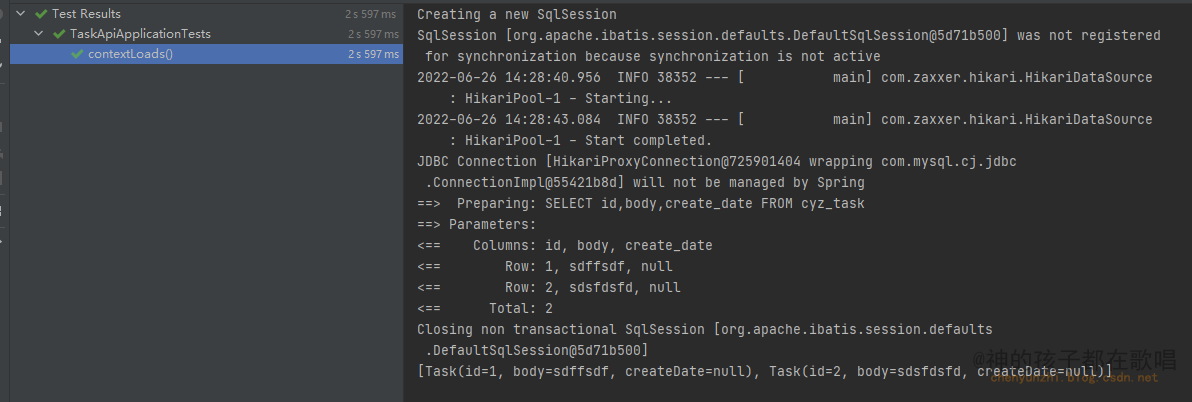
测试数据库是否连通
package com.chen;

import com.chen.dao.mapper.TaskMapper;
import com.chen.dao.pojo.Task;
import org.junit.jupiter.api.Test;
import org.springframework.beans.factory.annotation.Autowired;
import org.springframework.boot.test.context.SpringBootTest;
import java.util.List;

/**
 * @author: 那就叫小智吧
 * @date: 2022/6/25 17:54
 * @Version 1.0
 * @Description:
 */
@SpringBootTest
class TaskApiApplicationTests {


    @Autowired(required = true)
    private TaskMapper taskMapper;
    @Test
    void contextLoads() {


        List<Task> tasts = (List<Task>) taskMapper.selectList(null);
        System.out.println(tasts);
    }
}
三. 配置swagger
为了方便接口测试,我们用swagger对接口进行管理
注入以下依赖
<dependency>
    <groupId>io.springfox</groupId>
    <artifactId>springfox-boot-starter</artifactId>
    <version>3.0.0</version>
</dependency>
<dependency>
    <groupId>com.github.xiaoymin</groupId>
    <artifactId>knife4j-spring-boot-starter</artifactId>
    <version>2.0.7</version>
</dependency>
knife4j:https://doc.xiaominfo.com/knife4j/documentation/description.html
knife4j是美化swagger-ui的
编写swagger配置
package com.chen.config;

import org.springframework.context.annotation.Configuration;
import springfox.documentation.oas.annotations.EnableOpenApi;

import java.util.ArrayList;

@Configuration//编写配置项
@EnableOpenApi//开启swagger
//http://localhost:8888/swagger-ui/index.html
//http://localhost:8888/doc.html
public class SwaggerConfig {


}
原始的swagger-ui:http://localhost:8888/swagger-ui/index.html
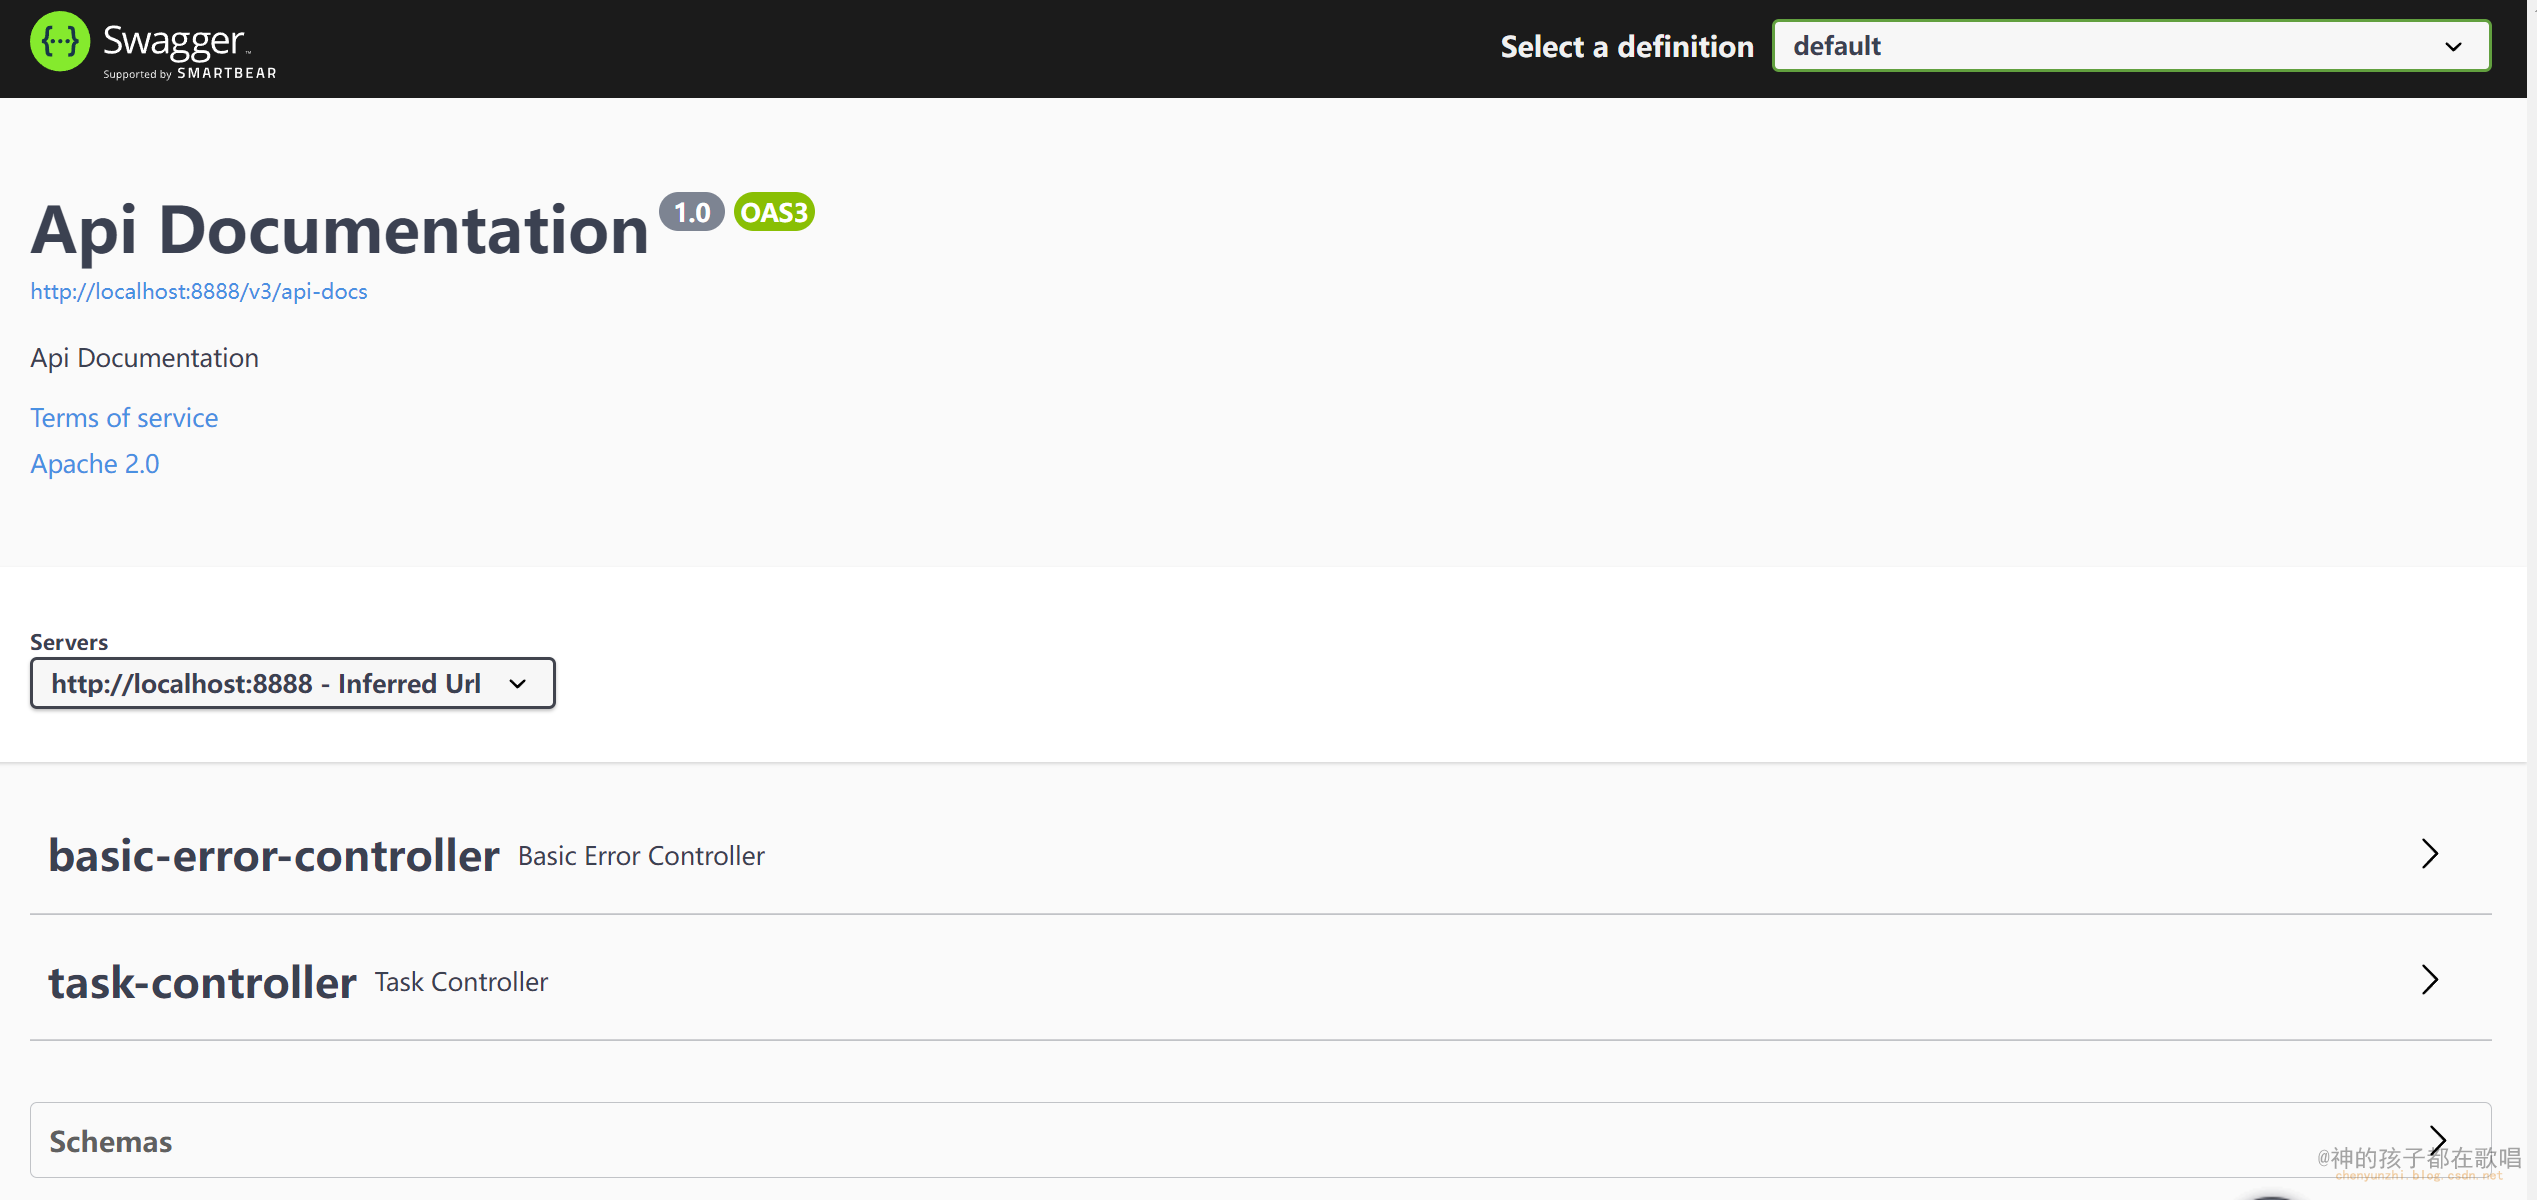
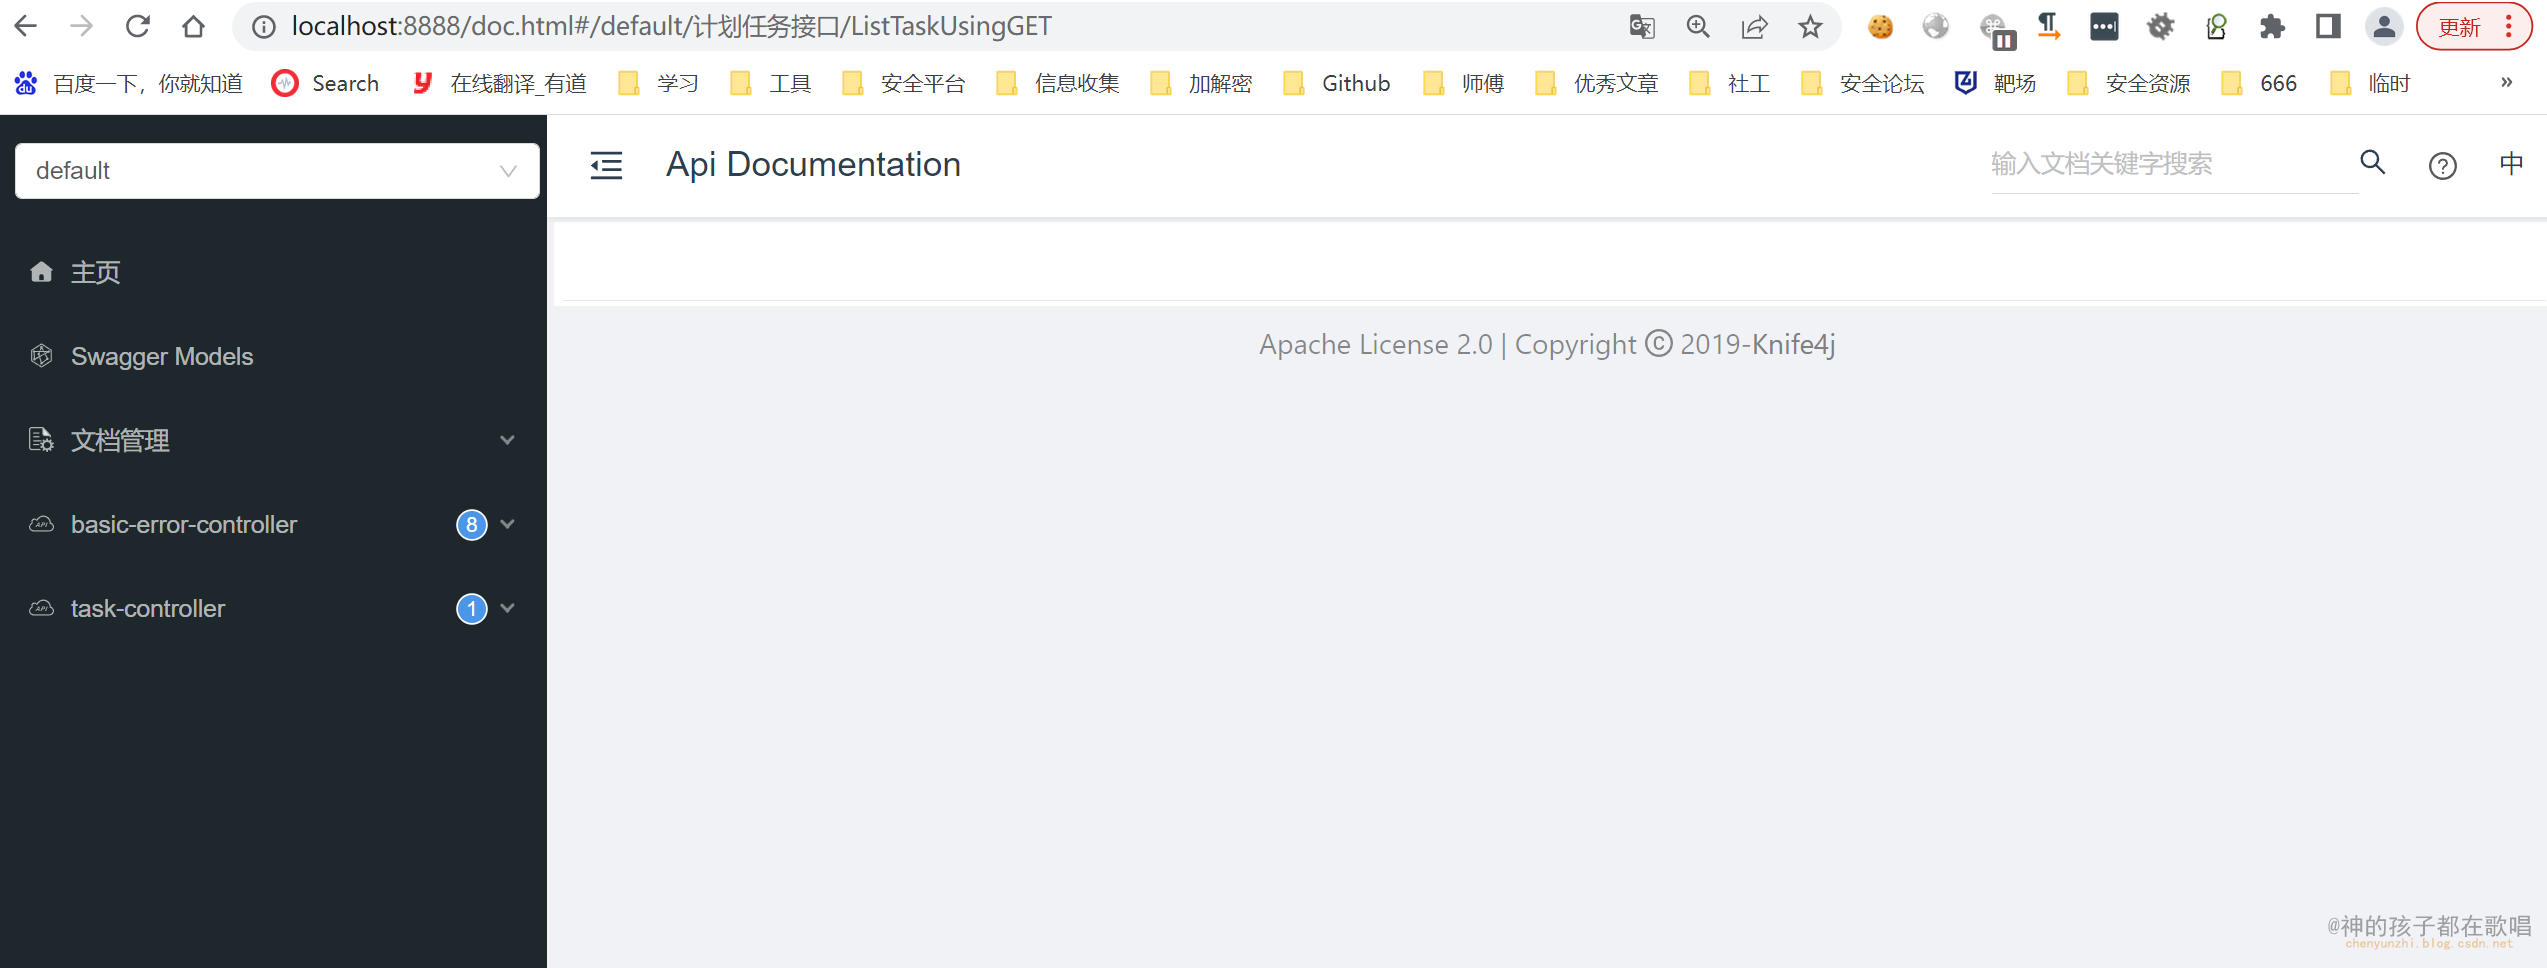
knife4j美化后:http://localhost:8888/doc.html
四. 获取任务接口
接下来我们编写一下获取任务的接口吧
Task添加上 @ApiModelProperty(这是swagger上对参数的描述)
@Data
@ApiModel("计划任务")
public class Task {


    private  Long id;

    // 计划内容
    @ApiModelProperty("计划内容")
    private String body;

    // 创建时间
    @ApiModelProperty("创建时间")
    private Long createDate;
}
4.1 Result
写一个统一返回的工具类
package com.chen.util;

import io.swagger.annotations.ApiModelProperty;
import lombok.AllArgsConstructor;
import lombok.Data;
import lombok.NoArgsConstructor;

/**
 * @author: 那就叫小智吧
 * @date: 2022/6/26 0:05
 * @Version 1.0
 * @Description:
 */
@Data
//所有有参构造器
@AllArgsConstructor
//无参构造器
@NoArgsConstructor
public class Result<T> {


    @ApiModelProperty("请求是否成功")
    private boolean success;

    @ApiModelProperty("状态码")
    private Integer code;

    @ApiModelProperty("参数")
    private String msg;

    @ApiModelProperty("返回数据")
    private T data;

    // 返回json数据类
    public static Result success(Object data) {


        return new Result(true, 200, "sucess", data);
    }

    // 请求失败
    public static Result fail(Integer code, String msg) {


        return new Result(false, code, msg, null);
    }
}
4.2 vo层
创建vo层与前端交互
TaskVo
package com.chen.vo;

import io.swagger.annotations.ApiModel;
import io.swagger.annotations.ApiModelProperty;
import lombok.Data;

/**
 * @author: 那就叫小智吧
 * @date: 2022/6/26 0:03
 * @Version 1.0
 * @Description:
 */
@Data
@ApiModel("任务实体类")
public class TaskVo {


    private Long id;
    // 计划内容
    @ApiModelProperty("计划内容")
    private String body;
    // 创建时间
    @ApiModelProperty("创建时间")
    private Long createDate;
}
4.3 service层
创建service层
TaskService接口
package com.chen.service;

import com.chen.util.Result;
import com.chen.vo.TaskVo;

/**
 * @author: 那就叫小智吧
 * @date: 2022/6/26 0:14
 * @Version 1.0
 * @Description:
 */
public interface TaskService {


    Result<TaskVo> listTask();
}
TaskService实现
package com.chen.service.impl;

import com.chen.dao.mapper.TaskMapper;
import com.chen.dao.pojo.Task;
import com.chen.service.TaskService;
import com.chen.util.Result;
import com.chen.vo.TaskVo;
import org.springframework.beans.BeanUtils;
import org.springframework.beans.factory.annotation.Autowired;
import org.springframework.stereotype.Service;

import java.util.ArrayList;
import java.util.List;

/**
 * @author: 那就叫小智吧
 * @date: 2022/6/26 0:23
 * @Version 1.0
 * @Description:
 */
@Service
public class TaskServiceImpl implements TaskService {


    @Autowired
    private TaskMapper taskMapper;

    @Override
    public Result<TaskVo> listTask() {


        List<Task> taskList = taskMapper.selectList(null);
        List<TaskVo> taskVoList = copyList(taskList);
        return Result.success(taskVoList);
    }
    // 循环遍历到列表中
    private List<TaskVo> copyList(List<Task> taskList) {


        List<TaskVo> taskVoList = new ArrayList<>();
        // stream真的香
        taskList.stream().forEach(task -> taskVoList.add(copy(task)));
        return taskVoList;
    }
    private TaskVo copy(Task task) {


        TaskVo taskVo = new TaskVo();
        BeanUtils.copyProperties(task, taskVo);
        return taskVo;
    }
}
4.4 控制层controller
package com.chen.controller;

import com.chen.service.TaskService;
import com.chen.service.impl.TaskServiceImpl;
import com.chen.util.Result;
import com.chen.vo.TaskVo;
import io.swagger.annotations.Api;
import io.swagger.annotations.ApiOperation;
import org.springframework.beans.factory.annotation.Autowired;
import org.springframework.web.bind.annotation.GetMapping;
import org.springframework.web.bind.annotation.RequestMapping;
import org.springframework.web.bind.annotation.RestController;

/**
 * @author: 那就叫小智吧
 * @date: 2022/6/26 0:46
 * @Version 1.0
 * @Description:
 */
@RestController
@RequestMapping("task")
@Api(tags = "计划任务接口")
public class TaskController {


    @Autowired
    private TaskService taskService;
    @ApiOperation("获取任务列表")
    @GetMapping
    public Result<TaskVo> ListTask() {


        return taskService.listTask();
    }
}
我们重启项目打开swagger
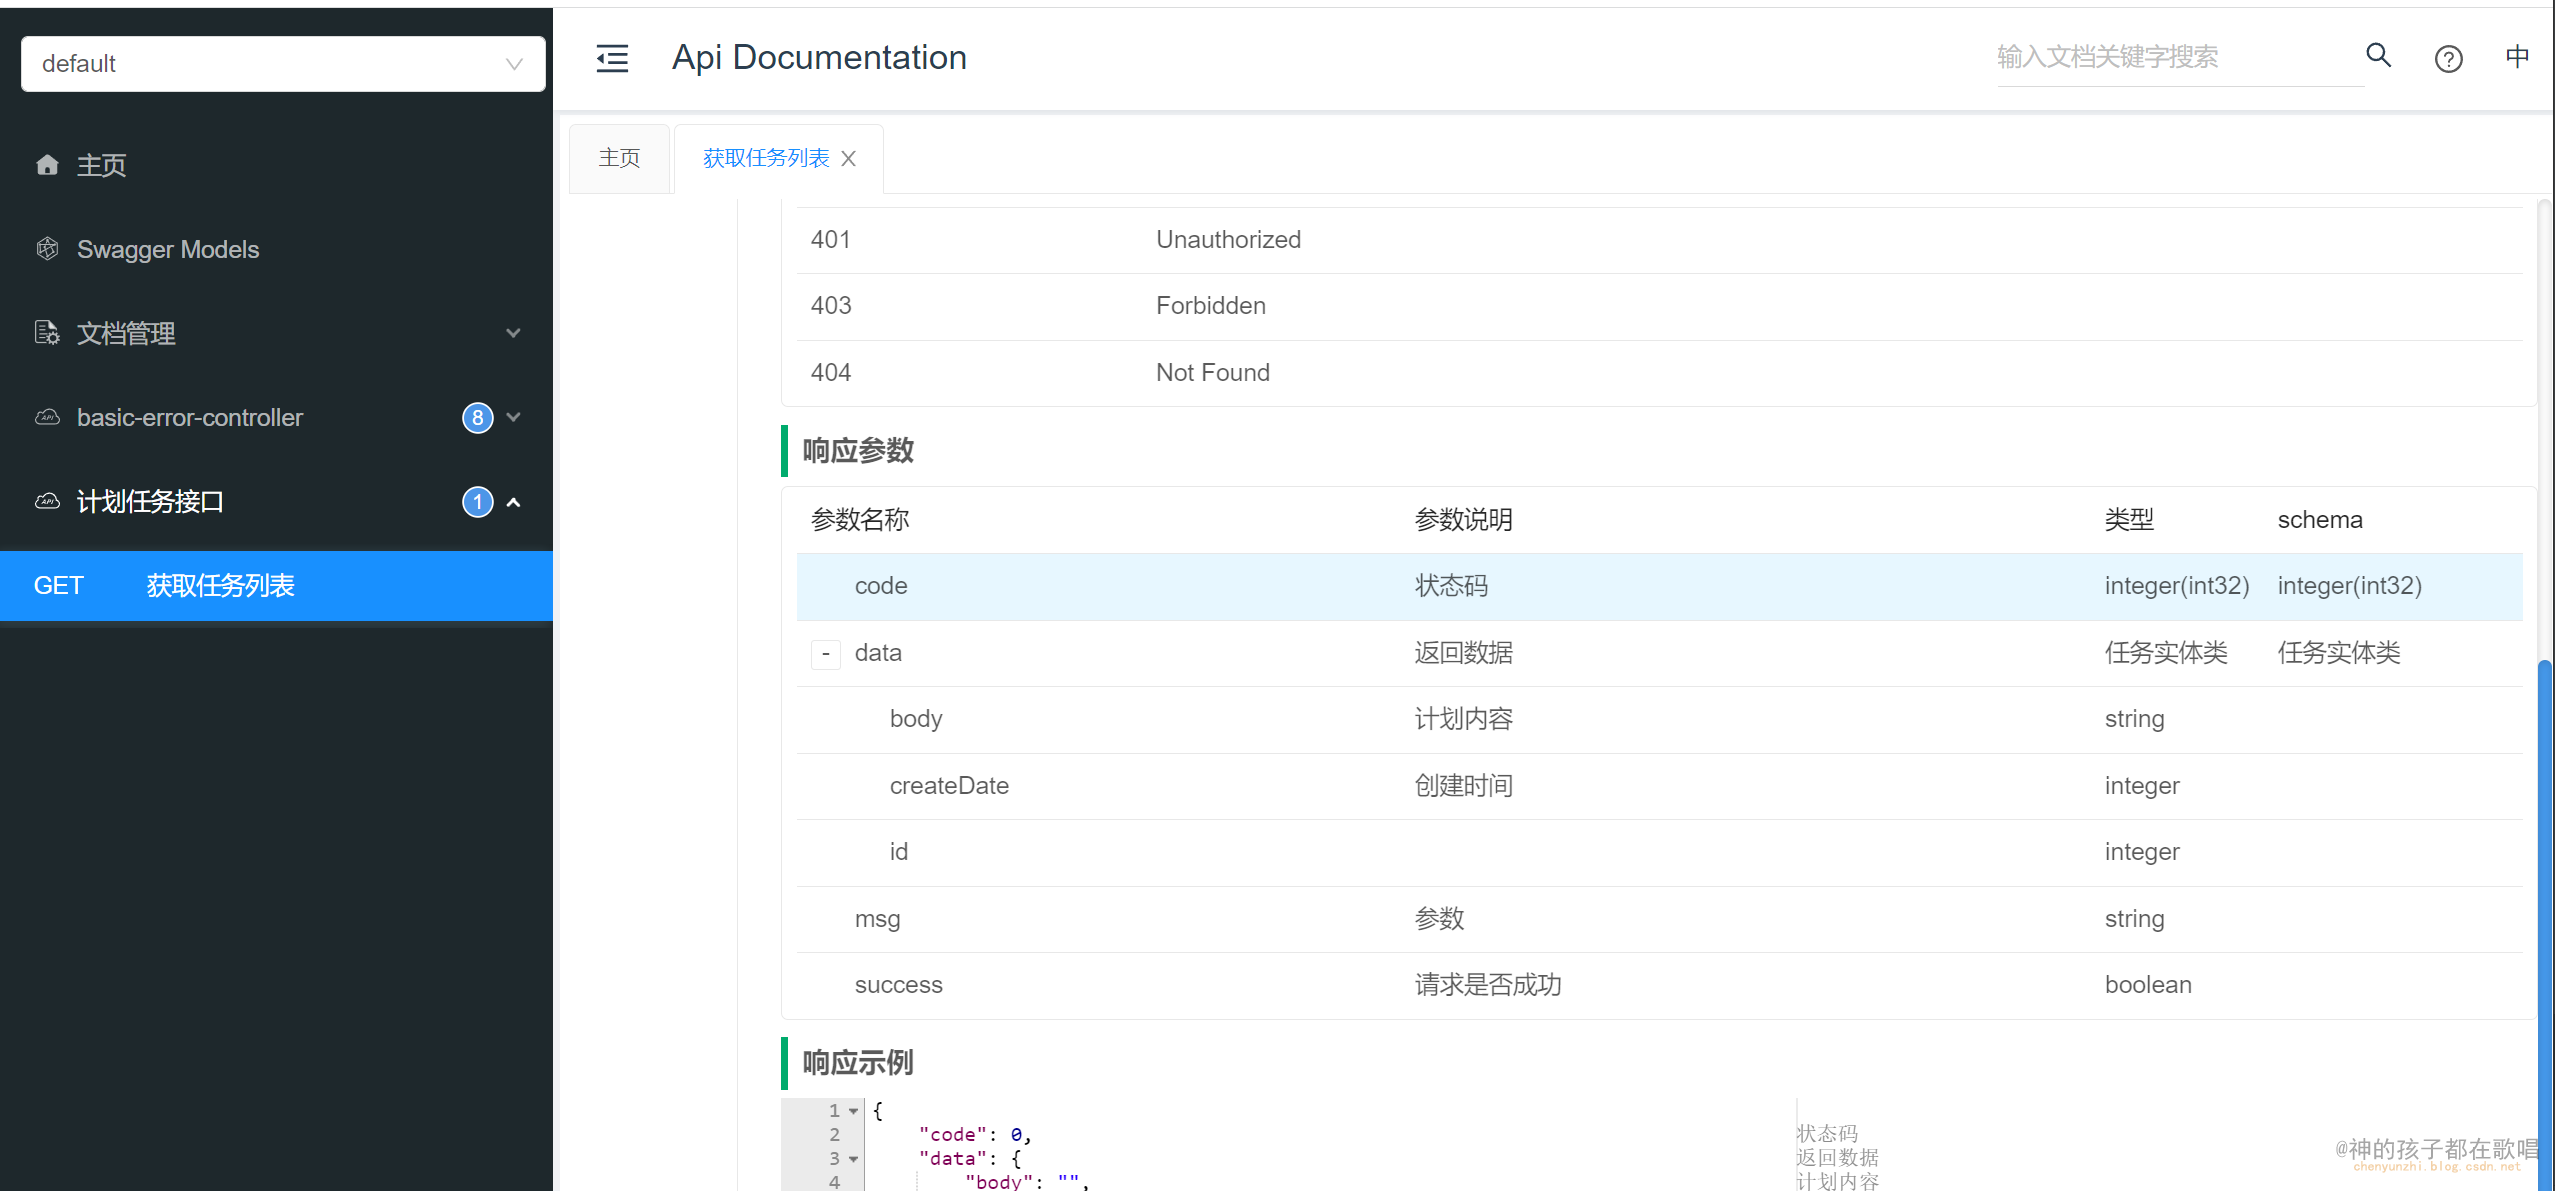
获取到了数据库数据
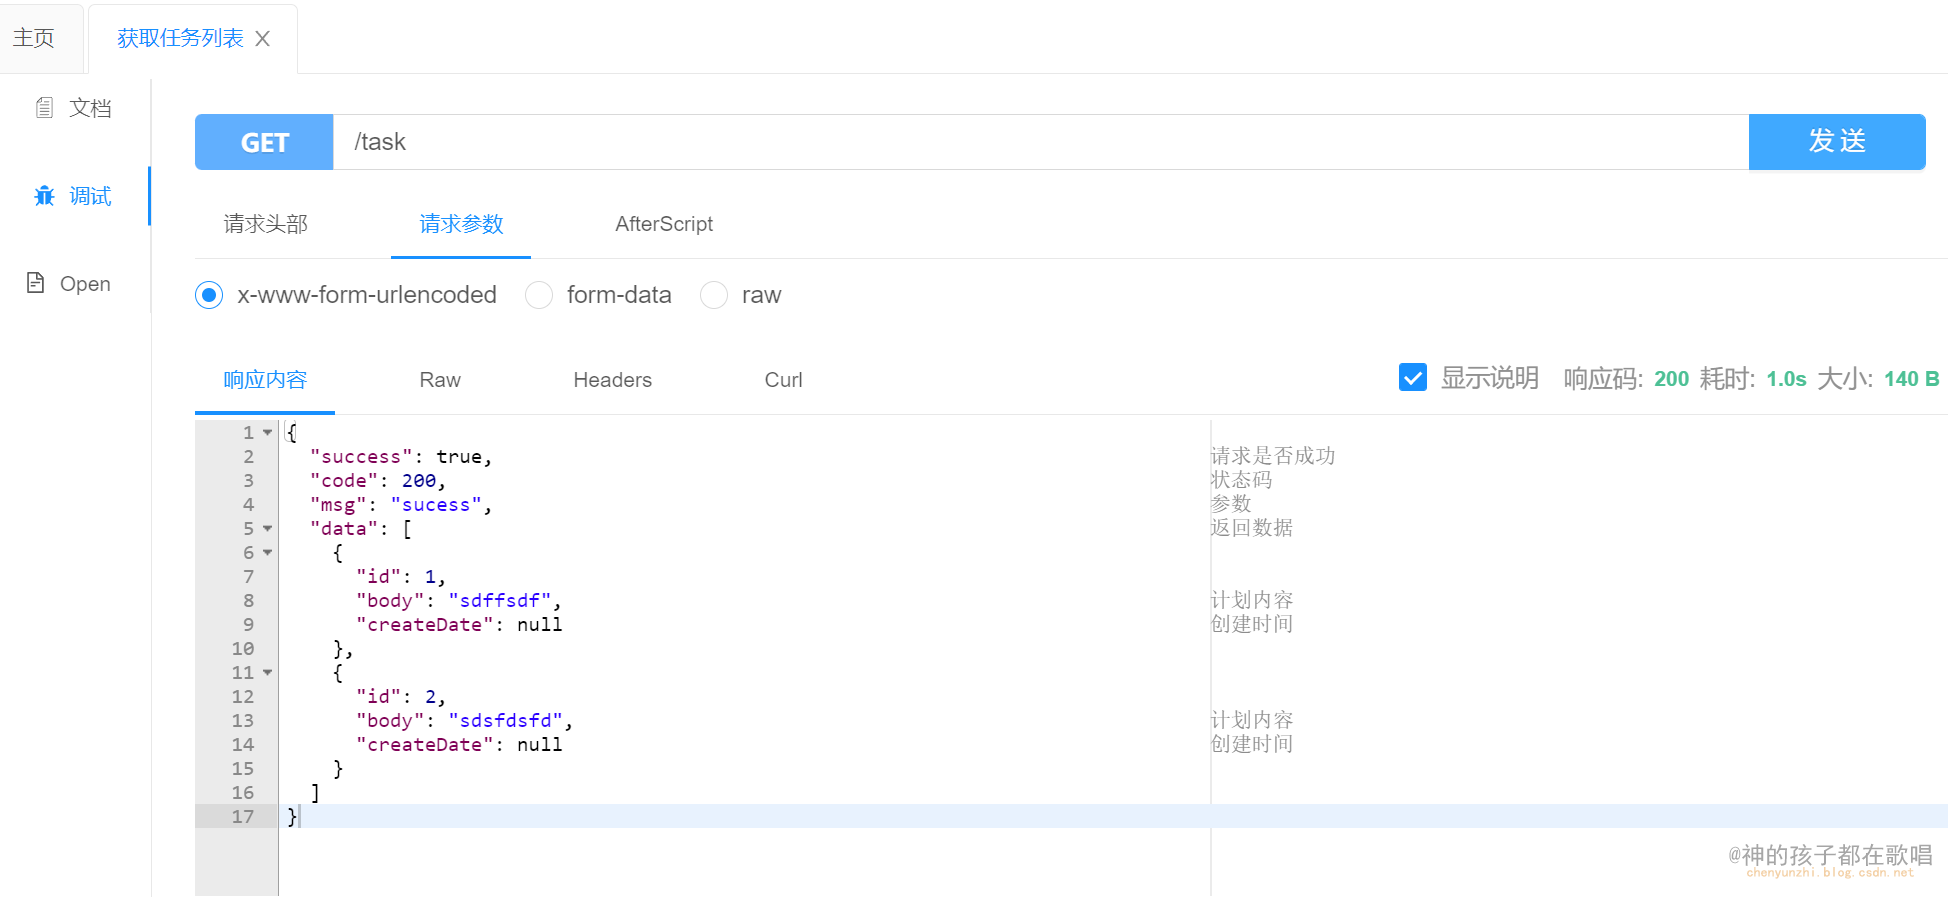
接下来就是编写前端页面将这些数据渲染上去就可以了
五 . vue2创建前端项目
vue官网:https://cn.vuejs.org/v2/guide/index.html#%E5%A3%B0%E6%98%8E%E5%BC%8F%E6%B8%B2%E6%9F%93
https://blog.csdn.net/weixin_46659028/article/details/122123984
-
电脑安装node.js
下载地址:https://nodejs.org/en/download/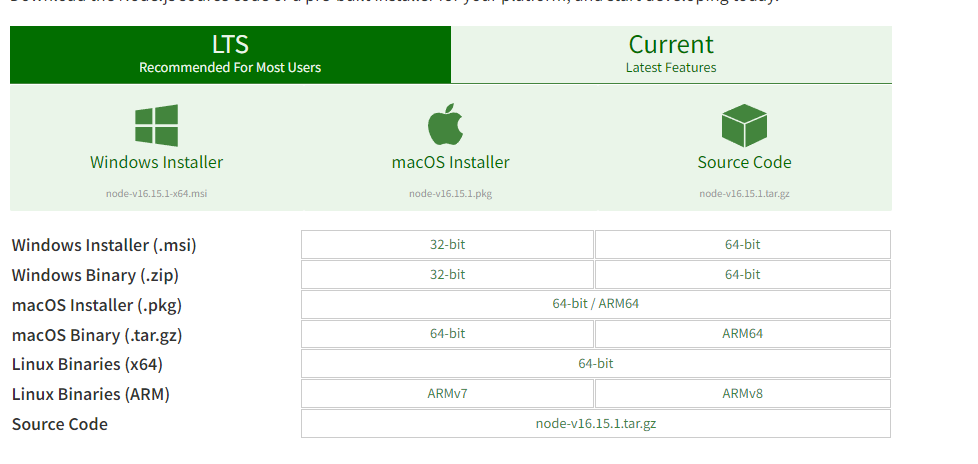
根据自己电脑型号安装node的版本,点击下载之后,继续下一步直至完成安装就行,
-
创建一个文件夹,打开cmd控制命令行程序
node -v npm -v -
安装webpack
npm install webpack –g
如果安装太慢就使用淘宝NPM 镜像
npm install -g cnpm --registry=https://registry.npm.taobao.org
这样就可以使用cnpm 命令来安装模块了
-
安装脚手架
vue init webpack cyz_web
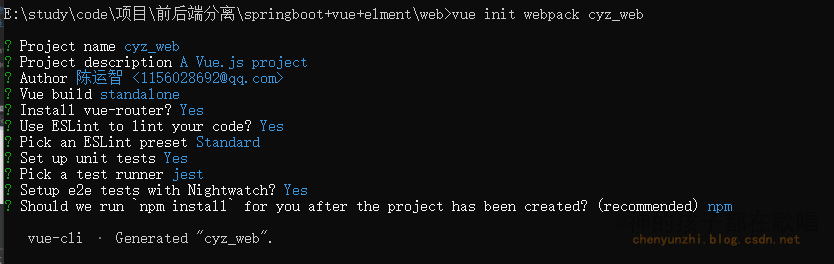
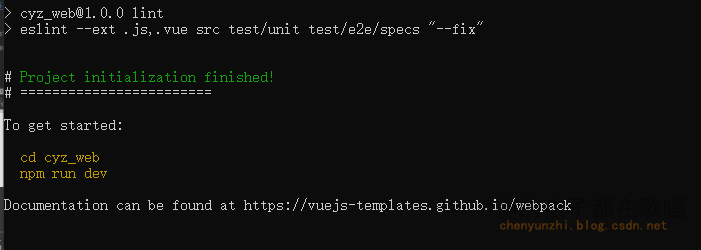
npm install
-
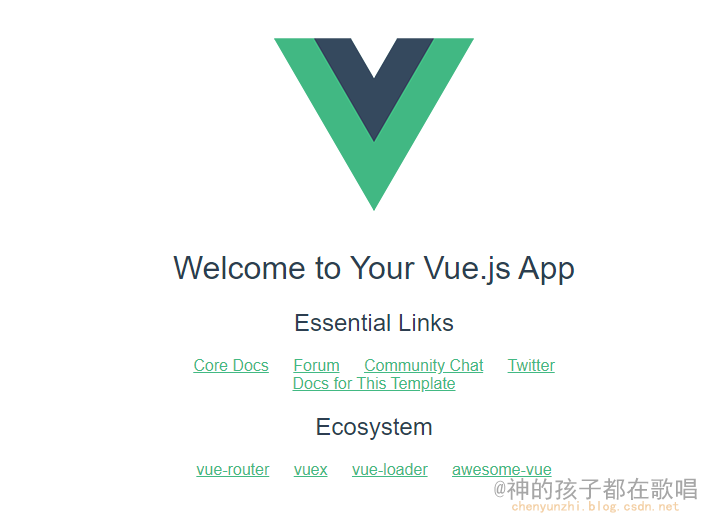
执行npm run dev
在浏览器中运行http://localhost:8080/#/
5.1 axios
- 通过终端安装axios
cnpm install axios

- 在main.js中导入
import axios from 'axios'
Vue.prototype.$axios = axios //
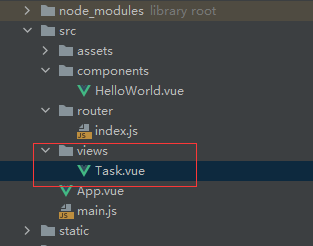
- 编写Task.vue
用idea打开创建好的项目 创建一个Task.vue文件
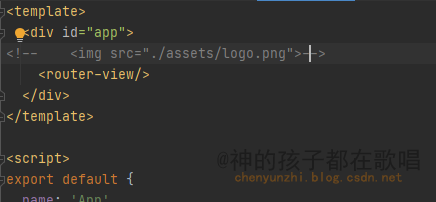
在App.vue中注释掉img
- 通过
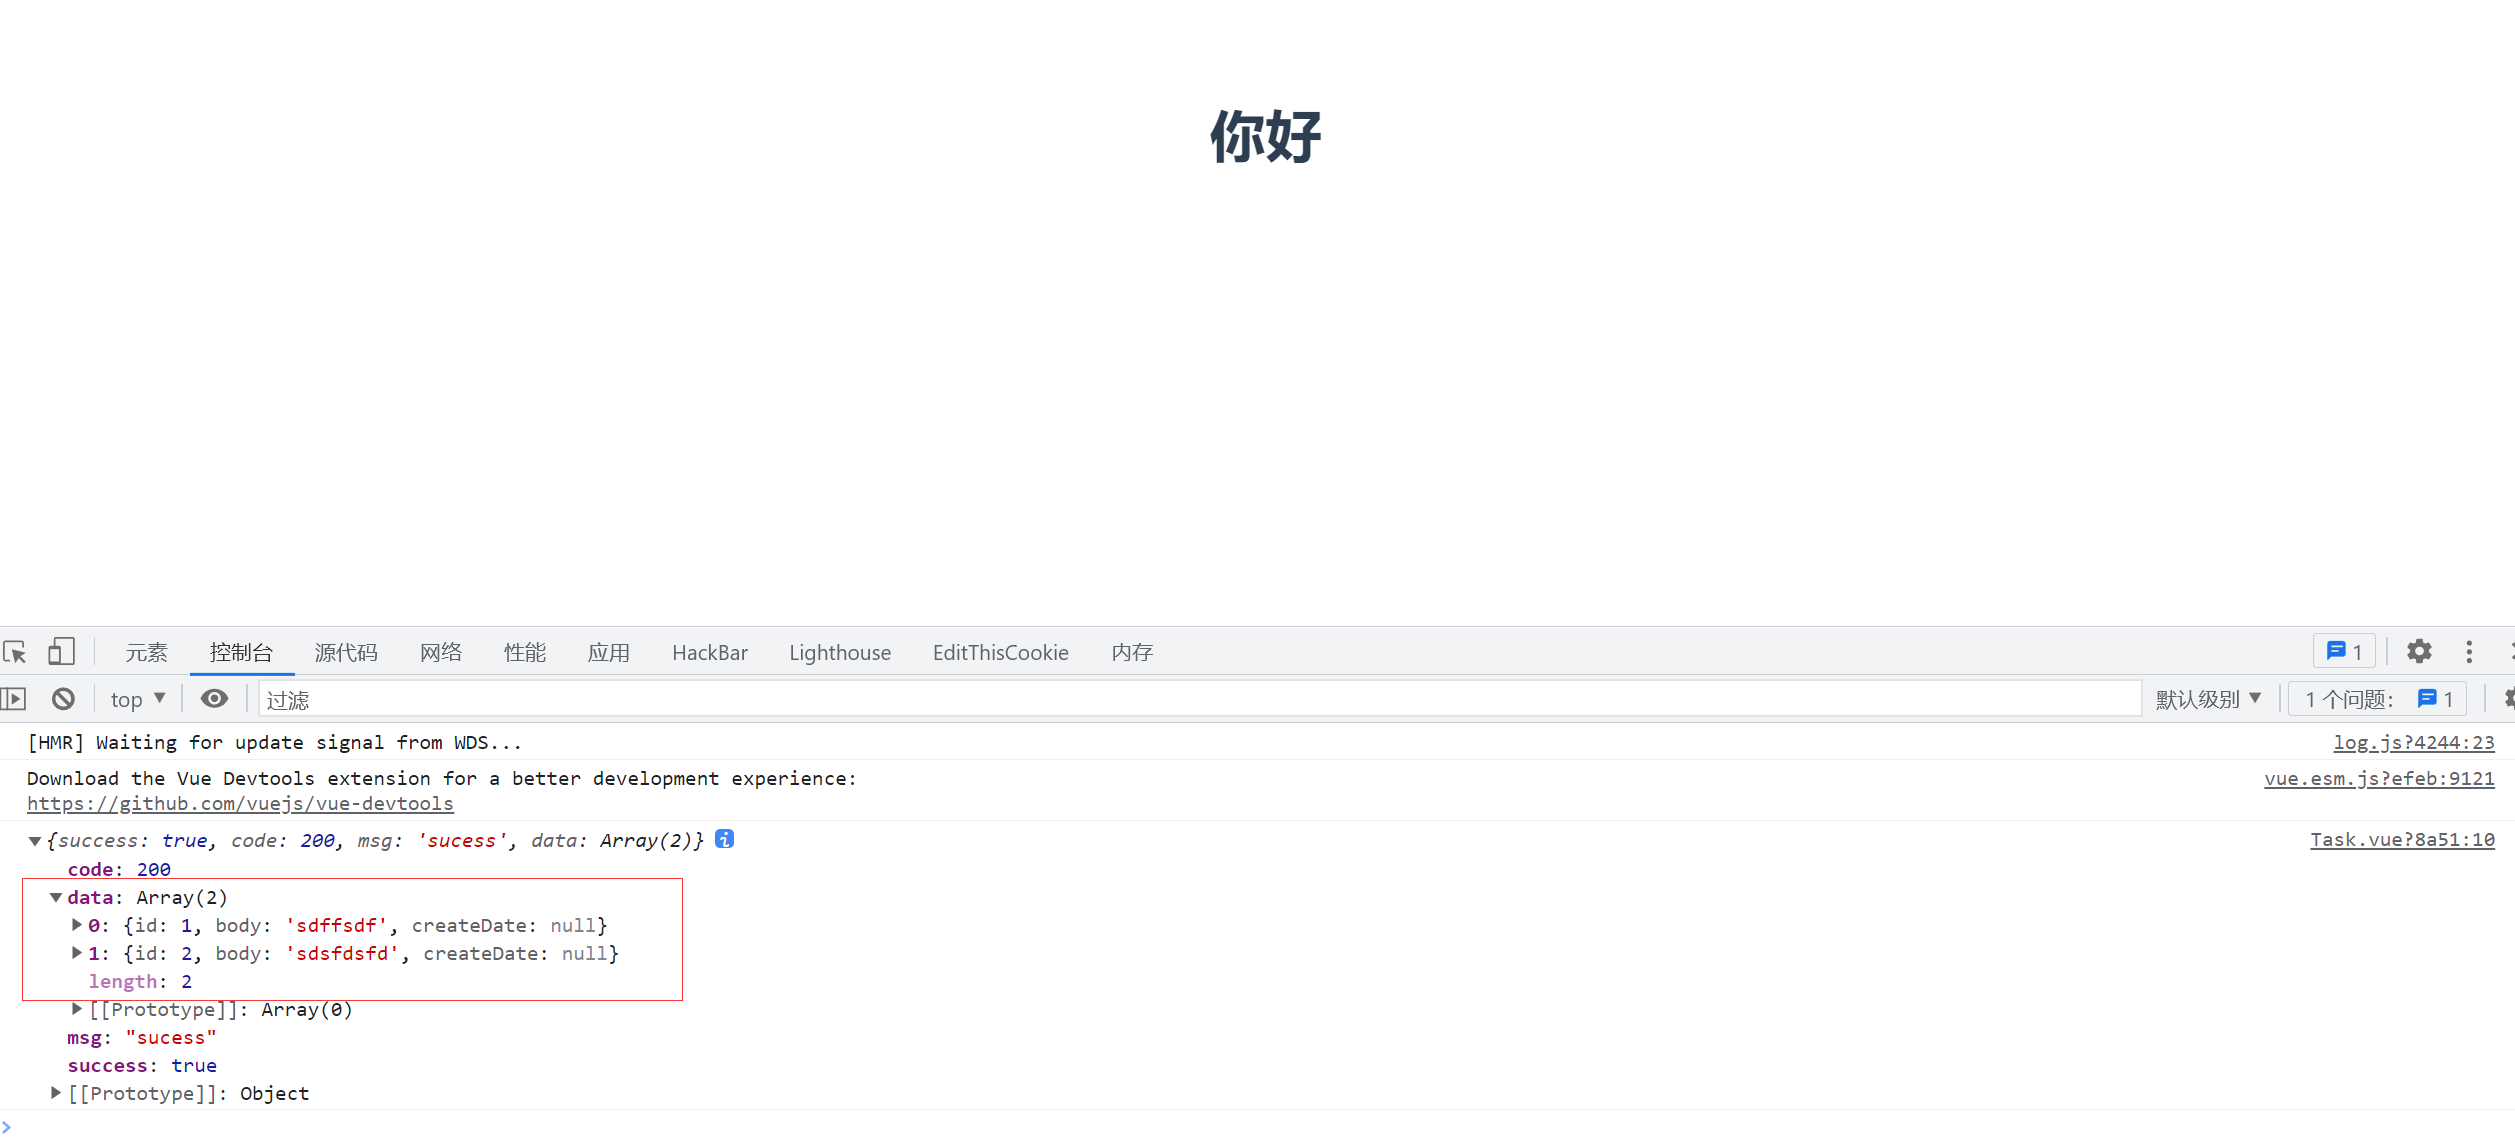
axios获取后端数据
<template>
  <h1>你好</h1>
</template>

<script>
export default {
  name: 'task.vue',
  created () {
    this.$axios.get('http://localhost:8888/task').then(function (res) {
      console.log(res.data)
    }).catch(error => {
      console.log(error)
    })
  }
}
</script>

<style scoped>

</style>
- 在
index.js中设置路由
import Vue from 'vue'
import Router from 'vue-router'
import HelloWorld from '@/components/HelloWorld'
import Task from '@/views/Task'
Vue.use(Router)

export default new Router({


  routes: [
    {


      path: '/',
      name: 'HelloWorld',
      component: HelloWorld
    },
    {


      path: '/task',
      name: 'Task',
      component: Task
    }
  ]
})
访问页面发现报错了

这是跨域问题
- 后台设置允许跨域
package com.chen.config;
//配置类

import org.springframework.context.annotation.Configuration;
import org.springframework.web.servlet.config.annotation.CorsRegistry;
import org.springframework.web.servlet.config.annotation.WebMvcConfigurer;

@Configuration
public class WebConfig  implements WebMvcConfigurer {


    @Override
    public void addCorsMappings(CorsRegistry registry) {


        //跨域配置,不可设置为*,不安全, 前后端分离项目,可能域名不一致
        //本地测试 端口不一致 也算跨域
        registry.addMapping("/**").allowedOrigins("http://localhost:8080");
    }
}
在浏览器上进行访问就能获取到数据了
5.2 element
接下来就是将这些数据渲染到页面中去就可以了
这里我们通过element-ui对数据进行渲染
官方网站: https://element.eleme.cn/#/zh-CN/component/table
在本目录下安装
cnpm install element-ui --save

在main.js中导入
import ElementUI from 'element-ui'
import 'element-ui/lib/theme-chalk/index.css'
Vue.use(ElementUI)
我们找到element中的基础表格直接拿来用

<template>
  <el-table
    :data="tasks"
    style="width: 100%">
    <el-table-column
      prop="id"
      label="编号"
      width="180">
    </el-table-column>
    <el-table-column
      prop="body"
      label="内容"
      width="180">
    </el-table-column>
    <el-table-column
      prop="create_date"
      label="创建时间">
    </el-table-column>
  </el-table>
</template>

<script>
export default {
  name: 'task.vue',
  data () {
    return {
      tasks: [
        {
          id: null,
          body: '',
          create_date: null
        }
      ]
    }
  },
  created () {
    const _this = this
    this.$axios.get('http://localhost:8888/task').then(function (res) {
      _this.tasks = res.data.data
      console.log(res.data)
    }).catch(error => {
      console.log(error)
    })
  }
}
</script>

<style scoped>

</style>
再次运行
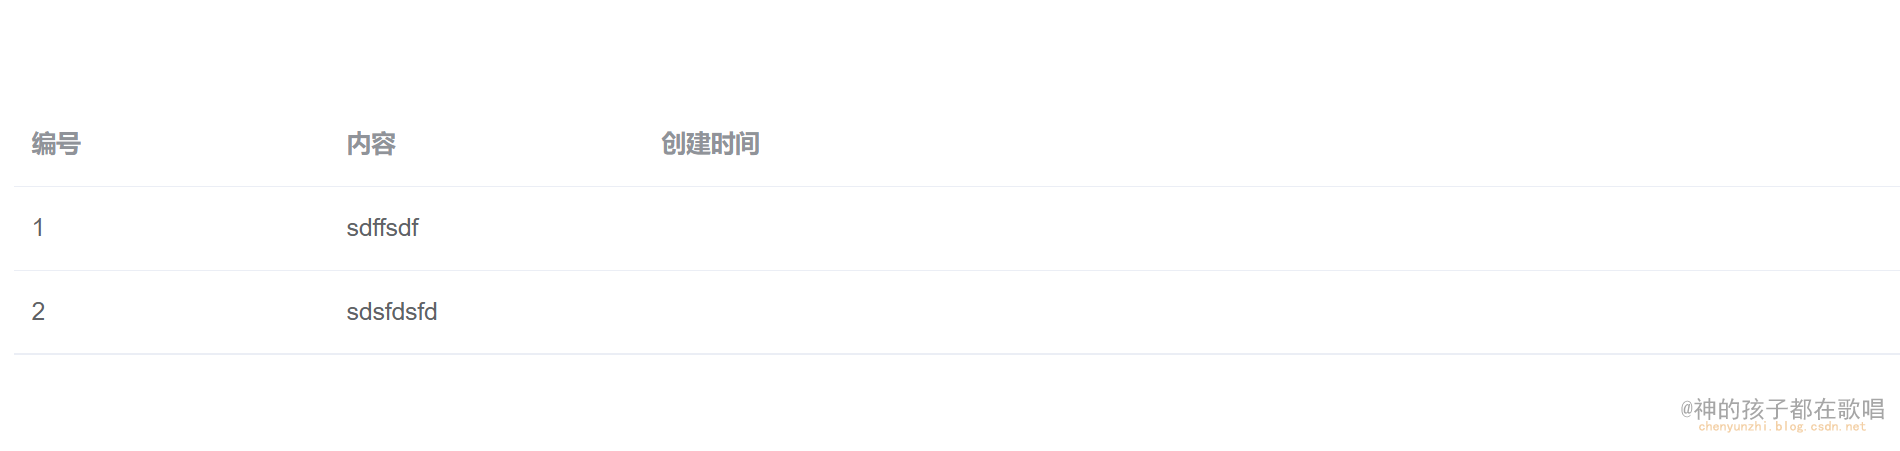
前后端分离的一个基本用法已经完成了
本人csdn博客:https://blog.csdn.net/weixin_46654114
转载说明:跟我说明,务必注明来源,附带本人博客连接。