2022年夏季《移动软件开发》实验报告
一、实验目标
1、学习使用快速启动模板创建小程序的方法;2、学习不使用模板手动创建小程序的方法。
二、实验步骤
列出实验的关键步骤、代码解析、截图。
1、逻辑梳理
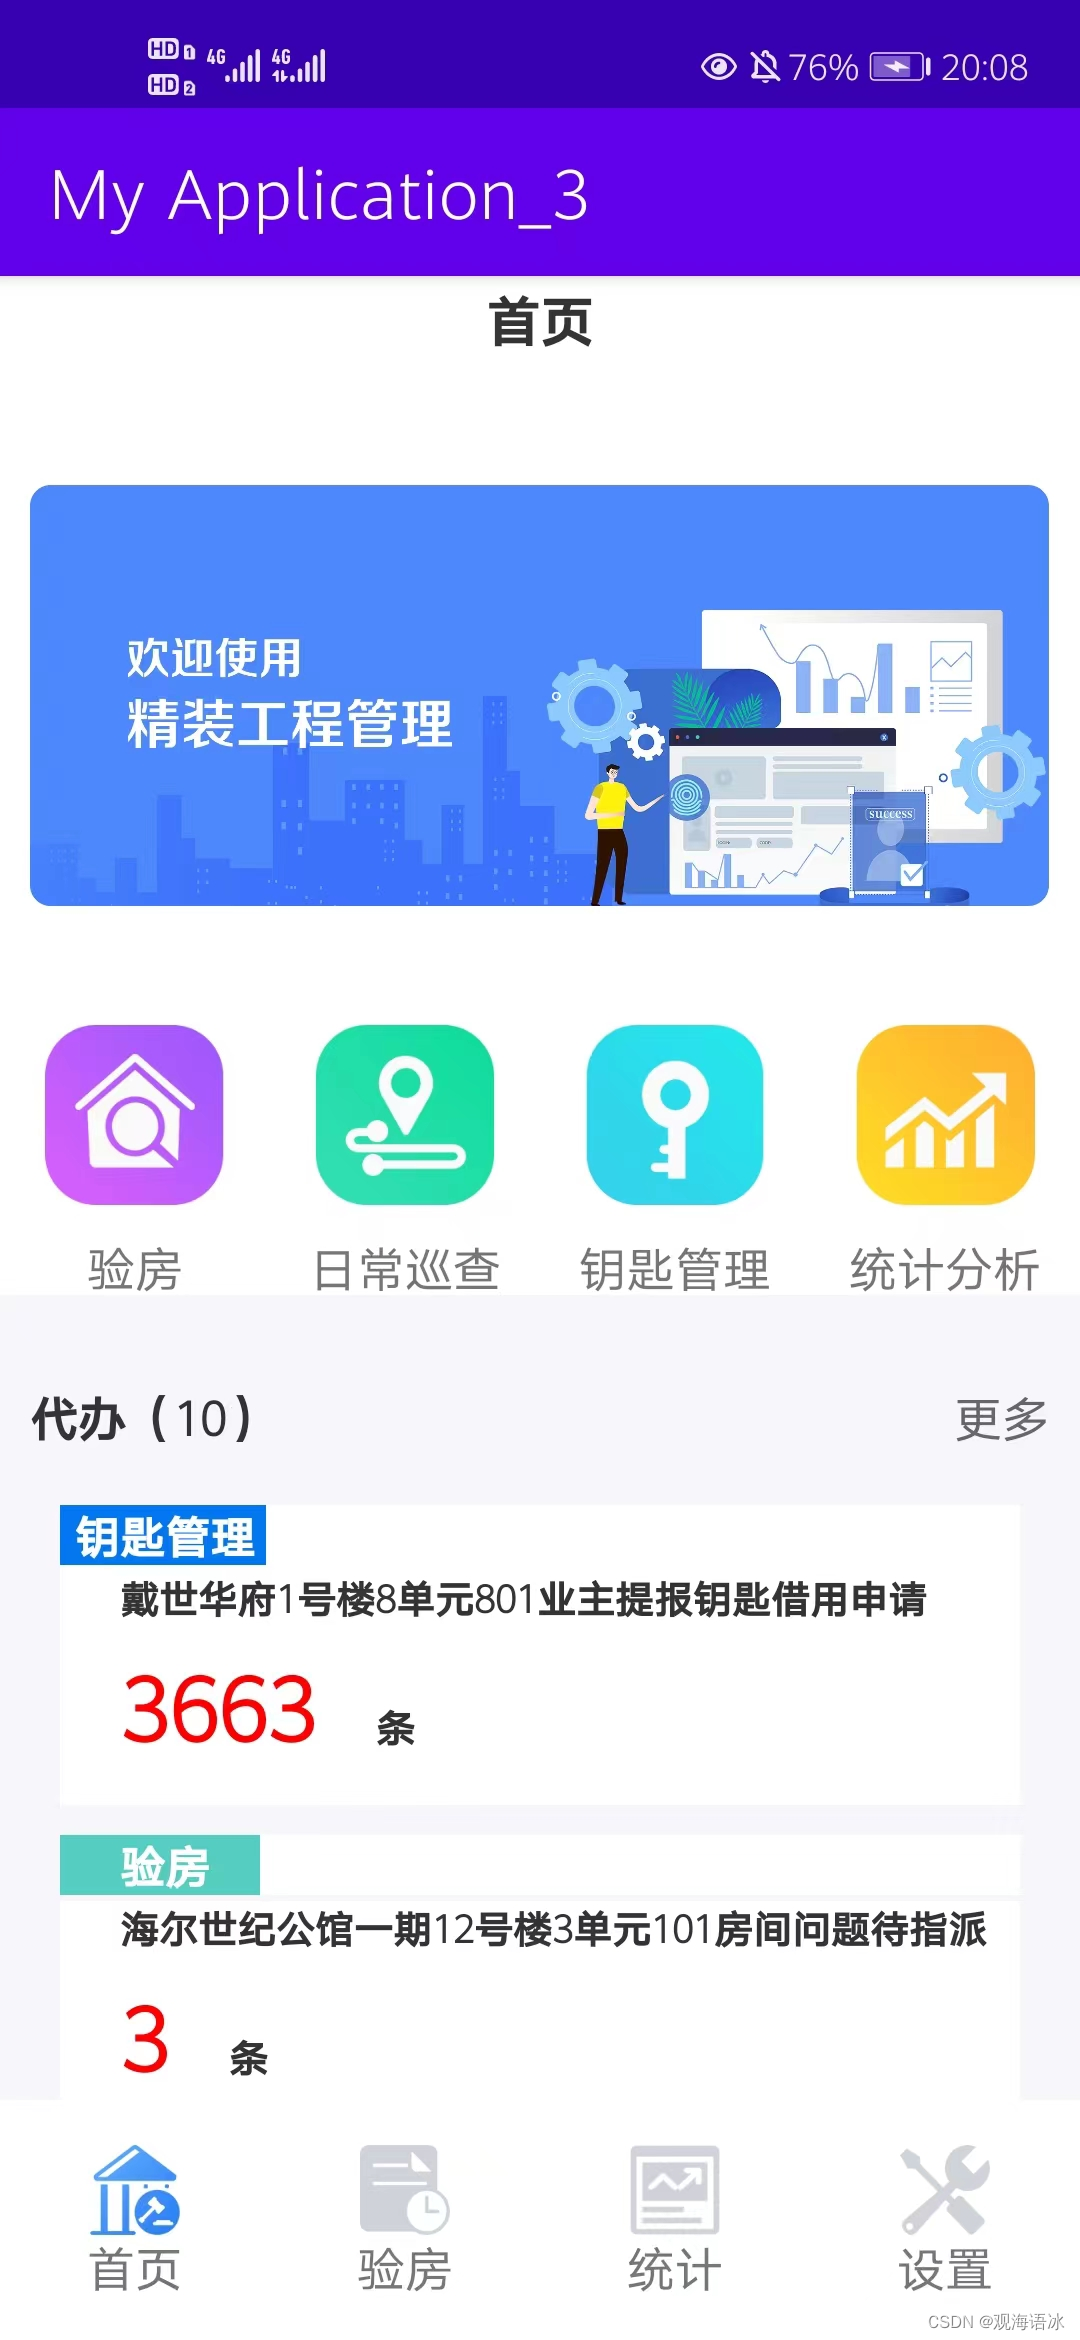
首先,我们可以将页面上分为四个部分,分别是顶部图片模块,顶部菜单模块,待办消息模块,底部Tab按钮
2、创建父布局
首先我们创建他们的父布局,首先我们需要新建ScrollView,然后创建ScrollView内部父布局
<?xml version="1.0" encoding="utf-8"?>
<LinearLayout xmlns:android="http://schemas.android.com/apk/res/android"
    android:layout_width="match_parent"			//宽度自适应
    android:layout_height="match_parent"		//高度自适应
    android:orientation="vertical">				//垂直方向为vertical纵向

    <ScrollView

        android:layout_weight="1"				//权重为1
        android:layout_width="match_parent"		//宽度为自适应
        android:layout_height="match_parent">	//高度为自适应


        </LinearLayout>
    </ScrollView>
</LinearLayout>
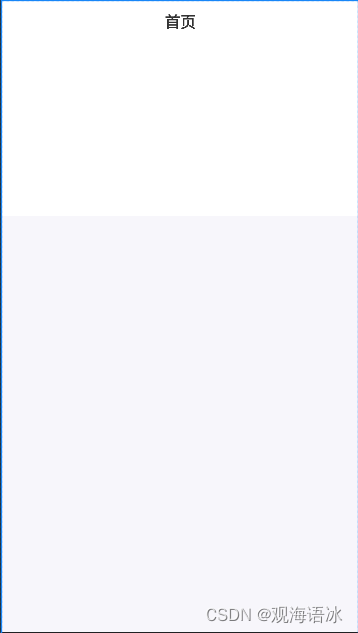
3、创建顶部首页显示栏
<LinearLayout
            android:layout_width="match_parent"			//设置宽度为自适应
            android:layout_height="match_parent"		//设置高度为自适应
            android:orientation="vertical">				//垂直方向为vertical纵向


            <TextView
                android:layout_width="match_parent"		//设置宽度为自适应
                android:layout_height="50dp"			//设置高度为自适应
                android:gravity="center"				//字体居中
                android:text="首页"					   //设置文字为“首页”
                android:textColor="#333"				//设置字体颜色
                android:textSize="18dp"					//设置字体的大小
                android:textStyle="bold" />				//设置字体样式

            </LinearLayout>
        </LinearLayout>
android:layout_width="match_parent"是设置宽度为自适应,android:layout_height="match_parent"是设置高度为自适应,android:orientation=“vertical”>是垂直方向为vertical纵向,android:layout_width="match_parent"是设置宽度为自适应,android:layout_height="50dp"是设置高度为自适应,android:gravity="center"是字体居中,android:text=“首页"是设置文字为“首页”,android:textColor=”#333"是设置字体颜色,android:textSize="18dp"是设置字体的大小,android:textStyle=“bold” />是设置字体样式
预览效果如下图所示:
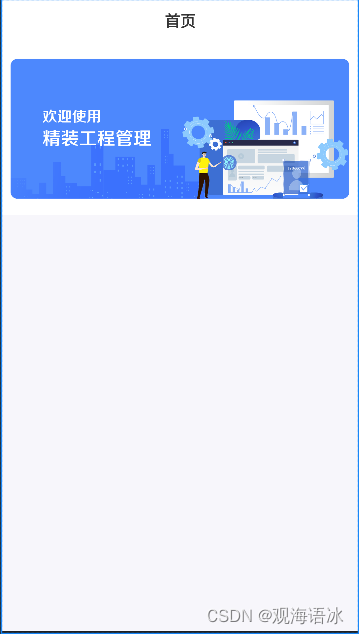
4、创建顶部图片

<ImageView

                    android:layout_width="match_parent"	//宽度自适应
                    android:layout_height="200dp"       //高度为200dp
                    android:layout_marginLeft="10dp"	//设置左边距为10dp
                    android:layout_marginRight="10dp"	//设置右边距为10dp
                    android:src='@mipmap/test_img' />	//src加载图片
android:layout_width="match_parent"是设置宽度自适应,android:layout_height="200dp"设置高度为200dp,android:layout_marginLeft="10dp"是设置左边距为10dp,android:layout_marginRight="10dp"是设置右边距为10dp,android:src='@mipmap/test_img’是设置src加载图片。
预览效果如下图所示:
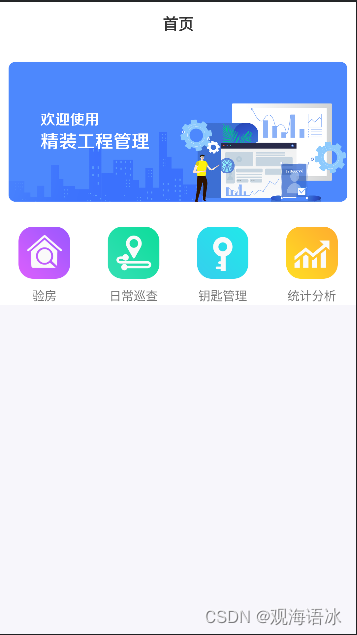
5、菜单栏模块
首先我们创建一个横向的LinearLayoutLinearLayout作为菜单栏的父布局,再次创建一个LinearLayout作为单个按钮的父布局,再创建上边的图片按钮,并设置其属性,最后设置按钮底部文字并赋予其属性
<LinearLayout
                    android:layout_weight="1"							//权重为1
                    android:layout_width="100dp"						//宽度为100dp
                    android:layout_height="100dp"						//高度为100dp
                    android:orientation="vertical">						//垂直方向为vertical纵向

                    <ImageView
                        android:layout_width="60dp"						//图片宽度为100dp
                        android:layout_height="60dp"					//图片高度为100dp
                        android:layout_gravity="center_horizontal"		//居中显示
                        android:layout_marginTop="10dp"					//与上部最近控件的最小值为10dp
                        android:background="@mipmap/test_icon1" />		//插入图片

                    <TextView
                        android:layout_width="match_parent"				//宽度自适应
                        android:layout_height="wrap_content"			//高度自适应
                        android:layout_marginTop="10dp"					//与上部最近控件的最小值为10dp
                        android:gravity="center"						//居中显示
                        android:text="验房" />						   //文字为“验房”

                </LinearLayout>
这样菜单栏的“验房”按钮就做好了,再按照这个方法继续做菜单栏剩下的三个按钮:“日常巡查”、“钥匙管理”、“统计分析”就就菜单栏做好了。
预览效果如下图所示:
5、消息模块
首先我们创建一个横向的LinearLayout来作为菜单栏的父布局,然后创建“待办”Textview,再创建“更多”Textview
<LinearLayout
                android:layout_width="match_parent"	//宽度自适应
                android:layout_height="30dp"		//高度自适应
                android:layout_marginTop="30dp"		//与上部最近控件的最小值为30dp
                android:orientation="horizontal">	//指定布局内控件排列方式为水平排列

                <TextView
                    android:layout_width="wrap_content"			//宽度自适应
                    android:layout_height="wrap_content"		//高度自适应
                    android:layout_marginLeft="10dp"			//设置距离左边框的距离为10dp
                    android:layout_weight="1"					//设置权重
                    android:text="代办(10)"					  //文字为“代办(10)”
                    android:textColor="#333"					//设置文本的颜色
                    android:textSize="16dp"						//设置文字大小
                    android:textStyle="bold" />					//设置文字样式为粗体

                <TextView
                    android:layout_width="wrap_content"			//宽度自适应
                    android:layout_height="wrap_content"		//高度自适应
                    android:layout_marginLeft="10dp"			//设置距离左边框的距离为10dp
                    android:layout_marginRight="10dp"			//设置距离右边框的距离为10dp
                    android:text="更多"						   //文字为“更多”
                    android:textColor="#666"					//设置文字大小
                    android:textSize="16dp" />					//设置文字样式为粗体
            </LinearLayout>
这样,“待办”Textview和“更多”Textview就创建完成了。
预览效果如下图所示:

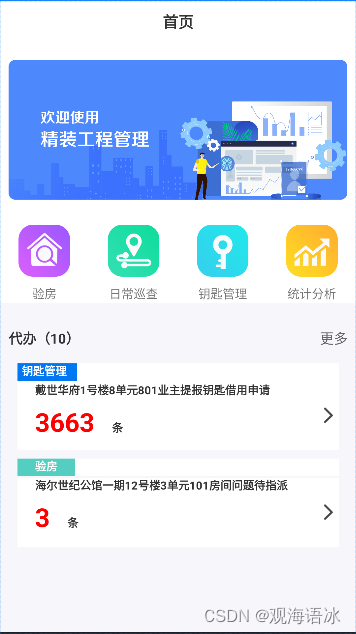
6、创建具体消息模块
具体的消息中,“戴世华府1号楼8单元801业主提报钥匙借用申请”和“海尔世纪公馆一期12号楼3单元101房间问题待指派”这两条消息在老师的PPT中没有代码,所以需要我自己设计。
我的思路是先创建一个大的父控件,然后再创建两个子控件,分别是“戴世华府1号楼8单元801业主提报钥匙借用申请”模块和“海尔世纪公馆一期12号楼3单元101房间问题待指派”模块。而这两个子控件又可以分解为四个子控件,分别是“钥匙管理”或“验房”模块、“戴世华府1号楼8单元801业主提报钥匙借用申请”或“海尔世纪公馆一期12号楼3单元101房间问题待指派”文字模块、“3663条”或“3条“模块、右箭头模块。
具体的细节请看代码:
<LinearLayout
                android:layout_width="match_parent"			//宽度自适应
                android:layout_height="20dp"				//设置高度
                android:layout_marginLeft="20dp"
                android:layout_marginTop="10dp"
                android:layout_marginRight="20dp"
                android:orientation="horizontal">			//排布方式


                <LinearLayout

                    android:layout_width="80dp"				//宽
                    android:layout_height="20dp"			//高
                    android:layout_weight="1"				//权重
                    android:background="#FF0177F2"
                    android:orientation="horizontal">


                    <TextView
                        android:layout_width="0dp"
                        android:layout_height="match_parent"		//高度自适应
                        android:layout_marginLeft="5dp"
                        android:layout_weight="1"
                        android:text="钥匙管理"				//文字
                        android:textColor="#ffffff"
                        android:textSize="13sp"
                        android:textStyle="bold" />


                </LinearLayout>

                <LinearLayout
                    android:layout_width="match_parent"
                    android:layout_height="20dp"
                    android:layout_weight="6"
                    android:background="#ffffff">

                </LinearLayout>
            </LinearLayout>

            <LinearLayout
                android:layout_width="match_parent"
                android:layout_height="80dp"			//高度
                android:layout_marginLeft="20dp"
                android:layout_marginRight="20dp"
                android:background="#ffffff"			//颜色
                android:orientation="horizontal">

                <LinearLayout

                    android:layout_width="350dp"
                    android:layout_height="60dp"
                    android:layout_marginTop="2dp"
                    android:orientation="vertical">

                    <TextView
                        android:layout_width="wrap_content"
                        android:layout_height="wrap_content"
                        android:layout_marginLeft="20dp"
                        android:layout_marginRight="20dp"
                        android:layout_weight="1"
                        android:text="戴世华府1号楼8单元801业主提报钥匙借用申请"	//文字
                        android:textColor="#333"
                        android:textSize="13dp"								//文字的大小
                        android:textStyle="bold" />							//粗体


                    <LinearLayout
                        android:layout_width="320dp"
                        android:layout_height="35dp"
                        android:orientation="horizontal">


                        <TextView

                            android:layout_width="wrap_content"
                            android:layout_height="wrap_content"
                            android:layout_marginLeft="20dp"
                            android:layout_marginRight="20dp"
                            android:text="3663"
                            android:textColor="#FF0000"
                            android:textSize="30dp"
                            android:textStyle="bold" />

                        <TextView
                            android:layout_width="wrap_content"
                            android:layout_height="wrap_content"
                            android:text="条"
                            android:textColor="#333"
                            android:textSize="13dp"
                            android:textStyle="bold" />
                    </LinearLayout>


                </LinearLayout>

                <LinearLayout
                    android:layout_width="match_parent"

                    android:layout_height="match_parent"
                    android:layout_marginEnd="0dp">

                    <ImageView

                        android:layout_width="18dp"
                        android:layout_height="18dp"
                        android:layout_gravity="center_vertical"		//居中
                        android:layout_marginEnd="0dp"
                        android:src="@mipmap/right" />					//添加图片
                </LinearLayout>


            </LinearLayout>

            <LinearLayout
                android:layout_width="match_parent"			//宽度自适应
                android:layout_height="20dp"
                android:layout_marginLeft="20dp"
                android:layout_marginTop="10dp"
                android:layout_marginRight="20dp"
                android:orientation="horizontal">			//排布方式


                <LinearLayout

                    android:layout_width="80dp"
                    android:layout_height="20dp"
                    android:layout_weight="1"			//权重
                    android:background="#FF53CEC0"
                    android:orientation="horizontal">


                    <TextView
                        android:layout_width="0dp"
                        android:layout_height="match_parent"
                        android:layout_marginLeft="20dp"
                        android:layout_weight="1"
                        android:text="验房"						//文字
                        android:textColor="#ffffff"
                        android:textSize="13sp"
                        android:textStyle="bold" />


                </LinearLayout>

                <LinearLayout
                    android:layout_width="match_parent"
                    android:layout_height="20dp"
                    android:layout_weight="5"
                    android:background="#ffffff">

                </LinearLayout>
            </LinearLayout>
预览效果如下图所示:
7、底部Tab模块
首先我们创建一个横向的LinearLayoutLinearLayout作为菜单栏的父布局,再次创建一个LinearLayout作为单个按钮的父布局,用RelativeLayout编写按钮
<LinearLayout
        android:layout_width="match_parent"						//宽度自适应
        android:layout_height="80dp"							//高度为80dp
        android:weightSum="4">

        <RelativeLayout
            android:layout_width="0dp"
            android:layout_height="match_parent"				//宽度自适应
            android:layout_weight="1">							//设置权重

            <ImageView
                android:id="@+id/img"							//设置权重id
                android:layout_width="30dp"						//宽度为30dp
                android:layout_height="30dp"					//高度为30dp
                android:layout_centerHorizontal="true"			//将该控件设置在相对于父控件水平居中的位置
                android:layout_marginTop="15dp"					//与上部最近控件的最小值为10dp
                android:background="@mipmap/test_icon3" />		//添加图片

            <TextView
                android:layout_width="match_parent"				//宽度自适应
                android:layout_height="wrap_content"			//高度自适应
                android:layout_below="@+id/img"					//确定文字位置在图片下面
                android:layout_centerHorizontal="true"			//将该控件设置在相对于父控件水平居中的位置
                android:layout_marginBottom="5dp"				//指定该属性所在控件距下部最近控件的最小值为5dp
                android:gravity="center"						//文本居中
                android:text="首页" />						   //文字为“首页”
        </RelativeLayout>
弄好父布局之后,再创建单个按钮的父布局,再确定分别图片和文字的宽高、位置等信息就弄好了底部Tab模块的其中的“首页”按钮,再按照这个方法创建剩下来的三个按钮:“验房”、“统计”、“设置”,弄好了之后,底部Tab模块就搞好了。
弄好了以上所有的工作之后,该安卓应用的预览效果如下图所示:

三、程序运行结果
列出程序的最终运行结果及截图。
在Android Studio运行的结果:

在手机调试时的运行结果:
四、问题总结与体会
描述实验过程中所遇到的问题,以及是如何解决的。有哪些收获和体会,对于课程的安排有哪些建议。
1、实验过程中遇到的问题及解决方法:
①问题1:一开始我的菜单栏总是垂直排列的,没有像老师给的PPT的图一样水平排列。
解决方法:重新看了老师第一个实验给的PPT部分之后,知道了android:orientation语句的作用和使用方法,就可以正确排布了
②问题2:一开始老师给的PPT上没有给出“戴世华府1号楼8单元801业主提报钥匙借用申请”模块和“海尔世纪公馆一期12号楼3单元101房间问题待指派”模块的代码,就不知道怎么写。
解决方法:通过看老师给出的代码,慢慢琢磨各个控件有什么作用,怎么使用,最终将“戴世华府1号楼8单元801业主提报钥匙借用申请”模块和“海尔世纪公馆一期12号楼3单元101房间问题待指派”模块给写出来了。
③问题③:老师给的应用预览界面是有颜色色差的,而我想体现出来,但是不知道颜色的代号
解决方法:老师在群里发了一个取色器的应用,我使用取色器这个应用就取得颜色的代号了,就将色差效果做出来了。
2、收获和体会
①这个实验比第一个实验要复杂得多,对各个控件的布局要求很高,通过做这个实验,我对安卓应用的布局有了更深刻的理解,能够更加熟练地掌握对安卓应用控件布局的方法。
②在做这个实验的时候,一开始按照老师在PPT上给出的代码来做,发现和预期相比相差很大,后来发现老师给的代码有些是错的,需要自己改正,这也启发着我,要有独立思考的意识。
③实验的前半部分按照老师的代码来写,对安卓应用的开发没有很深刻的理解,知道自己独立写“戴世华府1号楼8单元801业主提报钥匙借用申请”模块和“海尔世纪公馆一期12号楼3单元101房间问题待指派”模块模块时,我才深刻理解了安卓应用开发,这启发着我做什么都需要自己独立完成,有自己的独立思考才有效果。
间问题待指派”模块给写出来了。
③问题③:老师给的应用预览界面是有颜色色差的,而我想体现出来,但是不知道颜色的代号
解决方法:老师在群里发了一个取色器的应用,我使用取色器这个应用就取得颜色的代号了,就将色差效果做出来了。
2、收获和体会
①这个实验比第一个实验要复杂得多,对各个控件的布局要求很高,通过做这个实验,我对安卓应用的布局有了更深刻的理解,能够更加熟练地掌握对安卓应用控件布局的方法。
②在做这个实验的时候,一开始按照老师在PPT上给出的代码来做,发现和预期相比相差很大,后来发现老师给的代码有些是错的,需要自己改正,这也启发着我,要有独立思考的意识。
③实验的前半部分按照老师的代码来写,对安卓应用的开发没有很深刻的理解,知道自己独立写“戴世华府1号楼8单元801业主提报钥匙借用申请”模块和“海尔世纪公馆一期12号楼3单元101房间问题待指派”模块模块时,我才深刻理解了安卓应用开发,这启发着我做什么都需要自己独立完成,有自己的独立思考才有效果。
3、对课程安排的建议:这次安卓应用开发的课程对我来说收获很大,我觉得可以再增加安卓应用开发的教学时间。