.NET Elsa工作流框架的搭建
注:本文主要采用.NET 6和Elsa工作引擎进行编写
附.NET 6下载链接:https://dotnet.microsoft.com/zh-cn/download/visual-studio-sdks?cid=getdotnetsdk
Elsa官方地址:https://elsa-workflows.github.io/elsa-core/
1、新建项目 (Elsa Server)
- 选择 ASP.NET Core 空,将项目命名为 ElsaServer,去掉 配置HTTPS(H) 选项,目标框架选择 .NET 6.0

2.添加以下程序包
dotnet add package Elsa
dotnet add package Elsa.Activities.Http
dotnet add package Elsa.Activities.Temporal.Quartz
dotnet add package Elsa.Persistence.EntityFramework.Sqlite
dotnet add package Elsa.Server.Api
3.在 Program.cs 中 添加以下代码
using Elsa.Persistence.EntityFramework.Core.Extensions;
using Elsa.Persistence.EntityFramework.Sqlite;

var builder = WebApplication.CreateBuilder(args);

var elsaSection = builder.Configuration.GetSection("Elsa");

// Elsa services.
builder.Services
    .AddElsa(elsa => elsa
        .UseEntityFrameworkPersistence(ef => ef.UseSqlite())
        .AddConsoleActivities()
        .AddHttpActivities(elsaSection.GetSection("Server").Bind)
        .AddJavaScriptActivities()
    );

// Elsa API endpoints.
builder.Services.AddElsaApiEndpoints();

// Allow arbitrary client browser apps to access the API.
// In a production environment, make sure to allow only origins you trust.
builder.Services.AddCors(cors => cors.AddDefaultPolicy(policy => policy
    .AllowAnyHeader()
    .AllowAnyMethod()
    .AllowAnyOrigin()
    .WithExposedHeaders("Content-Disposition"))
);

var app = builder.Build();

app
    .UseCors()
    .UseHttpActivities()
    .UseRouting()
    .UseEndpoints(endpoints =>
    {


        // Elsa API Endpoints are implemented as regular ASP.NET Core API controllers.
        endpoints.MapControllers();
    })
    .UseWelcomePage();
app.Run();
4、运行 ElsaServer 项目,如图所示

2、新建项目 (Elsa Dashboard)
1.如 新建项目 (Elsa Server) 所示,选择 ASP.NET Core 空,将项目命名为 ElsaDashboard,去掉 配置HTTPS(H) 选项,目标框架选择 .NET 6.0
2.添加以下程序包
dotnet add package Elsa.Designer.Components.Web
3、添加看板页面
新增一个空的 Pages 文件夹,添加 _ViewImports.cshtml 和 _Host.cshtml 两个 Rozar 页面

_ViewImports.cshtml 添加以下内容
@addTagHelper *, Microsoft.AspNetCore.Mvc.TagHelpers
_Host.cshtml 添加以下内容
其中 server-url 为 ElsaServer项目的运行后的Url地址
@page "/"
<!DOCTYPE html>
<html lang="en">
<head>
    <meta charset="utf-8" />
    <meta name="viewport" content="width=device-width, initial-scale=1.0" />
    <title>Elsa Workflows</title>
    <link rel="icon" type="image/png" sizes="32x32" href="/_content/Elsa.Designer.Components.Web/elsa-workflows-studio/assets/images/favicon-32x32.png">
    <link rel="icon" type="image/png" sizes="16x16" href="/_content/Elsa.Designer.Components.Web/elsa-workflows-studio/assets/images/favicon-16x16.png">
    <link rel="stylesheet" href="/_content/Elsa.Designer.Components.Web/elsa-workflows-studio/assets/fonts/inter/inter.css">
    <link rel="stylesheet" href="/_content/Elsa.Designer.Components.Web/elsa-workflows-studio/elsa-workflows-studio.css">
    <script src="/_content/Elsa.Designer.Components.Web/monaco-editor/min/vs/loader.js"></script>
    <script type="module" src="/_content/Elsa.Designer.Components.Web/elsa-workflows-studio/elsa-workflows-studio.esm.js"></script>
</head>
<body>
    <elsa-studio-root server-url="http://localhost:5254/" monaco-lib-path="_content/Elsa.Designer.Components.Web/monaco-editor/min">
        <elsa-studio-dashboard></elsa-studio-dashboard>
    </elsa-studio-root>
</body>
</html>
4、在 Program.cs 中 添加以下代码
var builder = WebApplication.CreateBuilder(args);

// Add services to the container.
builder.Services.AddRazorPages();

var app = builder.Build();

app.UseStaticFiles();
app.UseRouting();
app.UseEndpoints(endpoints => {

     endpoints.MapFallbackToPage("/_Host"); });

app.Run();
5、设置多个启动项目

最终运行结果,如图所示
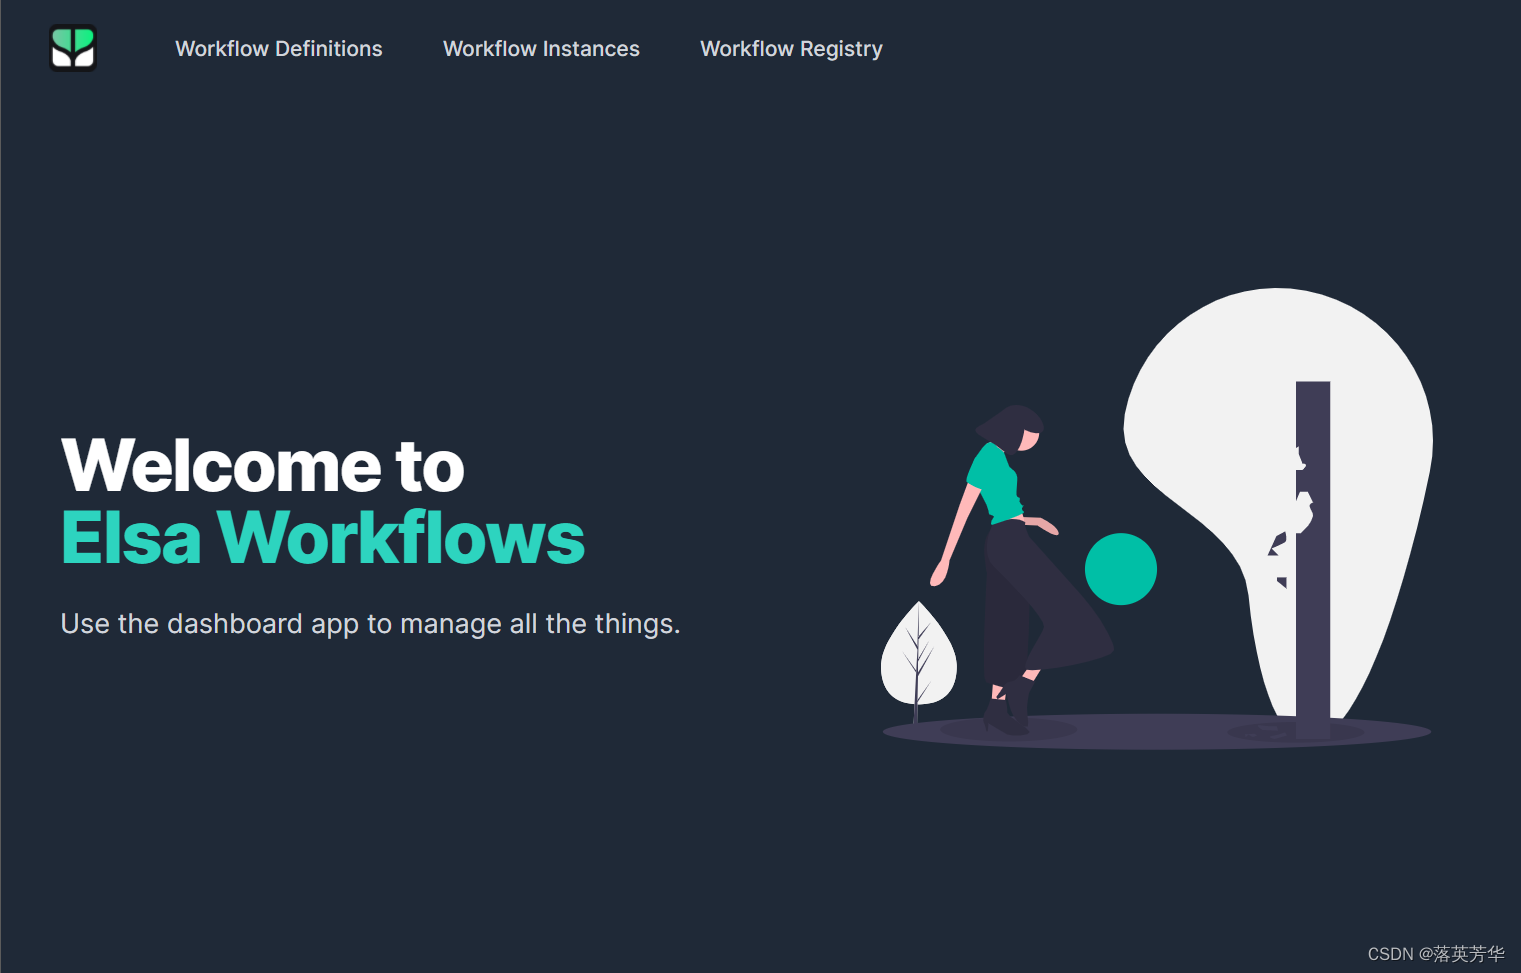
恭喜你已经学会了如何搭建Elsa工作流,后续文章的更新多多支持!