
1.sess.run() 中的feed_dict:
feed_dict的作用是给使用placeholder创建出来的tensor赋值
2.StratifiedShuffleSplit函数的使用
官方文档
用法:
from  sklearn.model_selection import StratifiedShuffleSplit
StratifiedShuffleSplit(n_splits=10,test_size=None,train_size=None, random_state=None)- 1
- 2
2.1 参数说明
参数 n_splits是将训练数据分成train/test对的组数,可根据需要进行设置,默认为10
参数test_size和train_size是用来设置train/test对中train和test所占的比例。例如:
1.提供10个数据num进行训练和测试集划分
2.设置train_size=0.8 test_size=0.2
3.train_num=num*train_size=8 test_num=num*test_size=2
4.即10个数据,进行划分以后8个是训练数据,2个是测试数据
注*:train_num≥2,test_num≥2 ;test_size+train_size可以小于1*
参数 random_state控制是将样本随机打乱
3
在Python编程语言中可以使用os.path.isdir()函数判断某一路径是否为目录
在Python编程语言中可以使用os.path.isfile()函数判断某一路径是否为文件
4
t f.contrib.layers.fully_connection(F,num_output,activation_fn)这个函数就是全链接成层,F是输入,num_output是下一层单元的个数,activation_fn是激活函数
5(转)
tf.argmax就是返回最大的那个数值所在的下标
test = np.array([[1, 2, 3], [2, 3, 4], [5, 4, 3], [8, 7, 2]])
np.argmax(test, 0)   #输出:array([3, 3, 1]
np.argmax(test, 1) #输出:array([2, 2, 0, 0]- 1
- 2
- 3
啥意思呢?
- axis = 0:
你就这么想,0是最大的范围,所有的数组都要进行比较,只是比较的是这些数组相同位置上的数:
test[0] = array([1, 2, 3])
test[1] = array([2, 3, 4])
test[2] = array([5, 4, 3])
test[3] = array([8, 7, 2])
# output : [3, 3, 1] - 1
- 2
- 3
- 4
- 5
- axis = 1:
等于1的时候,比较范围缩小了,只会比较每个数组内的数的大小,结果也会根据有几个数组,产生几个结果。
test[0] = array([1, 2, 3])  #2
test[1] = array([2, 3, 4])  #2
test[2] = array([5, 4, 3])  #0
test[3] = array([8, 7, 2])  #0
6 (转)
求最大值tf.reduce_max(input_tensor, reduction_indices=None, keep_dims=False, name=None)
求平均值tf.reduce_mean(input_tensor, reduction_indices=None, keep_dims=False, name=None)
参数1--input_tensor:待求值的tensor。
参数2--reduction_indices:在哪一维上求解。
参数(3)(4)可忽略
举例说明:
# 'x' is [[1., 2.]
# [3., 4.]]首先求平均值:
tf.reduce_mean(x) ==> 2.5 #如果不指定第二个参数,那么就在所有的元素中取平均值
tf.reduce_mean(x, 0) ==> [2.,  3.] #指定第二个参数为0,则第一维的元素取平均值,即每一列求平均值
tf.reduce_mean(x, 1) ==> [1.5,  3.5] #指定第二个参数为1,则第二维的元素取平均值,即每一行求平均值
7(转)
cast(x, dtype, name=None)
将x的数据格式转化成dtype.例如,原来x的数据格式是bool,
那么将其转化成float以后,就能够将其转化成0和1的序列。反之也可以
a = tf.Variable([1,0,0,1,1])
b = tf.cast(a,dtype=tf.bool)
sess = tf.Session()
sess.run(tf.initialize_all_variables())
print(sess.run(b))
#[ True False False  True  True]
8.
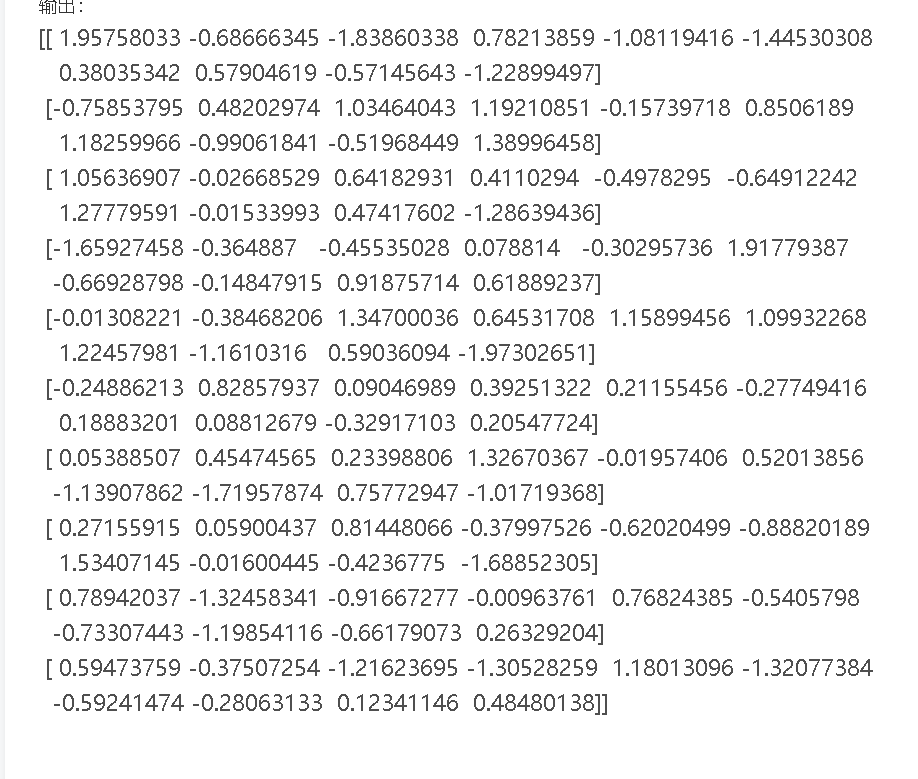
tf.truncated_normal(shape, mean, stddev) :shape表示生成张量的维度,mean是均值,stddev是标准差。这个函数产生正态分布,均值和标准差自己设定。这是一个截断的产生正态分布的函数,就是说产生正态分布的值如果与均值的差值大于两倍的标准差,那就重新生成。和一般的正态分布的产生随机数据比起来,这个函数产生的随机数与均值的差距不会超过两倍的标准差,但是一般的别的函数是可能的。
例子:
import tensorflow as tf;
import numpy as np;
import matplotlib.pyplot as plt;

c = tf.truncated_normal(shape=[10,10], mean=0, stddev=1)

with tf.Session() as sess:
    print sess.run(c)
输出:
9.
a = tf.constant([1, 2, 3, 4, 5, 6], shape=[2, 3]) => [[1. 2. 3.]
                                                        [4. 5. 6.]]

 b = tf.constant([7, 8, 9, 10, 11, 12], shape=[3, 2]) => [[7. 8.]
                                                           [9. 10.]
                                                           [11. 12.]]
10.
11.
tf.nn.max_pool 点击打开链接
12.
tf.one_hot()使用
tf.one_hot(
    indices,#输入,这里是一维的
    depth,# one hot dimension.
    on_value=None,#output 默认1
    off_value=None,#output 默认0
    axis=None,#根据我的实验,默认为1
    dtype=None,
    name=None
)
import tensorflow as tf
import numpy as np
z=np.random.randint(0,10,size=[10])
y=tf.one_hot(z,10,on_value=1,off_value=None,axis=0)
with tf.Session()as sess:
    print(z)
    print(sess.run(y))


[5 7 7 0 5 5 2 0 0 0]
[[0 0 0 1 0 0 0 1 1 1]
 [0 0 0 0 0 0 0 0 0 0]
 [0 0 0 0 0 0 1 0 0 0]
 [0 0 0 0 0 0 0 0 0 0]
 [0 0 0 0 0 0 0 0 0 0]
 [1 0 0 0 1 1 0 0 0 0]
 [0 0 0 0 0 0 0 0 0 0]
 [0 1 1 0 0 0 0 0 0 0]
 [0 0 0 0 0 0 0 0 0 0]
 [0 0 0 0 0 0 0 0 0 0]]
13.
tf.cond()的用法
z = tf.multiply(a, b)
    result = tf.cond(x < y, lambda: tf.add(x, z), lambda: tf.square(y))
上面例子执行这样的操作,如果x<y则result这个操作是tf.add(x,z),反之则是tf.square(y)。
14.
tf.slice()
15.
tf.identity是返回一个一模一样新的tensor的op
16.

17.
tf.cond()用法
18.
TensorFlow中,想要维度增加一维,可以使用tf.expand_dims(input, dim, name=None)函数
# 't' is a tensor of shape [2]
shape(expand_dims(t, 0)) ==> [1, 2]
shape(expand_dims(t, 1)) ==> [2, 1]
shape(expand_dims(t, -1)) ==> [2, 1]

# 't2' is a tensor of shape [2, 3, 5]
shape(expand_dims(t2, 0)) ==> [1, 2, 3, 5]
shape(expand_dims(t2, 2)) ==> [2, 3, 1, 5]
shape(expand_dims(t2, 3)) ==> [2, 3, 5, 1]
向量想要concat,必须tf.expand_dims点击打开链接
19.
tf.range()
创建一个数字序列,该数字开始于 start 并且将 delta 增量扩展到不包括 limit 的序列。
除非明确提供,否则得到的张量的 dtype 是从输入中推断出来的。
像 Python 内置的 range,start 默认为 0,所以 range(n) = range(0, n)。
start = 3
limit = 18
delta = 3
tf.range(start, limit, delta)  # [3, 6, 9, 12, 15]

start = 3
limit = 1
delta = -0.5
tf.range(start, limit, delta)  # [3, 2.5, 2, 1.5]
20.
tf.sparse_to_dense()
21.
tf.pack 改为 tf.stack
将一个R维张量列表沿着axis轴组合成一个R+1维的张量。
  # 'x' is [1, 4]
  # 'y' is [2, 5]
  # 'z' is [3, 6]
  pack([x, y, z]) => [[1, 4], [2, 5], [3, 6]]  # Pack along first dim.
  pack([x, y, z], axis=1) => [[1, 2, 3], [4, 5, 6]]