第一步:使用Vite快速搭建Vue 3项目
基础操作总结:
npm init vite-app 项目名称

cd 项目名称

npm install

npm run dev
温馨提示:如果还是Vue 2 环境请参考:Vue 2 升级Vue3 ,并且使用vsCode 搭建Vue3 开发环境
Vue 3 项目本地访问:http://localhost:3000/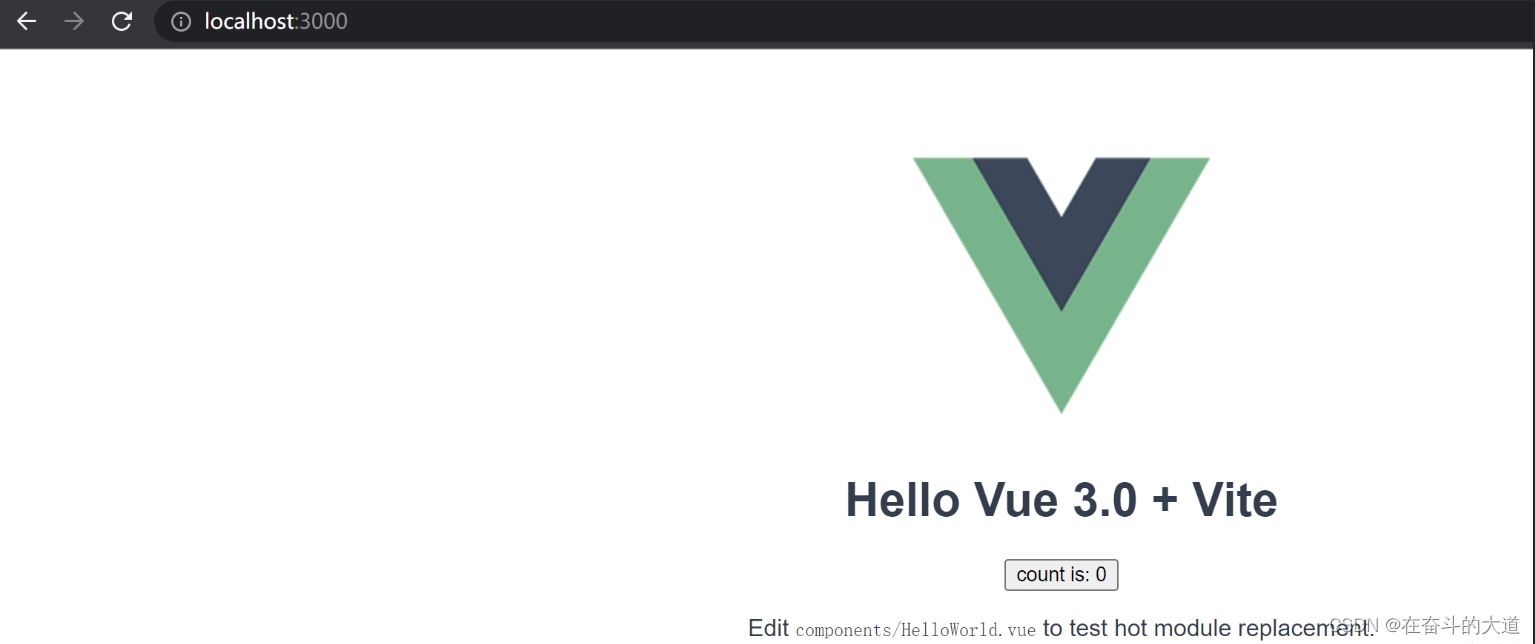
第二步:Vue 3 项目集成Element3
首先要先安装element3.0插件,请先执行如下指令:
npm i element3 -S
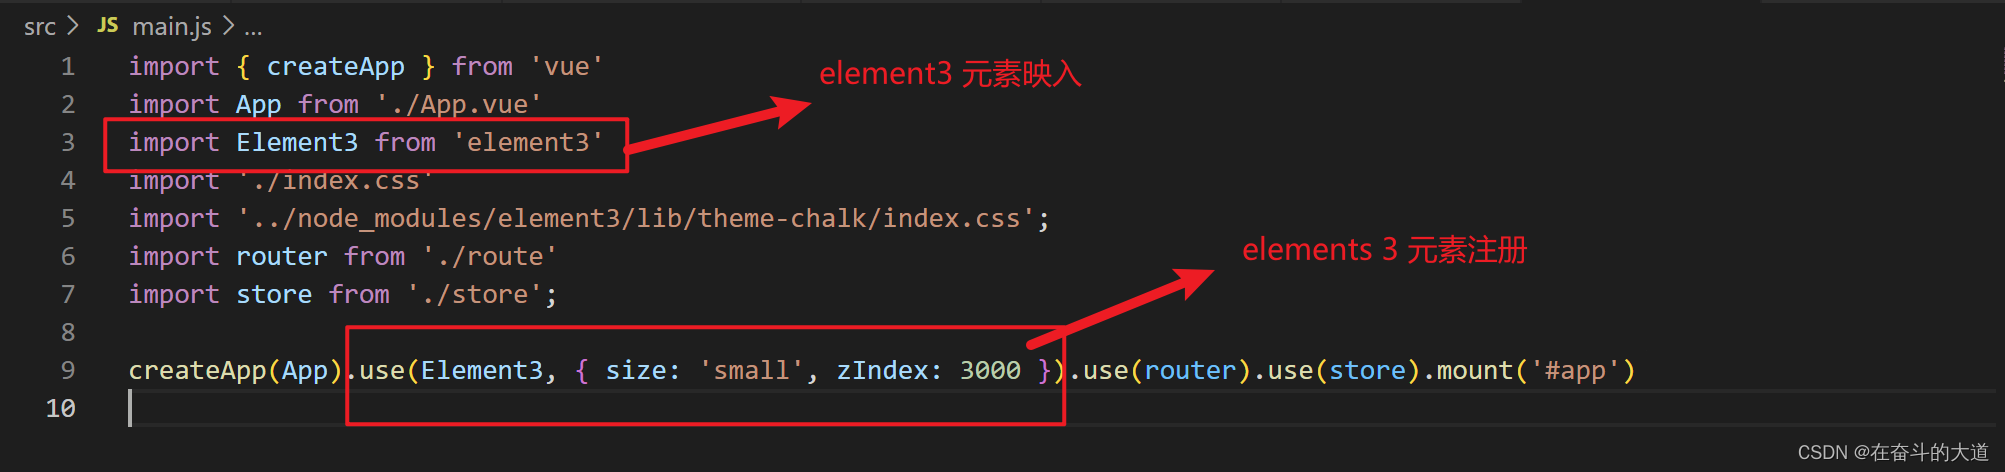
在main.js中引入element3 ,并注册element3。
import { createApp } from 'vue'
import App from './App.vue'
import Element3 from 'element3'
import './index.css'
import '../node_modules/element3/lib/theme-chalk/index.css';
import router from './route'
import store from './store';

createApp(App).use(Element3, { size: 'small', zIndex: 3000 }).use(router).use(store).mount('#app')
核心片段截图:
在App.vue 引入Elements 3 按钮 。
<template>
  <img alt="Vue logo" src="./assets/logo.png" />
  <HelloWorld msg="Hello Vue 3.0 + Vite" />

  <div :id="dynamicId">
     <el-button>默认按钮</el-button>
    <el-button type="primary">主要按钮</el-button>
    <el-button type="success">成功按钮</el-button>
    <el-button type="info">信息按钮</el-button>
    <el-button type="warning">警告按钮</el-button>
    <el-button type="danger">危险按钮</el-button>
  </div>

</template>

<script>
import HelloWorld from './components/HelloWorld.vue'

export default {
  name: 'App',
  components: {
    HelloWorld
  },
  data() {
    return {
      dynamicId: "123"
    }
  }
}
</script>
效果截图:

Element 3官网地址: Elements 3 官网
第三步: Vue 3 项目集成Vue-router
首先要先安装vue-router插件,请先执行如下指令:
npm install vue-router@4 -S
在src下创建route文件夹和下面的index.js

打开index.js 引入router
import { createRouter, createWebHistory } from 'vue-router'声明历史模式
const routerHistory = createWebHistory()在src/components文件夹下创建两个页面(Home.vue/Login.vue)

在route/index.js 注册相关页面
const router = createRouter({
    history: routerHistory,
    routes: [
        {
            path: '/',
            component: () => import('../components/HelloWorld.vue')
        }, {
            path: '/home',
            component: () => import('../components/Home.vue')
        }, {
            path: '/login',
            component: () => import('../components/Login.vue')
        }
    ]
})
然后导出router
export default router在main.js 引入router
import { createApp } from 'vue'
import App from './App.vue'
import Element3 from 'element3'
import './index.css'
import '../node_modules/element3/lib/theme-chalk/index.css';
import router from './route'
import store from './store';

createApp(App).use(Element3, { size: 'small', zIndex: 3000 }).use(router).use(store).mount('#app')
核心片段截图: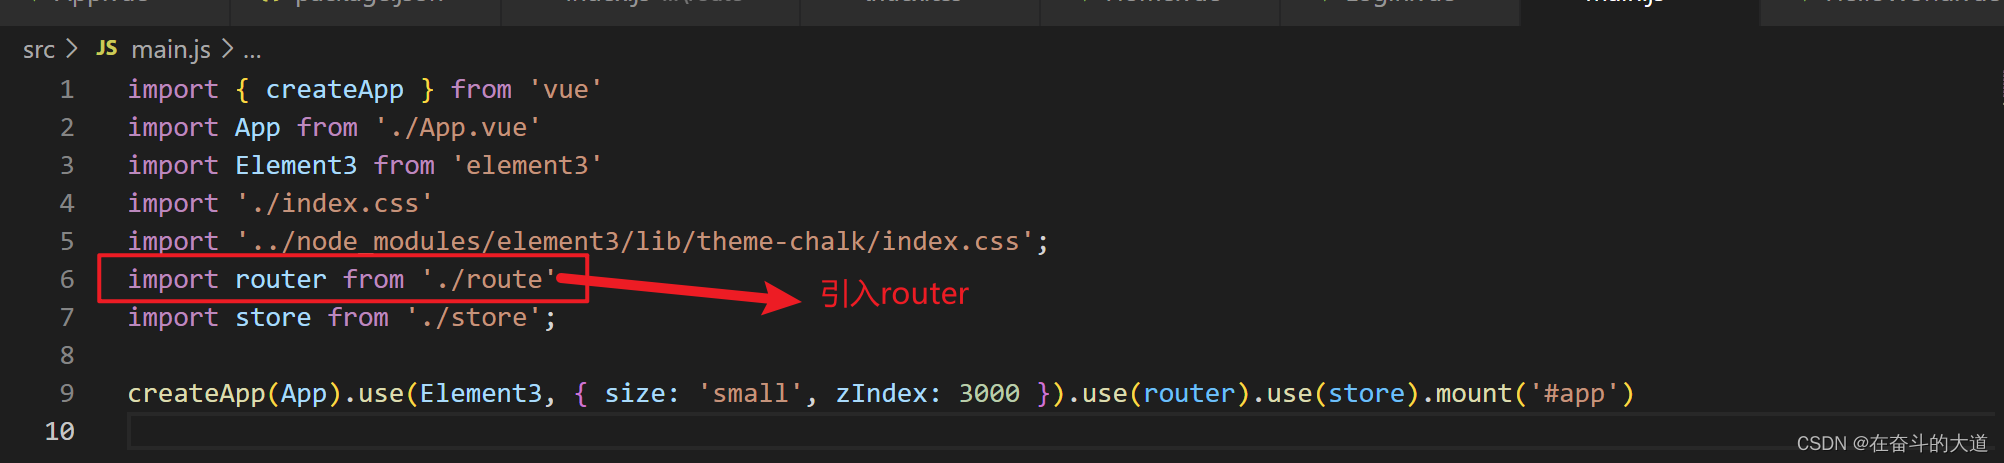
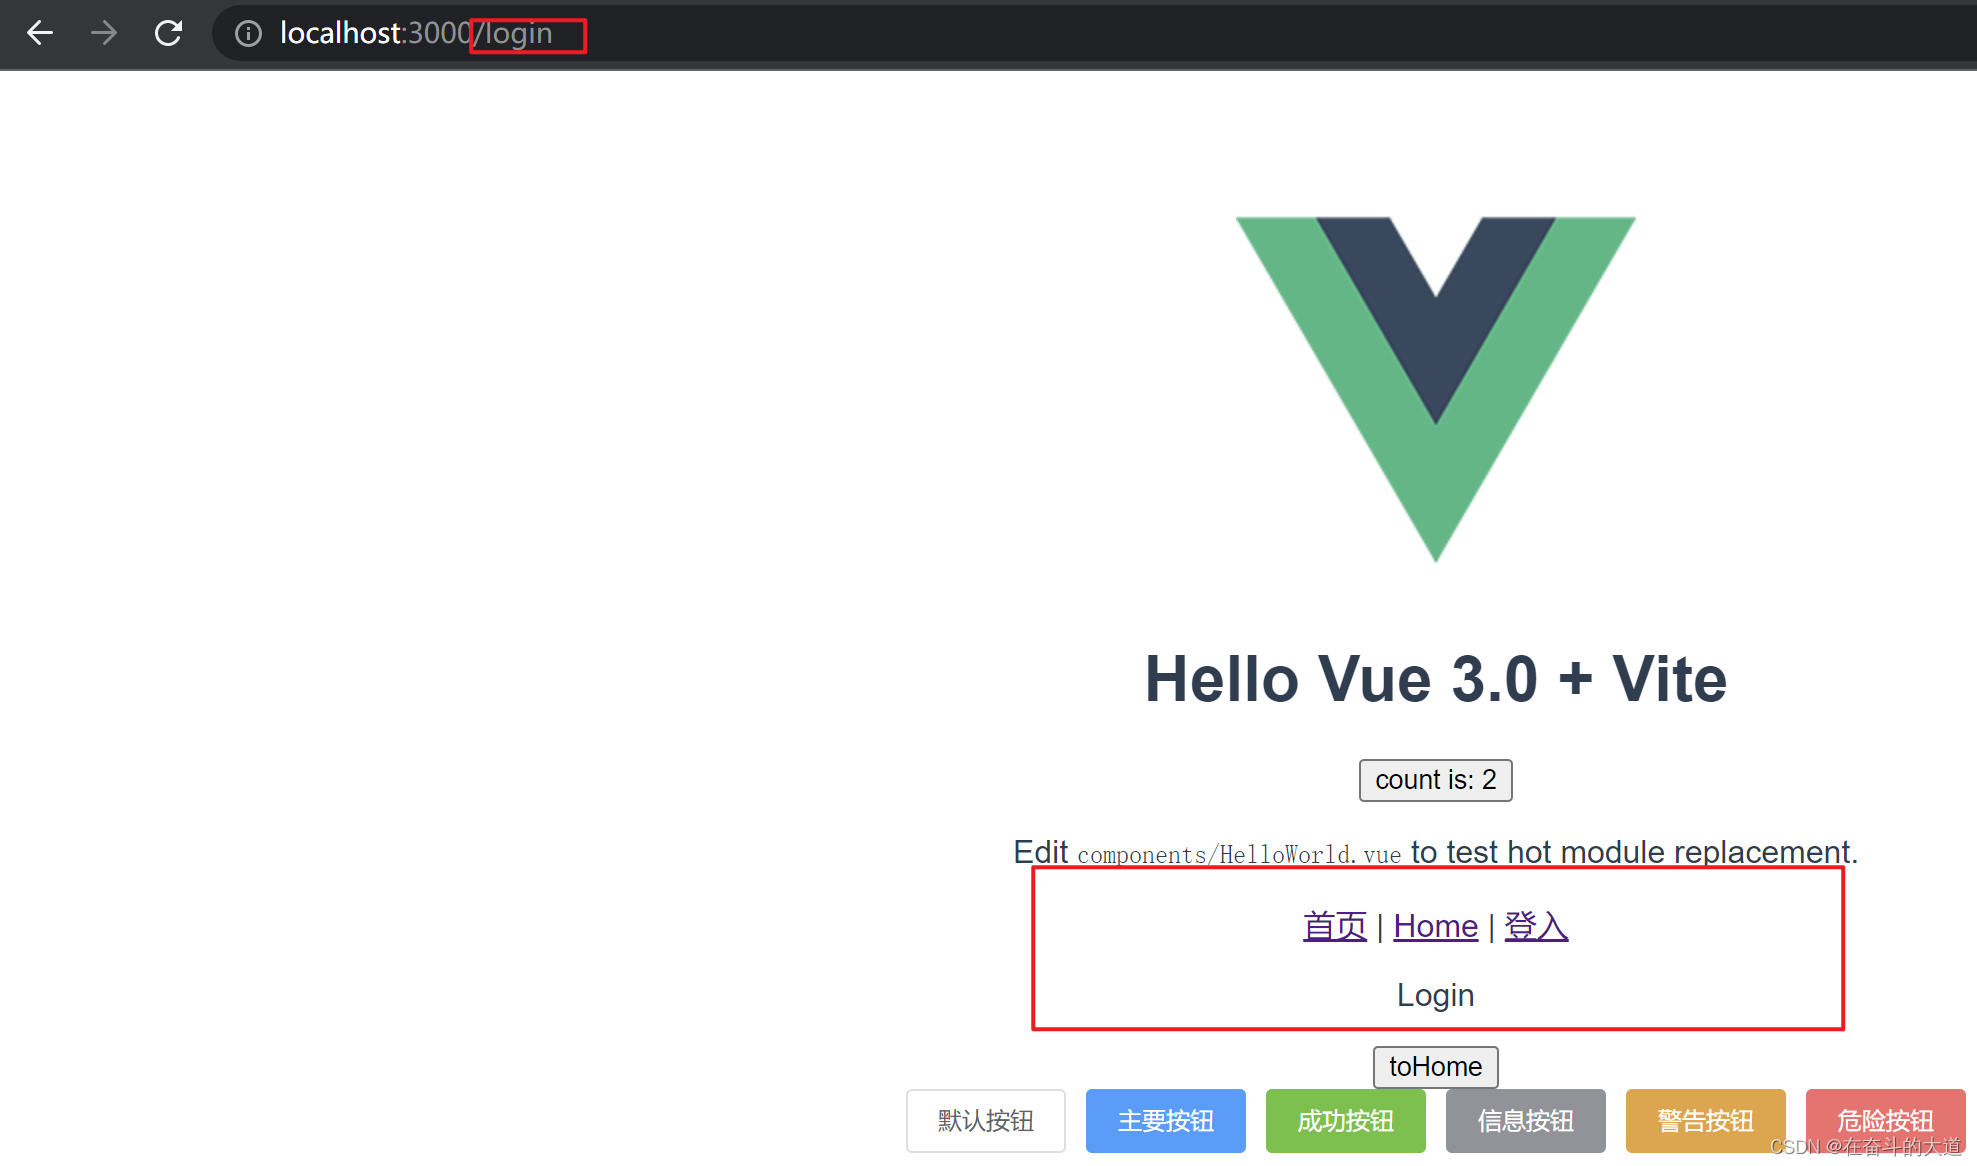
相关截图:

Home.vue
<template>
  <p>Home</p>
</template>
<script>
</script>
<style>
</style>
Login.vue
<template>
  <p>Login</p>
  <button @click="toHome">toHome</button>
</template>
<script>
import { useRouter } from 'vue-router'
export default {
  setup () {
    const router = useRouter()
    const toHome = (() => {
      router.push({
        name: 'home'
      })
    })
    return {
      toHome
    }
  },
}
</script>
<style>
</style>
HelloWorld.vue
<template>
  <h1>{

   { msg }}</h1>
  <button @click="count++">count is: {

   { count }}</button>
  <p>Edit <code>components/HelloWorld.vue</code> to test hot module replacement.</p>

  <!-- 导航 -->
		<router-link to="/" active-class="current" replace>首页</router-link> |
		<router-link to="/home" active-class="current" replace>Home</router-link> |
		<router-link to="/login">登入</router-link>
		<!-- 路由出口 -->
		<router-view />

</template>

<script>
export default {
  name: 'HelloWorld',
  props: {
    msg: String
  },
  data() {
    return {
      count: 0
    }
  },
    // `mounted` 是生命周期钩子,之后我们会讲到
  mounted() {
    // `this` 指向当前组件实例
    console.log(this.count) // => 1

    // 数据属性也可以被更改
    this.count = 2

  }
}
</script>
第四步: Vue 3 集成Vuex
首先要先安装vuex插件,请先执行如下指令:
npm install vuex@next --save在 src 目录下创建 store/index.js store 仓库
import { createStore } from "vuex";

const store = createStore({

})

export default store
在 main.js 文件中,有以下两个步骤:
import { createApp } from 'vue'
import App from './App.vue'
import Element3 from 'element3'
import './index.css'
import '../node_modules/element3/lib/theme-chalk/index.css';
import router from './route'
// 1. 导入store
import store from './store';
// 2. 挂载到Vue 根实例
createApp(App).use(Element3, { size: 'small', zIndex: 3000 }).use(router).use(store).mount('#app')
state 使用注意事项
全局共享的数据,只允许在 mutation 中修改
state提供唯一的公共数据源,所有共享的数据都要统一放到Store的state中进行存储state必须写成函数的形式并在return的对象中存放数据
store/index.js
import { createStore } from 'vuex'

// 创建一个新的 store 实例
const store = createStore({
    state () {
      return {
        count: 0
      }
    }
  })

  export default store
在组件中的 template 和 script 中使用 state
- 在 setup 中,必须通过实例
useStore()才能拿到store中的数据 - 通过
compute获取store数据
App.Vue
<template>
  <img alt="Vue logo" src="./assets/logo.png" />
  <HelloWorld msg="Hello Vue 3.0 + Vite" />

  <!-- 获取state -->
  <h2>{

   { $store.state.count }}</h2>
  <h2>{

   { ucount }}</h2>

  <div :id="dynamicId">
     <el-button>默认按钮</el-button>
    <el-button type="primary">主要按钮</el-button>
    <el-button type="success">成功按钮</el-button>
    <el-button type="info">信息按钮</el-button>
    <el-button type="warning">警告按钮</el-button>
    <el-button type="danger">危险按钮</el-button>
  </div>

</template>

<script>
import HelloWorld from './components/HelloWorld.vue'
import { computed } from 'vue'
import { useStore } from 'vuex'
export default {
  name: 'App',
  components: {
    HelloWorld
  },
  data() {
    return {
      dynamicId: "123"
    }
  },
   setup() {
    // 实例 useStore(),获取 store 对象
    const store = useStore()
    // // 通过 compute 获取 store 数据
    const ucount = computed(() => store.state.count);

    return {
      ucount,
    }
  }
}
</script>
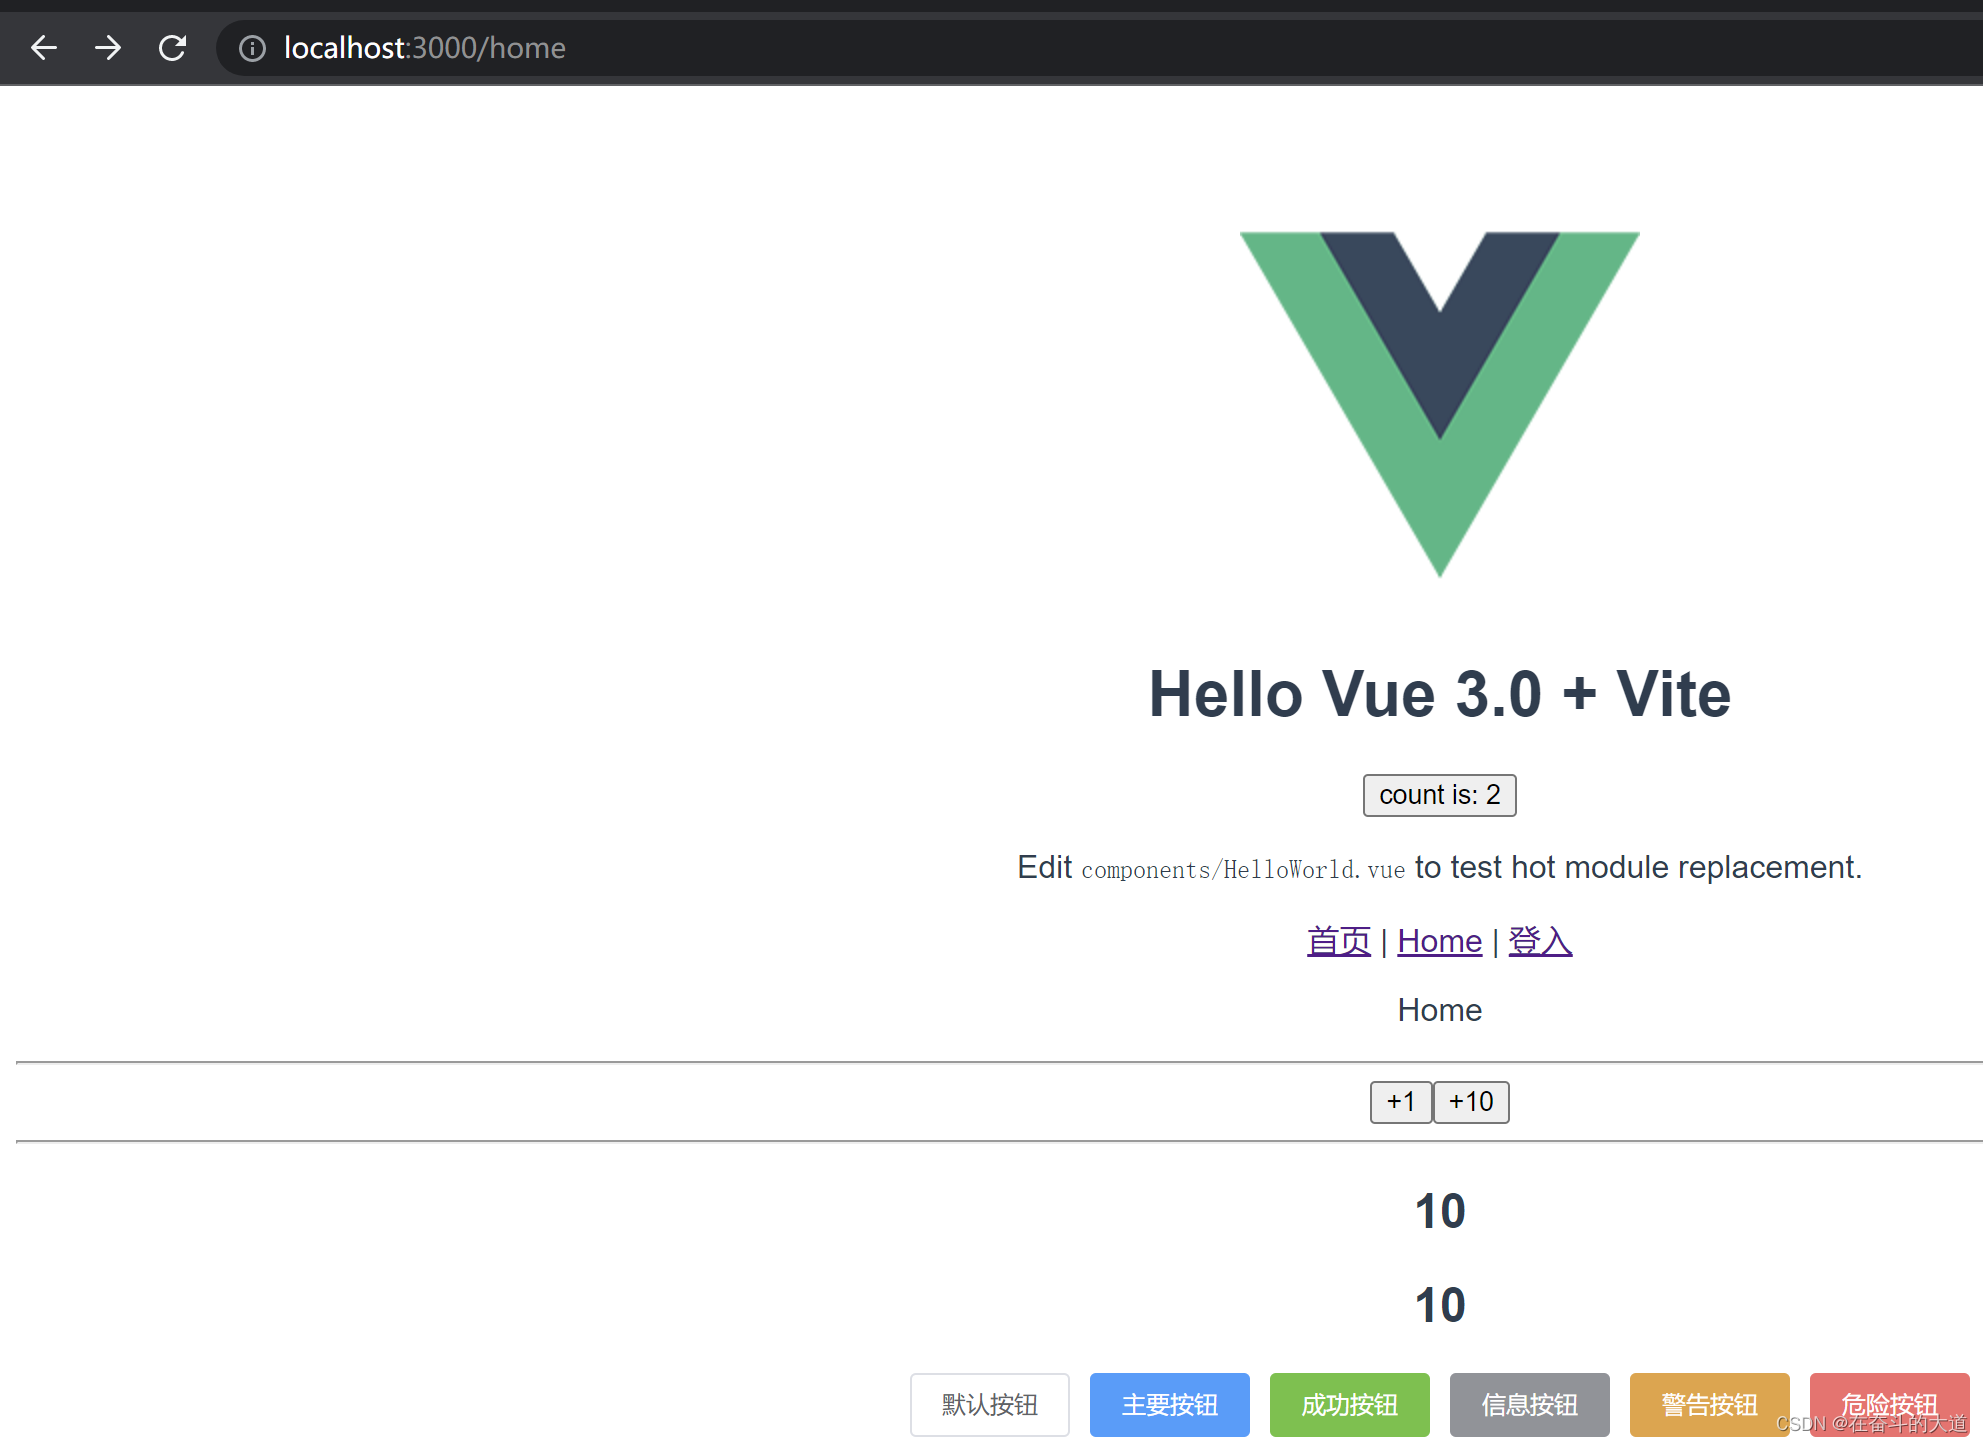
效果截图:

mutations 使用
一条重要的原则就是要记住 mutation 必须是同步函数
- Mutation 用于变更 Store中 的数据。
- 只能通过 mutation 变更 Store 数据,不可以直接操作 Store 中的数据。
- 通过这种方式虽然操作起来稍微繁琐一些,但是可以集中监控所有数据的变化。
参数
- 参数一:state,可以获取state中的数据
- 参数二:载荷,即额外的参数
- 在大多数情况下,载荷应该是一个对象,这样可以包含多个字段并且记录的 mutation 会更易读
store/index.js
import { createStore } from 'vuex'

// 创建一个新的 store 实例
const store = createStore({
    state () {
      return {
        count: 10
      }
    },
  // 参数一:state,可以获取state中的数据
  // 参数二:载荷,即额外的参数
  // 在大多数情况下,载荷应该是一个对象,这样可以包含多个字段并且记录的 mutation 会更易读
  mutations: {
    increment(state, payload) {
      state.count += payload.num
    }
  }
  })

  export default store
在组件中的 template 和 script 中提交 mutations
修改Home.Vue
<template>
<p>Home</p>
<div>
<hr>
<button @click="$store.commit('increment')">+1</button>
<button @click="addTen">+10</button>
<hr>
</div>
</template>
<script>
export default {
methods: {
addTen() {
// 普通的写法
// this.$store.commit('increment', {num: 10})
// 另外一种提交风格
this.$store.commit({
type: 'increment',
num: 10,
})
}
}
}
</script>
<style>
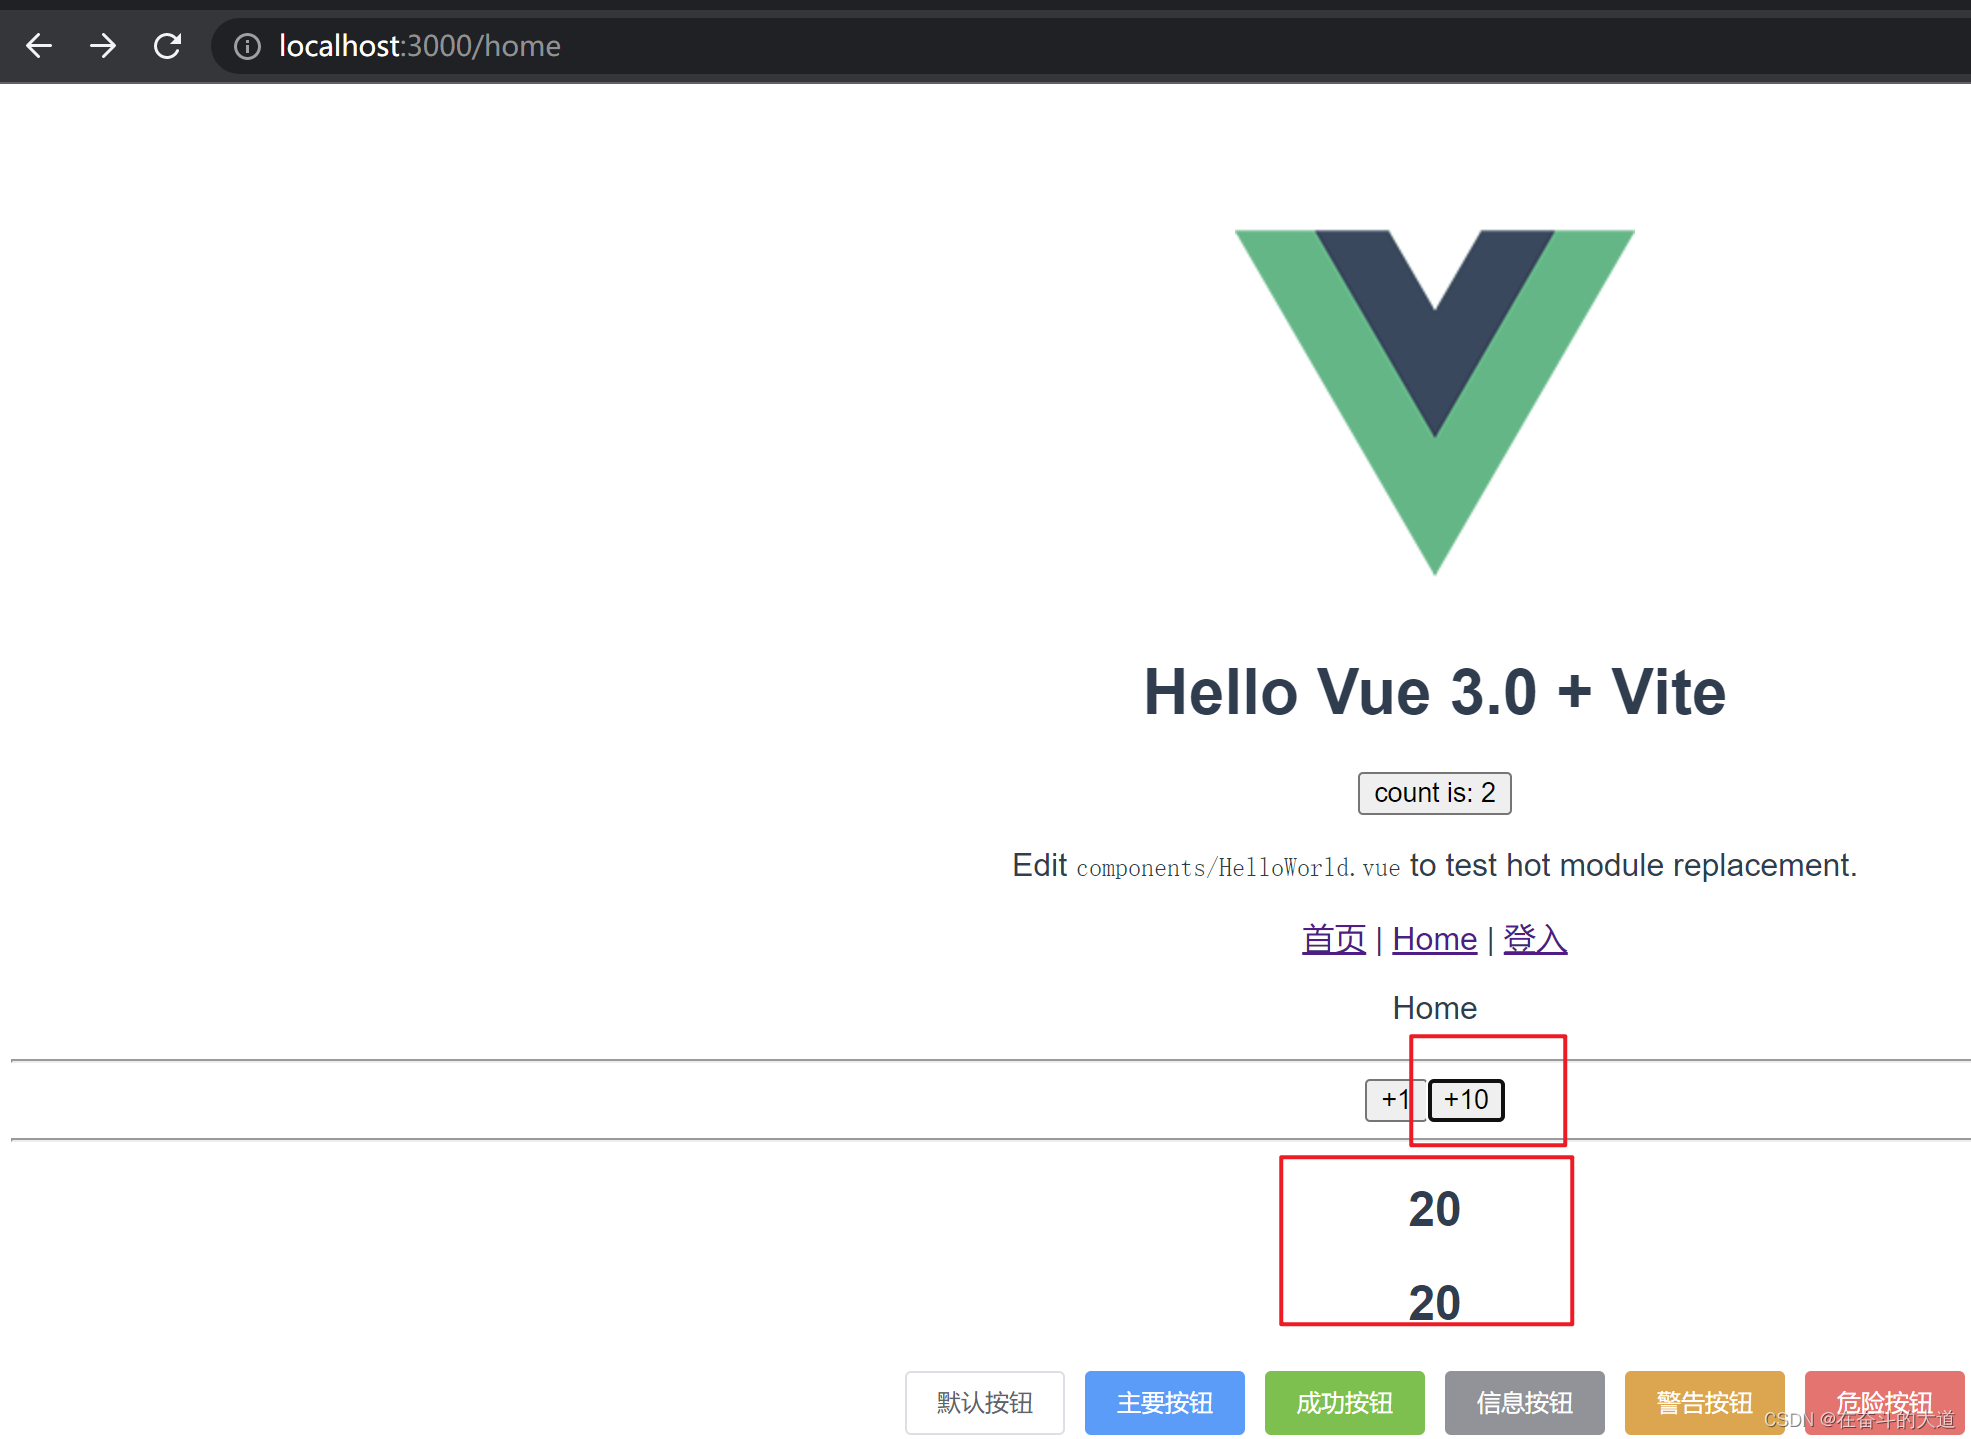
</style>效果截图: