一.引用方式变化 ,routes属性加入强制判断
vue2 的引用方式:
import Vue from 'vue'
import Router from 'vue-router'

Vue.use(Router)

const routes = [ ...xxx ]

const router = new Router({


	mode: 'history',
	routes
})

export default router
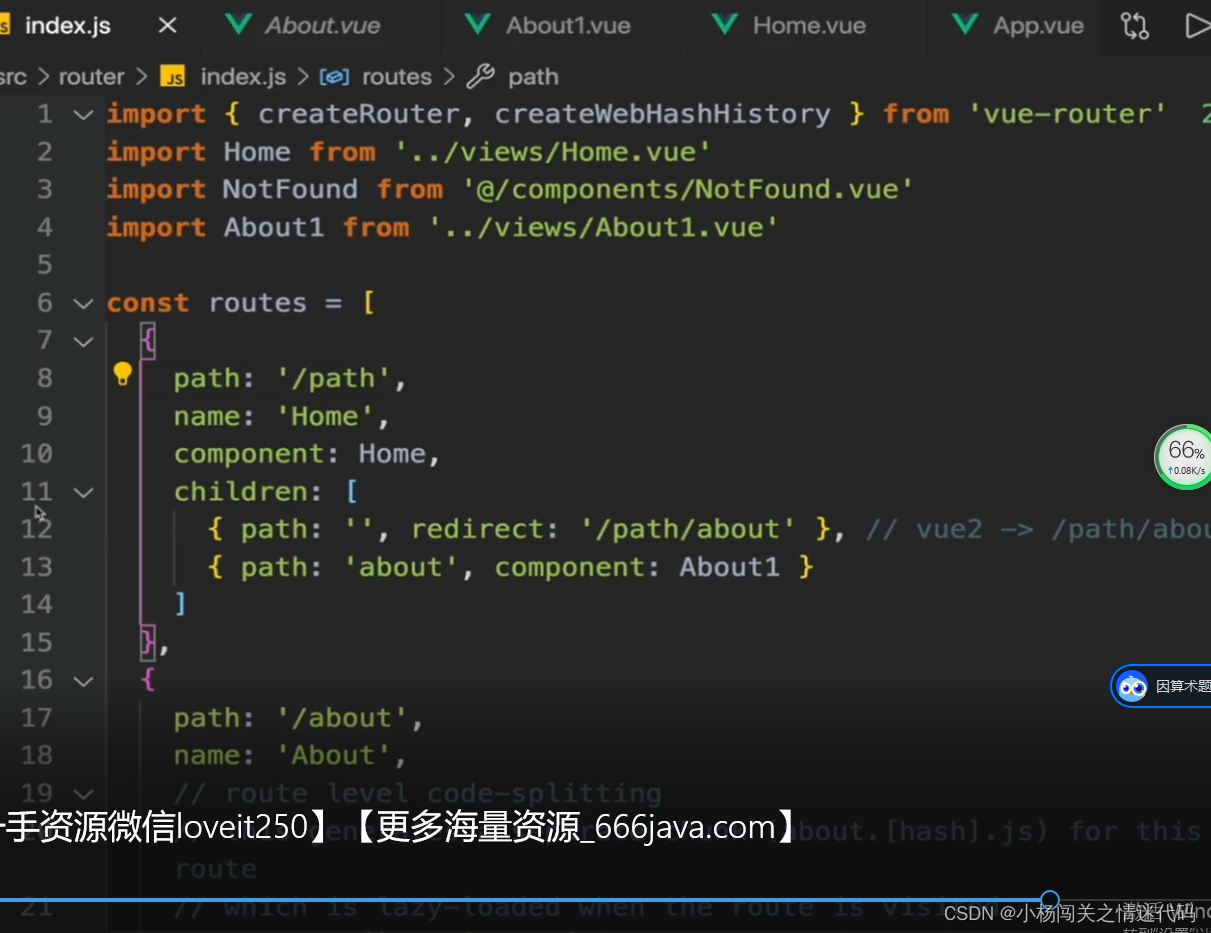
vue3的引用方式:
 import {

     createRouter, createWebHashHistory } from 'vue-router'
import HomeView from '../views/HomeView.vue'

const routes = [
  {


    path: '/',
    name: 'home',
    component: HomeView
  },
  {


    path: '/about',
    name: 'about',
    // route level code-splitting
    // this generates a separate chunk (about.[hash].js) for this route
    // which is lazy-loaded when the route is visited.
    component: () => import(/* webpackChunkName: "about" */ '../views/AboutView.vue')
  }
]

const router = createRouter({


  history: createWebHashHistory(),
  routes
})

export default router
对比可以看出,vue3中
a. router的实例 是通过函数 createRouter 来创建
b. 历史模式的选择 属性 history: xxxxx
并且在vue3中会 强制判断routes,若不存在则编译都不会通过
const router = createRouter({


  history: createWebHashHistory(),
  // routes   // 注释掉routes之后 编译会报错
})
二. 情形区别:在routes不做 notFound 处理 且 浏览器访问路径 不匹配 routes
vue2: 进入根路径
vue3:

如上图展示,vue3中当浏览器访问路径 不匹配 routes时, 不会跳转到根路径,而是匹配空
三. 动态路由匹配针对(*) 需要使用pathMatch属性
path: * // vue2 写法 但是在vue3中会失效并抛出错误 如下
Error: Catch all routes ("*") must now be defined using a param with a custom regexp
vue2与vue3的配置:
const routes = [
{


    // path: '*',  // vue2  使用*
    path: '/:pathMatch(.*)',  // vue3 使用带有自定义regexp的参数定义
    name: 'notFound',
    component: () => import(/* webpackChunkName: "notFound" */ '../views/NotFound.vue')
  }
]
四. 不再给路径默认添加/,redirect重定向需要写全路径
五.命名路由不匹配跳转
vue3:
import router from '@/router'
...
  mounted() {


  // vue3特性 -> 不匹配的命名路由 既不会推送到not-found -> 也不会推送到 /
    router.push({

    name: 'errorName'})
  }
throw error: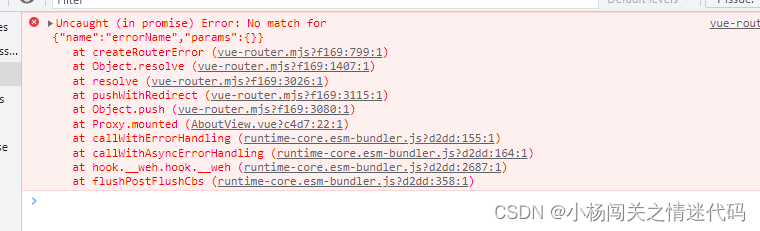
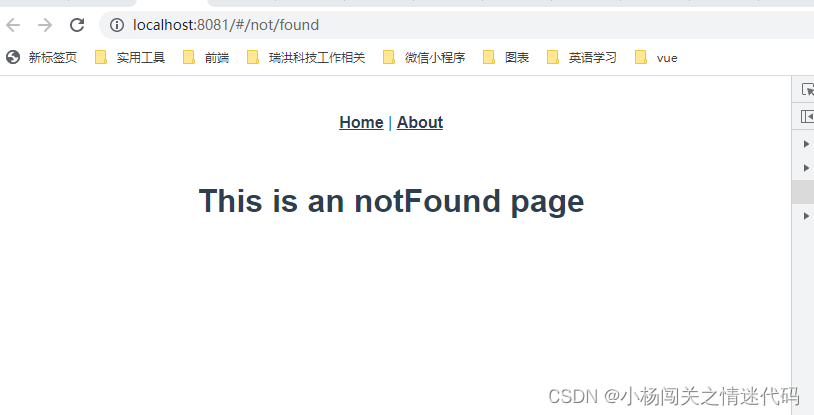
这里可以使用
router.push({

    path: '/not/found'})
成功访问到对应的notfound组件
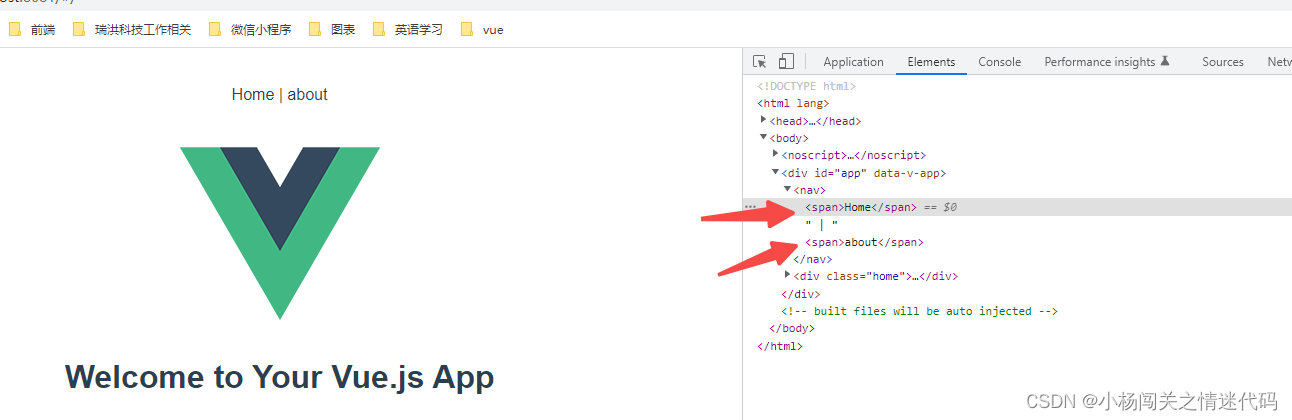
六.router-link 标签化
vue2 使用 tag
vue3 不能使用tag 否则报错 使用slot
 // 这里的custom v-slot="{ navigate }" @click="navigate" 都是固定写法
 <router-link to="/" custom v-slot="{ navigate }">
      <span @click="navigate">Home</span>
</router-link> |
<router-link to="/about" custom v-slot="{ navigate }">
     <span @click="navigate">about</span>
</router-link>
如下图可知 已成功标签化: