从上个随笔停止的地方开始,我们将设置数据库,创建第一个模型。并快速介绍django自动生成的管理站点。
数据库设置:
打开文件mysite/settings.py
默认情况下,配置使用SQLite。这是新手最简单的选择。
虽然你不暂时不用其他数据库,但是还是要说明一下的:
ENGINE
-
'django.db.backends.sqlite3'
-
'django.db.backends.mysql'
-
'django.db.backends.oracle'等
NAME
- 数据库名称,如果sqlLite,name表示该文件的完整路径。包括文件名。默认将文件存储到你的项目目录中。
- 如果使用其他数据库,需要额外的设置user password host。
在文件底部还有个TIME-ZONE设置。这个代表时区。一般改为:TIME_ZONE = 'Asia/Shanghai'
在文件顶部有个INSTALLED_APP设置。它包含django实例中激活的所以应用程序的名称,应用程序可以用于多个项目。
- django.contrib.admin--管理网站
- django.contrib.auth--一个认证系统
- django.contrib.contenttyoes--内容写的框架
- django.contrib.sessions--会话框架
- django.contrib.messages--消息传递框架
- django.contrib.staticfile--一个管理静态文件的框架
但是其中一些应用程序至少使用了一个数据库表,所以我们需要在数据库中创建表格,然后才能使用它们。为此,请运行以下命令:
python manage.py migrate
创建模型
创建两个模型:
question:问题,日期
choice:选择文本,票数每个choice关联一个question。
polls/models.py文件编写代码:
 1 from django.db import models
 2
 3 # Create your models here.
 4 class Question(models.Model):
 5     question_text=models.CharField(max_length=200)  #问题
 6     pub_date=models.DateTimeField('date published') #日期
 7
 8 class Choice(models.Model):
 9     choice_text=models.CharField(max_length=200)    #选择
10     votes=models.IntegerField(default=0)            #票数
11     question=models.ForeignKey(Question,on_delete=models.CASCADE)   #常见的数据库关系,多对一,多对多,一对一
激活模型
刚刚models.py可以为此应用程序创建数据库,create table.。
但我们还要告诉项目,该polls程序已安装。
回到settings.py文件的INSTALLED-APPS修改代码:
'polls.apps.PollsConfig',
现在django知道polls程序,运行另一个命令:
python manage.py makemigrations polls

生成了迁移文件。有一个命令可以执行迁移,migrate。
但先看看迁移的sql将运行啥。sqlmigrate采用迁移名称并返回它们的sql:
python manage.py sqlmigrate polls 0001
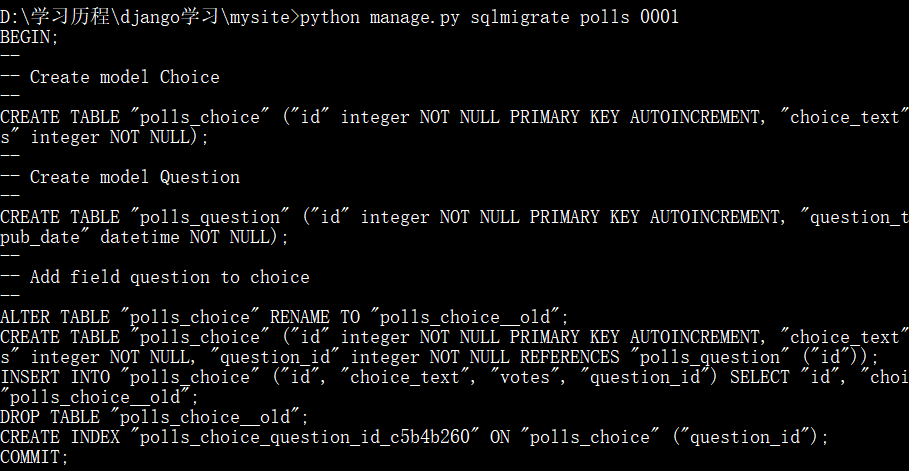
当然,输出决定于你选择的数据库,大同小异。
说明:sqlmigrate实际不会执行迁移,只是将其打印到屏幕。
现在,migrate再次运行来执行迁移:
python manage.py migrate
迁移非常强大,后面你可以随时更改模型,而无需删除数据库或表,并创建新的数据库,它专门用于实时升级数据库,而不会丢失数据。
总结:
- 改变模型--models.py
- 生成迁移文件--python manage.py makemigrations 程序名
- 执行迁移--pytho manage.py migrate
使用
现在,我们来跳入python shell交互式,并使用django提供的免费API。
python manage.py shell
#导入两个模型类
In [1]: from polls.models import Question,Choice

#查询。返回的是对象。为空,因为没有任何数据
In [2]: Question.objects.all()
Out[2]: <QuerySet []>

#导入django工具包,时区相关
In [5]: from django.utils import timezone

#创建一个Question对象。参数就是字段内容
In [7]: q=Question(question_text="What's new",pub_date=timezone.now())

#保存
In [8]: q.save()

#id
In [9]: q.id
Out[9]: 1

#查询字段
In [10]: q.question_text
Out[10]: "What's new"

In [11]: q.pub_date
Out[11]: datetime.datetime(2018, 6, 4, 7, 39, 40, 677255, tzinfo=<UTC>)

#修改字段
In [12]: q.question_text="What's up?"
In [13]: q.save()

#In [15]: Question.objects.all()
Out[15]: <QuerySet [<Question: Question object>]>
你有没有发现。这是一个无益的对象。解决问题。在models.py文件中修改
class Question(models.Model):
     #...
    def __str__(self):
        return self.question_text
class Choice(models.Model):
    #...
    def __str__(self):
        return self.choice_text
说明:向模型中添加__str__方法非常重要。
重新进入shell命令:
n [5]: Question.objects.filter(id=1)
Out[5]: <QuerySet [<Question: What's up?>]>

In [6]: current_year=timezone.now().year

In [7]: Question.objects.get(pub_date__year=current_year)
Out[7]: <Question: What's up?>

In [8]: Question.objects.get(pk=1)
Out[8]: <Question: What's up?>

In [9]: q=Question.objects.get(pk=1)

In [10]: q.choice_set.create(choice_text='Not much',votes=0)
Out[10]: <Choice: Not much>

In [12]: q.choice_set.create(choice_text='The sky',votes=0)
Out[12]: <Choice: The sky>

In [13]: q.choice_set.create(choice_text='Just hacking again',votes=0)
Out[13]: <Choice: Just hacking again>

In [14]: c=q.choice_set.create(choice_text='xjm',votes=1)

In [15]: c.question
Out[15]: <Question: What's up?>

In [16]: q.choice_set.count()
Out[16]: 4

In [17]: q.choice_set.all()
Out[17]: <QuerySet [<Choice: Not much>, <Choice: The sky>, <Choice: Just hacking again>, <Choice: xjm>]>

In [18]: c
Out[18]: <Choice: xjm>

In [19]: q
Out[19]: <Question: What's up?>
创建一个管理员
D:\学习历程\django学习\mysite>python manage.py createsuperuser
Username (leave blank to use 'xjm'): admin
Email address: 1510261589@qq.com
Password:
Password (again):
Superuser created successfully.

D:\学习历程\django学习\mysite>
执行命令后,会提示输入用户名、邮箱、密码、密码确认。
启动开发服务器
python manage.py runserver
打开web浏览器输入:https://127.0.0.1:8000/admin/。
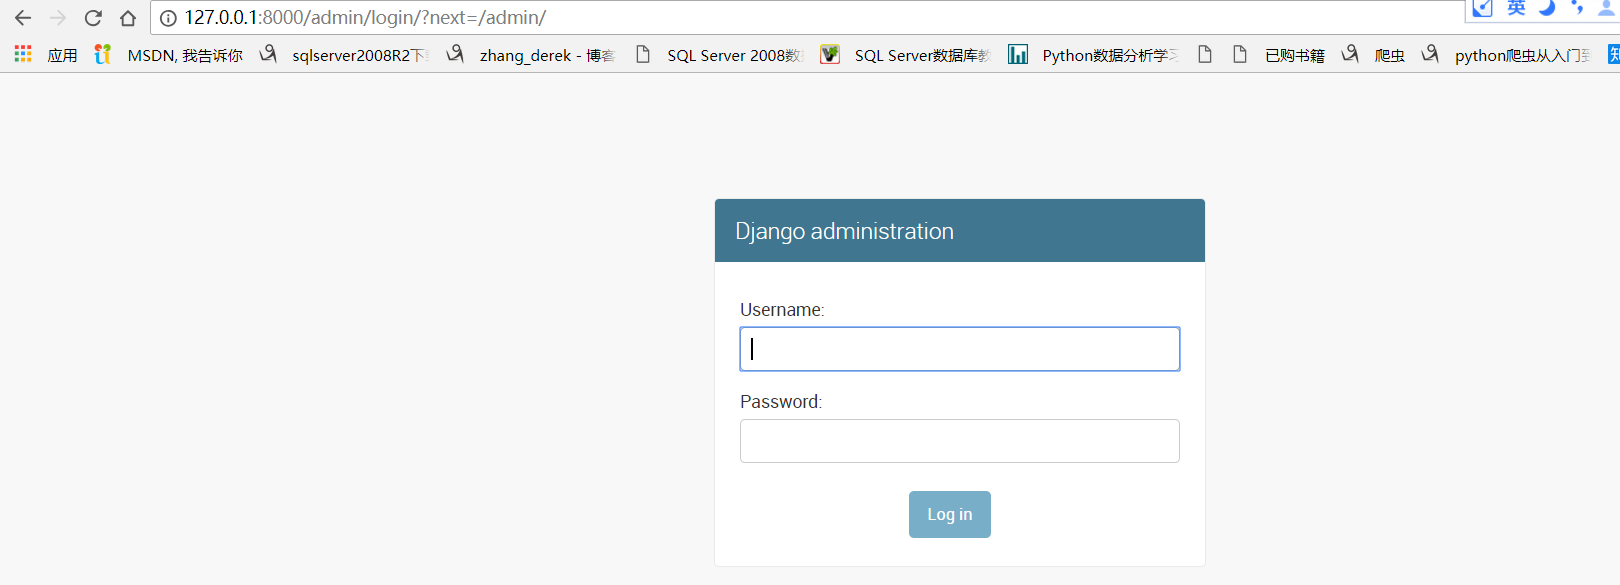
输入用户名、密码登录。
如果忘了密码,可以修改:
D:\学习历程\django学习\mysite>python manage.py changepassword admin   #后面跟用户名
Changing password for user 'admin'
Password:
Password (again):
Password changed successfully for user 'admin'
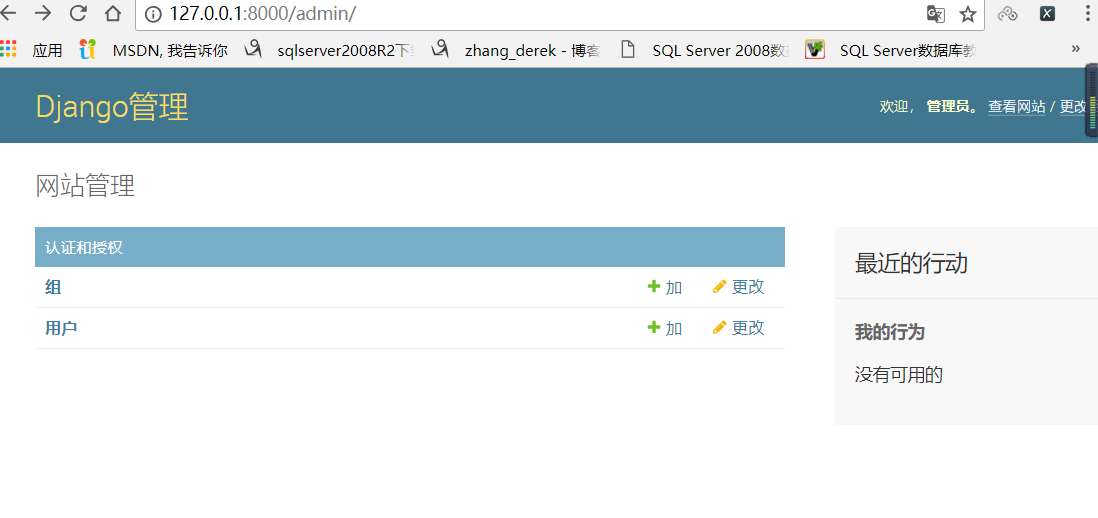
但是,你有没有发现。我们的民意调查在哪里,并没有出现。只需做一件事。告诉管理员。
打开polls/admin.py文件编写代码:
1 from django.contrib import admin
2 from .models import Question
3
4 # Register your models here.
5 admin.site.register(Question)   #注册question对象
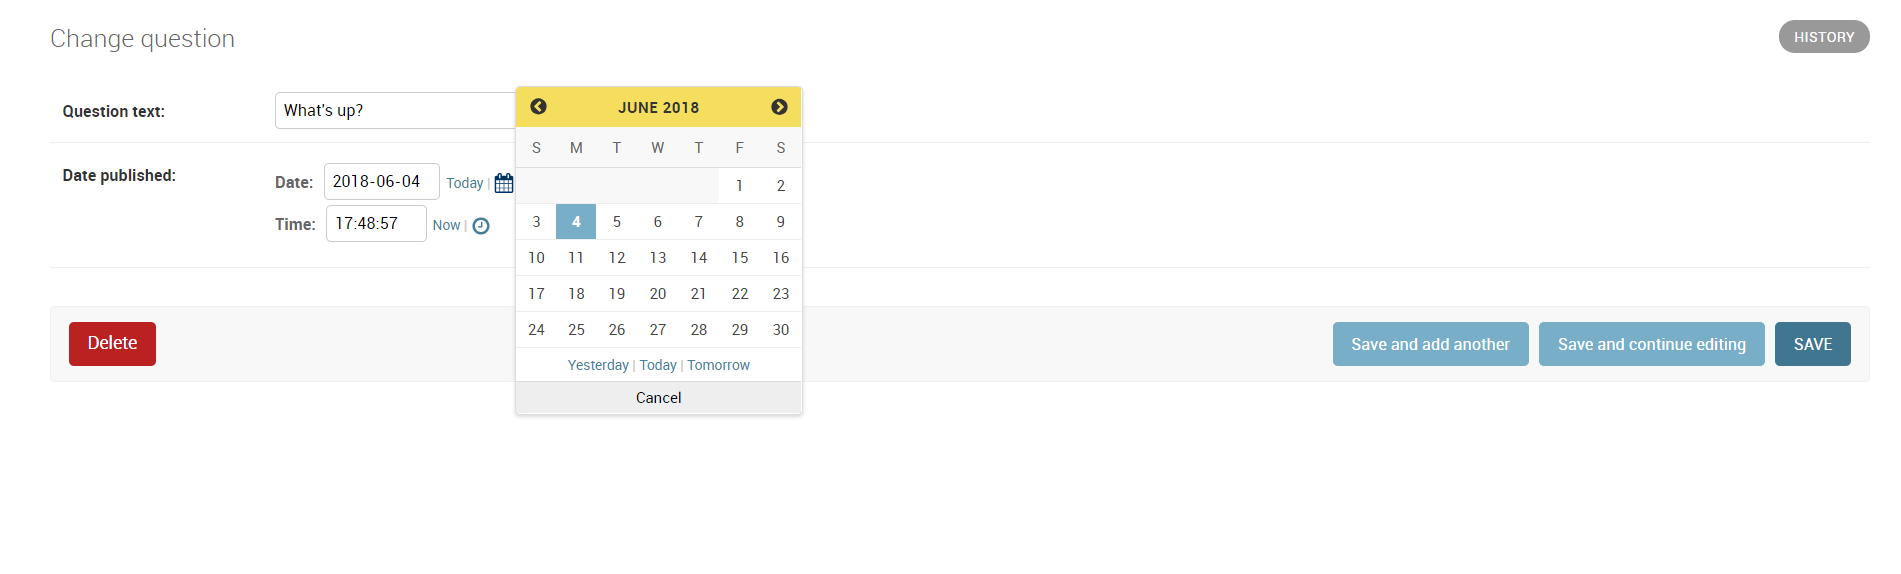
此刻,你看到你想要看到的了:
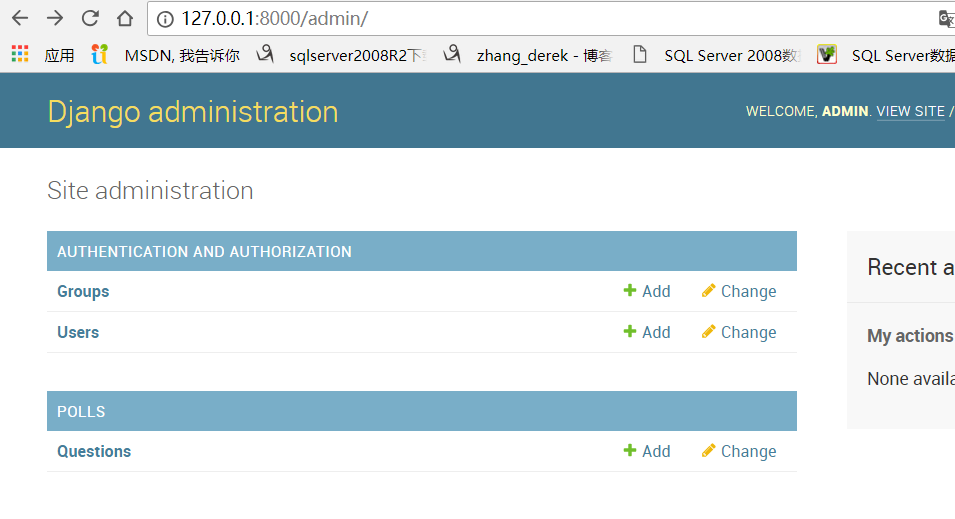
其余不多展示了,自己欣赏: