一、前言
Springboot的自动配置原理,面试中经常问到,一直看也记不住,不如手写一个starter,加深一下记忆。
看了之后发现大部分的starter都是这个原理,实践才会记忆深刻。
核心思想:约定大于配置。
二、初探starter启动原理
我们直接看看官网的starter是怎么设计的,仿照这写一个就行了!
我们Ctrl点击spring-boot-starter-web,进入内部pom,我们发现里面有个
org.springframework.boot spring-boot-starter 2.5.3 compile 在此Ctrl点击spring-boot-starter进入starter内部pom: 我们发现之后干活的就是这个包依赖: org.springframework.boot spring-boot-autoconfigure 2.5.3 compile 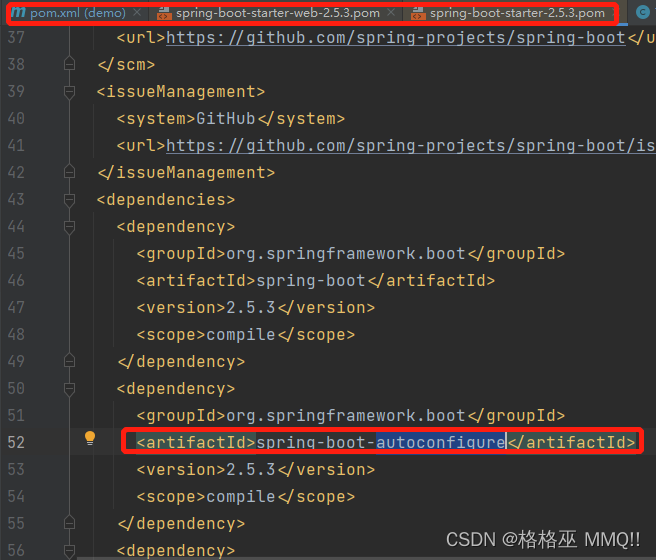我们现在创建两个项目即可:
spring-boot-starter(启动器)
spring-boot-starter-autoconfigure(自动配置包)
小编看到官方这么写的提醒,大家可以按照官网的进行起名称,不要学小编哈!!
您应该确保为您的启动器提供适当的命名空间。不要以 . 开头的模块名称spring-boot,即使您使用不同的 Maven groupId。我们将来可能会为您自动配置的内容提供官方支持。
根据经验,您应该在启动器之后命名组合模块。例如,假设您正在为“acme”创建一个启动器,并且您命名自动配置模块acme-spring-boot和启动器acme-spring-boot-starter。如果您只有一个模块将两者结合起来,请将其命名为acme-spring-boot-starter.
三、项目搭建
- 新建空白项目
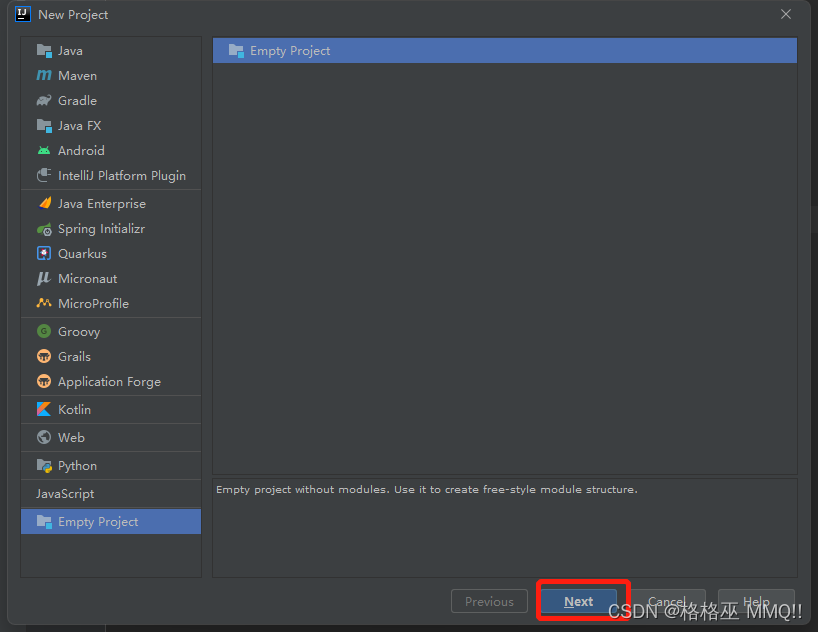
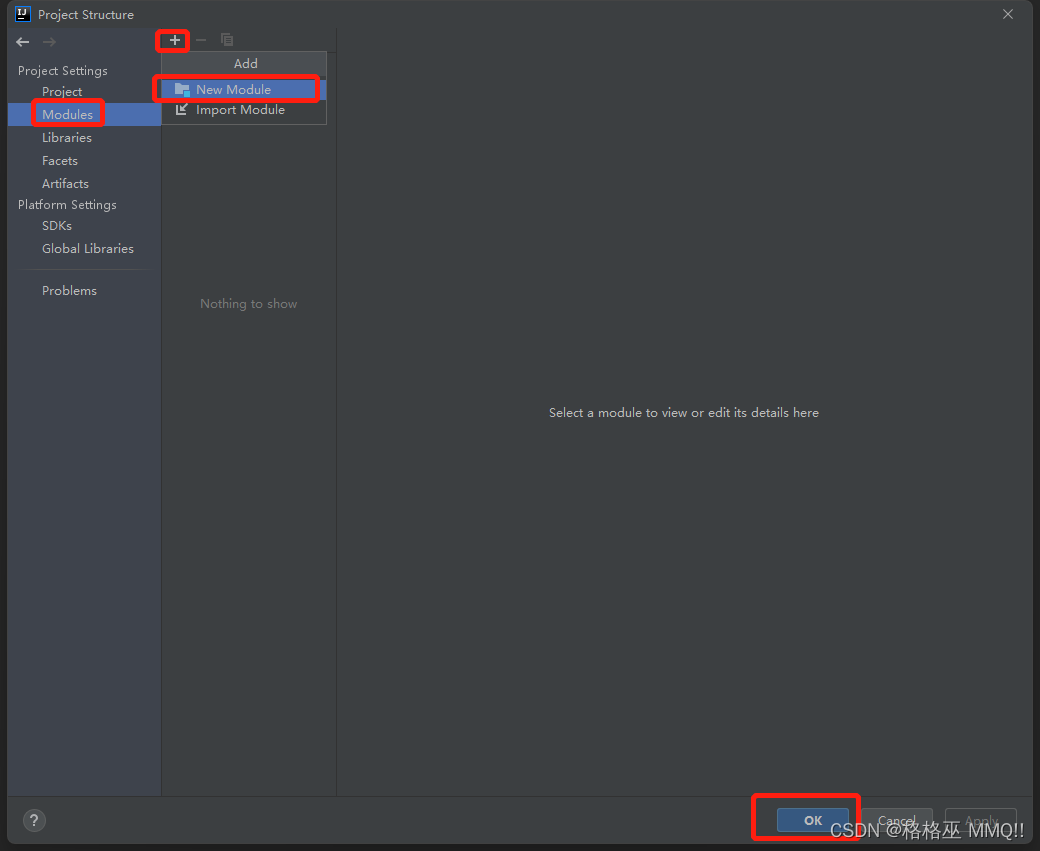
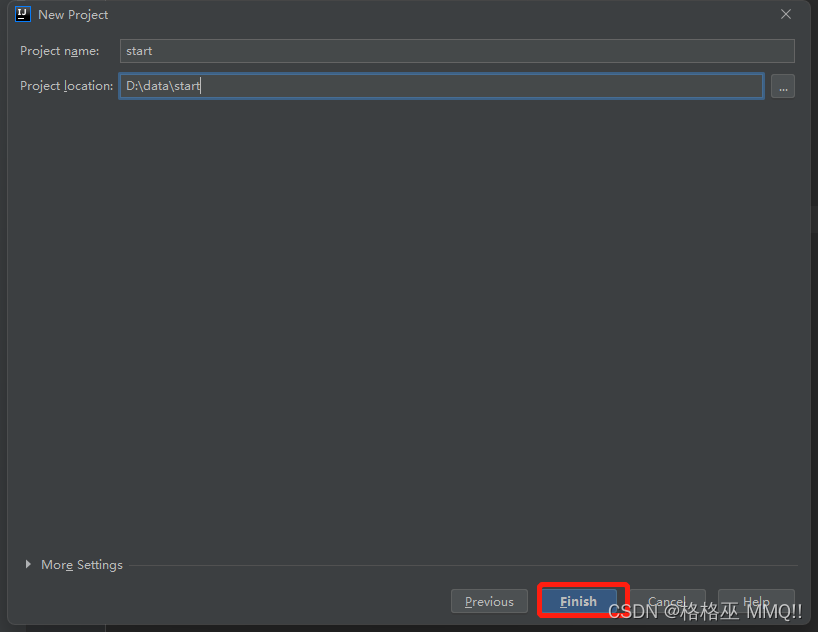
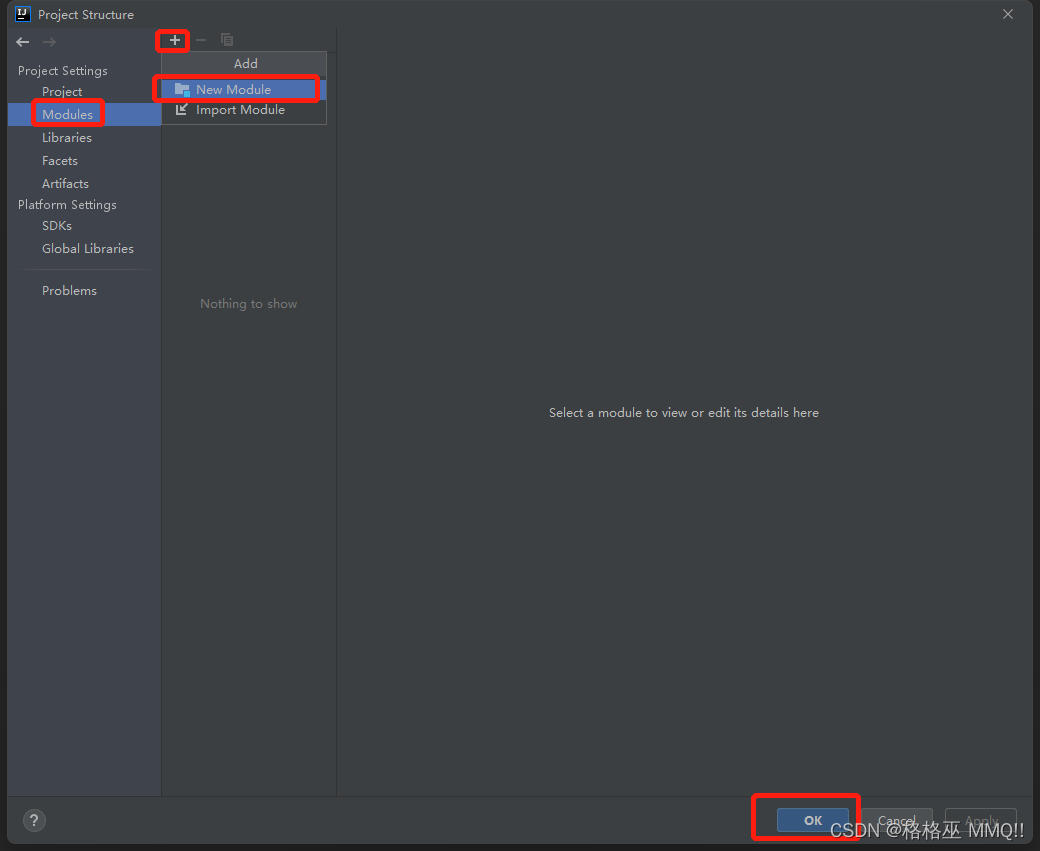
输入总的项目名称
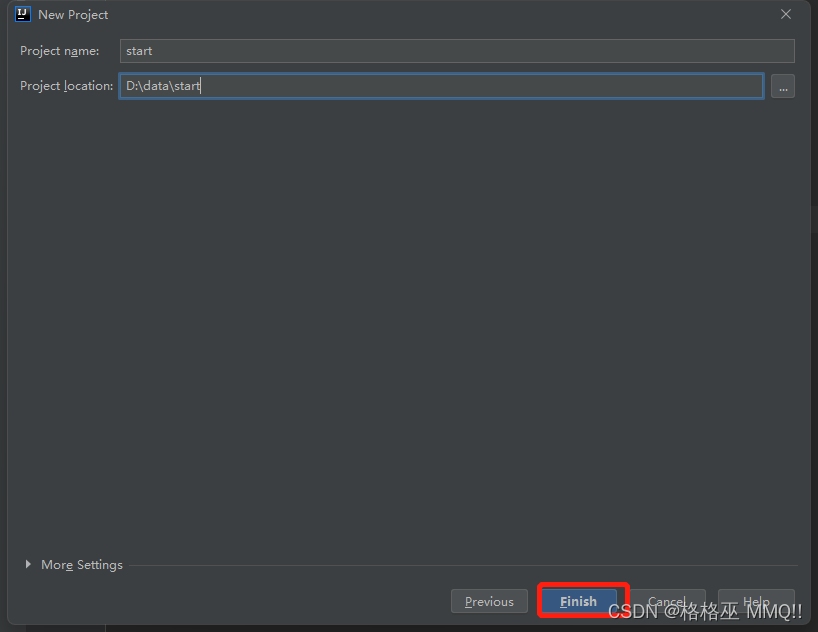
在空白项目里新建两个,这里可以分开单独建立,这里小编跟着雷神一样了,就不单独建立项目了!!
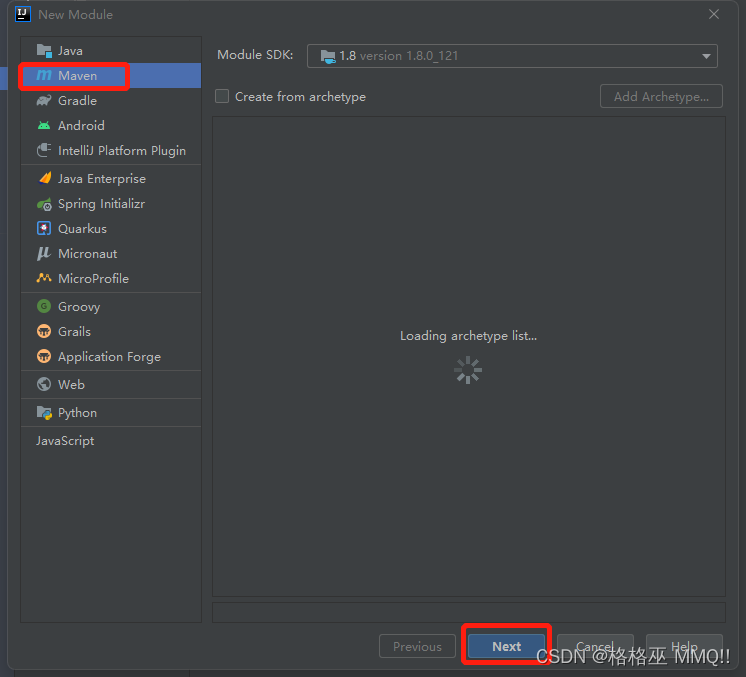
- 新建maven项目
在这里插入图片描述
包名和名称:
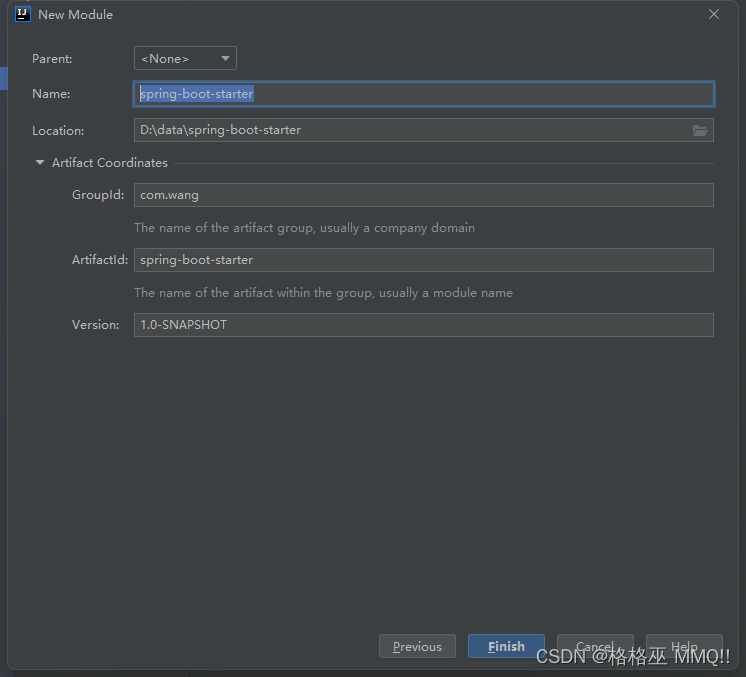
-
新建springboot项目
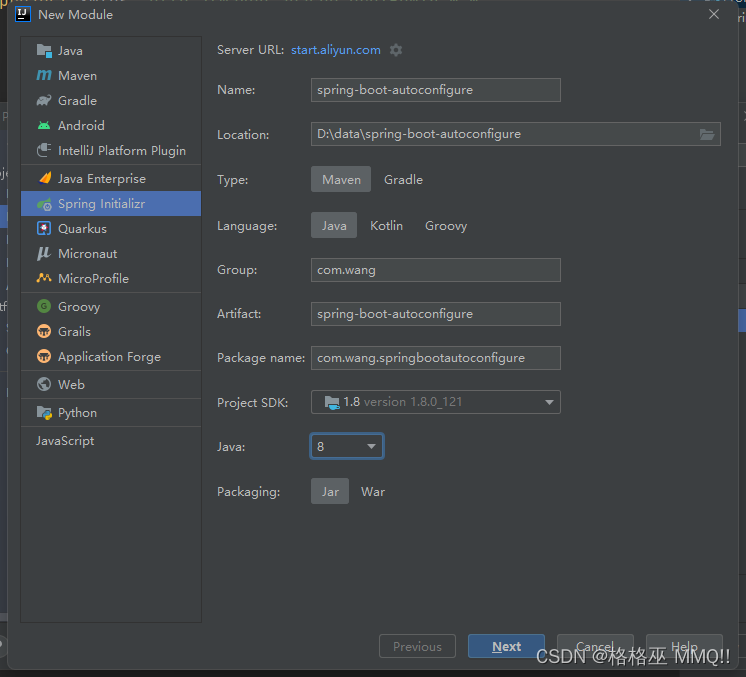
-
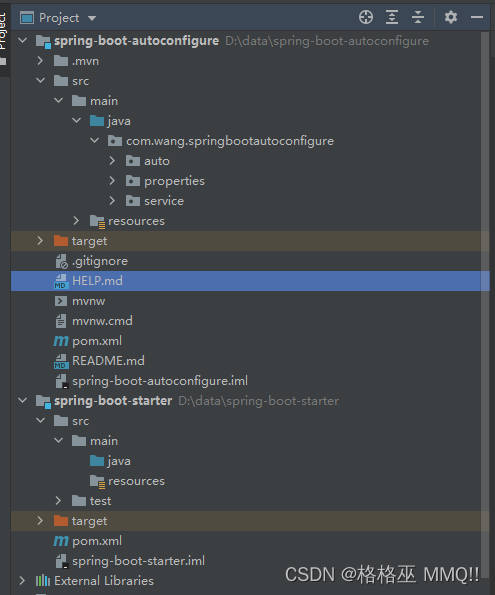
项目架构
这里把没有用的都删除了!!可以不删
四、配置
- 在starter项目中引入自己的autoconfigure依赖
就是上面建立项目的设置的
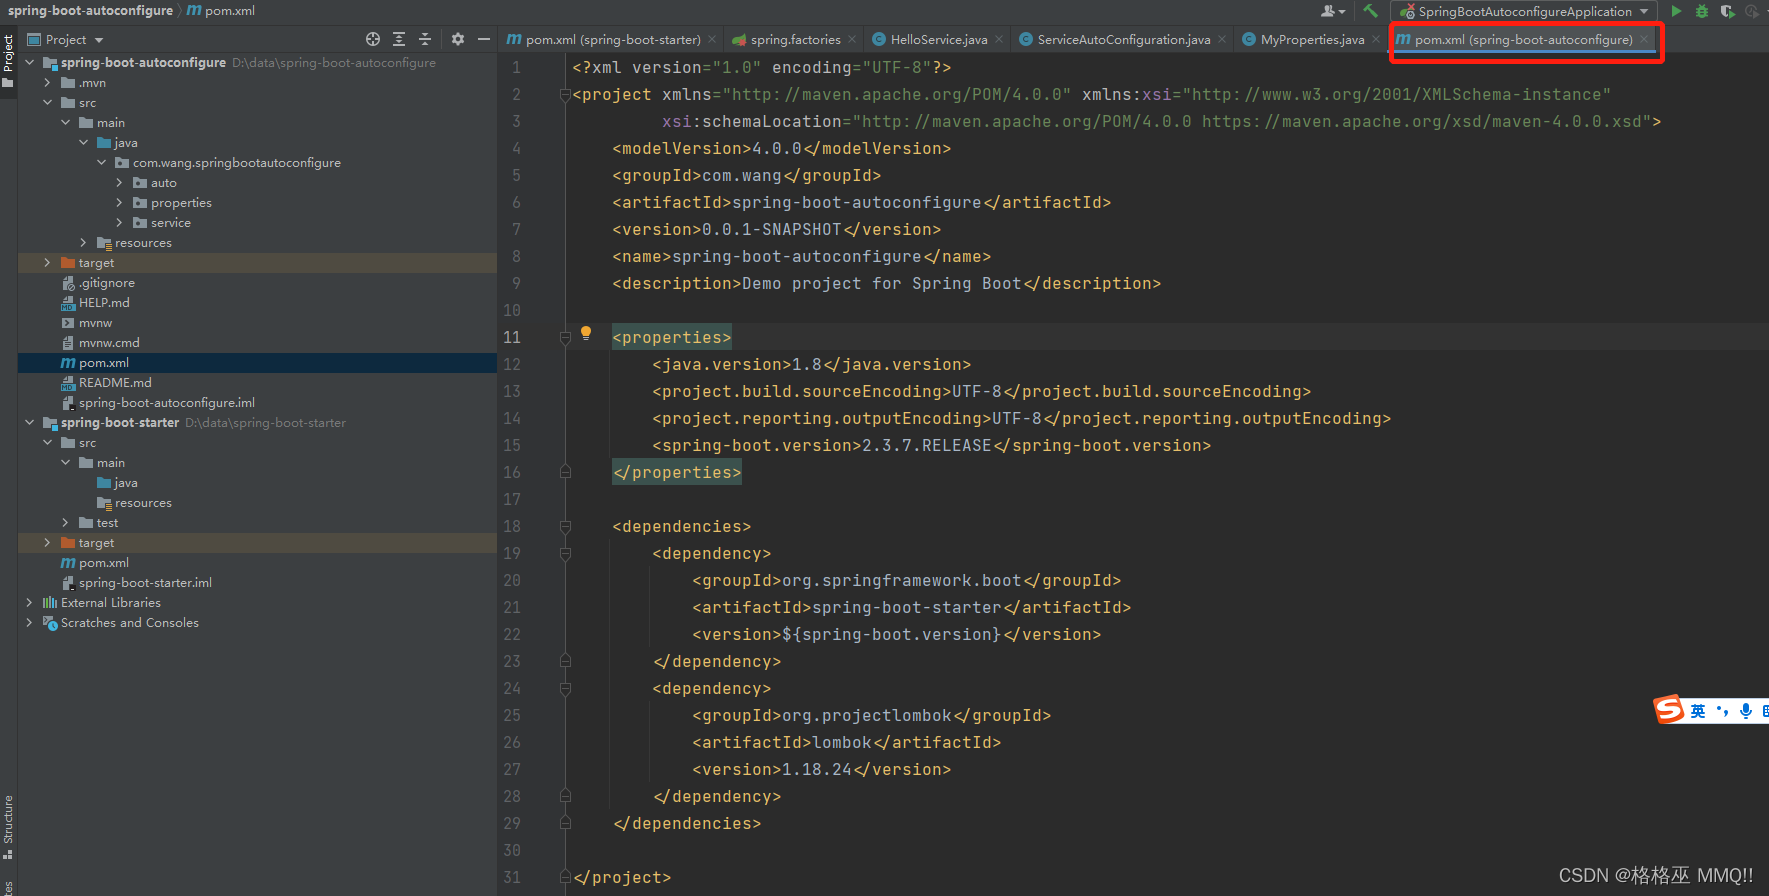
- spring-boot-autoconfigure pom配置
<java.version>1.8</java.version>
<project.build.sourceEncoding>UTF-8</project.build.sourceEncoding>
<project.reporting.outputEncoding>UTF-8</project.reporting.outputEncoding>
<spring-boot.version>2.3.7.RELEASE</spring-boot.version>
五、编写autoconfigure项目
- 配置一个bean
首先删除了自动启动类,咱们用不到,
在spring-boot-autoconfigure项目中新建一个bean,此时不需要让这个bean在容器中,我们写一个自己配置,让他自动加入到容器中。
这就是自动配置的思想
/**
-
这里不需要让在容器中,我们写一个自己配置,让他自动加入到容器中
-
@author wangzhenjun
-
@date 2022/10/14 16:26
*/
public class HelloService {@Autowired
private MyProperties myProperties;public String HelloWord (String username){
return myProperties.getPrefix() + username + myProperties.getSuffix();
}
}
- 编写一个配置文件
这里为了获取配置文件中的属性值,springboot自动配置源码里大部分都是,这样实现在一个配置文件中书写,其他的可以按照开头获取到属性和值!!
/**
-
@author wangzhenjun
-
@date 2022/10/14 16:28
*/
@Data
@ConfigurationProperties(“wang.name”)
public class MyProperties {private String prefix;
private String suffix;
}
- 编写自动配置
import com.wang.springbootautoconfigure.properties.MyProperties;
import com.wang.springbootautoconfigure.service.HelloService;
import org.springframework.boot.autoconfigure.condition.ConditionalOnMissingBean;
import org.springframework.boot.context.properties.EnableConfigurationProperties;
import org.springframework.context.annotation.Bean;
import org.springframework.context.annotation.Configuration;
/**
-
@author wangzhenjun
-
@date 2022/10/14 16:33
*/
@Configuration
//没有这个bean的时候才会生效
@ConditionalOnMissingBean(HelloService.class)
// 加载配置文件,让它成为容器中的bean
@EnableConfigurationProperties(MyProperties.class)
public class ServiceAutoConfiguration {/**
-
把刚刚写的服务,加入到容器中
*/
@Bean
public HelloService helloService (){return new HelloService();
}
}
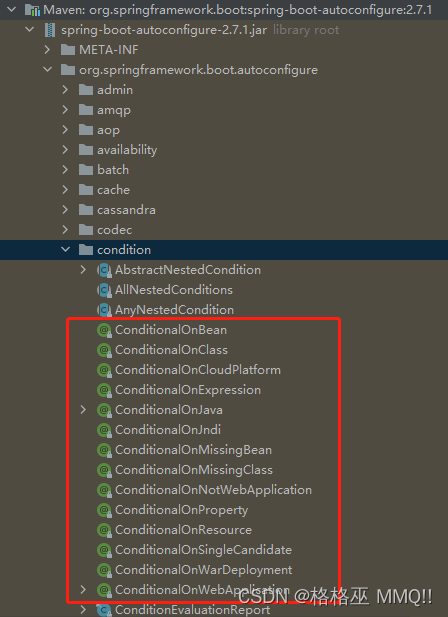
主要就是condition下的几个注解,来完成bean是否加入到容器中:
常用的:
-
@ConditionalOnClass
@ConditionalOnMissingClass
@ConditionalOnBean
@ConditionalOnMissingBean
@ConditionalOnProperty
- 新建spring.factories
我们看到源码里自动配置,就是从这个文件获取加载,所以我们模仿这新建一个,这样就可以扫描加入容器中!!
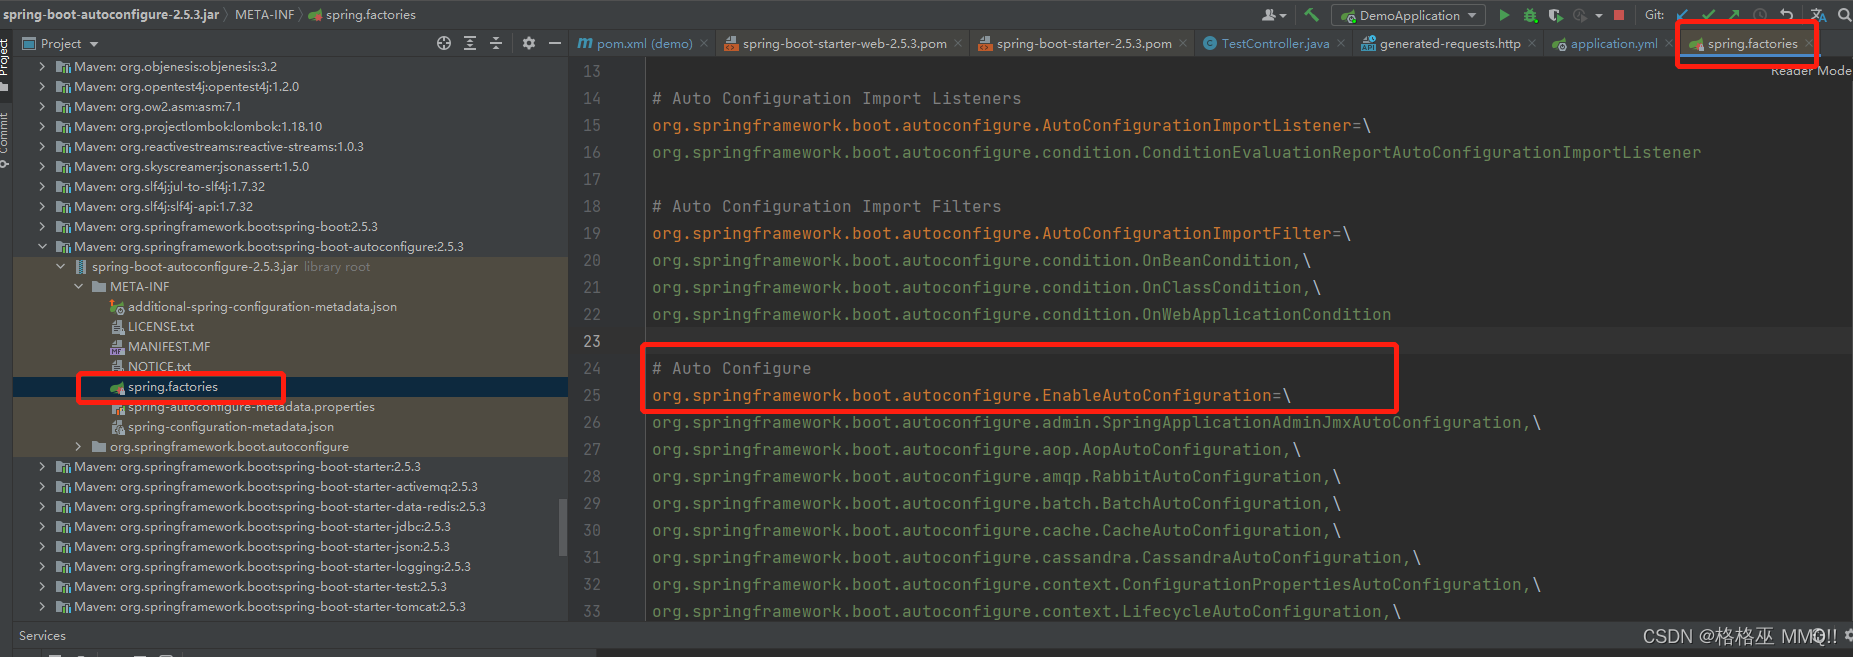
如果是springboot2.7以上就是:
文件夹名称:META-INF.spring
文件名称:org.springframework.boot.autoconfigure.AutoConfiguration.imports

里面直接写全类名即可!
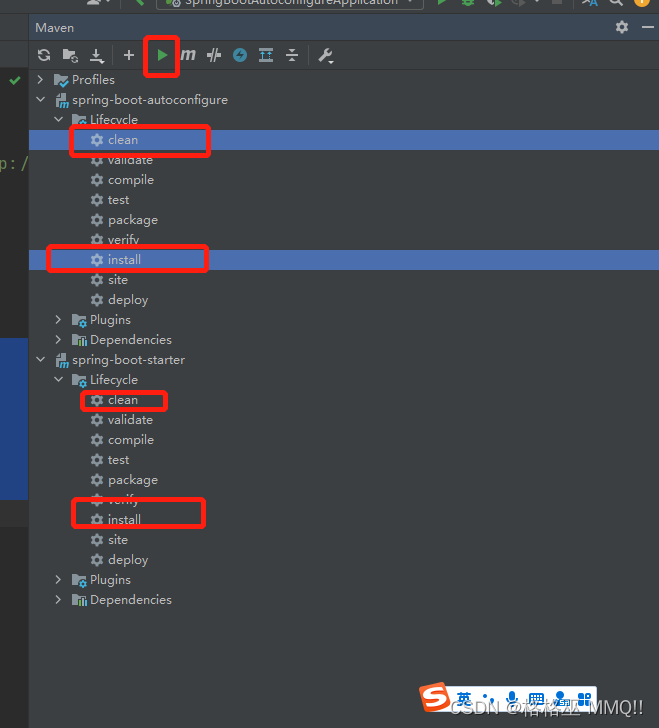
- 打包
先把spring-boot-autoconfigure打包到本地库,在打包spring-boot-starter,顺序一定要有,不然找不到前者的包!!
六、测试
我们那一个新项目进行测试,新项目小编就不带大家建了!
-
导入咱们的starter依赖
com.wang
spring-boot-starter
1.0-SNAPSHOT
-
添加配置文件
wang:
name:
prefix: hello
suffix: 886

-
新建controller测试类
@RestController
@RequestMapping(“/test”)
public class TestController {@Autowired
private HelloService helloService;@GetMapping(“/starter”)
public String starter(){return helloService.HelloWord("tom");}
} -
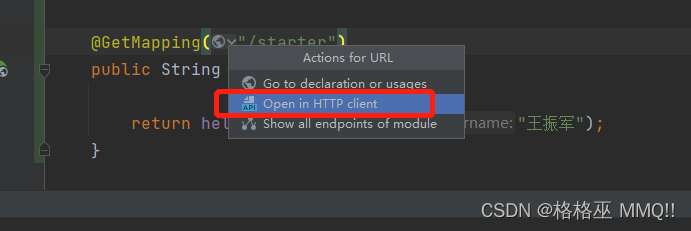
测试访问
成功访问,不过中文是有乱码的,小编找不到解决方法,有懂的还请留言告知!!
主流程通了就行,慢慢理解了自动配置的魅力!
总流程应该就是这样的:
引入starter — xxxAutoConfiguration — 容器中放入组件 ---- 绑定xxxProperties ---- 配置项
中文是乱码,可能是servlet没有吧,有懂的可以留言告诉小编方案,谢谢大家!!
