安装Nginx
--下载nginx-rtmp-module模块
git clone https://github.com/arut/nginx-rtmp-module.git

--安装依赖
yum install -y wget gcc gcc-c++ make pcre pcre-deve zilib zlib-devel openssl-devel

--下载Nginx源码包并解压
wget http://nginx.org/download/nginx-1.18.0.tar.gz
tar zxvf nginx-1.18.0.tar.gz
cd nginx-1.18.0

--编译安装
./configure --prefix=/usr/local/nginx --with-http_ssl_module --with-http_gzip_static_module --with-http_stub_status_module --add-module=/nginx-rtmp-module/
make && make install
点播视频服务的配置
--编辑主配置文件
vim /usr/local/nginx/conf/nginx.conf
worker_processes 1;
events {
worker_connections 1024;
}
include /usr/local/nginx/conf.d/*.conf;
http {
include mime.types;
default_type application/octet-stream;
}
--编辑子配置文件
vim /usr/local/nginx/conf.d/default.conf
rtmp {
server {
listen 8080; #设置端口号
chunk_size 4096; #设置数据传输块的大小
application live {
play /usr/local/nginx/html/live; #设置视频文件的位置
}
}
}
--上传一个视频文件
[root@localhost nginx]# ls /usr/local/nginx/html/live/
ckwlq.mp4
--重载配置文件
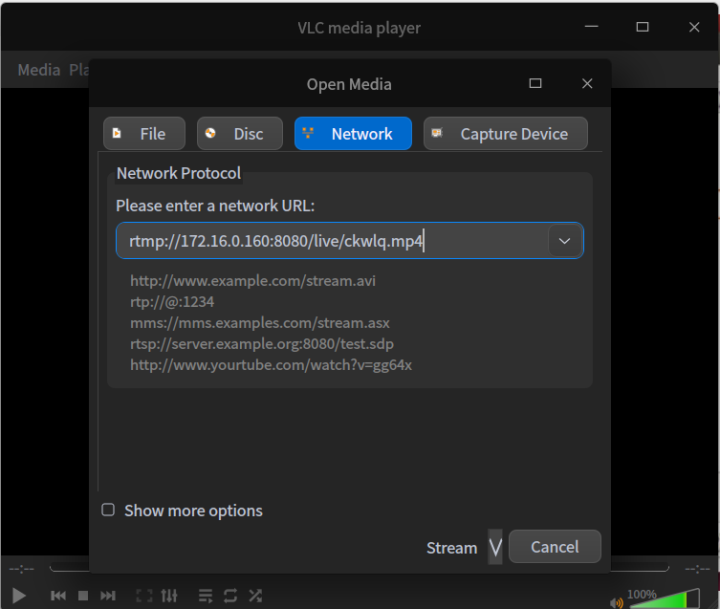
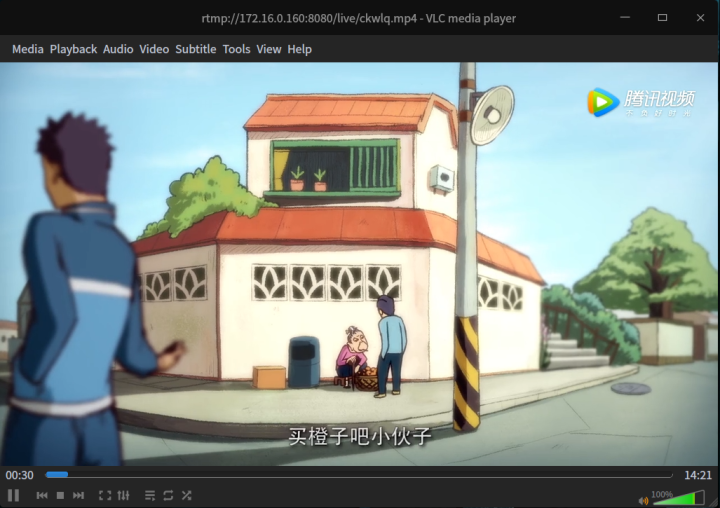
/usr/local/nginx/sbin/nginx -s reload打开VLC软件
本文福利, 免费领取C++音视频学习资料包、技术视频,内容包括(音视频开发,面试题,FFmpeg ,webRTC ,rtmp ,hls ,rtsp ,ffplay ,srs)↓↓↓↓↓↓见下面↓↓文章底部点击免费领取↓↓
直播服务的配置
--编辑配置文件
vim /usr/local/nginx/conf.d/default.conf   #添加直播服务配置
rtmp {
  server {
  listen 8080;
  chunk_size 4096;

application video {    #配置直播服务
   live on;
}
application live {
  play /usr/local/nginx/html/live;
}
}
}

--重载配置文件
/usr/local/nginx/sbin/nginx -s reload
安装OBS工具
由于我用的是deepin系统,所以这里只演示deepin系统下的操作,windows系统百度下载OBS软件即可

--安装ffmpeg
sudo apt install ffmpeg

--安装OBS
sudo add-apt-repository ppa:obsproject/obs-studio
sudo apt-get update
sudo apt install obs-studio

--运行OBS
root@linux:/# obs
使用OBS进行直播
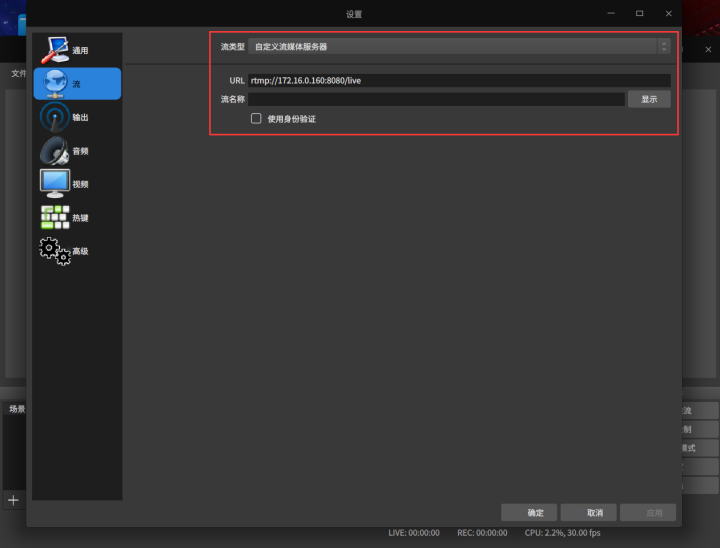
点击右上角文件在点击设置
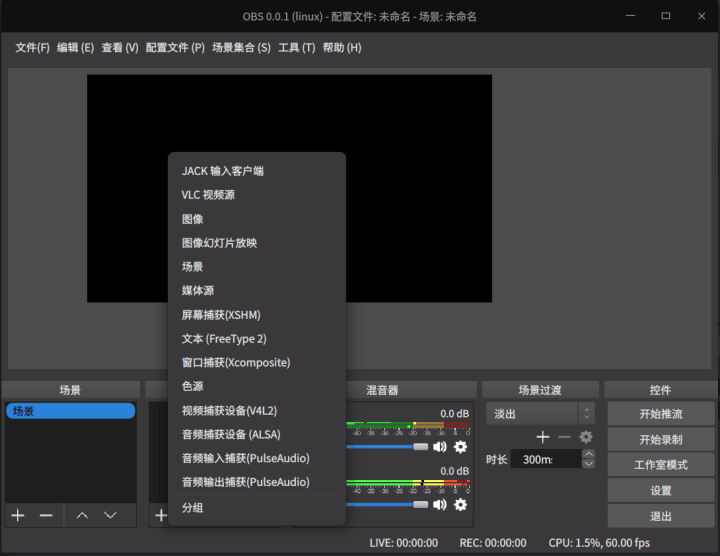
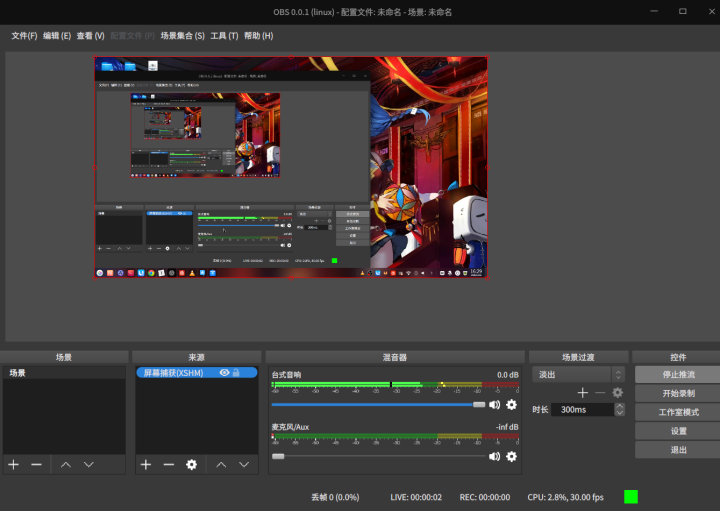
点击来源的 + 号选择 `屏幕捕抓(XSHM)`
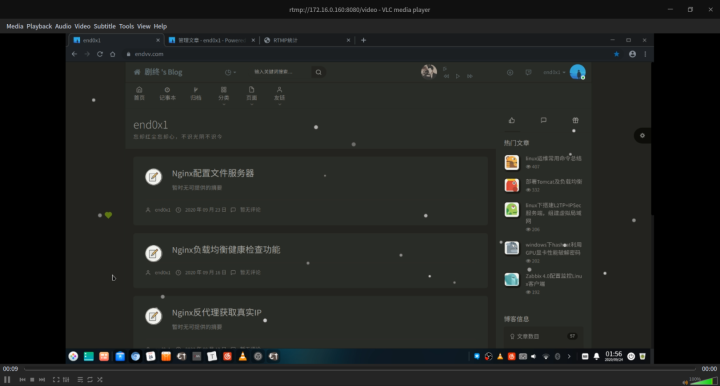
点击开始推流
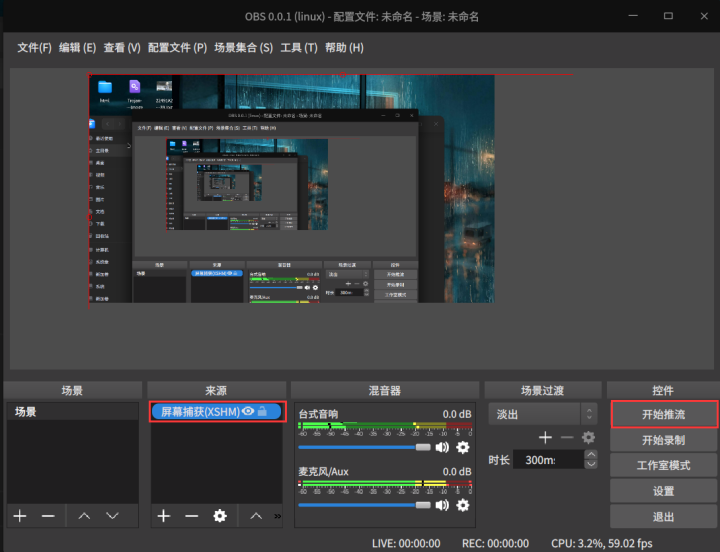
设置VLC播放的地址 rtmp://172.16.0.160:8080/video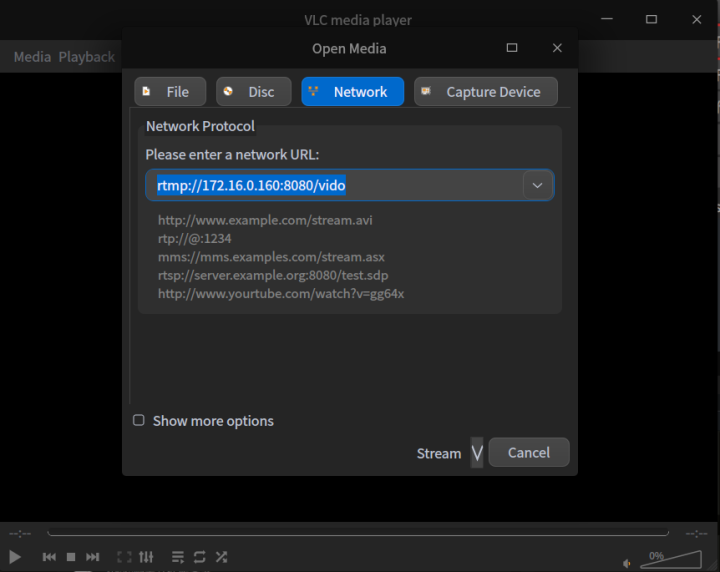
实时回放视频服务
--编辑主配置文件
vim /usr/local/nginx/conf/nginx.conf
worker_processes  1;
events {
    worker_connections  1024;
}
include /usr/local/nginx/conf.d/*.conf;
http {
    include       mime.types;
    default_type  application/octet-stream;
server {
  listen 80;
  server_name localhost;

 location /live {   #这里也是需要添加的字段
   types {
   application/vnd.apple.mpegurl m3u8;
   video/mp2t ts;
}
  alias /usr/local/nginx/html/live;
  expires -1;
  add_header Cache-Control no-cache;
}
}
}


--编辑子配置文件
vim /usr/local/nginx/conf.d/default.conf   #添加直播服务配置
rtmp {
  server {
  listen 8080;
  chunk_size 4096;

application live {    #配置直播服务
   live on;
   hls on;   #设置回放视频服务
   hls_path  /usr/local/nginx/html/live;  #设置切片视频文件存放位置
   wait_key on;   #对视频切片进行保护,这样就不会产生马赛克了
   hls_fragment 10s;  #设置HLS 分段长度
   hls_playlist_length 60s;  #总共可以回看的事件,这里设置的是1分钟
   hls_continuous on; #连续模式
   hls_cleanup on;    #对多余的切片进行删除
   hls_nested on;     #嵌套模式
}
application video {
  play /usr/local/nginx/html/video;
}
}
}

--创建切片视频文件存放文件夹
[root@host1 /]# mkdir /usr/local/nginx/html/live/

--重启nginx
/usr/local/nginx/sbin/nginx -s reload
使用obs设置提流地址进行直播
验证
--查看是否产生切片视频文件
[root@host1 html]# ls live/
0.ts  1.ts  2.ts  3.ts  4.ts  5.ts  index.m3u8
数据统计模块
数据统计模块是http 模块,因此统计命令应该位于http 模块中--编辑主配置文件,添加以下配置
[root@host1 /]# vim /usr/local/nginx/conf/nginx.conf
location /livestatus {
rtmp_stat all;
rtmp_stat_stylesheet stat.xsl; #将流媒体的状态全部记录到'stat.xsl'中
}
location /stat.xsl {
root /nginx-rtmp-module/;
}
--重载配置文件
/usr/local/nginx/sbin/nginx -s reload验证
浏览器访问'http://172.16.0.160/livestatus'
本文福利, 免费领取C++音视频学习资料包、技术视频,内容包括(音视频开发,面试题,FFmpeg ,webRTC ,rtmp ,hls ,rtsp ,ffplay ,srs)↓↓↓↓↓↓见下面↓↓文章底部点击免费领取↓↓