新建SpringBoot项目
这里使用 IntelliJ IDEA 2022.1.2 演示
1.1 新建

1.2 勾选依赖

2. 导入 Druid 和 Mybatis-Plus 依赖
<dependency>
            <groupId>com.alibaba</groupId>
            <artifactId>druid-spring-boot-starter</artifactId>
            <version>1.2.11</version>
        </dependency>

        <dependency>
            <groupId>com.baomidou</groupId>
            <artifactId>mybatis-plus-boot-starter</artifactId>
            <version>3.5.2</version>
        </dependency>
3. 配置application.yml
一般我习惯把数据库相关的配置单独写一个配置文件中,然后使用spring.profiles.active 配置,启用只能配置文件,比如 application-druid.yml。
3.1 application.yml 中如下配置
# Spring配置
spring:
  # 启用指定配置文件
  #(文件名需满足application-{profile}.yml的格式)
  profiles:
    active: druid
3.2 application-druid.yml 中如下配置
spring:
    datasource:
        #1.JDBC
        type: com.alibaba.druid.pool.DruidDataSource
        driver-class-name: com.mysql.cj.jdbc.Driver
        url: jdbc:mysql://127.0.0.1:3306/test_db?useUnicode=true&characterEncoding=utf8&zeroDateTimeBehavior=convertToNull&useSSL=false&serverTimezone=GMT%2B8
        username: root
        password: ok
        druid:
            #2.连接池配置
            #初始化连接池的连接数量 大小,最小,最大
            initial-size: 5
            min-idle: 5
            max-active: 20
            #配置获取连接等待超时的时间
            max-wait: 60000
            #配置间隔多久才进行一次检测,检测需要关闭的空闲连接,单位是毫秒
            time-between-eviction-runs-millis: 60000
            # 配置一个连接在池中最小生存的时间,单位是毫秒
            min-evictable-idle-time-millis: 30000
            validation-query: SELECT 1 FROM DUAL
            test-while-idle: true
            test-on-borrow: true
            test-on-return: false
            # 是否缓存preparedStatement,也就是PSCache  官方建议MySQL下建议关闭   个人建议如果想用SQL防火墙 建议打开
            pool-prepared-statements: true
            max-pool-prepared-statement-per-connection-size: 20
            # 配置监控统计拦截的filters,去掉后监控界面sql无法统计,'wall'用于防火墙
            filter:
                stat:
                    merge-sql: true
                    slow-sql-millis: 5000
            #3.基础监控配置
            web-stat-filter:
                enabled: true
                url-pattern: /*
                #设置不统计哪些URL
                exclusions: "*.js,*.gif,*.jpg,*.png,*.css,*.ico,/druid/*"
                session-stat-enable: true
                session-stat-max-count: 100
            stat-view-servlet:
                enabled: true
                # 数据监控访问路径
                url-pattern: /druid/*
                reset-enable: true
                #设置监控页面的登录名和密码
                login-username: admin
                login-password: admin
                allow: 127.0.0.1
                #deny: 192.168.1.100
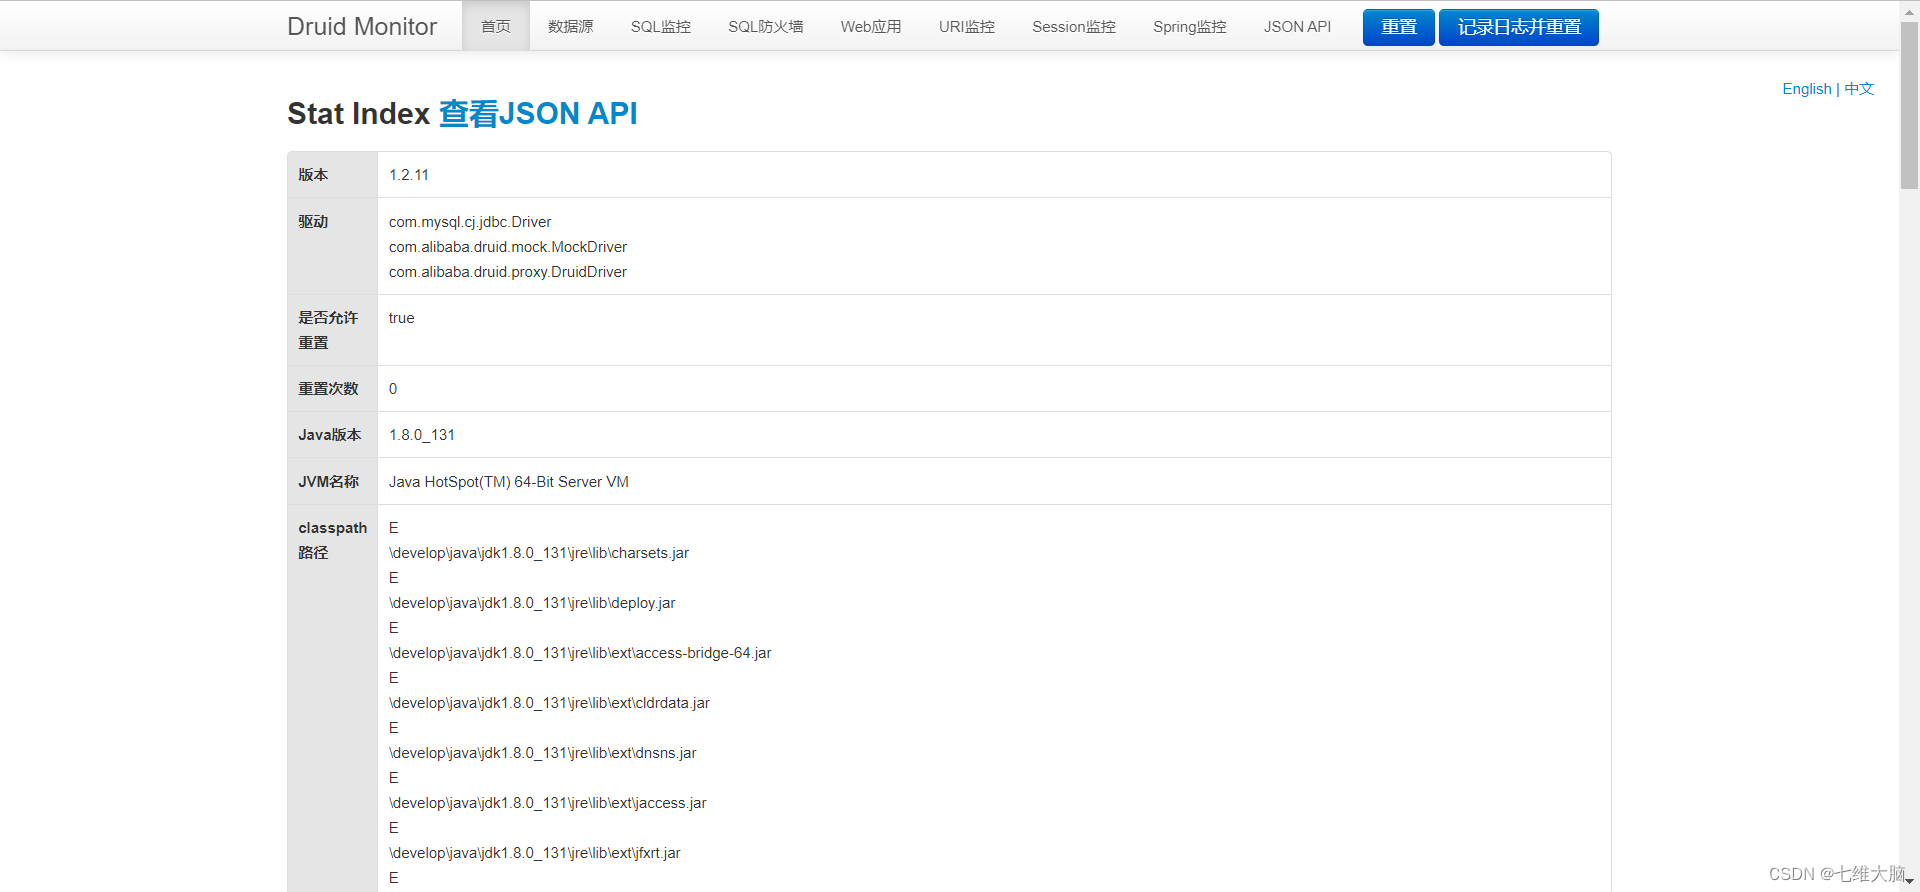
4. 尝试访问数据监控
地址即是druid.yml中配置的地址:http://localhost:8080/druid/login.html
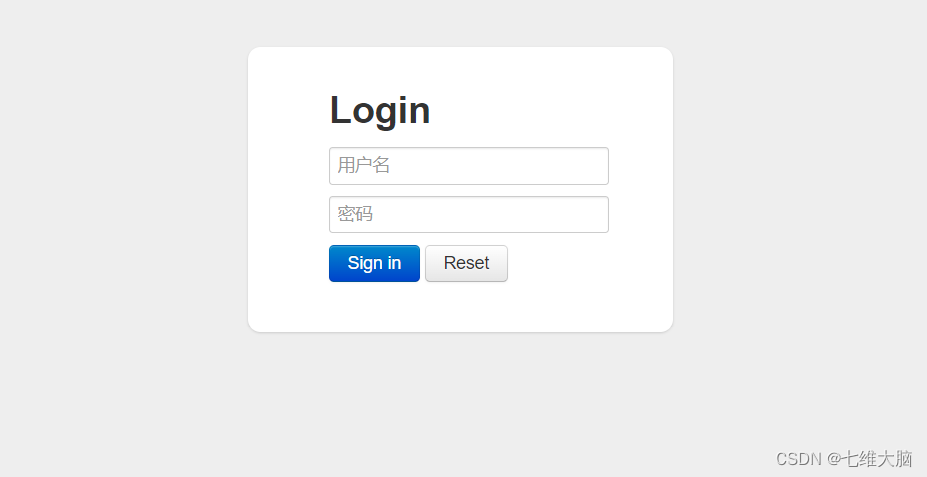
账号密码即是druid.yml中配置的账号密码:admin,admin
5. Mybatis-Plus 配置
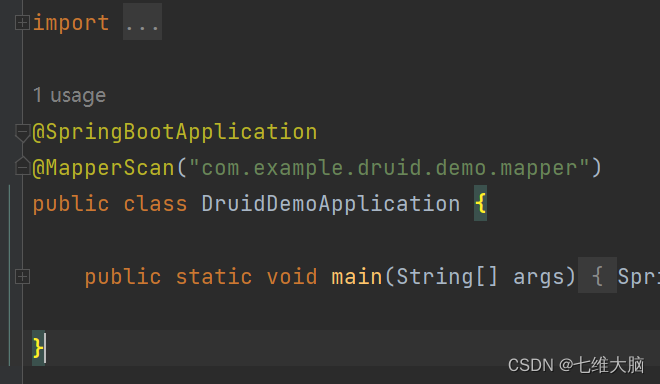
5.1 启动类@MapperScan注解
在启动类上添加@MapperScan注解,精确到mapper的位置。
如果不添加这个注解,则需要每个Mapper接口类都添加@Mapper注解比较麻烦。所以直接在启动类上配置批量扫描即可。
5.2 mapper类示例
package com.example.druid.demo.mapper;

import com.baomidou.mybatisplus.core.mapper.BaseMapper;
import com.example.druid.demo.domain.UserTest;

/**
 * demoMapper接口
 *
 * @author 肥猫
 * @date 2022-07-25
 */
public interface UserTestMapper extends BaseMapper<UserTest> {


}
5.3 service示例
package com.example.druid.demo.service.impl;

import com.example.druid.demo.domain.UserTest;
import com.example.druid.demo.mapper.UserTestMapper;
import com.example.druid.demo.service.IUserTestService;
import org.springframework.beans.factory.annotation.Autowired;
import org.springframework.stereotype.Service;

/**
 * demoService业务层处理
 *
 * @author 肥猫
 * @date 2022-07-25
 */
@Service
public class IUserTestServiceImpl implements IUserTestService {


    @Autowired
    private UserTestMapper userTestMapper;

    /**
     * 查询用户信息demo
     *
     * @param id 用户主键
     * @return 用户信息
     */
    @Override
    public UserTest selectUserTestById(Long id) {


        return userTestMapper.selectById(id);
    }
}
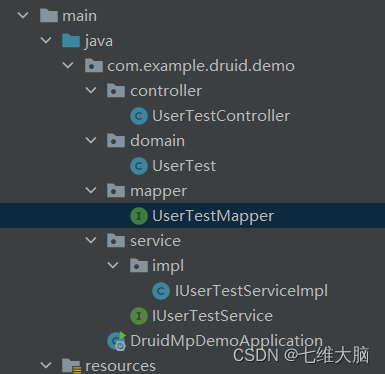
5.3 demo 结构
5.4 controller 示例
package com.example.druid.demo.controller;

import com.example.druid.demo.domain.UserTest;
import com.example.druid.demo.service.IUserTestService;
import org.springframework.beans.factory.annotation.Autowired;
import org.springframework.web.bind.annotation.GetMapping;
import org.springframework.web.bind.annotation.PathVariable;
import org.springframework.web.bind.annotation.RequestMapping;
import org.springframework.web.bind.annotation.RestController;

/**
 * demoController
 *
 * @author 肥猫
 * @date 2022-07-25
 */
@RestController
@RequestMapping("/user/demo")
public class UserTestController {


    @Autowired
    private IUserTestService userTestService;

    /**
     * 获取用户详细信息demo (仅演示功能,返回类型随便写的,不要照抄!)
     */
    @GetMapping(value = "/{id}")
    public UserTest getInfo(@PathVariable("id") Long id) {


        return userTestService.selectUserTestById(id);
    }
}
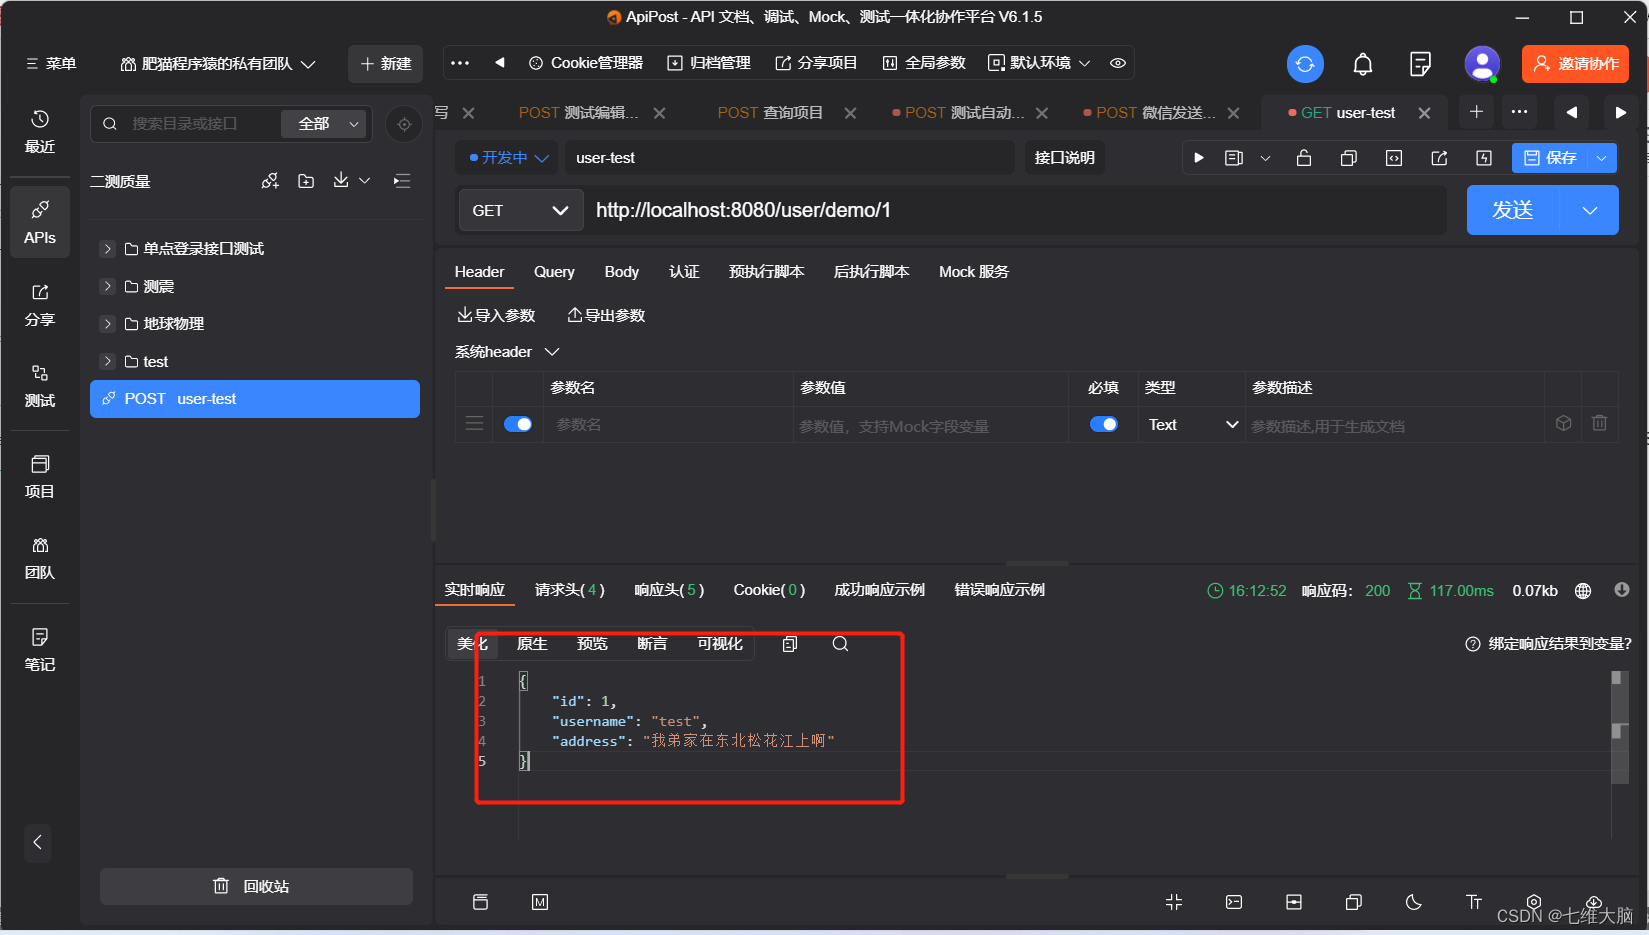
5.5 ApiPost测试结果