本篇文章主要记录SpringCloud使用Zookeeper作为服务注册发现中心,通过服务提供者和消费者为例,来真正掌握zk注册中心!
目录
ide搭建聚合项目详解:https://blog.csdn.net/weixin_43888891/article/details/125267683
本篇文章采用了maven聚合工程,搭建父工程这些我就不记录了,完全是基于上一篇文章的项目进行开发的,具体参考上一篇文章!
Linux安装zookeeper:https://blog.csdn.net/weixin_43888891/article/details/125400887
一、搭建服务提供者
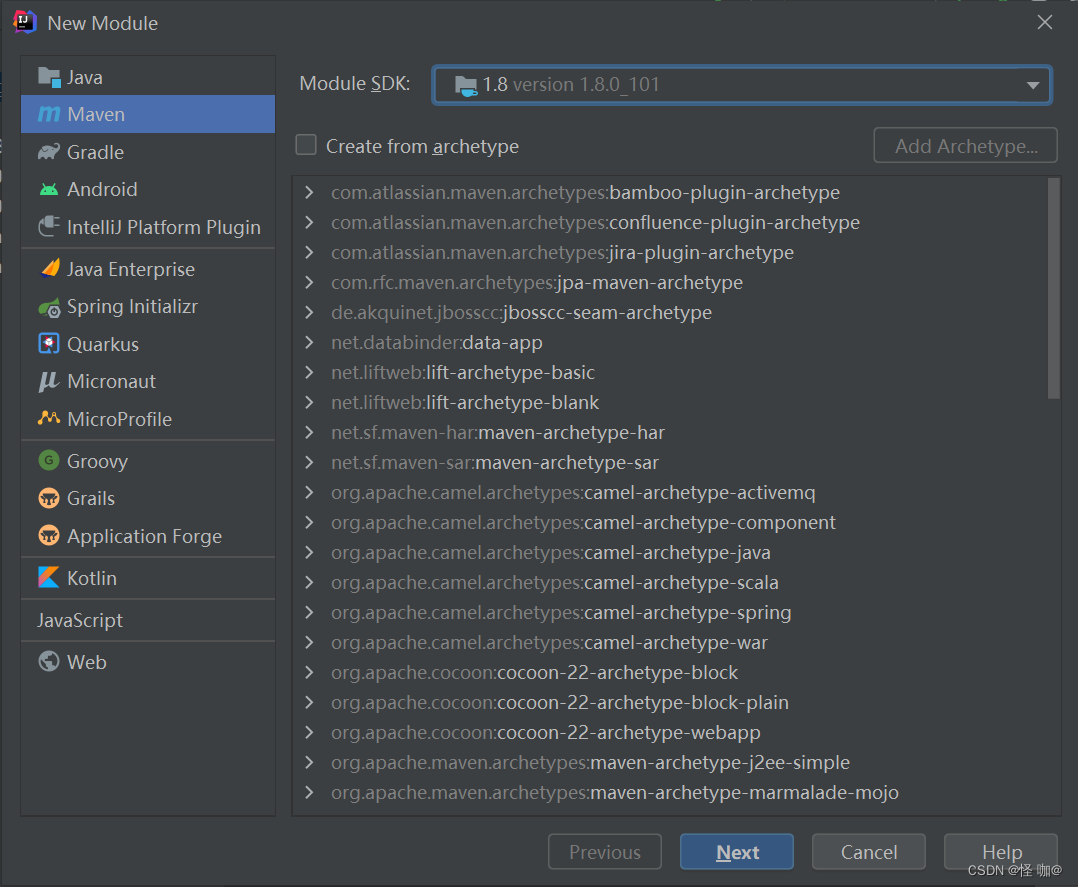
1. 创建cloud-provider-payment8004项目
2. 修改配置
修改pom:
<dependencies>
    <!-- SpringBoot整合Web组件 -->
    <dependency>
        <groupId>org.springframework.boot</groupId>
        <artifactId>spring-boot-starter-web</artifactId>
    </dependency>
    <!-- 引入自己定义的api通用包,可以使用Payment支付Entity -->
    <dependency>
        <groupId>com.gzl.cn</groupId>
        <artifactId>cloud-api-common</artifactId>
        <version>1.0-SNAPSHOT</version>
    </dependency>
    <!-- SpringBoot整合zookeeper客户端 -->
    <dependency>
        <groupId>org.springframework.cloud</groupId>
        <artifactId>spring-cloud-starter-zookeeper-discovery</artifactId>
    </dependency>
    <dependency>
        <groupId>org.springframework.boot</groupId>
        <artifactId>spring-boot-devtools</artifactId>
        <scope>runtime</scope>
        <optional>true</optional>
    </dependency>
    <dependency>
        <groupId>org.projectlombok</groupId>
        <artifactId>lombok</artifactId>
        <optional>true</optional>
    </dependency>
    <dependency>
        <groupId>org.springframework.boot</groupId>
        <artifactId>spring-boot-starter-test</artifactId>
        <scope>test</scope>
    </dependency>
</dependencies>
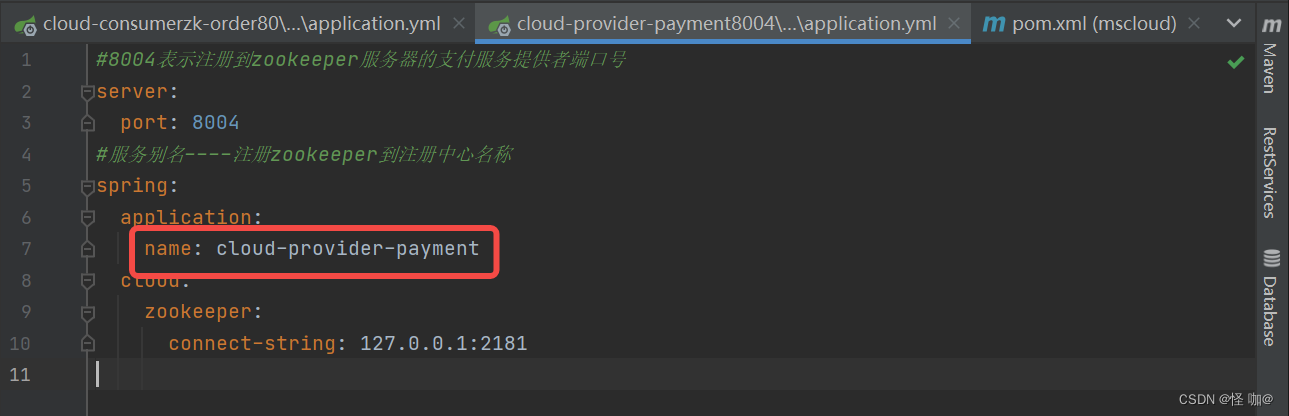
添加 application.yml
#8004表示注册到zookeeper服务器的支付服务提供者端口号
server:
  port: 8004
#服务别名----注册zookeeper到注册中心名称
spring:
  application:
    name: cloud-provider-payment
  cloud:
    zookeeper:
      connect-string: 127.0.0.1:2181
3. 添加主启动类
import org.springframework.boot.SpringApplication;
import org.springframework.boot.autoconfigure.SpringBootApplication;
import org.springframework.cloud.client.discovery.EnableDiscoveryClient;

@SpringBootApplication
//该注解用于向使用consul或者zookeeper作为注册中心时注册服务
@EnableDiscoveryClient
public class PayMentMain8004 {


    public static void main(String[] args) {


        SpringApplication.run(PayMentMain8004.class, args);
    }
}
4. 添加controller
import org.springframework.beans.factory.annotation.Value;
import org.springframework.web.bind.annotation.RequestMapping;
import org.springframework.web.bind.annotation.RestController;

import java.util.UUID;

@RestController
public class PaymentController {


    @Value("${server.port}")
    private String serverPort;

    @RequestMapping(value = "/payment/zk")
    private String paymentzk() {


        return "springcloud with zookeeper: " + serverPort + "\t" + UUID.randomUUID().toString();
    }
}
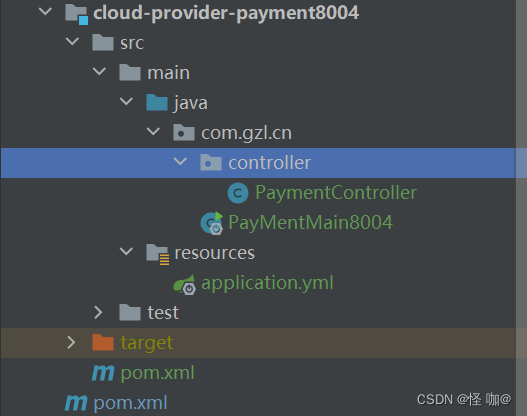
项目最终结构:
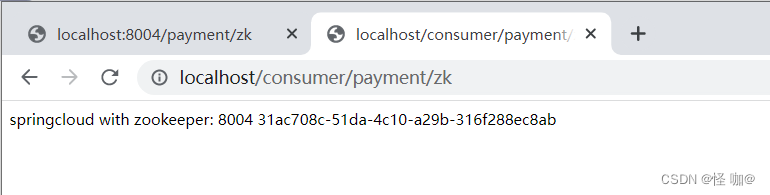
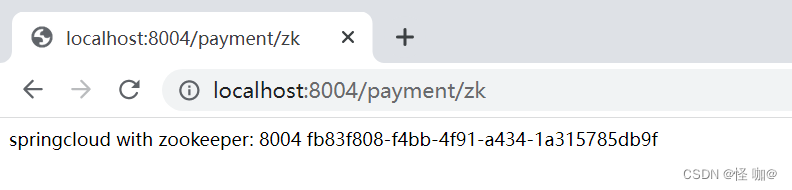
5.启动测试
http://localhost:8004/payment/zk
6.查看zk节点
这里是通过linux的zkCli.sh客户端进行查看的,客户端用法及常用命令讲解:
https://blog.csdn.net/weixin_43888891/article/details/125400879
启动服务后,查看zk节点,会发现当服务启动完成后会在zk创建如下节点:
/services/cloud-provider-payment/894ac3f8-96dc-4c59-b2f2-98833aafc5ea
894ac3f8-96dc-4c59-b2f2-98833aafc5ea就是随机生成的一个uuid节点,也可以称为流水号。
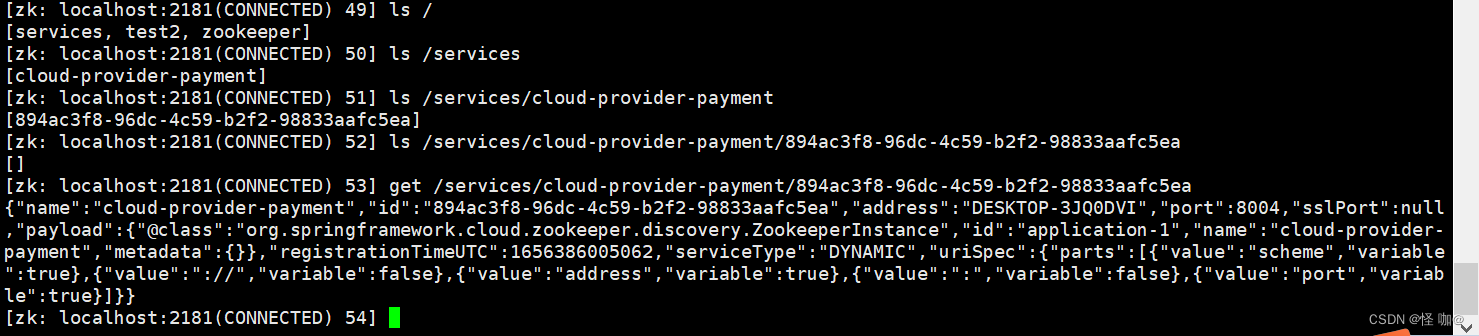
根据get命令查看到在uuid的节点当中是存放的有数据的,数据格式化后如下:
这些数据就是服务的注册相关信息!
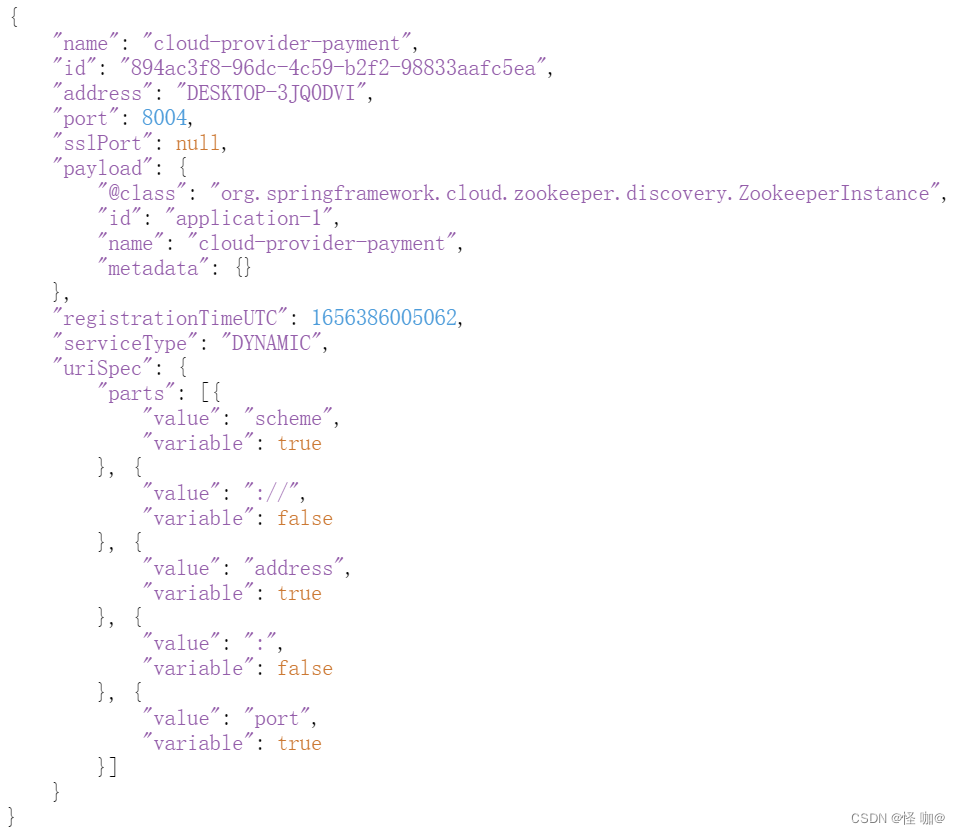
cloud-provider-payment就是我们在配置文件当中配置的服务名称
服务节点是临时节点还是持久节点?
答案是临时节点,当服务关闭的时候,会发现那个流水号节点立马就不存在了,紧接着在过几秒之后,cloud-provider-payment节点就也不存在了,再过几秒services节点就也不存在了。服务注册后创建了三个嵌套的节点全是临时节点。
Eureka追求的是CAP当中的AP,zookeeper追求的是CP,Eureka某种意义上来说提供了保护机制,作用就是尽可能的来避免因为网络原因而导致误删服务节点,尽管他的保护机制有很多bug,但是他的设计理念是这样的。而zookeeper可不管那么多,只要监听不到客户端的心跳,立马删除注册信息!
二、搭建服务消费者
1. 创建cloud-consumerzk-order80项目
2. 修改配置
修改pom:
<dependencies>
    <!-- SpringBoot整合Web组件 -->
    <dependency>
        <groupId>org.springframework.boot</groupId>
        <artifactId>spring-boot-starter-web</artifactId>
    </dependency>
    <!-- SpringBoot整合zookeeper客户端 -->
    <dependency>
        <groupId>org.springframework.cloud</groupId>
        <artifactId>spring-cloud-starter-zookeeper-discovery</artifactId>
    </dependency>
    <dependency>
        <groupId>org.springframework.boot</groupId>
        <artifactId>spring-boot-devtools</artifactId>
        <scope>runtime</scope>
        <optional>true</optional>
    </dependency>
    <dependency>
        <groupId>org.projectlombok</groupId>
        <artifactId>lombok</artifactId>
        <optional>true</optional>
    </dependency>
    <dependency>
        <groupId>org.springframework.boot</groupId>
        <artifactId>spring-boot-starter-test</artifactId>
        <scope>test</scope>
    </dependency>
</dependencies>
添加 application.yml
server:
  port: 80

spring:
  application:
    name: cloud-consumer-order
  cloud:
    #注册到zookeeper地址
    zookeeper:
      connect-string: 127.0.0.1:2181
3. 添加主启动类
import org.springframework.boot.SpringApplication;
import org.springframework.boot.autoconfigure.SpringBootApplication;

@SpringBootApplication
public class OrderZk80 {


    public static void main(String[] args) {


        SpringApplication.run(OrderZk80.class, args);
    }
}
4. 添加业务类
配置Bean:
import org.springframework.cloud.client.loadbalancer.LoadBalanced;
import org.springframework.context.annotation.Bean;
import org.springframework.context.annotation.Configuration;
import org.springframework.web.client.RestTemplate;

@Configuration
public class ApplicationContextBean {


    @Bean
    //使用@LoadBalanced注解赋予RestTemplate负载均衡的能力
    @LoadBalanced
    public RestTemplate getRestTemplate() {


        return new RestTemplate();
    }
}
添加controller:
这里是通过 服务名称 调用的,假如有多个cloud-provider-payment服务,只要注册到注册中心,就是采用负载均衡的方式访问的!
import org.springframework.beans.factory.annotation.Autowired;
import org.springframework.web.bind.annotation.RequestMapping;
import org.springframework.web.bind.annotation.RestController;
import org.springframework.web.client.RestTemplate;

@RestController
public class OrderZkController {


    public static final String INVOKE_URL = "http://cloud-provider-payment";

    @Autowired
    private RestTemplate restTemplate;

    @RequestMapping(value = "/consumer/payment/zk")
    public String paymentInfo() {


        String result = restTemplate.getForObject(INVOKE_URL + "/payment/zk", String.class);
        System.out.println("消费者调用支付服务(zookeeper)--->result:" + result);
        return result;
    }

}
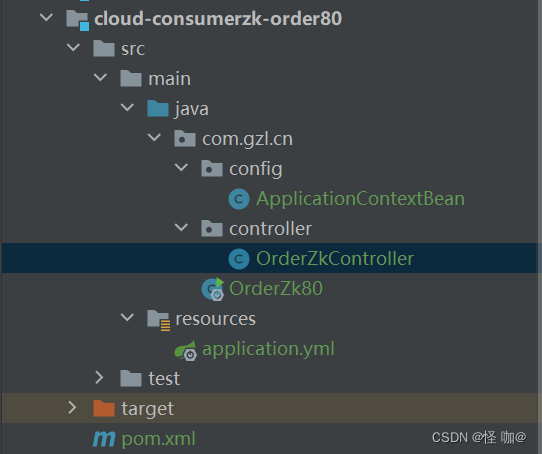
项目最终结构: