前言
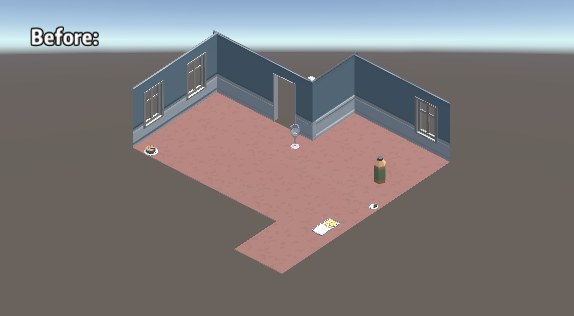
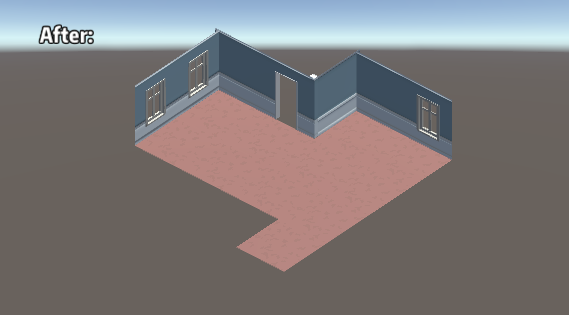
最近在做一个房间装修项目,有一个功能需要对比装修前后的效果,经过考虑决定使用截图功能制作。
代码:
using System.Collections;
using UnityEngine;
using UnityEngine.UI;

public class ScreenShot : MonoBehaviour
{


    public Image img; //显示的UI
    private Texture2D texture;
    private int w;
    private int h;
    void Start()
    {


    	//获取屏幕尺寸
        w = Screen.width;
        h = Screen.height;
        texture= new Texture2D(w, h);
    }
    void Update()
    {


	    //按P截图,测试用
        if (Input.GetKeyDown(KeyCode.P))
        {


            StartCoroutine(SaveImage());
        }
    }

    IEnumerator SaveImage()
    {


        yield return new WaitForEndOfFrame();
        Rect rect = new Rect(0, 0, w, h);
        texture.ReadPixels(rect, 0, 0, true); //截图
        texture.Apply();
        Sprite sp = Sprite.Create(texture, rect, Vector2.zero); //Texture2D转换为Sprite
        img.sprite = sp;
        Debug.Log("write a pic");
        yield return null;
    }
}
效果
备注
需求是截全屏,使用的Image布局拉满全屏。注意截图时要屏蔽UI。(具体根据需求)
这里是缓存到内存中,如果需要保存可以使用文件流操作。
        byte[] bytes = texture.EncodeToPNG();
        File.WriteAllBytes(Application.streamingAssetsPath + "/" + "name" + ".png", bytes);