以下面这幅图为例:

上面这张图的名字为:img_300_320.jpg,百度网盘下载链接:https://pan.baidu.com/s/1IaJ8nrQzGuHt3RA8jbu0GQ?pwd=bjkm
可用下面的代码将函数findContours()得到的每一个轮廓单独绘制并保存为图片文件:
# 博主微信/QQ 2487872782
# 有问题可以联系博主交流
# 有图像处理需求也请联系博主
# 图像处理技术交流QQ群 271891601

# !/usr/bin/env python
# -*- coding: utf-8 -*-
# OpenCV的版本为4.1

import numpy as np
import cv2 as cv
import sys

image = cv.imread('F:/material/images/2022/2022-06/img_300_320.jpg')
if image is None:
    print('Error: Could not load image')
    sys.exit()

# cv.imshow('Source Image', image)

# 原图像转化为灰度图
img_gray = cv.cvtColor(image, cv.COLOR_BGR2GRAY)
# cv.imshow('img_gray', img_gray)

# 灰度图进行二值化处理,并不是函数findContours要求输入图像为二值图像,
# 而是函数findContours在进行轮廓提取前会把原图中的非0值全部当成1处理。
_, img_B = cv.threshold(img_gray, 71, 255, cv.THRESH_BINARY)
# cv.imshow('img_B', img_B)

# 轮廓检测
cnts, harch = cv.findContours(img_B, mode=cv.RETR_TREE, method=cv.CHAIN_APPROX_SIMPLE)


img_contours = np.zeros((image.shape[0], image.shape[1]), dtype='uint8')

# 将每一个轮廓单独绘制并保存为bmp图片
for index, cnts_ele in enumerate(cnts):
    img_contours = cv.drawContours(img_contours, cnts, index, 255, 1, 1)
    str1 = 'F:/temp2/Contours_{:0>2d}.bmp'.format(index)
    cv.imwrite(str1, img_contours)
    img_contours = 0*img_contours
运行结果如下:
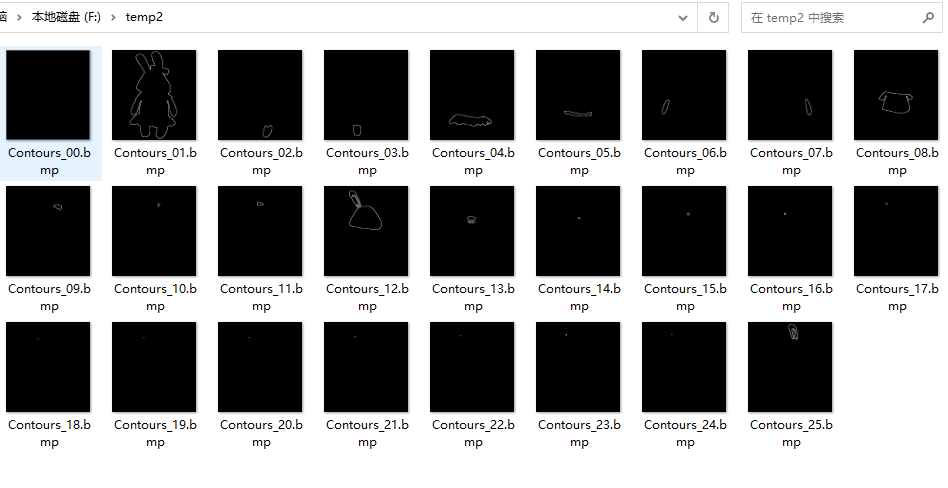
我把上面的结果打包,方便大家查看,百度网盘下载链接:https://pan.baidu.com/s/18pFc4BqHhGA6e-3-zhj1Ig?pwd=sscs