1 原材料
1.1 mysql-5.7.22-macos10.13-x86_64.dmg
2 msql在macbook下的安装:
双击dmg进行解压, 再双击解压出来的pkg文件进行安装
3. Continue -> Continue, Agree -> Install -> 输入管理员密码
4. 记录下来弹窗中的密码root@localhost: #¥%#
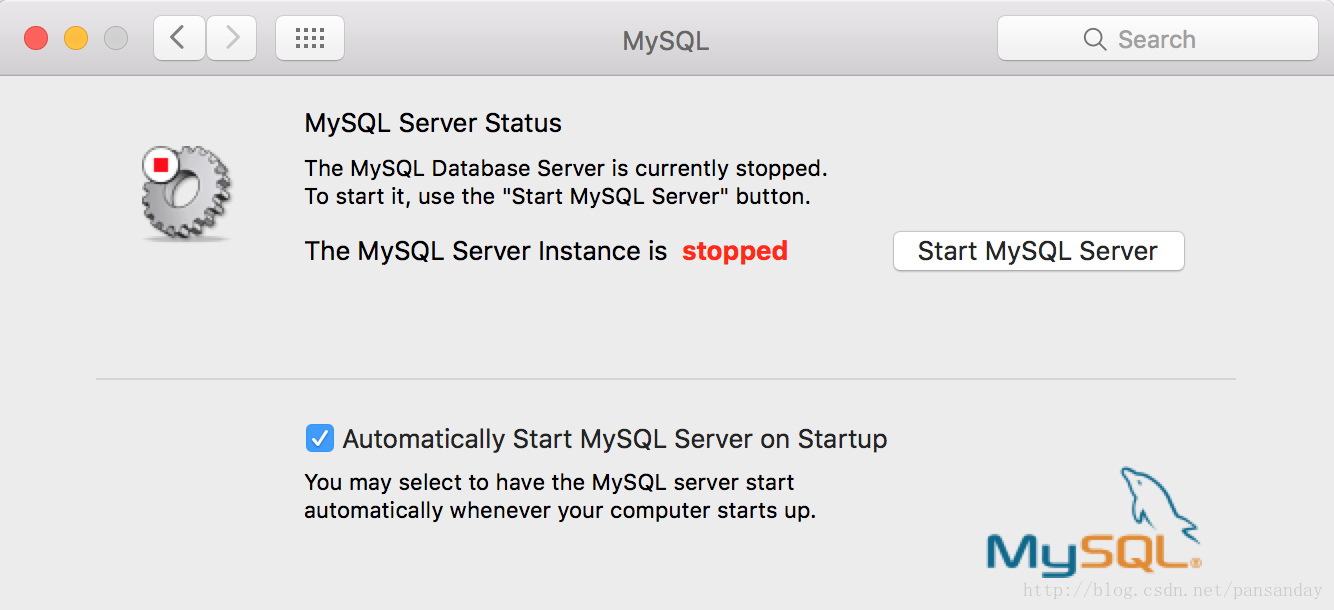
5. 进入系统偏好设置, 找到mysql, 启动服务
6. 将mysql的命令添加到系统/etc/profile中
6.1 目前情况下,要想启动mysql,只能如下操作:
/usr/local/mysql/bin/mysql -u roor -p
Enter password: 输入安装过程中生成的密码
Welcome to the MySQL monitor. **********连接成功
6.2 为了便于操作,可以将mysql的bin目录配置到PATH中:
export PATH=.:$JAVA_HOME/bin:$HADOOP_HOME/sbin:$HADOOP_HOME/bin:$SCALA_HOME/bin:$PATH:/usr/local/mysql/bin:$HIVE_HOME/bin
以后,便可以通过mysql -u root -p 来登陆mysql
6.3 mysql第一次登陆之后,无法进行操作如下所示,必须更改密码:
mysql> show databases;
ERROR 1820 (HY000): You must reset your password using ALTER USER statement before executing this statement.
mysql> SET PASSWORD = PASSWORD('root');
Query OK, 0 rows affected, 1 warning (0.00 sec)
mysql> alter user 'root'@'localhost' password expire never;
Query OK, 0 rows affected (0.00 sec)
mysql> flush privileges;
Query OK, 0 rows affected (0.00 sec)
mysql> show databases;
+--------------------+
| Database |
+--------------------+
| information_schema |
| mysql |
| performance_schema |
| sys |
+--------------------+
4 rows in set (0.00 sec)
至此,mysql安装完成,并可以正常使用!