#include <stdio.h>
#include <iostream>
#include <string>
#include <opencv2\opencv.hpp>
using namespace std;
using namespace cv;
int main()
{
Mat img = imread("person1.jpeg", IMREAD_GRAYSCALE);
const int channels[1] = {
0 };
Mat hist;
const int histSize[1] = {
256 };
float a[2] = {
0,255 };
const float * ranges[1] = {
a };
calcHist(&img, 1, channels, Mat(), hist, 1, histSize, ranges);
double min_value, max_value;
minMaxLoc(hist, &min_value, &max_value);
max_value = max_value / 100;
Mat img_zeros=Mat::zeros((int)max_value,512,CV_8UC1);
for (int i = 0; i < 512; i = i + 2)
{
rectangle(img_zeros, Point(i, max_value), Point(i + 2, (int)(max_value - (hist.at<float>(i / 2)) / 100)), Scalar(255), -1);
}
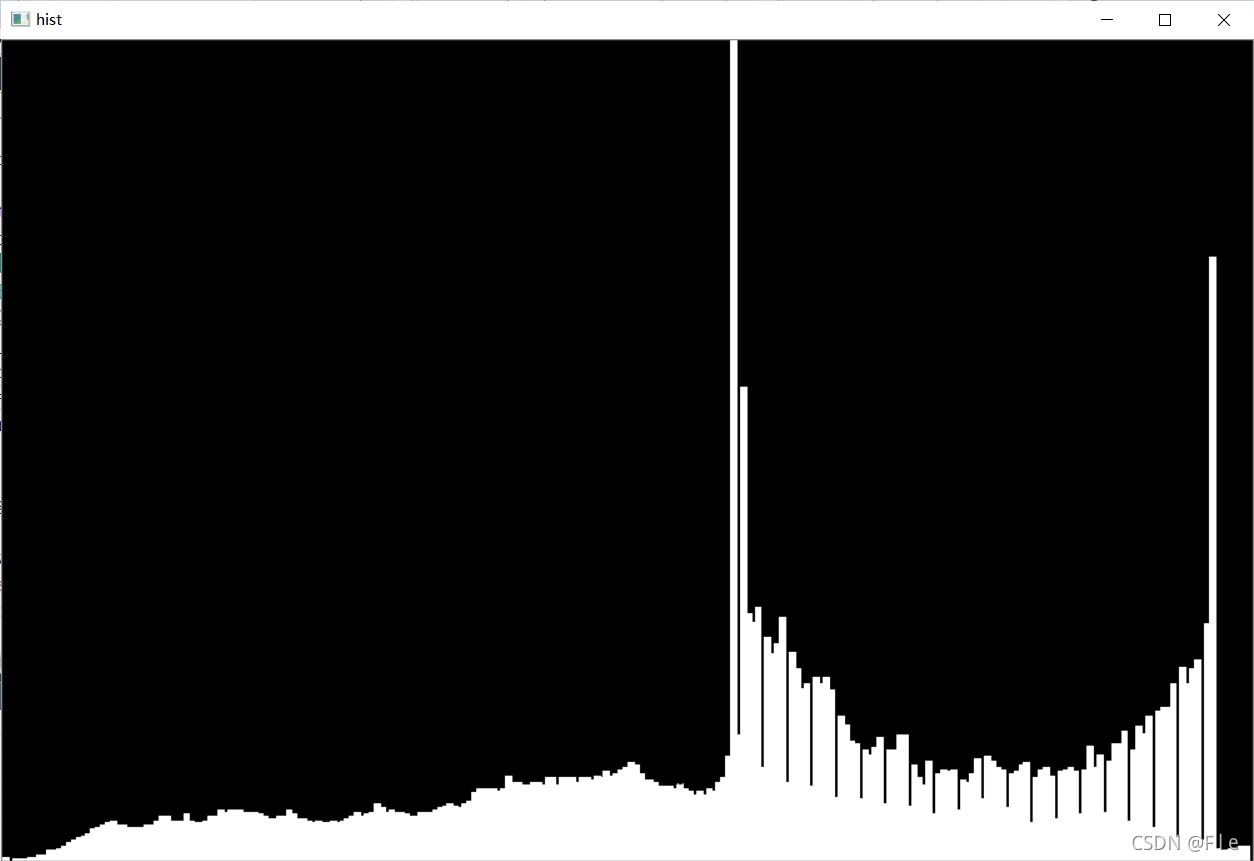
namedWindow("hist", WINDOW_NORMAL);
imshow("hist", img_zeros);
waitKey(0);
return 0;
}
#include <stdio.h>
#include <iostream>
#include <string>
#include <opencv2\opencv.hpp>
using namespace std;
using namespace cv;
int main()
{
Mat img = imread("person1.jpeg", IMREAD_GRAYSCALE);
const int channels[1] = {
0 };
Mat hist;
const int histSize[1] = {
256 };
float a[2] = {
0,255 };
const float * ranges[1] = {
a };
calcHist(&img, 1, channels, Mat(), hist, 1, histSize, ranges);
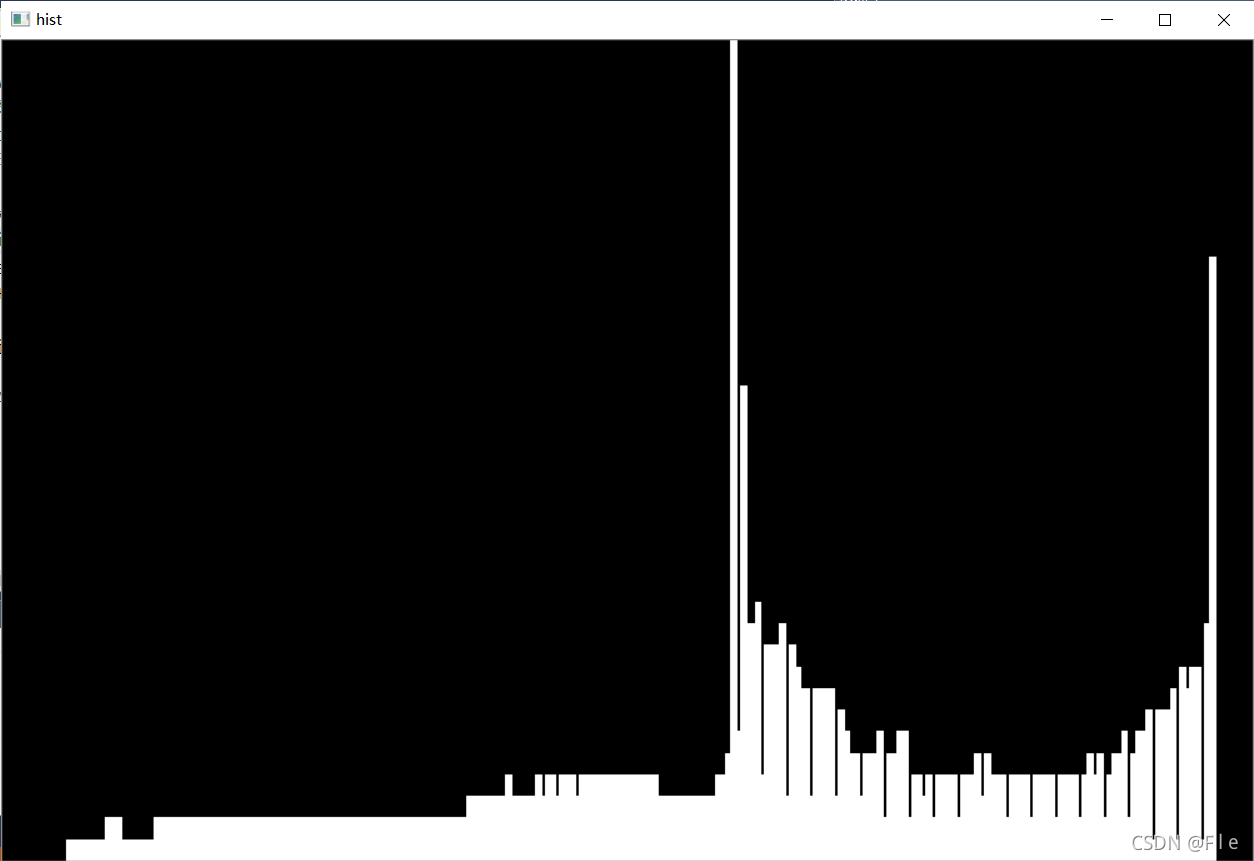
normalize(hist, hist, 1, 0, NORM_L1, -1);
double min_value, max_value;
minMaxLoc(hist, &min_value, &max_value);
max_value = max_value * 1000;
Mat img_zeros=Mat::zeros((int)max_value,512,CV_8UC1);
for (int i = 0; i < 512; i = i + 2)
{
rectangle(img_zeros, Point(i, max_value), Point(i + 2, (int)(max_value - (hist.at<float>(i / 2)) * 1000)), Scalar(255), -1);
}
namedWindow("hist", WINDOW_NORMAL);
imshow("hist", img_zeros);
waitKey(0);
return 0;
}
#include <stdio.h>
#include <iostream>
#include <string>
#include <opencv2\opencv.hpp>
using namespace std;
using namespace cv;
int main()
{
Mat img = imread("person1.jpeg", IMREAD_GRAYSCALE);
const int channels[1] = {
0 };
Mat hist, hist_nor;
const int histSize[1] = {
256 };
float a[2] = {
0,255 };
const float * ranges[1] = {
a };
calcHist(&img, 1, channels, Mat(), hist, 1, histSize, ranges);
normalize(hist, hist_nor, 1, 0, NORM_L1, -1);
double result;
result = compareHist(hist, hist_nor, 0);
cout << "两幅图像的相似度为:" << result << endl;
waitKey(0);
return 0;
}