一、前言
在日常的开发中经常遇到需要动态添加子view的情况,addview是ViewGroup的特有方法,可以在布局中动态添加view,而view是不存在这个方法的。
二、使用方式
1.方法介绍
addview有以下几种方式
addView(View child)   // child 被添加的View
addView(View child, int index)   // index 被添加的View的索引
addView(View child, int width, int height)   // width,height被添加的View指定的宽高
addView(View view, ViewGroup.LayoutParams params)   // params被添加的View指定的布局参数
addView(View child, int index, LayoutParams params)
2.LinearLayout中的使用
首先创建一个xml文件,以ConstraintLayout作为根布局文件,其中包裹一个LinearLayout和两个测试的按钮。
<android.support.constraint.ConstraintLayout
    xmlns:android="http://schemas.android.com/apk/res/android"
    xmlns:app="http://schemas.android.com/apk/res-auto"
    xmlns:tools="http://schemas.android.com/tools"
    android:layout_width="match_parent"
    android:layout_height="match_parent"
    tools:context=".MainActivity"
    android:id="@+id/root_view">
    <LinearLayout
        android:id="@+id/container"
        android:layout_width="match_parent"
        android:layout_height="match_parent"
        android:orientation="vertical">
        <!--一开始就存在的数据-->
        <TextView
            android:layout_width="wrap_content"
            android:layout_height="wrap_content"
            android:text="开始存在的数据"
            android:textColor="#000000"
            app:layout_constraintBottom_toBottomOf="parent"
            app:layout_constraintLeft_toLeftOf="parent"
            app:layout_constraintRight_toRightOf="parent"
            app:layout_constraintTop_toTopOf="parent" />
    </LinearLayout>
    <!--测试按钮一-->
    <Button
        android:id="@+id/button1"
        android:layout_width="wrap_content"
        android:layout_height="wrap_content"
        android:text="测试一"
        android:layout_marginBottom="8dp"
        app:layout_constraintBottom_toBottomOf="parent" />
    <!--测试按钮二-->
    <Button
        android:id="@+id/button2"
        android:layout_width="wrap_content"
        android:layout_height="wrap_content"
        android:layout_marginEnd="8dp"
        android:layout_marginRight="8dp"
        android:text="测试二"
        android:layout_marginBottom="8dp"
        app:layout_constraintBottom_toBottomOf="parent"
        app:layout_constraintEnd_toEndOf="parent" />
</android.support.constraint.ConstraintLayout>
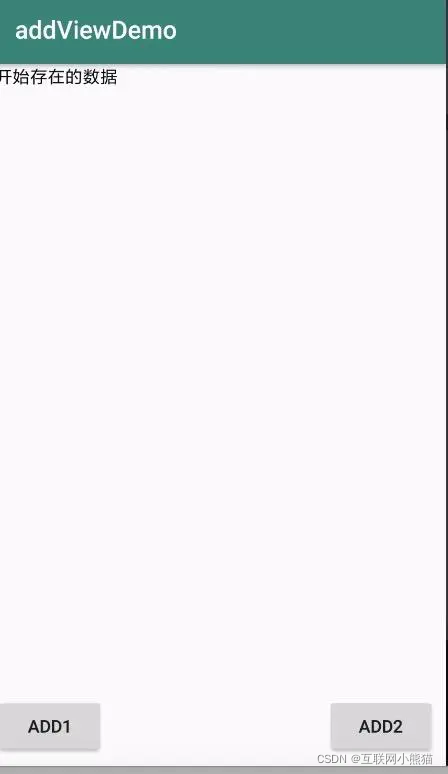
一开始的效果如下图
然后编写代码,初始化控件和设置点击事件
public class MainActivity extends AppCompatActivity {


    private ConstraintLayout layout;
    private LinearLayout linearLayout;

    @Override
    protected void onCreate(Bundle savedInstanceState) {


        super.onCreate(savedInstanceState);
        setContentView(R.layout.activity_main);
        layout = findViewById(R.id.root_view);
        linearLayout = findViewById(R.id.container);
        findViewById(R.id.button1).setOnClickListener(new View.OnClickListener() {


            @Override
            public void onClick(View v) {


                addView();
            }
        });
        findViewById(R.id.button2).setOnClickListener(new View.OnClickListener() {


            @Override
            public void onClick(View v) {


                addviewTwo();
            }
        });
    }
    /**
     * 按钮一的点击事件
     */
    private void addView() {


        TextView textView = new TextView(this);
        //获取当前时间并格式化
        String currentTime = dateToStamp(System.currentTimeMillis());
        textView.setText("测试一..."+currentTime);
        textView.setTextColor(getResources().getColor(R.color.colorAccent));

        linearLayout.addView(textView,0);
    }
    /**
     * 按钮二的点击事件
     */
    private void addviewTwo() {


        TextView textView = new TextView(this);
        //获取当前时间并格式化
        String currentTime = dateToStamp(System.currentTimeMillis());
        textView.setText("测试二..."+currentTime);
        textView.setTextSize(20f);
        textView.setTextColor(getResources().getColor(R.color.colorPrimary));

        linearLayout.addView(textView,1);
    }
  /**
   *格式化事件
   */
    public String dateToStamp(long s) {


        String res;
        try {


            SimpleDateFormat simpleDateFormat = new SimpleDateFormat("yyyy-MM-dd HH:mm:ss");
            Date date = new Date(s);
            res = simpleDateFormat.format(date);
        } catch (Exception e) {


            return "";
        }
        return res;
    }
}
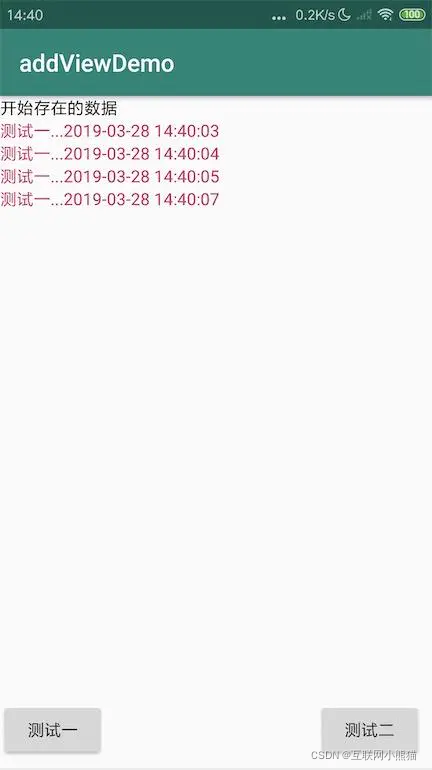
此时我们可以看到我们的按钮使用的是 addview(view,index),这个方法。首先button1的是addView(view,0),button2的是addview(view,1),让我们来看一下效果。
点击两次button1后,如下图:
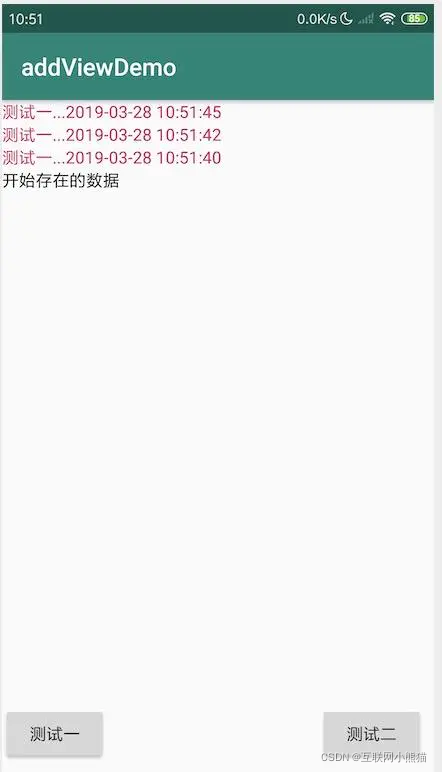
可以看到新添加的数据都在最上面的第一个。由此我们可以得出,addView(view,0),在LinearLayout中在在顶部添加view。
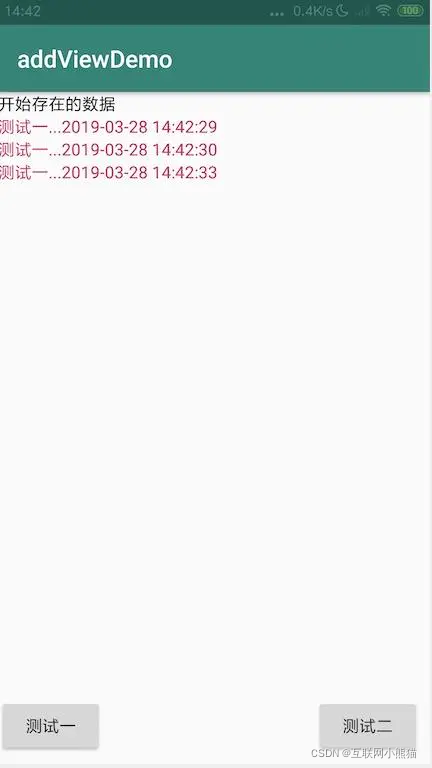
接下来我们点击几次button2,看看效果
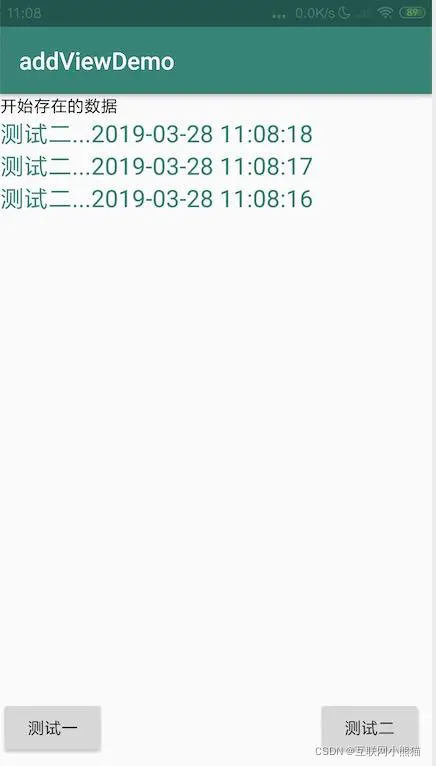
按钮二的index的值是1,根据效果来看addView会一直在第二层中添加view。
总结一下可以知道在LinearLayout中使用addView(view,index),当index=0时,会在顶层添加view,也就是第一层添加。当index=1时,会在第二层添加view。
3.RelativeLayout中使用
我们将布局文件中的LinearLayout变为RelativeLayout
<RelativeLayout
    android:id="@+id/container"
    android:layout_width="match_parent"
    android:layout_height="match_parent"
    android:orientation="vertical">
    <!--一开始就存在的数据-->
    <TextView
        android:layout_width="wrap_content"
        android:layout_height="wrap_content"
        android:text="开始存在的数据"
        android:textColor="#000000"
        app:layout_constraintBottom_toBottomOf="parent"
        app:layout_constraintLeft_toLeftOf="parent"
        app:layout_constraintRight_toRightOf="parent"
        app:layout_constraintTop_toTopOf="parent" />
</RelativeLayout>
当点击按钮时
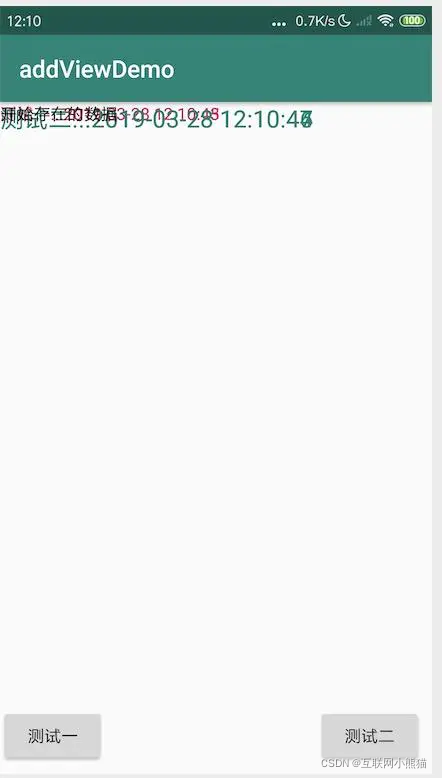
可以看出来addView(view,index),在RelativeLayout中使用就是添加view层,当index=0是就会在最底层也就是第一层添加view层。当index=1时,就会在第二层添加view层。
三、源码分析
1.addView(view,index)
这里我们会想传index的值是负数会是是怎样的效果呢?,比如index=-1?我们改一下代码,试一下效果
 private void addView() {


    TextView textView = new TextView(this);
    String currentTime = dateToStamp(System.currentTimeMillis());
    textView.setText("测试一..."+currentTime);
    textView.setTextColor(getResources().getColor(R.color.colorAccent));
    linearLayout.addView(textView,-1);
}
我们修改成上面的代码,运行一下:
ok,我们发现会一直在最下面的一层添加view,为什么会这样,我们点开源码来看一下,其中源码中有一句对index的判断,如下:
if (index < 0) {


      index = mChildrenCount;
  }
addInArray(child, index);
源码中如果index<0了,就将index赋值成了布局中子view的个数。有兴趣的可以去看源码。
2.ddView(view) 分析
如果我们在addView中不传参数会怎么样呢?我们继续修改代码运行一下测试
private void addView() {


    TextView textView = new TextView(this);
    String currentTime = dateToStamp(System.currentTimeMillis());
    textView.setText("测试一..."+currentTime);
    textView.setTextColor(getResources().getColor(R.color.colorAccent));
    linearLayout.addView(textView);
}
可以发现没有传index的时候,效果和传入index小于0的效果是一样的,这是为什么呢?我们继续点入源码看:
public void addView(View child) {


  addView(child, -1);
}
看源码发现当没有传index值的时候,会默认index=-1,此时就仍然在最下面添加view。
3.其他的都是比较简单的添加参数,我们这里贴出源码就不细说了
addView(View child, int width, int height)
public void addView(View child, int width, int height) {


        final LayoutParams params = generateDefaultLayoutParams();
        params.width = width;
        params.height = height;
        addView(child, -1, params);
    }
addView(View view, ViewGroup.LayoutParams params)
public void addView(View child, LayoutParams params) {


        addView(child, -1, params);
    }
四、总结
addView动态添加代码的方法,在LiearLayout中会在竖直或者水平方向添加子view,在RelativeLayout中会增加view的层级数。