本文是关于 Flutter 中的 AnimatedOpacity 小部件。
前言
顾名思义,AnimatedOpacity的目的是在给定的持续时间内为其子项的不透明度设置动画:
AnimatedOpacity({
  Key? key,
  Widget? child,
  required double opacity,
  Curve curve = Curves.linear,
  required Duration duration,
  VoidCallback? onEnd,
  bool alwaysIncludeSemantics = false
})
您可以使用曲线属性控制动画随时间变化的速率。在以下示例中,我们将使用:
- Curves.easeInOut:开始缓慢,加速,然后缓慢结束
- **Curves.bounceInOut:**幅度先增大后缩小
- Curves.elasticInOut:在超出范围时增长然后缩小
完整的例子
预览
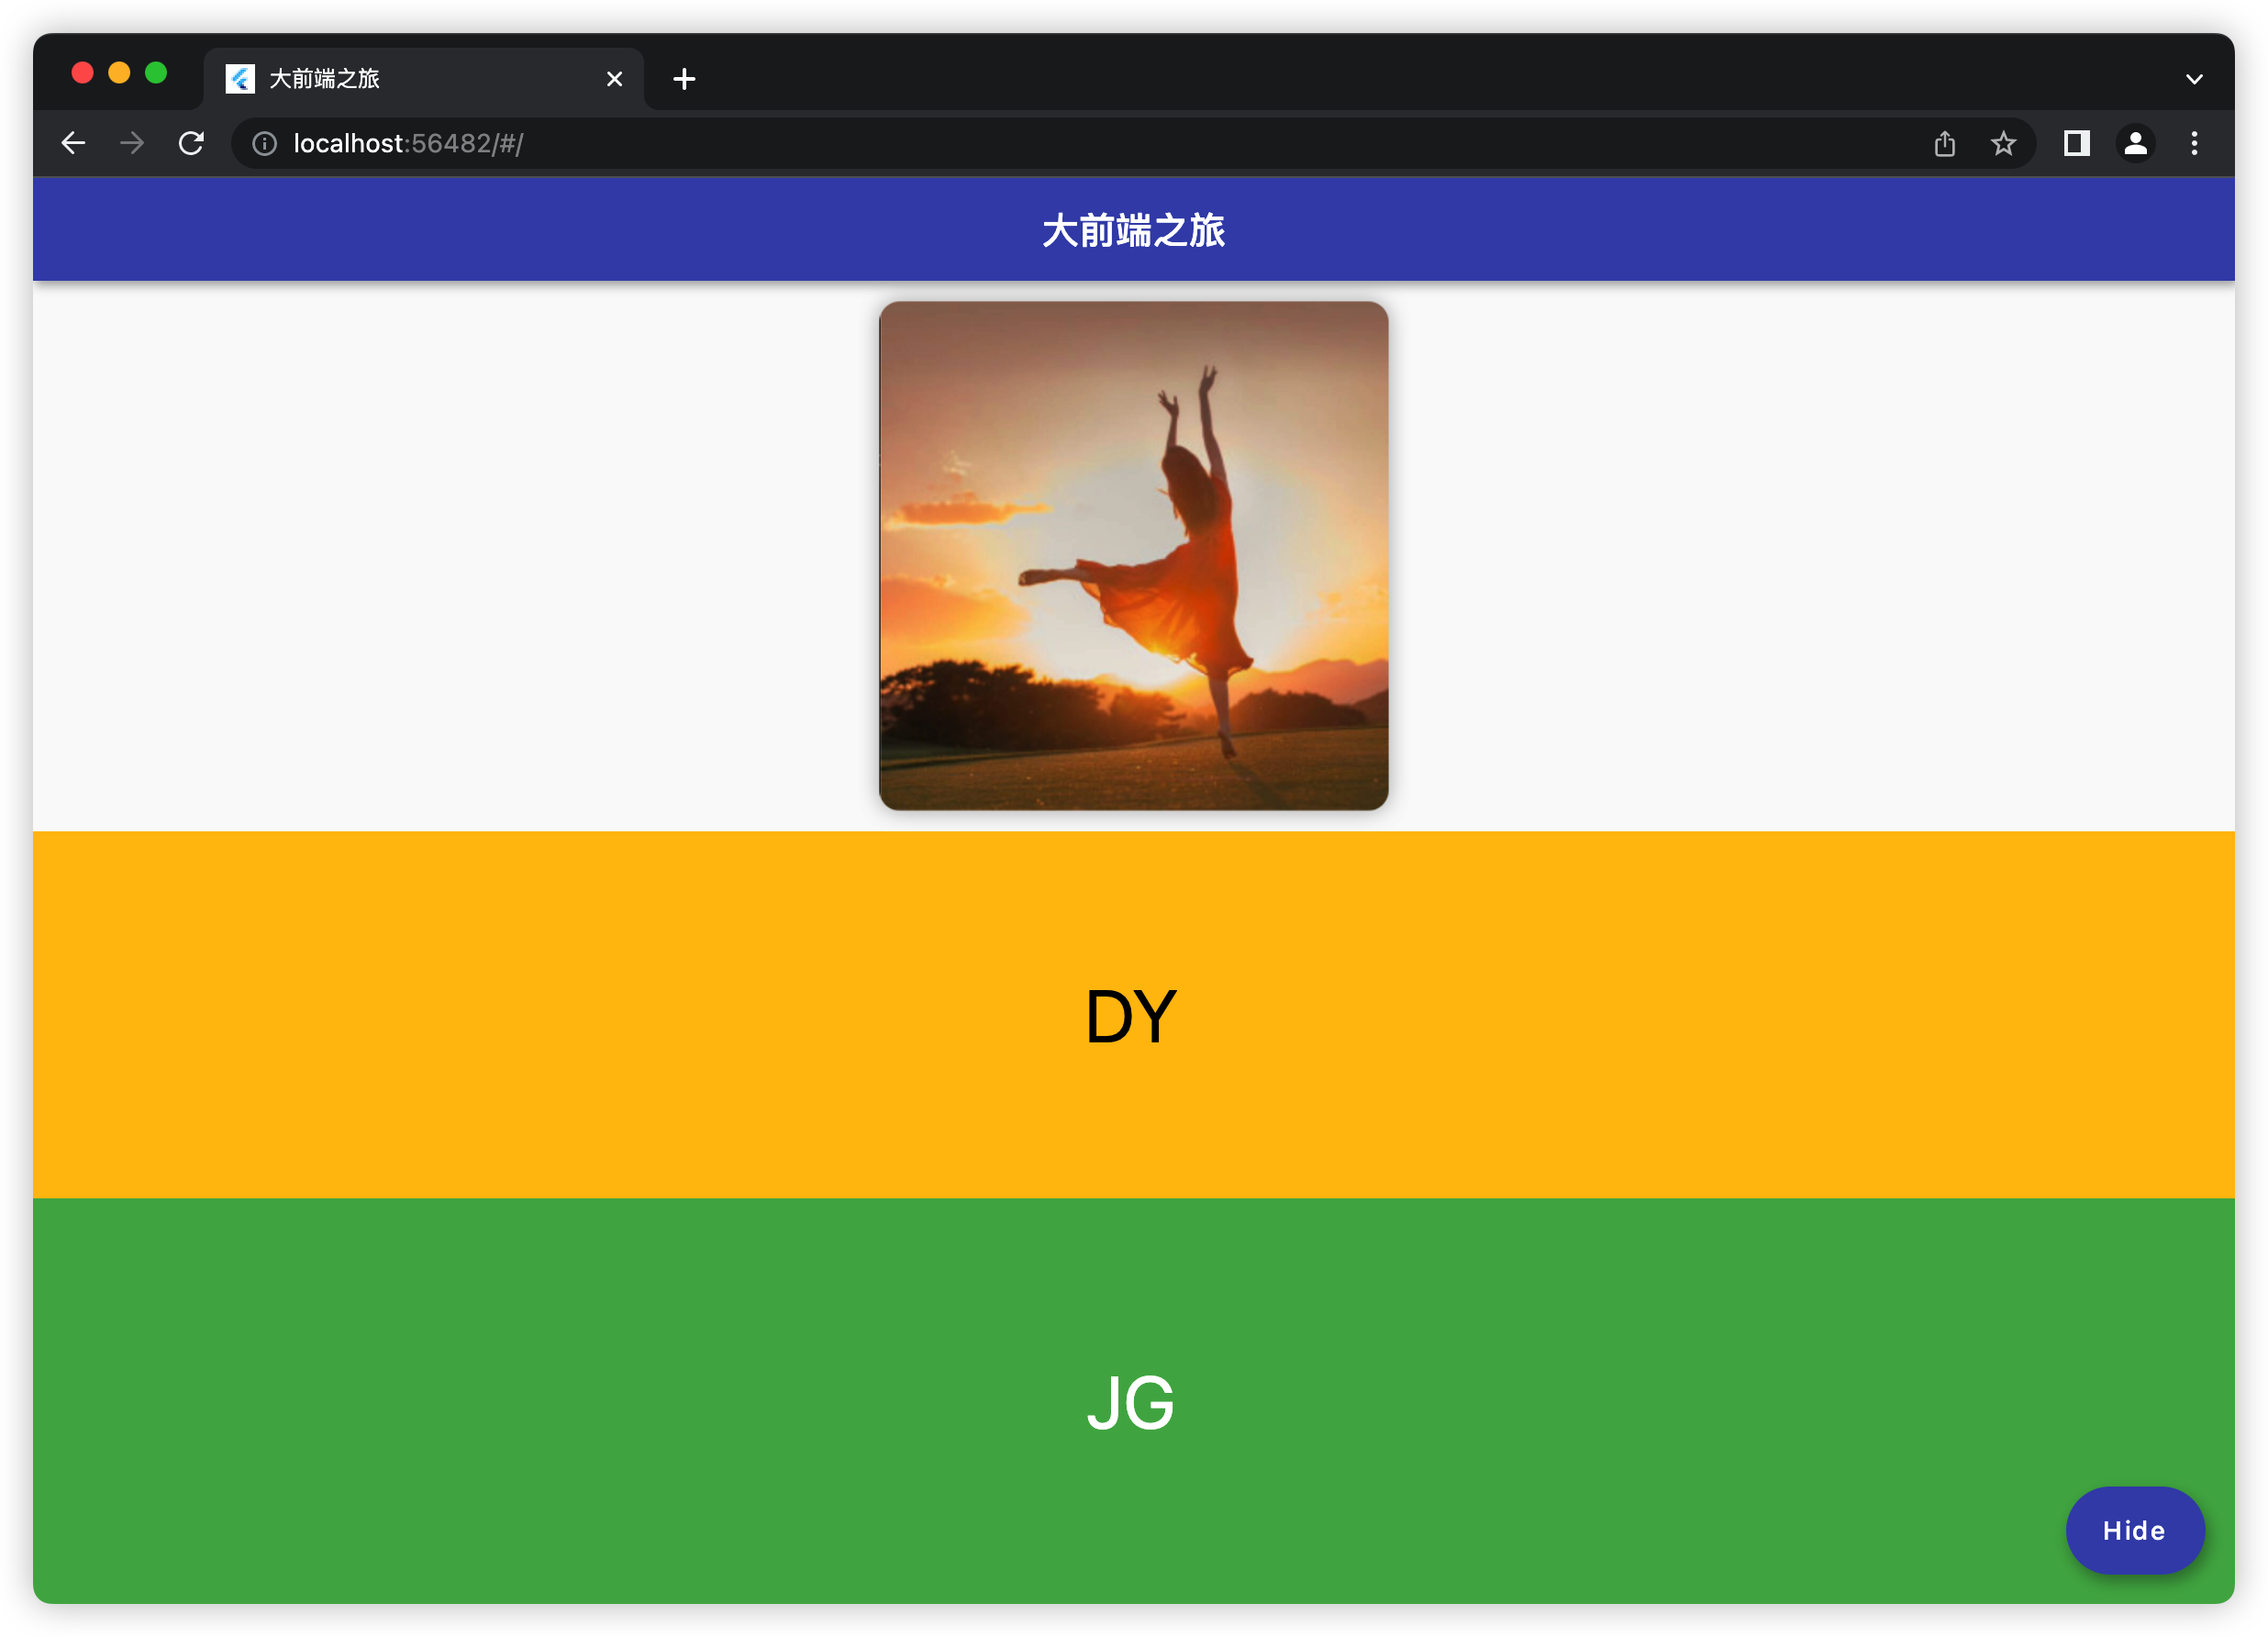
我们要构建的示例应用程序有一个浮动按钮。第一次按下此按钮时,图片、琥珀色框和绿色框将从不可见变为完全可见。当第二次按下浮动按钮时,这些东西会从可见变为不可见。请注意,每个都有不同的动画曲线
编码
// main.dart
import 'package:flutter/material.dart';

void main() {
  runApp(const MyApp());
}

class MyApp extends StatelessWidget {
  const MyApp({Key? key}) : super(key: key);
  @override
  Widget build(BuildContext context) {
    return MaterialApp(
        // Remove the debug banner
        debugShowCheckedModeBanner: false,
        title: '大前端之旅',
        theme: ThemeData(
          primarySwatch: Colors.indigo,
        ),
        home: const HomePage());
  }
}

class HomePage extends StatefulWidget {
  const HomePage({Key? key}) : super(key: key);

  @override
  HomePageState createState() => HomePageState();
}

class HomePageState extends State<HomePage> {
  // the opacity
  double _opacity = 0;

  @override
  Widget build(BuildContext context) {
    return Scaffold(
        appBar: AppBar(
          title: const Text("大前端之旅"),
        ),
        body: Column(
          children: [
            // Using Curves.easeInOut
            AnimatedOpacity(
              duration: const Duration(seconds: 3),
              curve: Curves.easeInOut,
              opacity: _opacity,
              child: Image.network(
                "https://luckly007.oss-cn-beijing.aliyuncs.com/macimages/image-20220519080840931.png",
                fit: BoxFit.cover,
                width: 300,
                height: 300,
              ),
            ),
            // Using Curves.bounceIn
            AnimatedOpacity(
                duration: const Duration(seconds: 3),
                curve: Curves.bounceInOut,
                opacity: _opacity,
                child: Container(
                  width: double.infinity,
                  height: 200,
                  color: Colors.amber,
                  child: const Center(
                    child: Text(
                      'DY',
                      style: TextStyle(fontSize: 40, color: Colors.black),
                    ),
                  ),
                )),
            // Using Curves.elasticInOut
            Expanded(
              child: AnimatedOpacity(
                  duration: const Duration(seconds: 3),
                  curve: Curves.elasticInOut,
                  opacity: _opacity,
                  child: Container(
                    width: double.infinity,
                    color: Colors.green,
                    child: const Center(
                      child: Text(
                        'JG',
                        style: TextStyle(fontSize: 40, color: Colors.white),
                      ),
                    ),
                  )),
            ),
          ],
        ),
        // this button is used to trigger the transition
        floatingActionButton: FloatingActionButton.extended(
          onPressed: () {
            setState(() {
              _opacity = _opacity == 0 ? 1 : 0;
            });
          },
          label: Text(_opacity == 0 ? 'Show' : 'Hide'),
        ));
  }
}
参考
- 不透明度(维基百科)
- AnimatedOpacity 类(flutter.dev)
- 曲线类(flutter.dev)
- 曲线类(flutter.dev)
后记
我们在本文使用 了AnimatedOpacity 。它使小部件的外观或离开更加自然和美丽。