DI依赖注入
1.构造器注入
Ioc创建对象方式已经用过构造器注入了
2. Set方式注入【重点】
【环境搭建】
1.复杂类型
2.真实测试对象
1.新建Module——spring-04-DI
2.新建Address类
package com.kuang.pojo;

public class Address {


    private String address;

    public String getAddress() {


        return address;
    }

    public void setAddress(String address) {


        this.address = address;
    }

    @Override
    public String toString() {


        return "Address{" +
                "address='" + address + '\'' +
                '}';
    }
}
3.新建Student类(存放各种类型的数据)
package com.kuang.pojo;

import java.util.*;

public class Student {


    //基本数据类型:name
    private  String name;
    //引用数据类型:address
    private  Address address;

    private String[] books;
    private List<String> hobbys;
    private Map<String,String> card;
    private Set<String> games;
    //配置类:Properties,自定义学生信息
    private Properties info;
    private String wife;

    public String getName() {


        return name;
    }

    public void setName(String name) {


        this.name = name;
    }

    public Address getAddress() {


        return address;
    }

    public void setAddress(Address address) {


        this.address = address;
    }

    public String[] getBooks() {


        return books;
    }

    public void setBooks(String[] books) {


        this.books = books;
    }

    public List<String> getHobbys() {


        return hobbys;
    }

    public void setHobbys(List<String> hobbys) {


        this.hobbys = hobbys;
    }

    public Map<String, String> getCard() {


        return card;
    }

    public void setCard(Map<String, String> card) {


        this.card = card;
    }

    public Set<String> getGames() {


        return games;
    }

    public void setGames(Set<String> games) {


        this.games = games;
    }

    public Properties getInfo() {


        return info;
    }

    public void setInfo(Properties info) {


        this.info = info;
    }

    public String getWife() {


        return wife;
    }

    public void setWife(String wife) {


        this.wife = wife;
    }

    @Override
    public String toString() {


        return "Student{" +
                "name='" + name + '\'' +
                ", address=" + address.toString() +
                ", books=" + Arrays.toString(books) +
                ", hobbys=" + hobbys +
                ", card=" + card +
                ", games=" + games +
                ", info=" + info +
                ", wife='" + wife + '\'' +
                '}';
    }
}
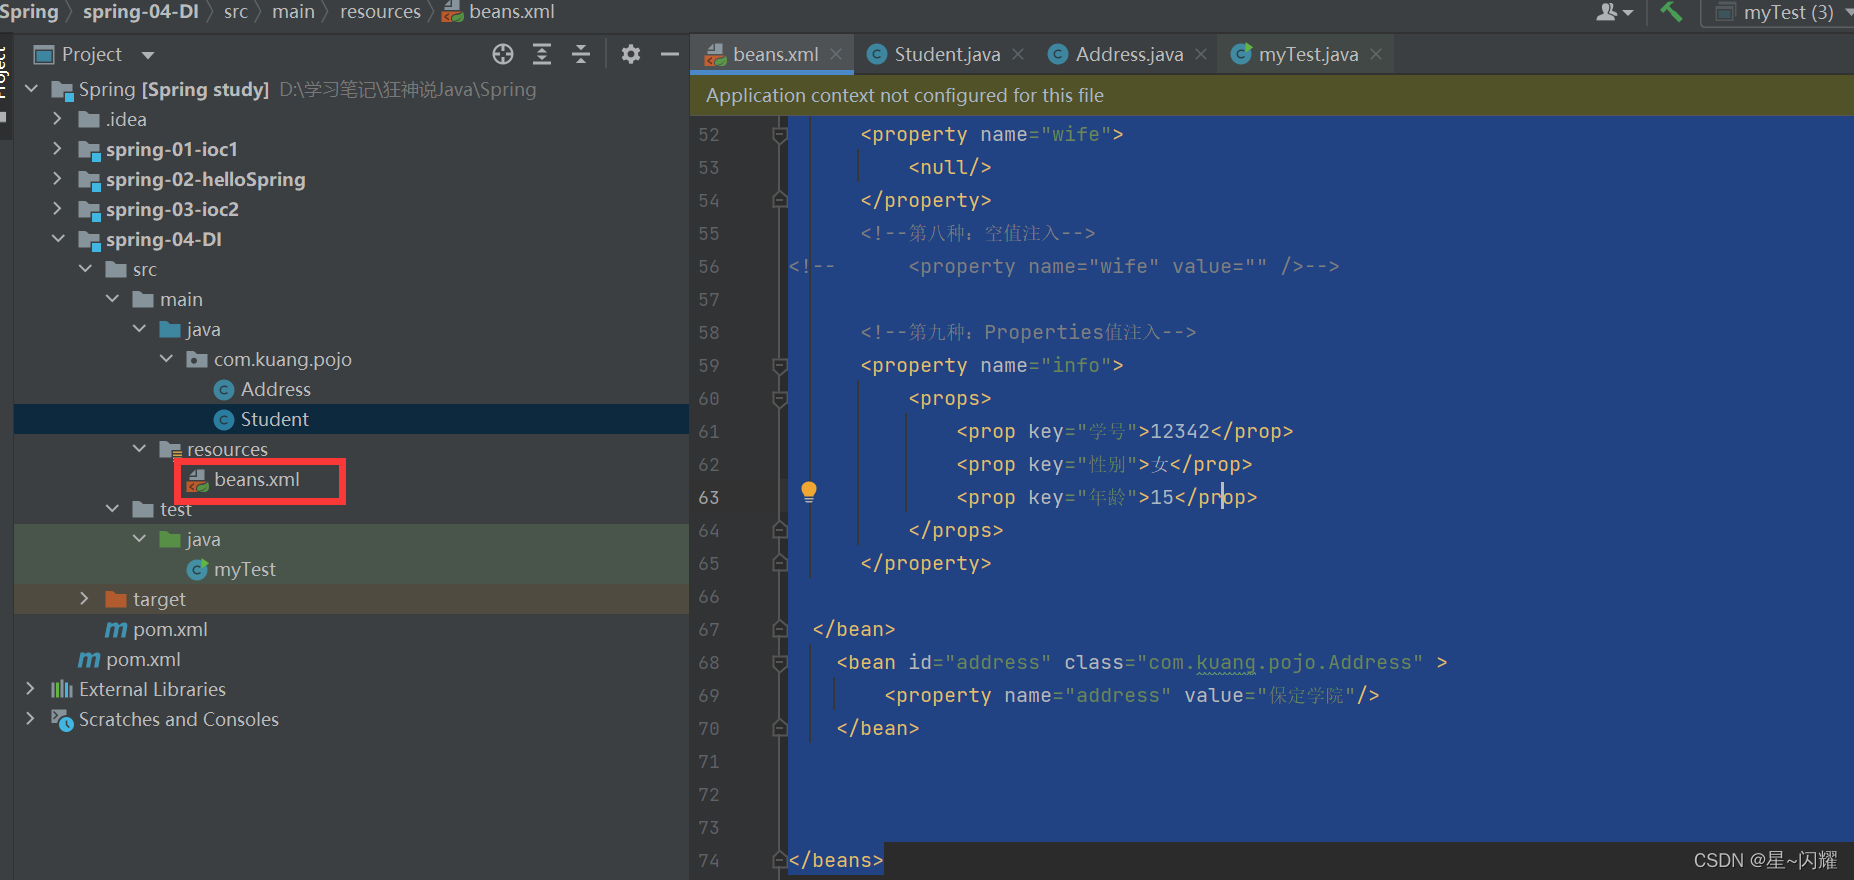
4.在resource下新建beans.xml
<?xml version="1.0" encoding="UTF-8"?>
<beans xmlns="http://www.springframework.org/schema/beans"
       xmlns:xsi="http://www.w3.org/2001/XMLSchema-instance"
       xsi:schemaLocation="http://www.springframework.org/schema/beans
        https://www.springframework.org/schema/beans/spring-beans.xsd">

  <bean id="student" class="com.kuang.pojo.Student">
<!--     第一种: 普通值注入,使用value属性-->
      <property name="name" value="婉婉"/>
<!--     第二种:Bean注入,使用ref属性-->
      <property name="address" ref="address">

      </property>

      <!--第三种:数组注入-->
      <property name="books">
          <array>
              <value>红楼梦</value>
              <value>西游记</value>
              <value>水浒传</value>
              <value>三国演义</value>
          </array>
      </property>

      <!--第四种:list-->
      <property name="hobbys">
          <list>
              <value>听歌</value>
              <value>看电影</value>
          </list>
      </property>


      <!--第五种:给map类型注入值-->
      <property name="card">
          <map>
              <entry key="身份证" value="123342" />
              <entry key="手机号" value="1122422" />
              <entry key="银行卡" value="11111" />
          </map>
      </property>

      <!--第六种:给set类型注入值-->
      <property name="games">
          <set>
              <value>王者</value>              <value>王者</value>
              <value>吃鸡</value>
          </set>
      </property>

      <!--第七种:null值注入-->
      <property name="wife">
          <null/>
      </property>
      <!--第八种:空值注入-->
<!--      <property name="wife" value="" />-->

      <!--第九种:Properties值注入-->
      <property name="info">
          <props>
              <prop key="学号">12342</prop>
              <prop key="性别">女</prop>
              <prop key="年龄">15</prop>
          </props>
      </property>

  </bean>
    <bean id="address" class="com.kuang.pojo.Address" >
        <property name="address" value="保定学院"/>
    </bean>


</beans>
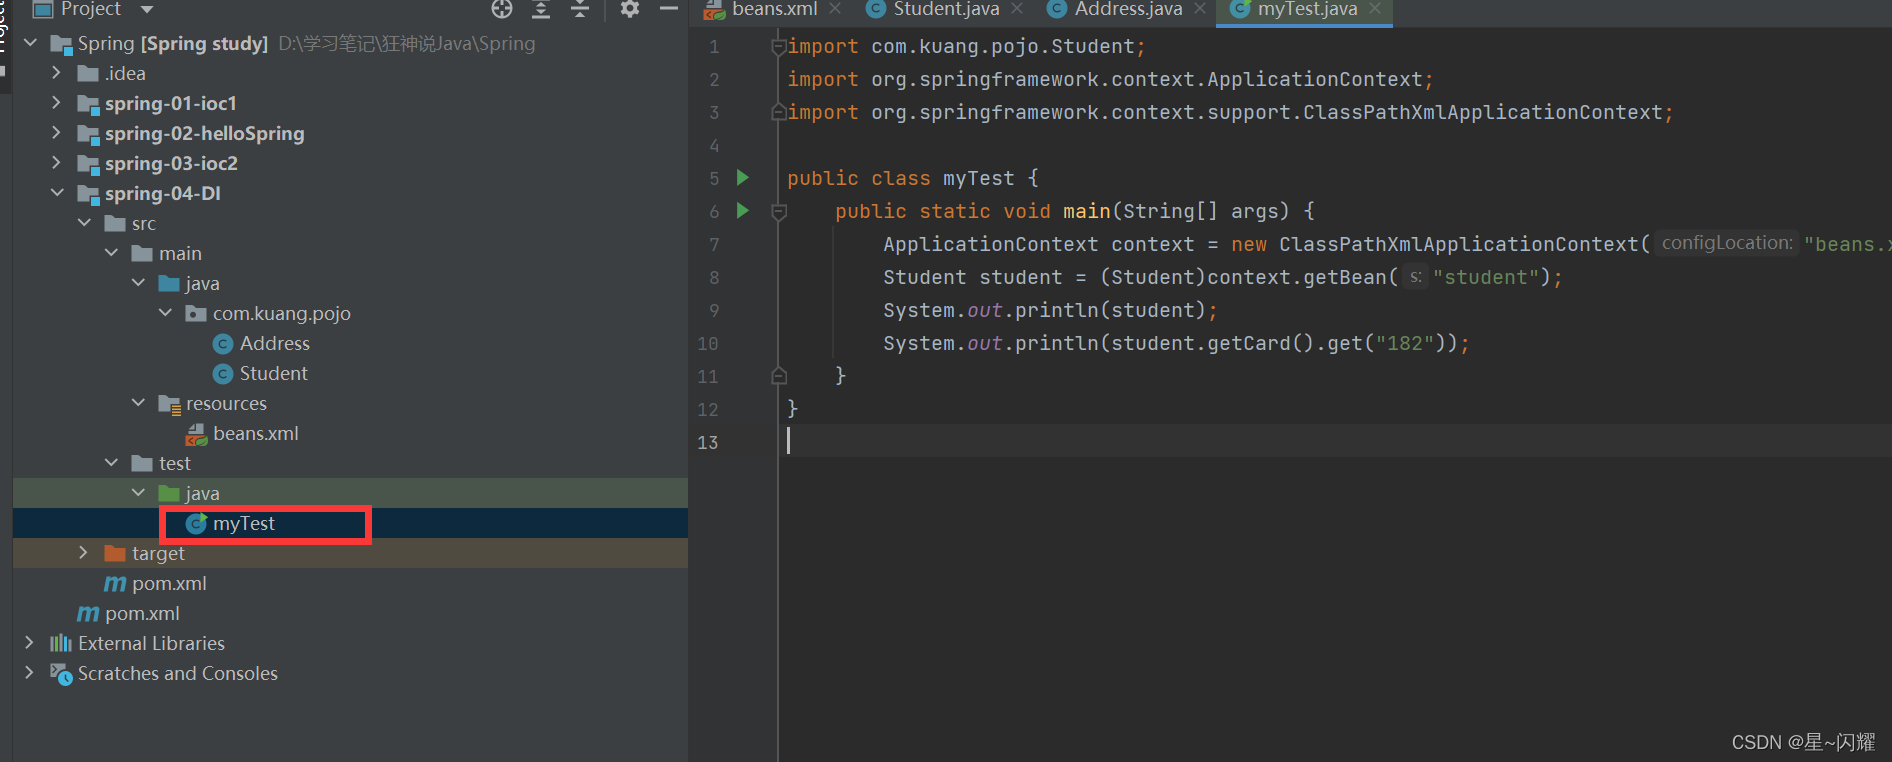
5.新建测试类
import com.kuang.pojo.Student;
import org.springframework.context.ApplicationContext;
import org.springframework.context.support.ClassPathXmlApplicationContext;

public class myTest {


    public static void main(String[] args) {


        ApplicationContext context = new ClassPathXmlApplicationContext("beans.xml");
        Student student = (Student)context.getBean("student");
        System.out.println(student);
        System.out.println(student.getCard().get("182"));
    }
}
拓展注入方式——p命名空间和c命名空间
我们可以使用p命名空间和c命名空间进行注入
官方文档位置:
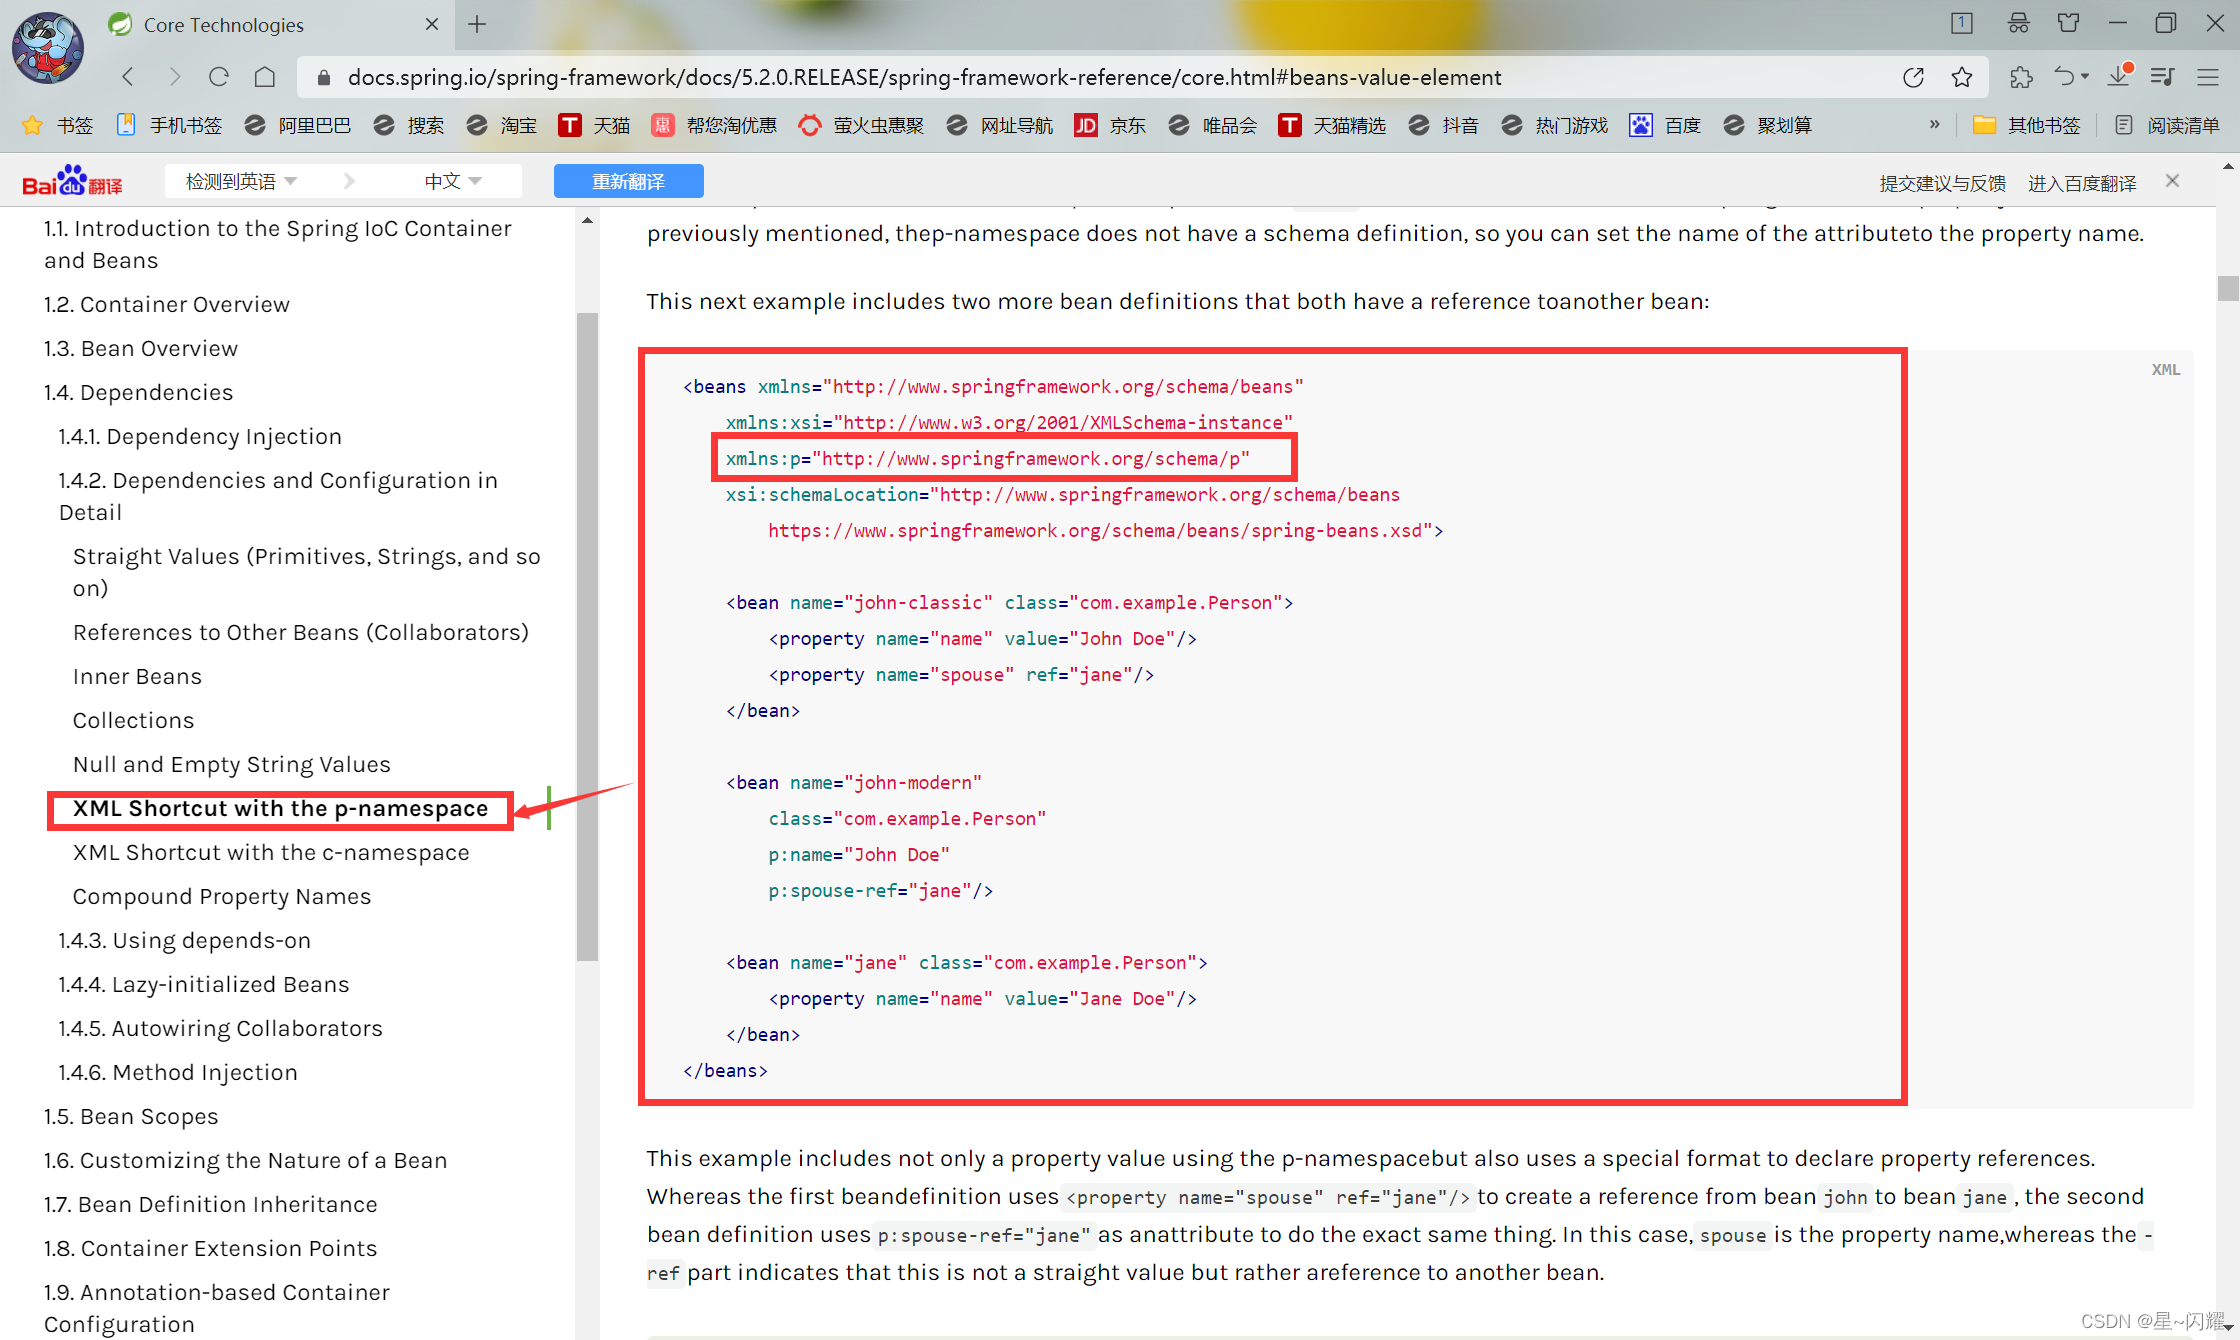
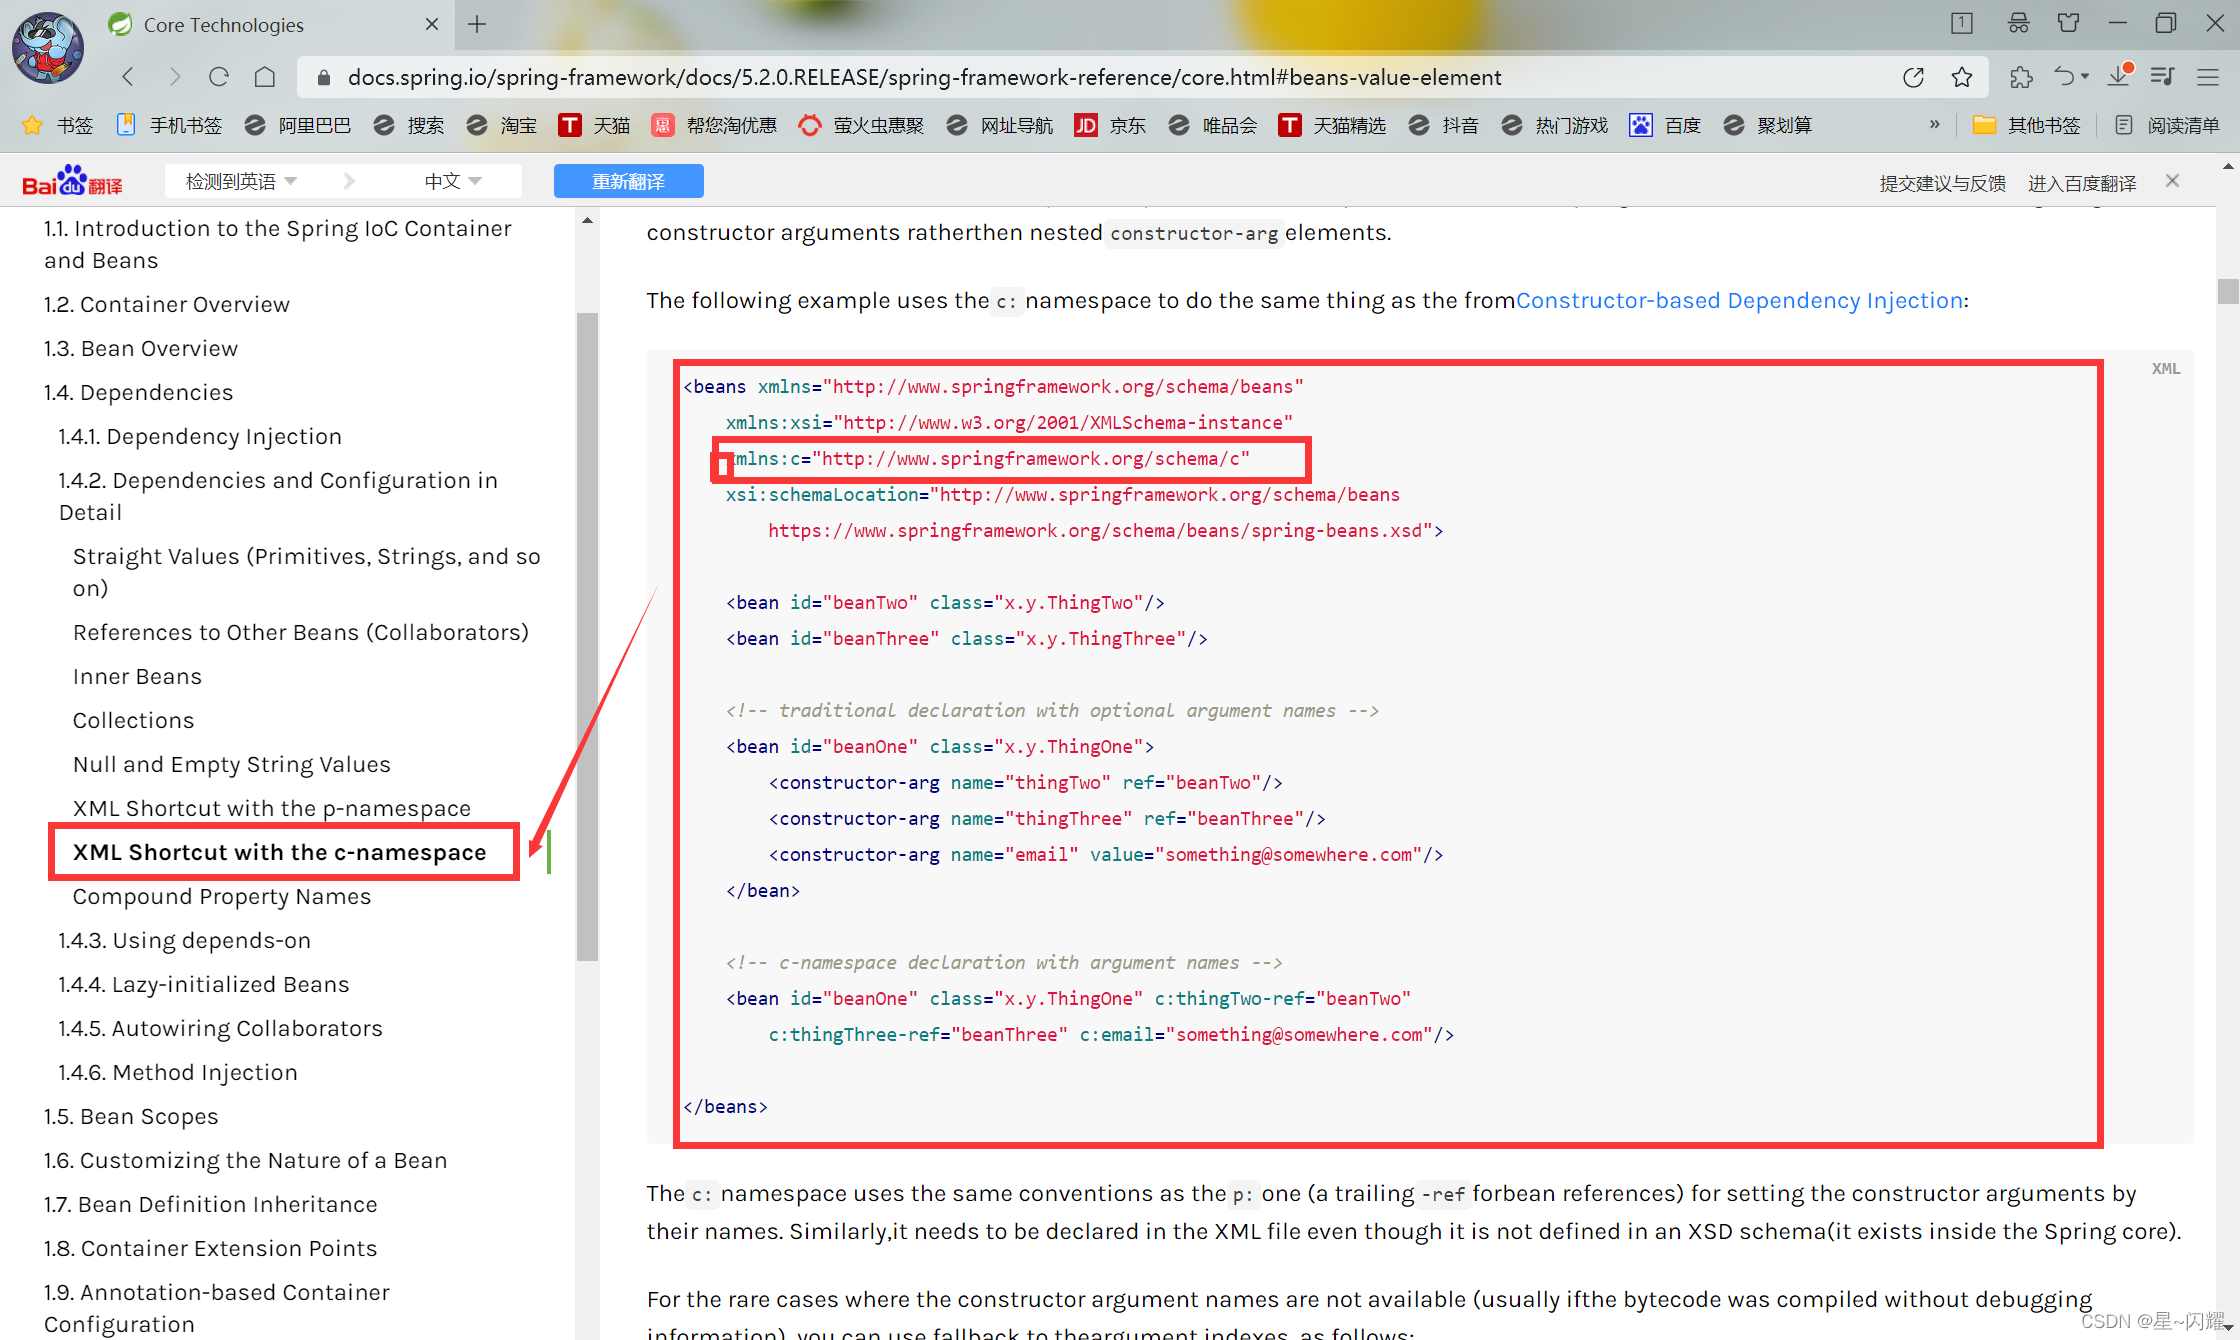
使用
<beans xmlns="http://www.springframework.org/schema/beans"
       xmlns:xsi="http://www.w3.org/2001/XMLSchema-instance"
       xmlns:p="http://www.springframework.org/schema/p"
       xmlns:c="http://www.springframework.org/schema/c"
       xsi:schemaLocation="http://www.springframework.org/schema/beans
        https://www.springframework.org/schema/beans/spring-beans.xsd">
<!--p命名空间注入,可以直接注入属性值-->
    <bean id="user" class="com.kuang.pojo.User" p:name="潇潇" p:age="12"></bean>

<!--c命名空间注入,通过构造器注入:constructs-->
    <bean id="user2" class="com.kuang.pojo.User" c:name="婉婉" c:age="15"></bean>
</beans>
使用流程
1.创建User对象
package com.kuang.pojo;

public class User {


    private String name;
    private int age;

    public String getName() {


        return name;
    }

    public void setName(String name) {


        this.name = name;
    }

    public int getAge() {


        return age;
    }

    public void setAge(int age) {


        this.age = age;
    }

    public User(String name, int age) {


        this.name = name;
        this.age = age;
        System.out.println("名字:"+this.name+",年龄:"+this.age);
    }

    public User() {


    }

    @Override
    public String toString() {


        return "User{" +
                "name='" + name + '\'' +
                ", age=" + age +
                '}';
    }
}

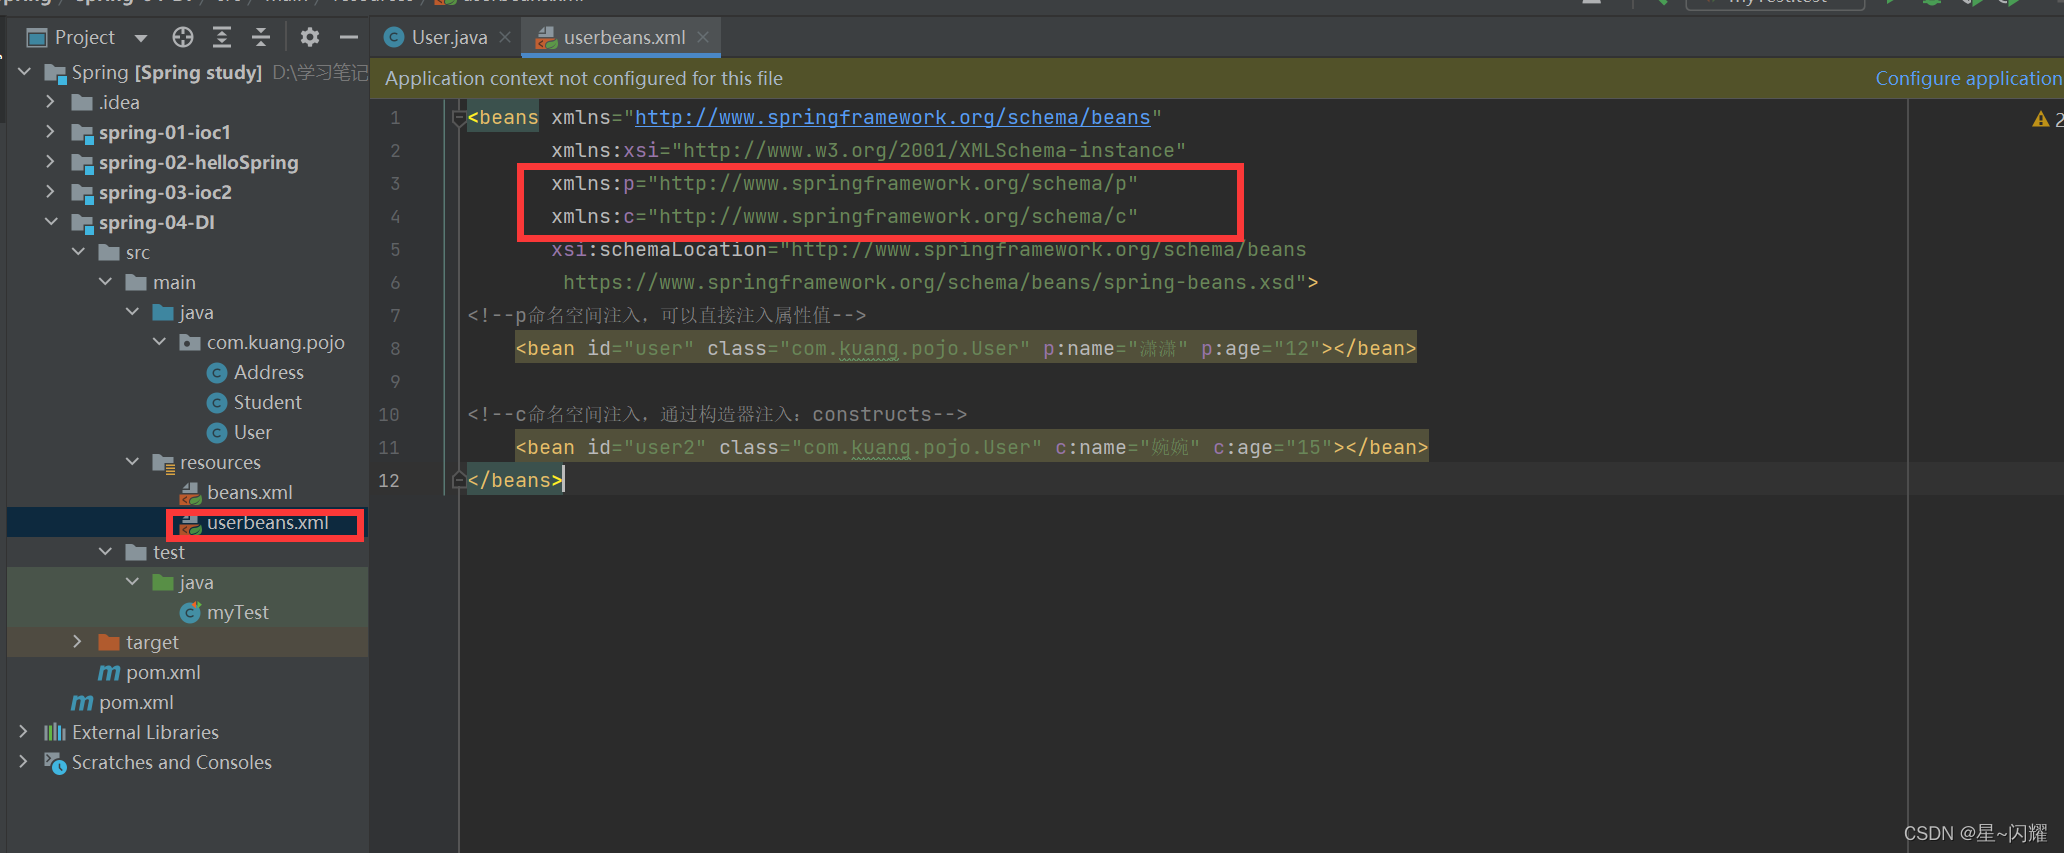
2.创建配置文件userbeans.xml
<beans xmlns="http://www.springframework.org/schema/beans"
       xmlns:xsi="http://www.w3.org/2001/XMLSchema-instance"
       xmlns:p="http://www.springframework.org/schema/p"
       xmlns:c="http://www.springframework.org/schema/c"
       xsi:schemaLocation="http://www.springframework.org/schema/beans
        https://www.springframework.org/schema/beans/spring-beans.xsd">
<!--p命名空间注入,可以直接注入属性值-->
    <bean id="user" class="com.kuang.pojo.User" p:name="潇潇" p:age="12"></bean>

<!--c命名空间注入,通过构造器注入:constructs-->
    <bean id="user2" class="com.kuang.pojo.User" c:name="婉婉" c:age="15"></bean>
</beans>
3.测试
import com.kuang.pojo.Student;
import com.kuang.pojo.User;
import org.junit.Test;
import org.springframework.context.ApplicationContext;
import org.springframework.context.support.ClassPathXmlApplicationContext;

public class myTest {


    @Test
    public void test(){


    //获取ApplicationContext:拿到Spring的容器
        ApplicationContext context1 = new ClassPathXmlApplicationContext("userbeans.xml");
//        User user = (User)context1.getBean("user");
        User user = context1.getBean("user",User.class);
        System.out.println(user);
        User user2 = context1.getBean("user2",User.class);
        System.out.println(user2);
    }
}
使用junit测试pom.xml文件中要引入junit依赖
 <dependency>
            <groupId>junit</groupId>
            <artifactId>junit</artifactId>
            <version>4.13.2</version>
            <scope>test</scope>
        </dependency>
注意点:
p命名和c命名空间不能直接使用,需要导入xml约束
p命名约束
xmlns:p="http://www.springframework.org/schema/p"
c命名约束
xmlns:c="http://www.springframework.org/schema/c"