文章目录
小唐开始学习Spring Boot了啊哈哈哈哈哈哈哈哈哈哈
一、安装Maven
下载地址
http://maven.apache.org
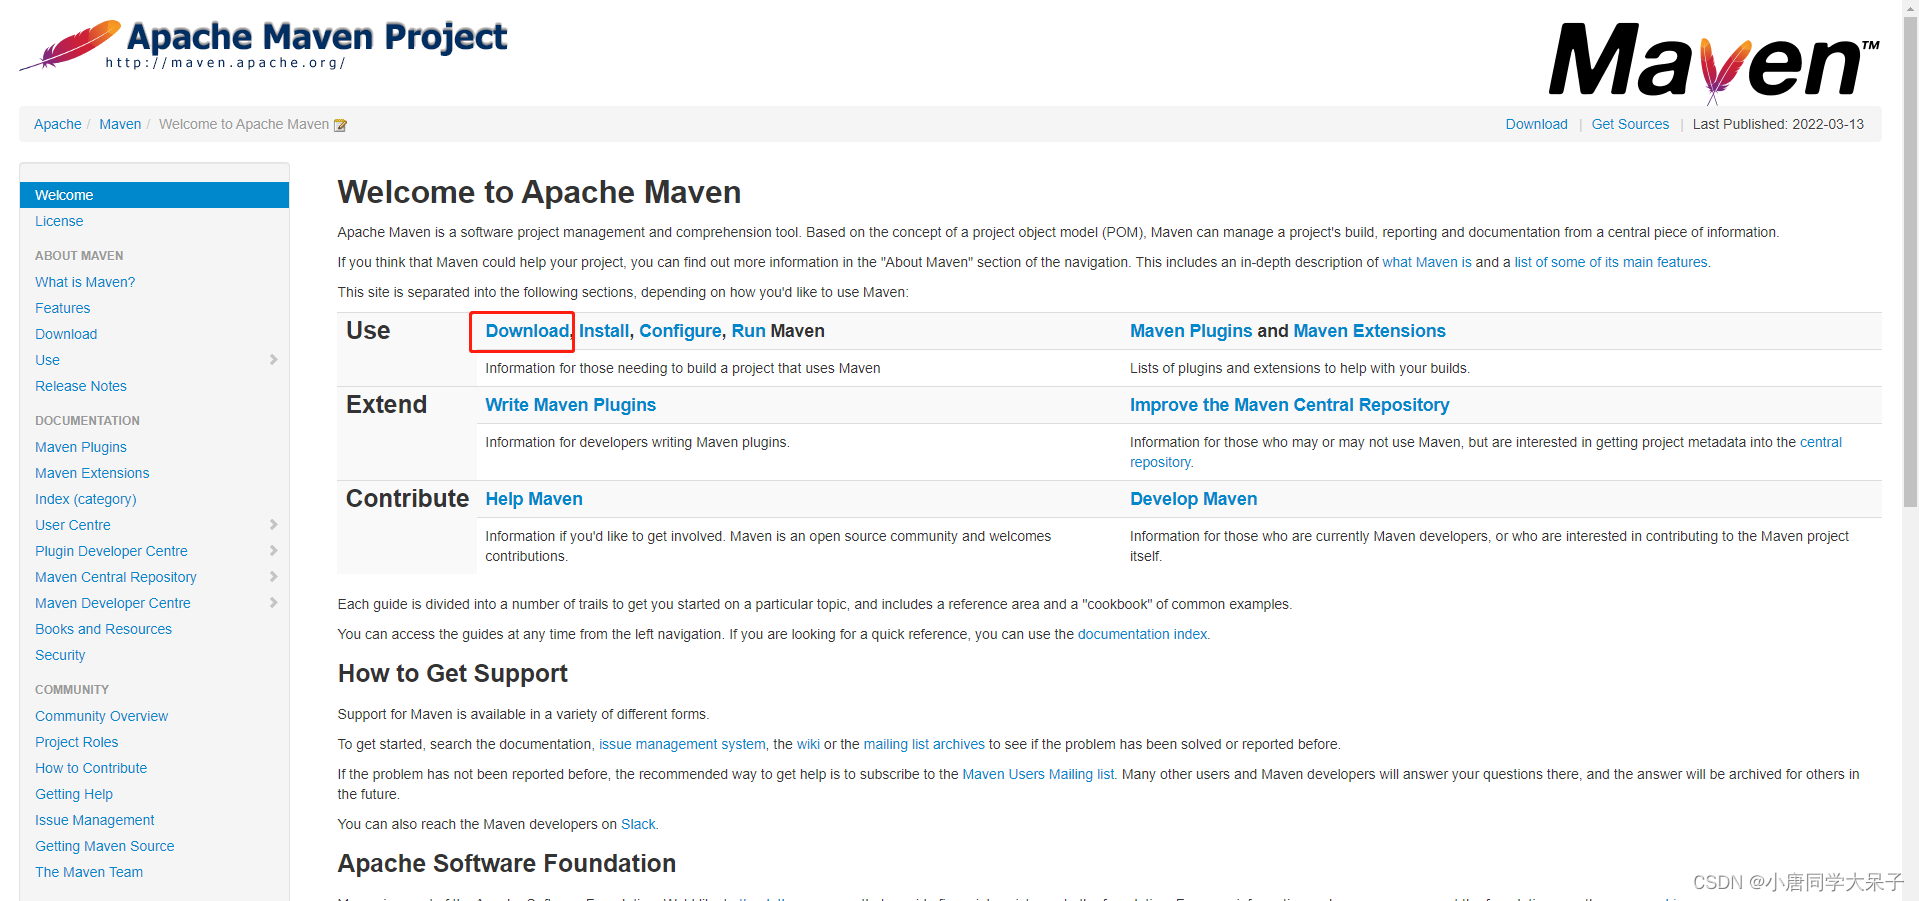
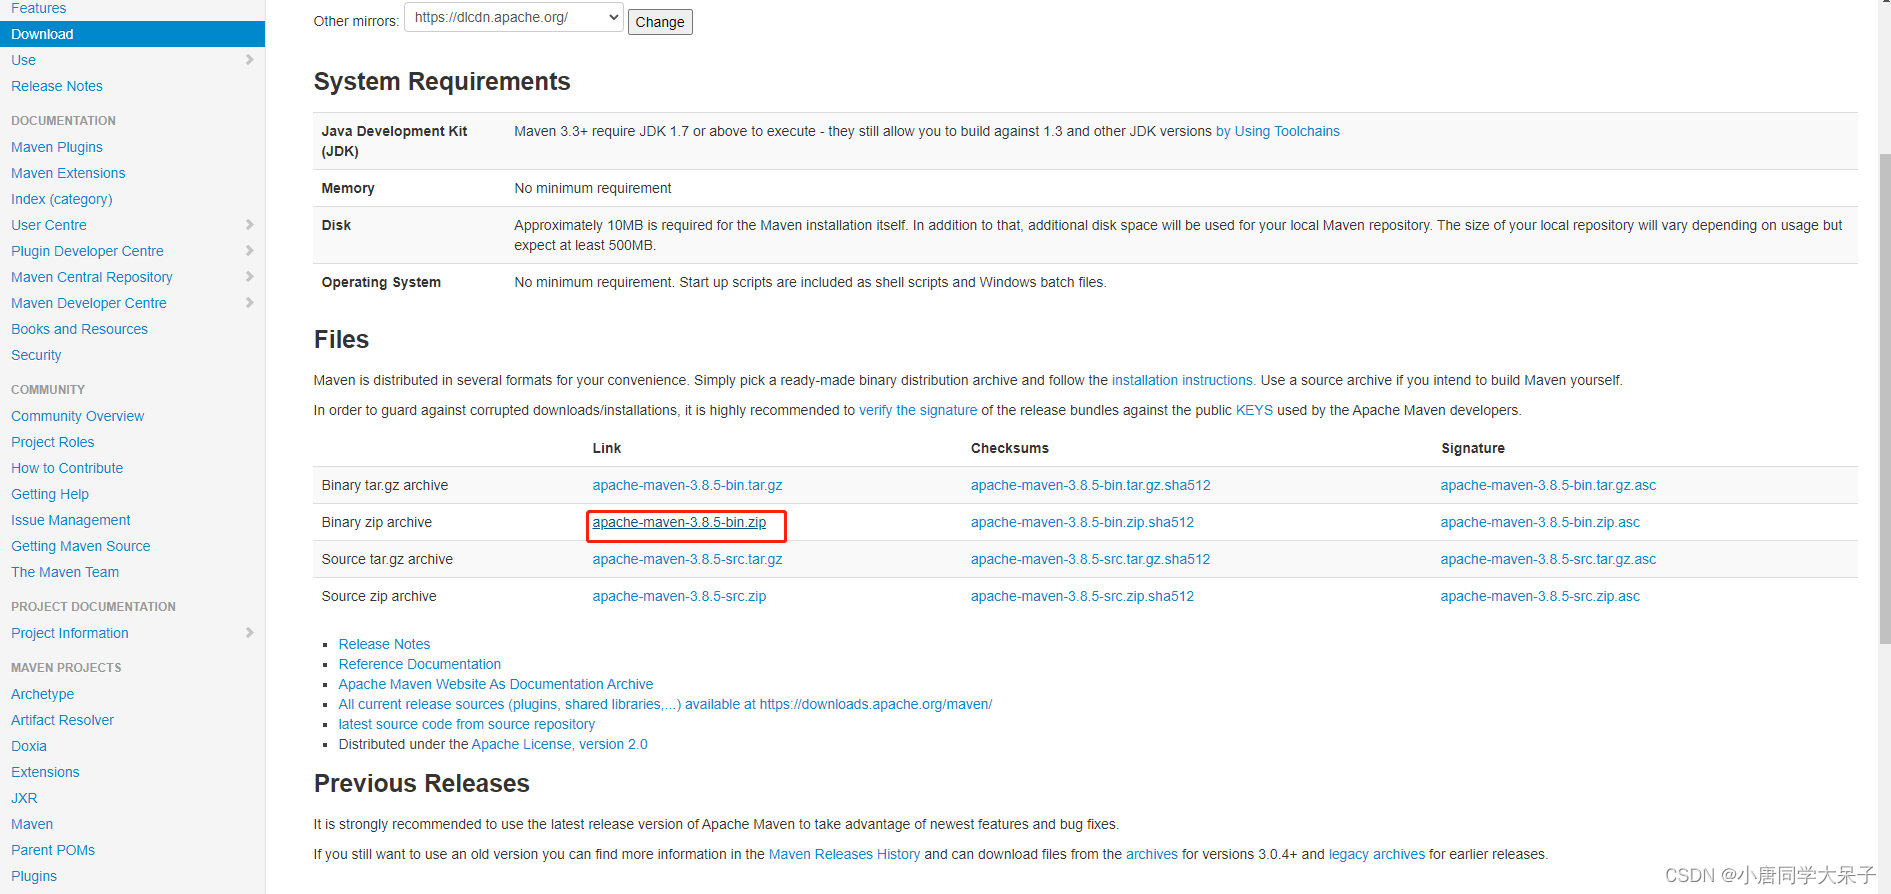
国外的网站会有点小慢,不过问题不大,解压之后随便放在一个盘里面
配置Maven
因为Maven的源是国外的,在这里我们要改一下镜像,找到 apache-maven-3.8.4\conf目录下的settings.xml
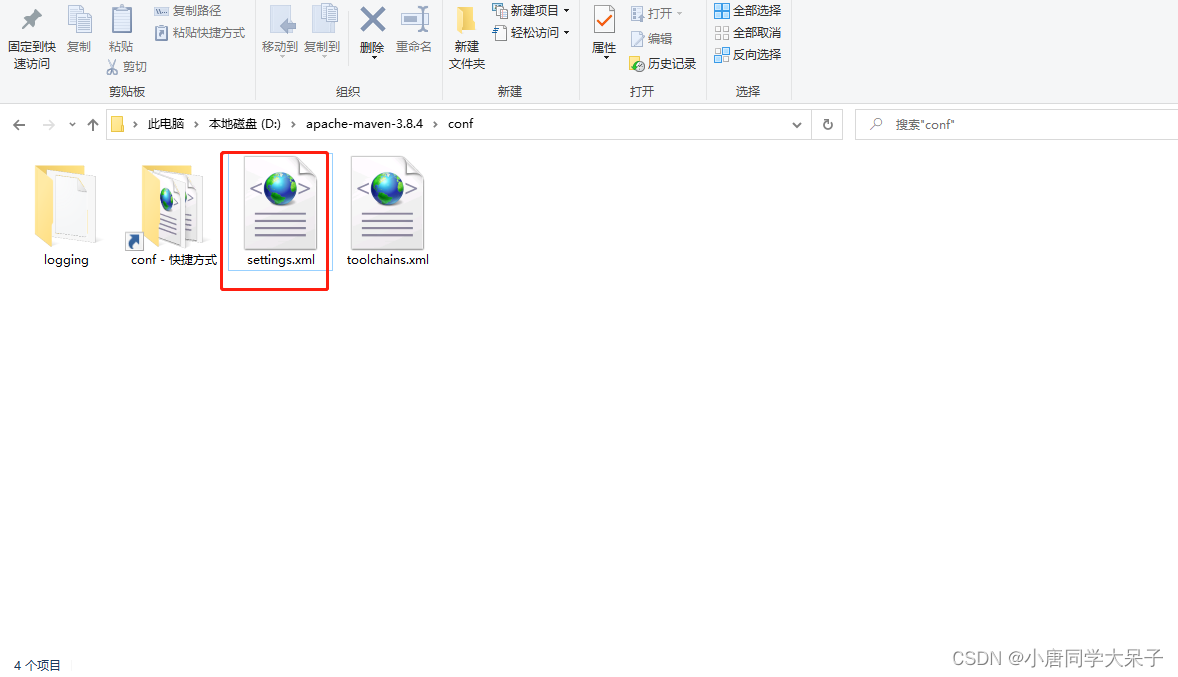
txt啥的直接打开,找到 <mirror> </mirror>这样一组便签,他的里面应该没有东西的 ,把这个阿里的镜像加进去
<mirror>
            <id>alimaven</id>
            <mirrorOf>central</mirrorOf>
            <name>aliyun maven</name>
            <url>http://maven.aliyun.com/nexus/content/repositories/central</url>
        </mirror>

        <mirror>
            <id>alimaven</id>
            <name>aliyun maven</name>
            <url>http://maven.aliyun.com/nexus/content/groups/public</url>
            <mirrorOf>central</mirrorOf>
        </mirror>
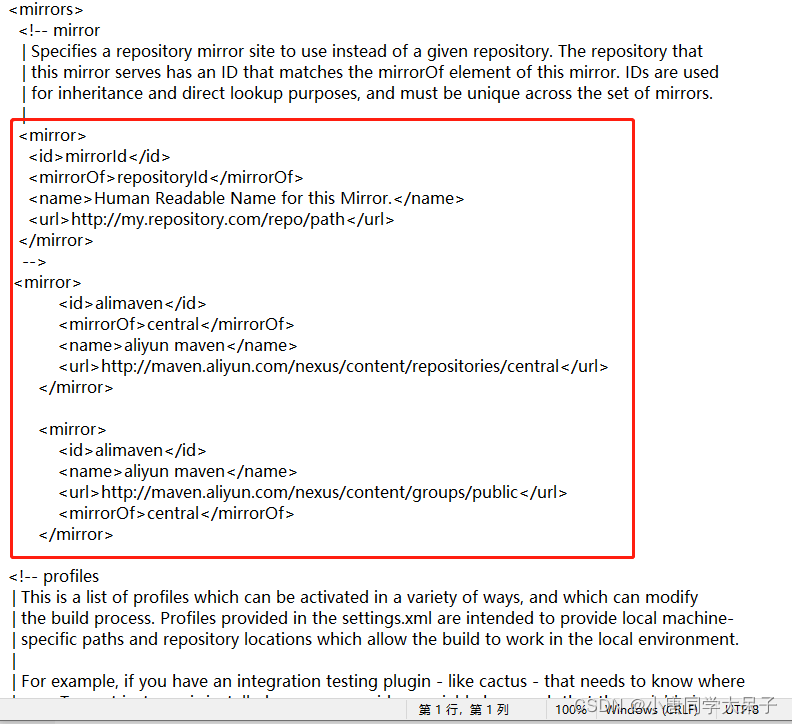
记得保存
二、安装IDEA 2021.3.2
下载地址
https://www.jetbrains.com/idea/download/#section=windows
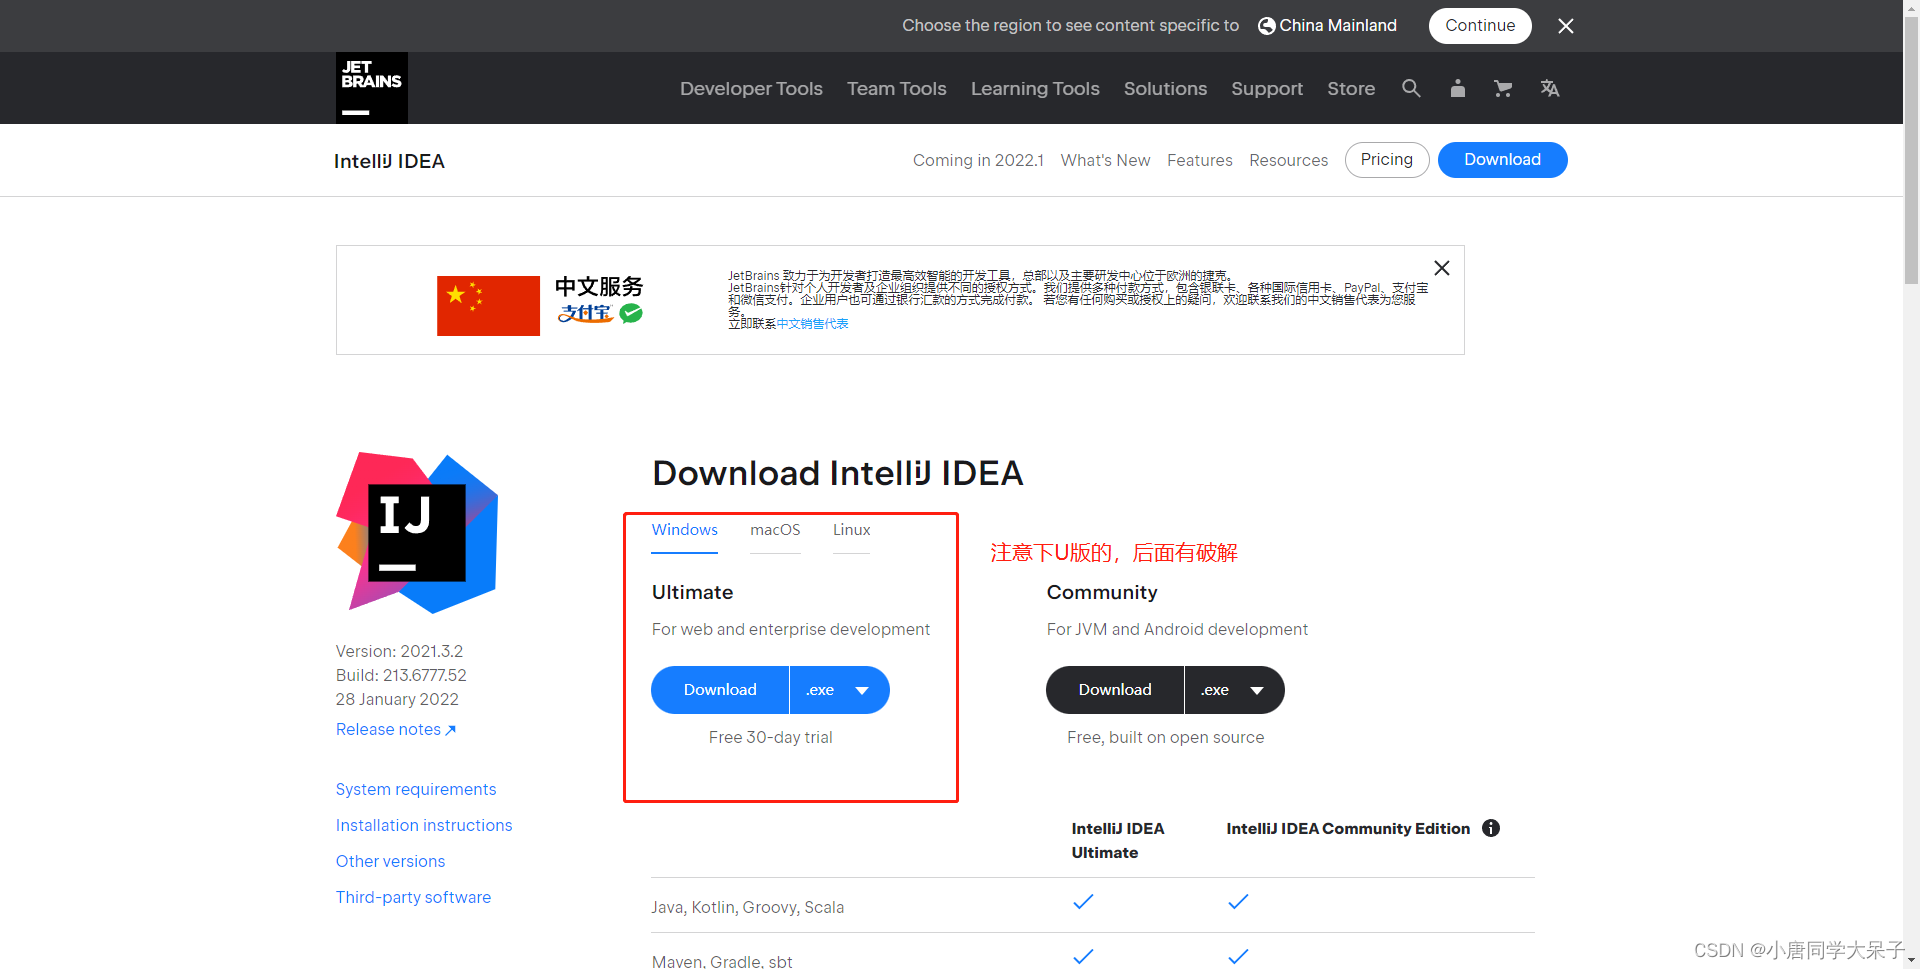
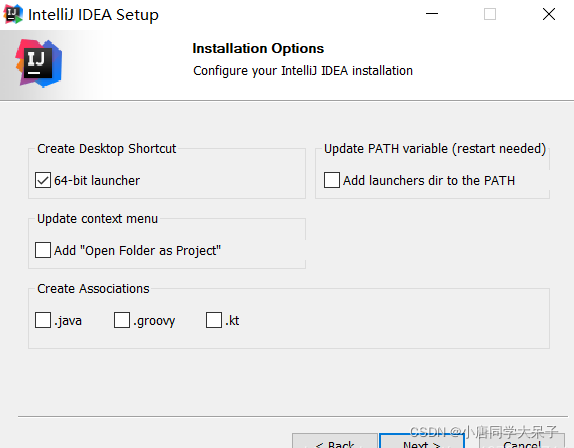
除了32和64位的选择那里,安装个人喜好来(不会就全选),其他一直点下一步
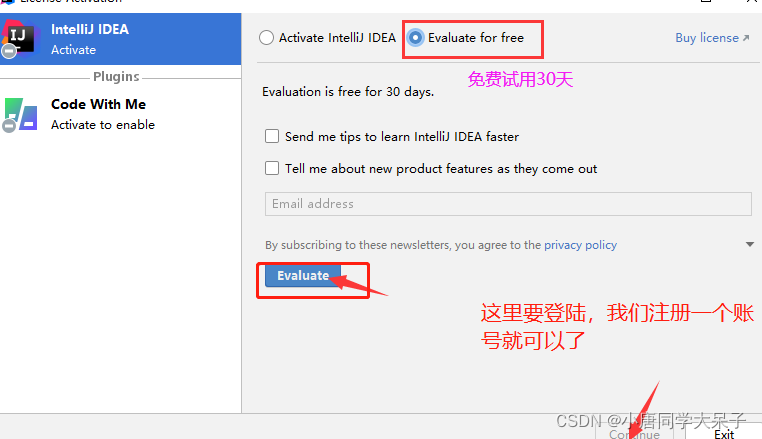
运行IDEA
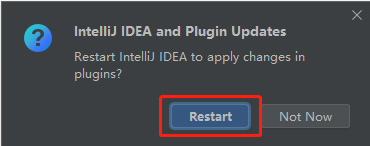
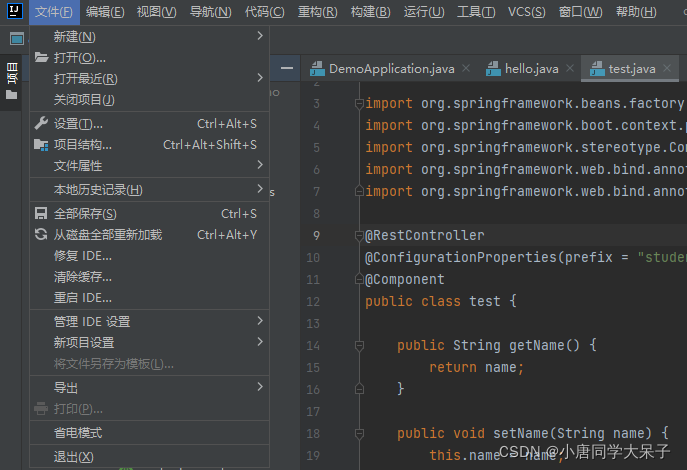
配置中文
我不喜欢英文,所以直接在下插件
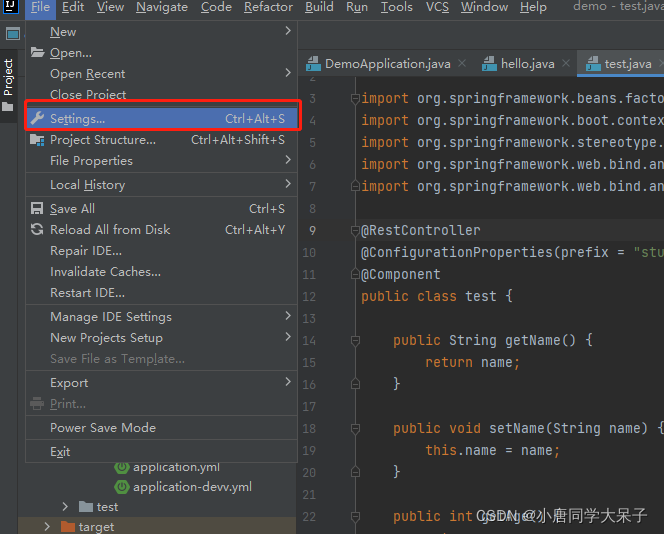
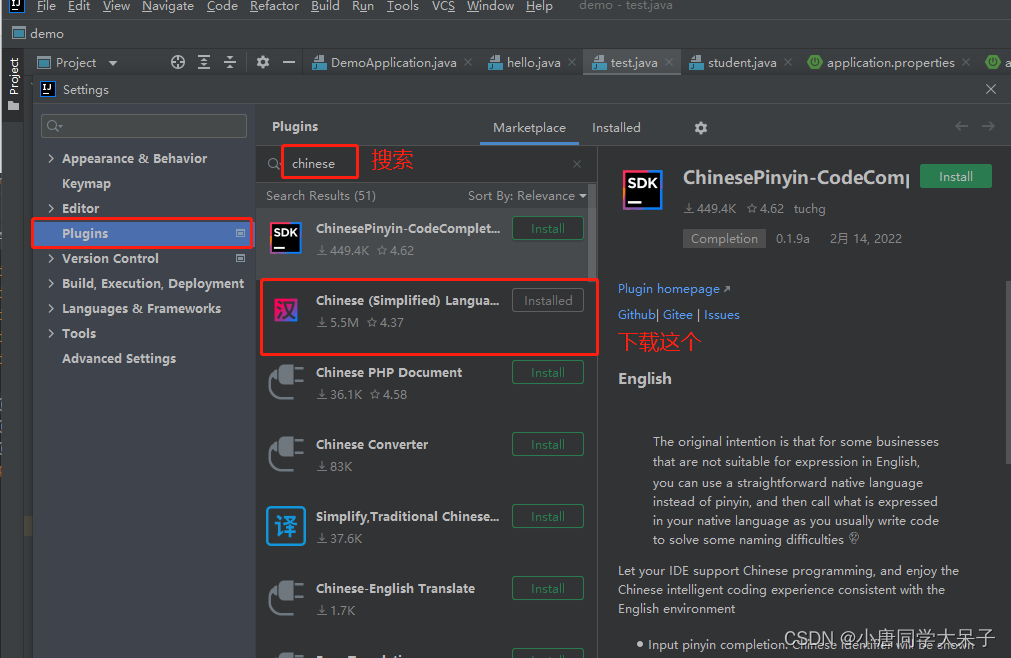
重启
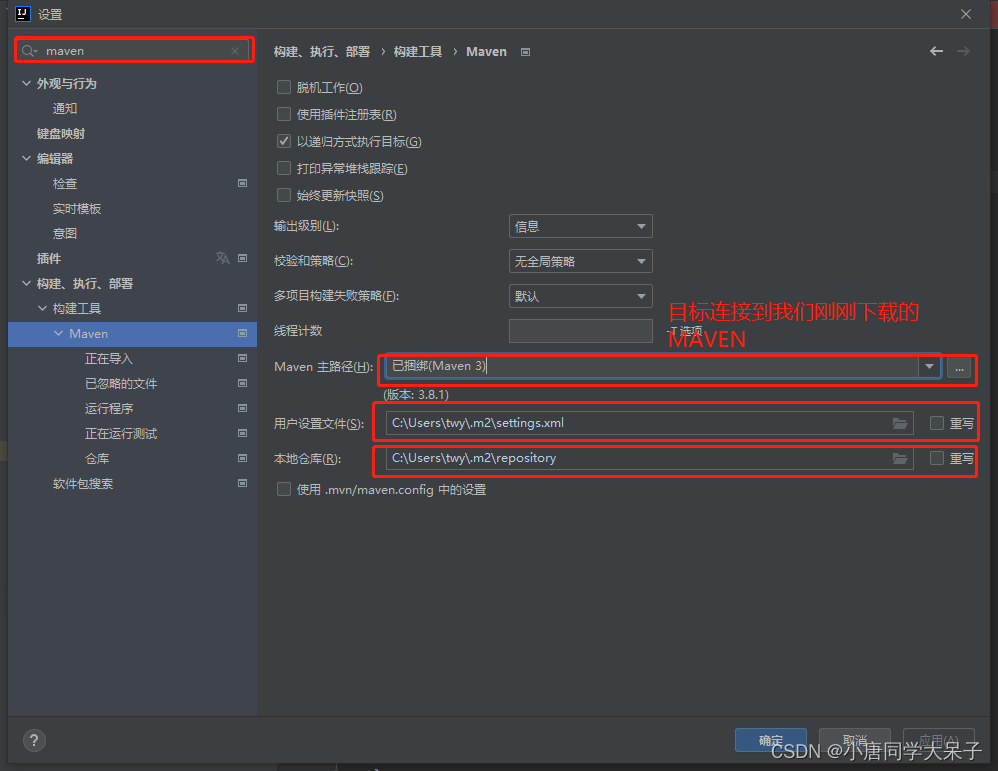
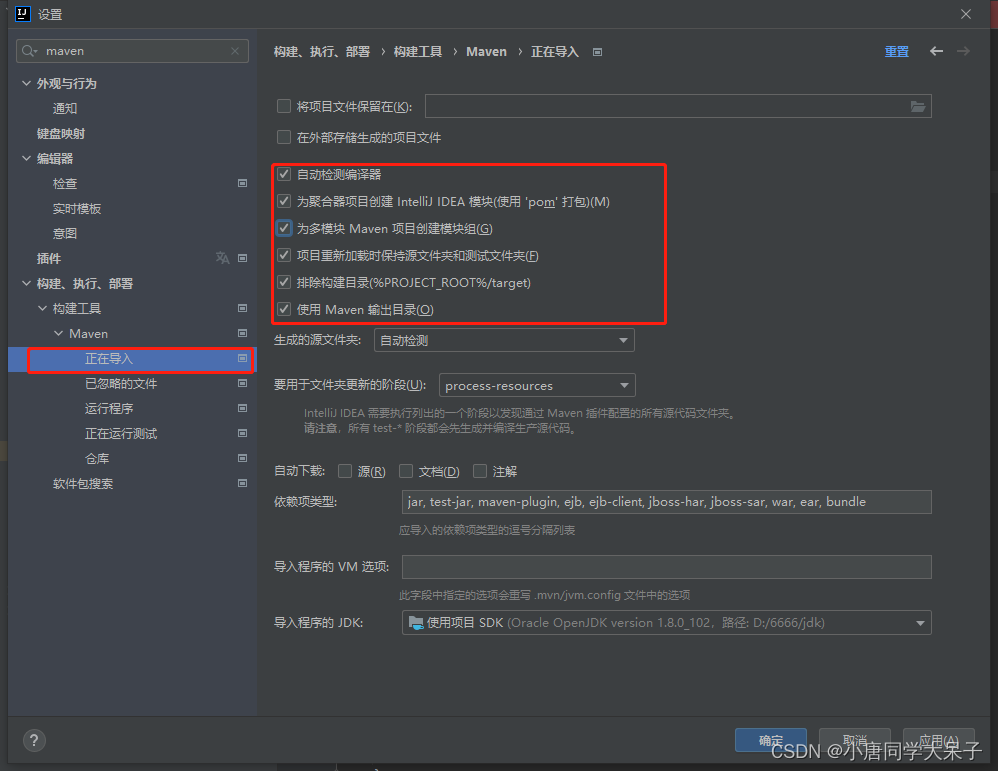
配置IDEA里面的Maven
三、 我的第一个 Spring Boot项目
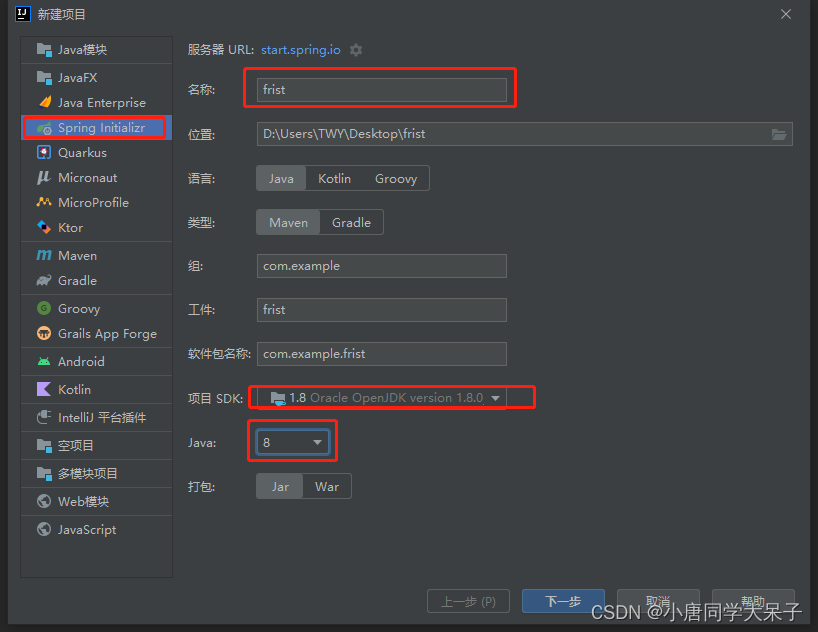
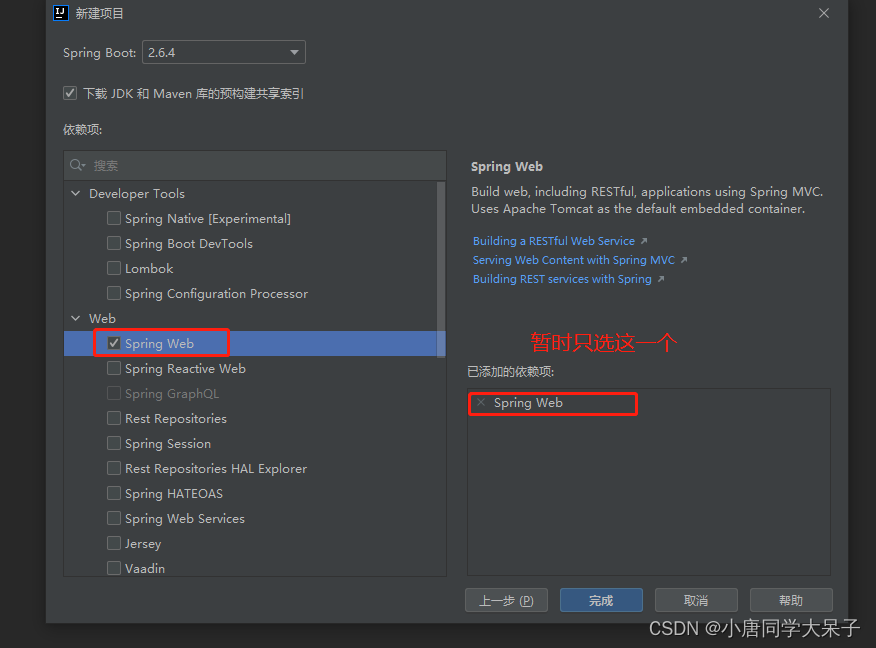
新建项目
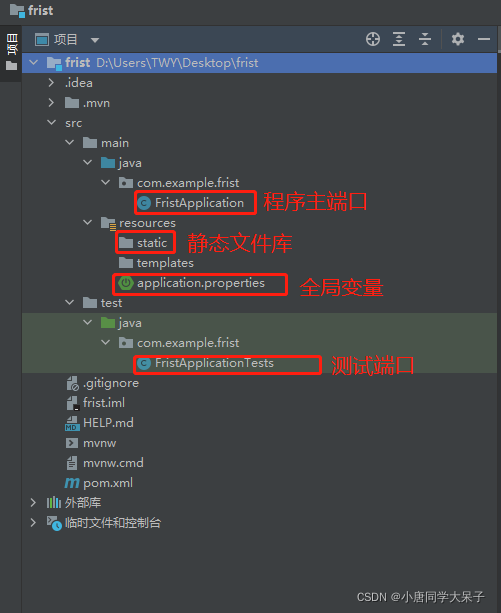
目录结构
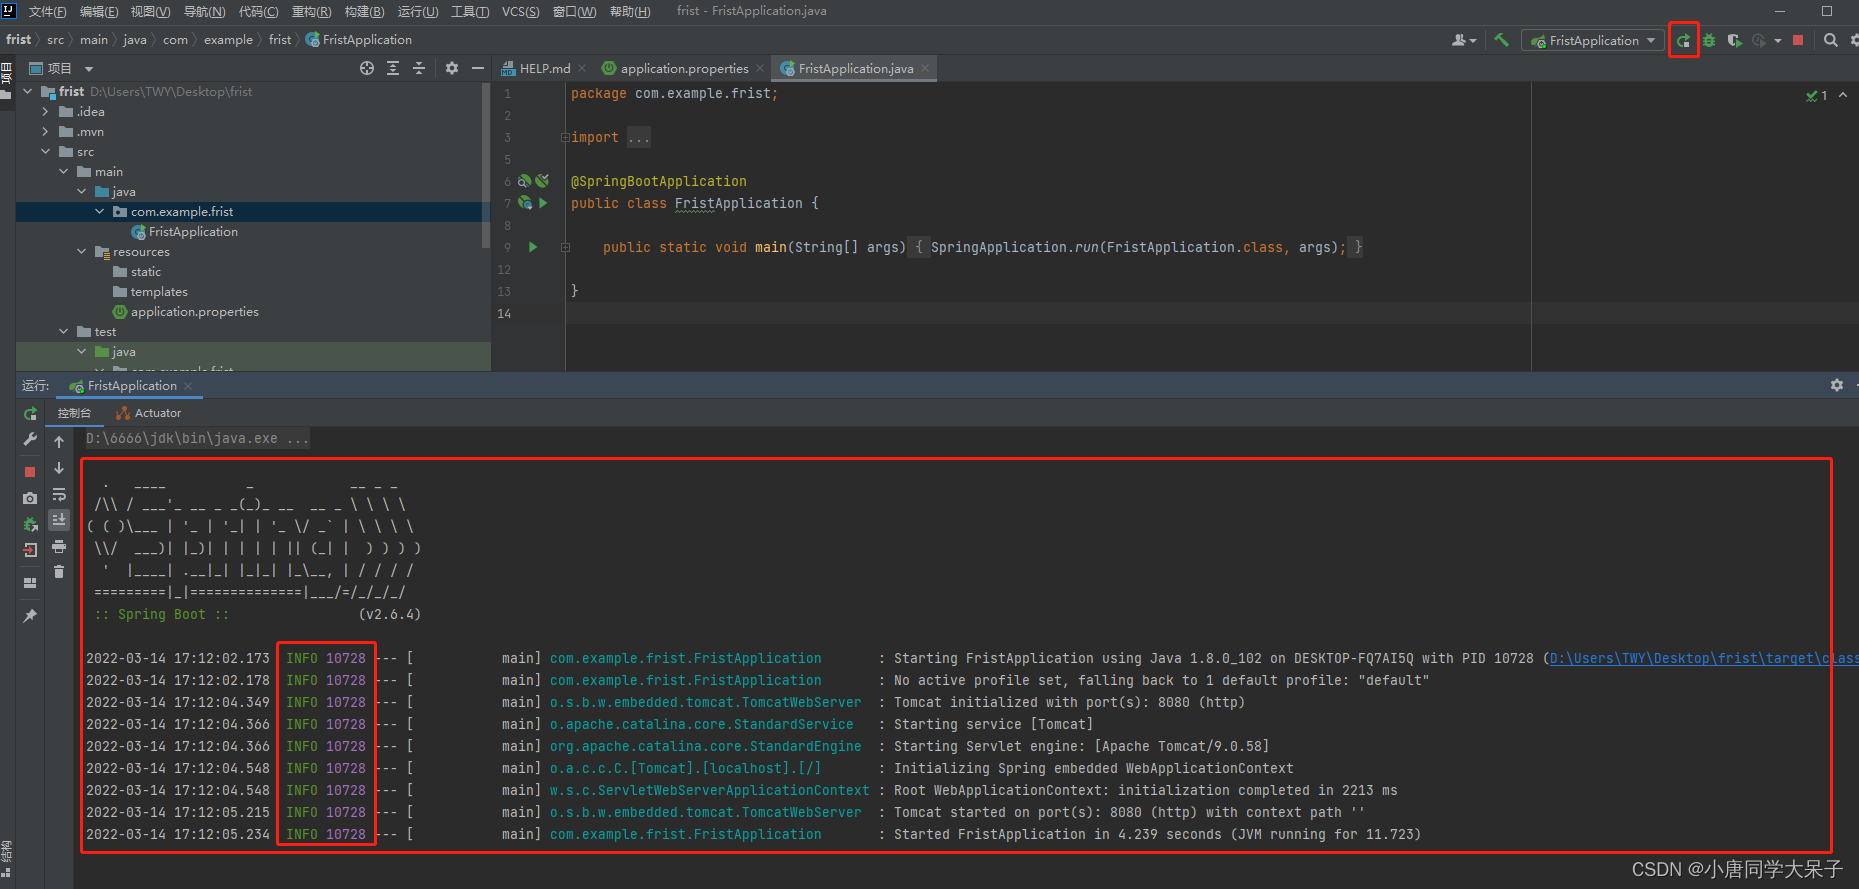
点击运行

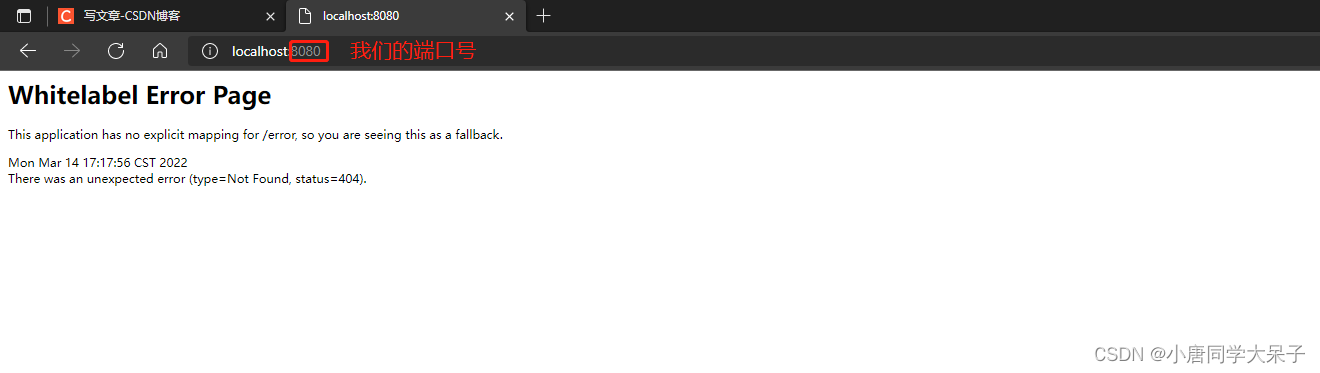
如果出现这个大logo 并且在 http://localhost:8080/ 看到这个,说明成功
编写页面
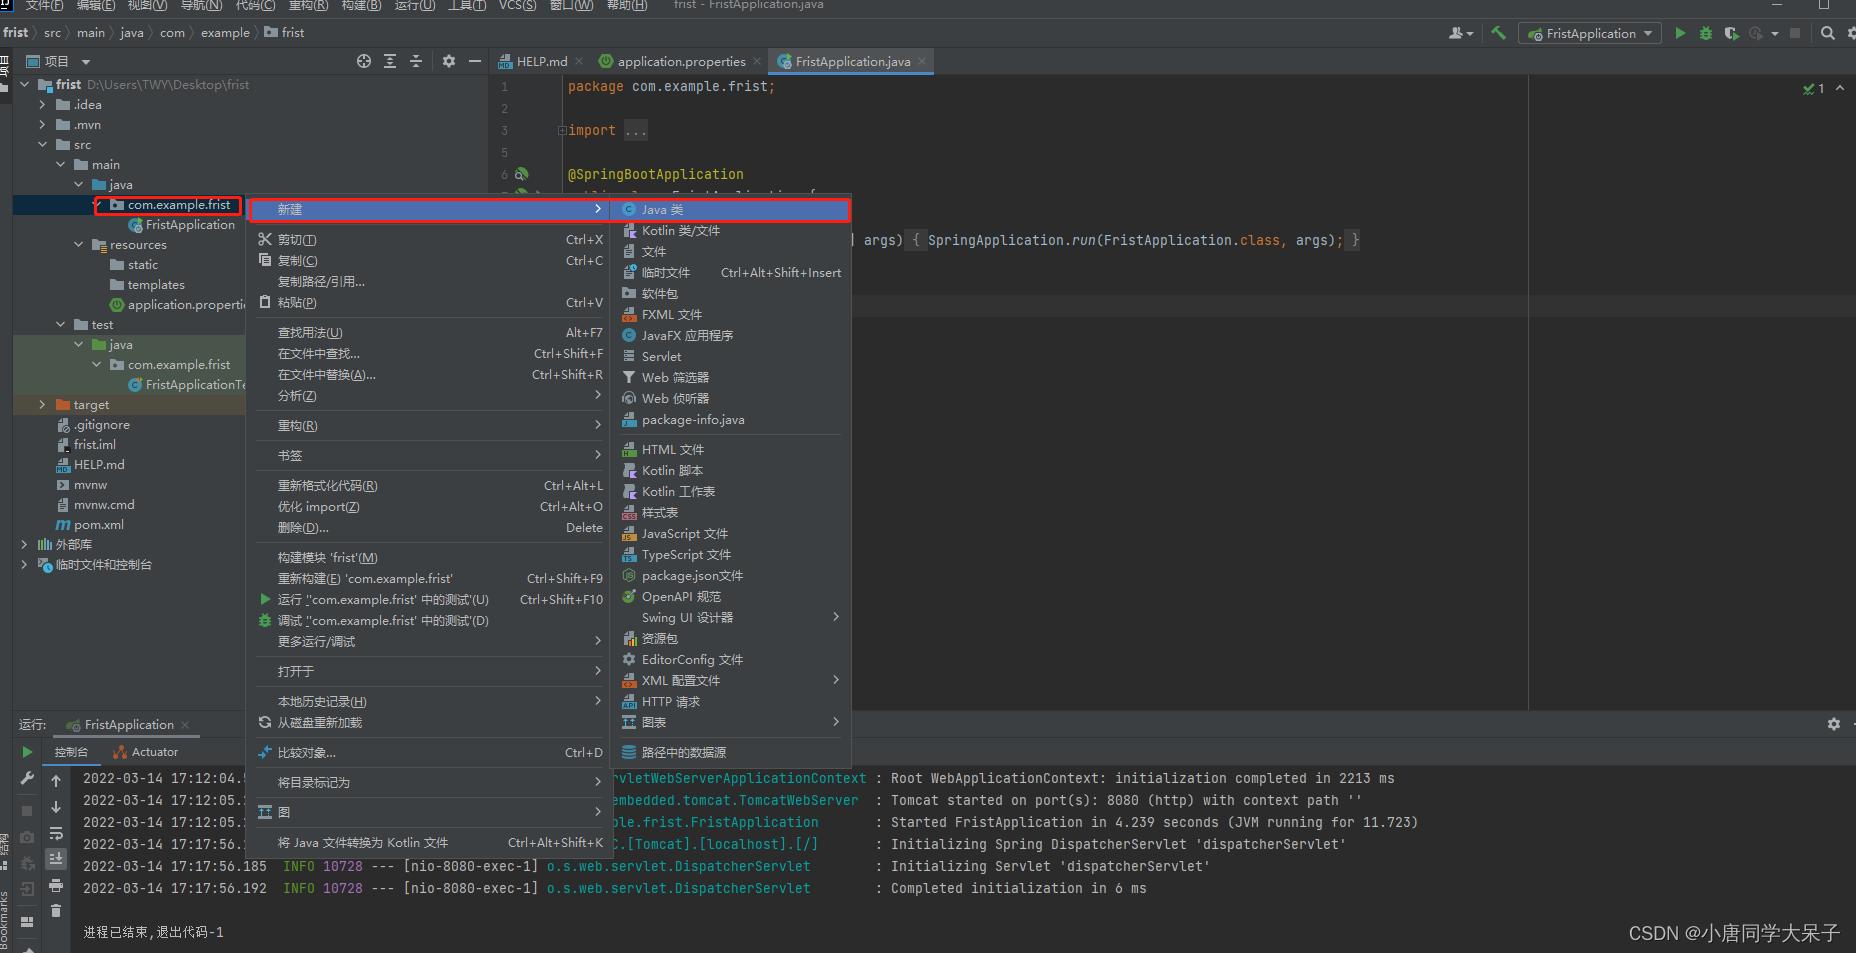

package com.example.frist;//每一个人的包名不一样
import org.springframework.web.bind.annotation.GetMapping;
import org.springframework.web.bind.annotation.RestController;
@RestController
//注意我们的类名是否相同
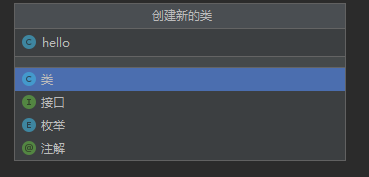
public class hello {
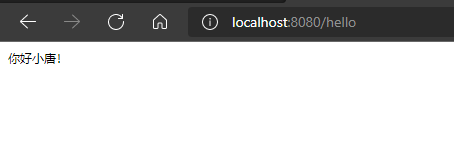
@GetMapping("/hello")//网址就是http://localhost:8080/hello
//@GetMapping("/XXX") 网址就是http://localhost:8080/XXX
public String hello(){
return "你好小唐!";
}
}
启动
重新启动程序,这样我们就可以在 http://localhost:8080/hello 看到我们的输出(后缀是依据我们@GetMapping的设置来的)