JS读取Excel数据
为什么要导入Excel数据,在所有的系统中几乎都会涉及到添加数据功能,添加数据有两种方法,第一种就是手动输入,一次只能输入一条数据。另一种就是通过导入excel文件实现多条数据的添加。
接下来我们就通过一个例子来实现excel数据的导入
1、示例代码
<template>
  <div class="hello">
    <h1>{

    {

     msg }}</h1>
    <h2>Essential Links</h2>
    <el-row>
      <el-col>
        <el-upload
          ref="upload"
          action="/"
          :show-file-list="false"
          :on-change="(file, fileList) => {batchImport(file, fileList,importHeader)}"
          :auto-upload="false"
          style="margin-left: 30px;width:130px">
          <el-button
            style="width: 130px"
            type="primary"
            plain
            icon="el-icon-upload2"
            class="handle-del">批量导入
          </el-button>
        </el-upload>
      </el-col>
    </el-row>
  </div>
</template>

<script>
import XLSX from "xlsx";
export default {


  name: 'HelloWorld',
  data () {


    return {


      xlsxJson: {

    },
      importHeader:["姓名","年龄"],
      msg: 'Welcome to Your Vue.js App'
    }
  },
  methods:{


    batchImport(file, fileList,header) {


      // let file = file.files[0] // 使用传统的input方法需要加上这一步
      const types = file.name.split(".")[1];
      const fileType = ["xlsx", "xlc", "xlm", "xls", "xlt", "xlw", "csv"].some(
        (item) => item === types
      );
      if (!fileType) {


        alert("格式错误!请重新选择");
        return;
      }
      this.file2Xce(file,header).then((tabJson) => {


        if (tabJson && tabJson.length > 0) {


          this.xlsxJson = tabJson;
        }
        this.setLedgerList();
      });
    },
    setLedgerList() {


      let data = [];

      this.xlsxJson[0].sheet.forEach((item) => {


        data.push(item);
      });
      console.log(data)
    //  这个data就可以传给后端,存入数据了
    },
    file2Xce(file,header) {


      return new Promise(function (resolve, reject) {


        const reader = new FileReader();
        reader.onload = function (e) {


          const data = e.target.result;
          // XLSX.read返回值为WorkBook对象,包含整个文件的所有表
          this.wb = XLSX.read(data, {


            type: "binary",
          });
          const result = [];
          //SheetNames包含了文件中所有的表明
          this.wb.SheetNames.forEach((sheetName) => {


            result.push({


              sheetName: sheetName,
              sheet: XLSX.utils.sheet_to_json(this.wb.Sheets[sheetName], {


                //header是设置表属性名,如果设置为数字,则属性名由0,1,2...表示
                //此处设置的header为importHeader:["姓名","年龄"],最终结果的属性名对应该数组
                header: header,
              }),
            });
          });
          console.log("result")
          console.log(result)
          //将excel文件第一张表的第一项(excel的第一行为属性名,应该去掉)删除
          result[0].sheet.shift();
          resolve(result);
        };
        reader.readAsBinaryString(file.raw);
        // reader.readAsBinaryString(file) // 传统input方法
      });
    },
  }
}
</script>
2、结果分析
2.1素材
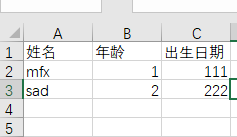
excel文件包含两张表
表一
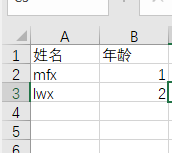
表二
2.2代码解析及结果
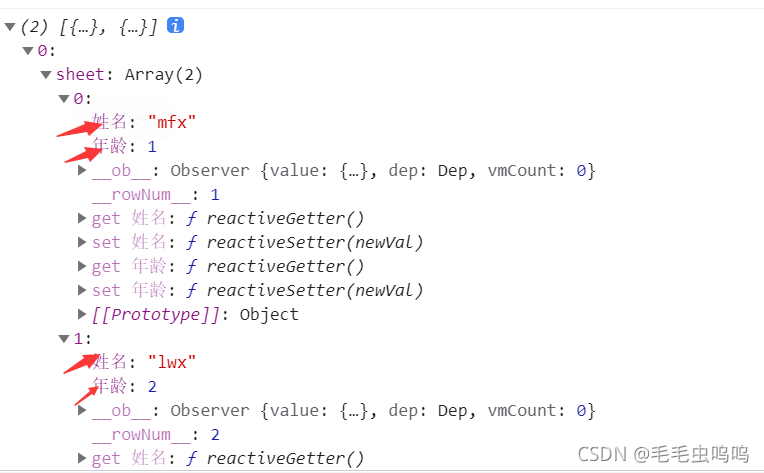
file2Xce函数获取两张表的数据
结果
解析到excel文件的两张表

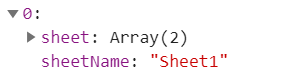
每个表都有两个属性:
sheet:表的数据
sheetName:表的名字
第一张表内数据,如果file2Xce函数不加header参数,就不会显示属性名(红色箭头标记处)
setLedgerList函数将表中数据存放在data中,作为后续请求链接的data,传递给后端。
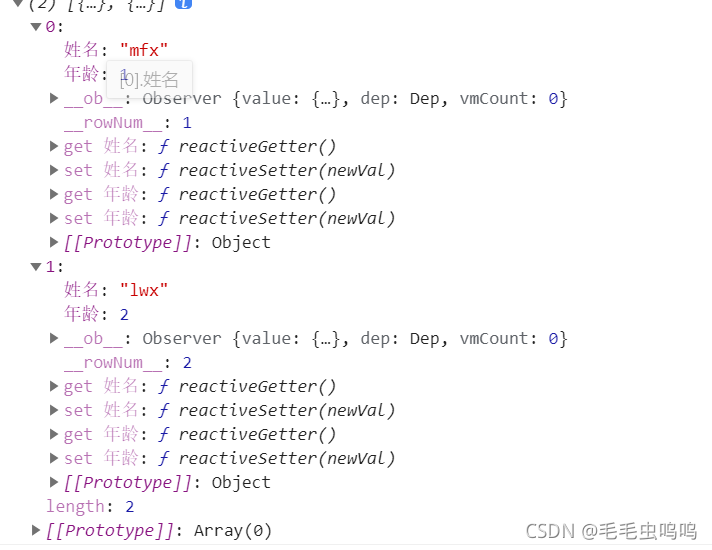
3、总结
这里的file2Xce函数只是去掉了第一张表的第一行属性值,第二张表没有做处理,所以setLedgerList只是把第一张表的数值传递给了data。
在这个例子中有点瑕疵:本次举例使用的两张表的字段不同,正常情况下两张表的字段应该是相同的,这样就可以通过forEach实现对多表的操作,即将两张表的数据都存到data中。