1、先查看是否存在svn,没有就需要安装svn
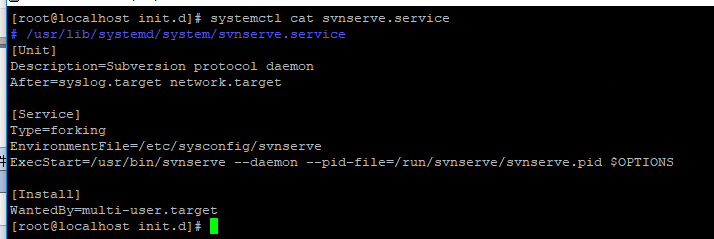
svnserve --version #查看svn版本号
which svn #查看svn程序所在目录
yum install subversion -y #安装svn
systemctl cat svnserve.service #查看系统配置文件

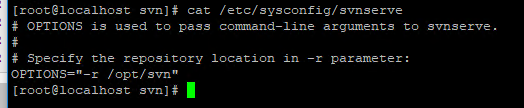
2、修改svn全局配置文件中指向的目录
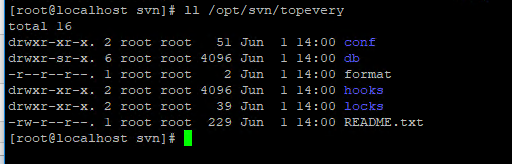
3、创建svn版本库
sudo svnadmin create /opt/svn/topevery
4、修改authz、passwd、 svnserve.conf三个文件建立用户组、用户、目录权限
authz
[groups]
manager=wilson
dev=wilson01

[/]
@manager=rw
[/UI]
@dev]
passwd
[users]
# harry = harryssecret
# sally = sallyssecret
wilson=123
wilson01=1234
svnserve.conf
[general]

anon-access = none
auth-access = write
password-db = passwd
authz-db = authz
realm = topevery
[sasl]
5、编辑服务配置文件
在 /etc/init.d 目录下,创建脚本 svnd
touch svnd
chmod u+x svnd
svnd文件内容如下


#!/bin/sh
# chkconfig: 2345 10 90
# description: svn server
SVN_HOME=/opt/svn/topevery
if [ ! -f "/usr/bin/svnserve" ]
then
echo "svnserver startup: cannot start"
exit
fi
case "$1" in
start)
echo "Starting svnserve…"
/usr/bin/svnserve -d --listen-port 3690 -r $SVN_HOME
echo "Finished!"
;;
stop)
echo "Stoping svnserve…"
killall svnserve
echo "Finished!"
;;
restart)
$0 stop
$0 start

;;
*)
echo "Usage: svn { start | stop | restart } "
exit 1
esac
启动svn
service svnd start
6、开放防火墙端口
firewall-cmd --zone=public --add-port=3690/tcp --permanent

firewall-cmd --reload
7、设置svn服务为自启动
chkconfig --add svnd
chkconfig svnd on