【README】
本文记录了 springboot配置 druid数据源的步骤;
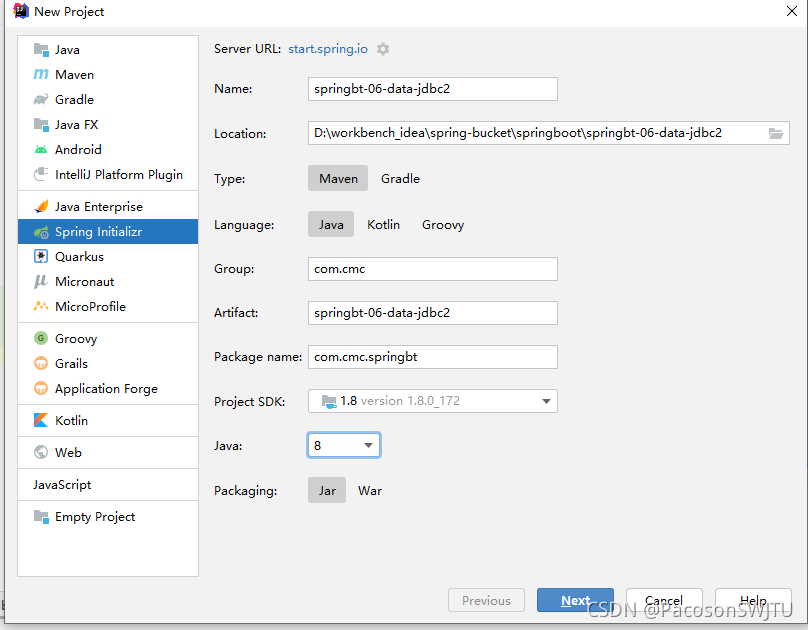
【1】新建springboot项目并配置druid
步骤1,新建springbt项目
步骤2,选择spring web,jdbc,mysql驱动依赖;
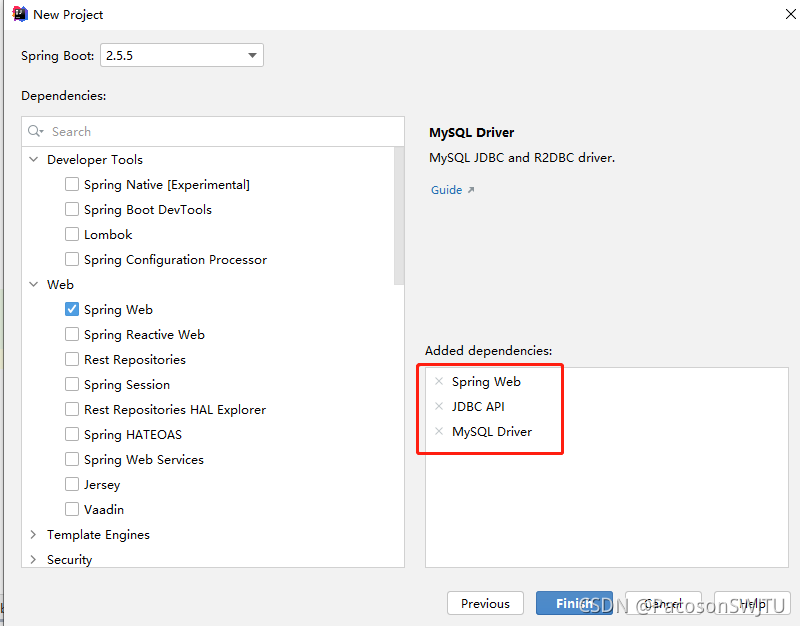
步骤3,添加 druid数据源依赖, 生成的pom.xml 如下:
<?xml version="1.0" encoding="UTF-8"?>
<project xmlns="http://maven.apache.org/POM/4.0.0" xmlns:xsi="http://www.w3.org/2001/XMLSchema-instance"
         xsi:schemaLocation="http://maven.apache.org/POM/4.0.0 https://maven.apache.org/xsd/maven-4.0.0.xsd">
    <modelVersion>4.0.0</modelVersion>
    <parent>
        <groupId>org.springframework.boot</groupId>
        <artifactId>spring-boot-starter-parent</artifactId>
        <version>2.5.5</version>
        <relativePath/> <!-- lookup parent from repository -->
    </parent>
    <groupId>com.cmc</groupId>
    <artifactId>springbt-06-data-jdbc2</artifactId>
    <version>0.0.1-SNAPSHOT</version>
    <name>springbt-06-data-jdbc2</name>
    <description>Demo project for Spring Boot</description>
    <properties>
        <java.version>1.8</java.version>
    </properties>

    <dependencies>
        <dependency>
            <groupId>org.springframework.boot</groupId>
            <artifactId>spring-boot-starter-jdbc</artifactId>
        </dependency>
        <dependency>
            <groupId>org.springframework.boot</groupId>
            <artifactId>spring-boot-starter-web</artifactId>
        </dependency>

        <dependency>
            <groupId>mysql</groupId>
            <artifactId>mysql-connector-java</artifactId>
            <scope>runtime</scope>
        </dependency>

        <!-- 引入druid数据源 -->
        <dependency>
            <groupId>com.alibaba</groupId>
            <artifactId>druid</artifactId>
            <version>1.2.8</version>
        </dependency>
        <!-- https://mvnrepository.com/artifact/log4j/log4j -->
        <dependency>
            <groupId>log4j</groupId>
            <artifactId>log4j</artifactId>
            <version>1.2.17</version>
        </dependency>

        <dependency>
            <groupId>org.springframework.boot</groupId>
            <artifactId>spring-boot-starter-test</artifactId>
            <scope>test</scope>
        </dependency>
    </dependencies>

    <build>
        <plugins>
            <plugin>
                <groupId>org.springframework.boot</groupId>
                <artifactId>spring-boot-maven-plugin</artifactId>
            </plugin>
        </plugins>
    </build>

</project>
注意,必须添加 log4j 依赖,因为 druid用到了它,不然会报
Failed to bind properties under 'spring.datasource' to javax.sql.DataSource步骤4,添加druid数据源配置, 启用 druid数据源
application.yml
# 配置springboot数据源
spring:
  datasource:
    username: root
    password: root
    url: jdbc:mysql://192.168.163.204:3306/jdbc01
    driver-class-name: com.mysql.cj.jdbc.Driver
    type: com.alibaba.druid.pool.DruidDataSource  # 启用druid数据源
    #   数据源其他配置
    initialSize: 6
    minIdle: 6
    maxActive: 26
    maxWait: 60000
    timeBetweenEvictionRunsMillis: 60000
    minEvictableIdleTimeMillis: 300000
    testWhileIdle: true
    testOnBorrow: false
    testOnReturn: false
    poolPreparedStatements: true
    #   配置监控统计拦截的filters,去掉后监控界面sql无法统计,'wall'用于防火墙
    filters: stat,wall,log4j
    maxPoolPreparedStatementPerConnectionSize: 20
    useGlobalDataSourceStat: true
    connectionProperties: druid.stat.mergeSql=true;druid.stat.slowSqlMillis=500
步骤5,添加测试用例
import org.junit.jupiter.api.Test;
import org.springframework.beans.factory.annotation.Autowired;
import org.springframework.boot.test.context.SpringBootTest;

import javax.sql.DataSource;
import java.sql.Connection;
import java.sql.SQLException;

@SpringBootTest
class Springbt06DataJdbc2ApplicationTests {

    @Autowired
    DataSource dataSource;

    @Test
    void contextLoads() throws SQLException {
        System.out.println("数据源=" + dataSource.getClass());
        Connection conn =  dataSource.getConnection();
        System.out.println("我的测试连接=" + conn);
        conn.close();
    }
}
打印结果:
数据源=class com.alibaba.druid.pool.DruidDataSource
2021-10-17 08:18:50.867 INFO 7488 --- [ main] com.alibaba.druid.pool.DruidDataSource : {dataSource-1} inited
我的测试连接=com.mysql.cj.jdbc.ConnectionImpl@54e02f6a
【2】使用druid并配置druid监控页面
步骤1,添加web访问配置
application.properties
# 服务器配置
server.port=8082
server.servlet.context-path=/springbt-data2
步骤2,添加controller访问路径,查询数据库表
@Controller
public class HelloController {
    @Autowired
    JdbcTemplate jdbcTemplate;

    @ResponseBody
    @GetMapping("/query")
    public Map<String, Object> map() {
        List<Map<String, Object>> list = jdbcTemplate.queryForList("select * from department");
        return list.get(0);
    }
}
步骤3,添加druid数据源
// 导入druid数据源
@Configuration
public class DruidConfig {
@ConfigurationProperties(prefix = "spring.datasource")
@Bean
public DataSource druid() {
return new DruidDataSource();
}
// 配置druid监控
// 1 配置一个管理后台的servlet
@Bean
public ServletRegistrationBean statViewServlet() {
ServletRegistrationBean bean = new ServletRegistrationBean<>(new StatViewServlet(), "/druid/*");
// 配置相关参数
Map<String, String> params = new HashMap<>();
params.put("loginUsername", "admin");
params.put("loginPassword", "admin");
params.put("allow", "localhost"); // 默认允许所有访问
params.put("deny", "192.168.163.204"); // 默认允许所有访问
bean.setInitParameters(params);
return bean;
}
// 2 配置一个监控的filter
@Bean
public FilterRegistrationBean webStatFilter() {
FilterRegistrationBean bean = new FilterRegistrationBean<>();
bean.setFilter(new WebStatFilter());
// 配置相关参数
Map<String, String> params = new HashMap<>();
params.put("exclusions", "*.js,*.css,/druid/*");
bean.setInitParameters(params);
bean.setUrlPatterns(Arrays.asList("/*"));
return bean;
}
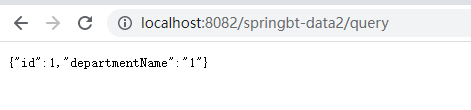
}步骤4,先执行query 请求;
http://localhost:8082/springbt-data2/query
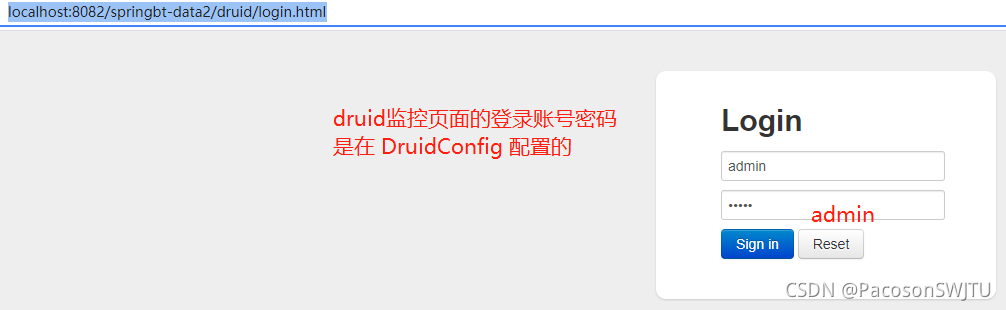
步骤5,查看druid sql监控页面
http://localhost:8082/springbt-data2/druid/login.html
步骤6,查看sql监控;
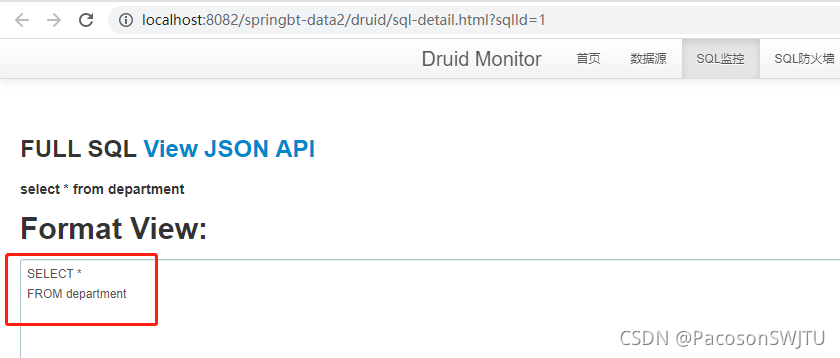
补充: springboot配置druid及测试案例的目录结构
