Springboot 学习记录
一、Springboot的helloworld
1、使用步骤
在idea中选择spring initializer,选择使用的java版本,点击next,之后可以设置项目名称,点击下一步,因为要建立web项目,所有选择web中的spring web,建立项目,在src中的main下面目录中找到主类所在的Java文件,在类前加入
@RestController
@RequestMapping("/")
将以下代码加入到class中
    @RequestMapping
    public String test(){
        return "Hello SpringBoot!";
    }
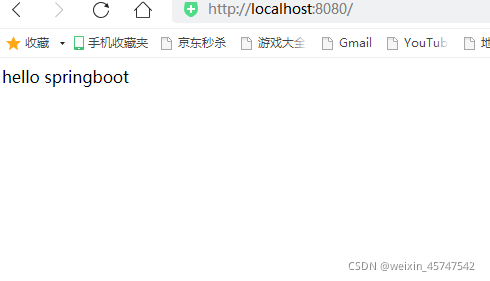
构建好项目后,在浏览器中输入localhost:8080,可以看到效果如下
2.RESTful接口web服务
建立一个新类,将以下代码加入类中
package com.example.demo;
import org.springframework.web.bind.annotation.RequestMapping;
import org.springframework.web.bind.annotation.RequestMethod;
import org.springframework.web.bind.annotation.RequestParam;
import org.springframework.web.bind.annotation.RestController;
import sun.awt.SunHints;
@RestController
@RequestMapping("/test")
public class test {
int a;
String b;
double c;
public test(){
this.a=10;
this.b="hello";
this.c=1.25;
}
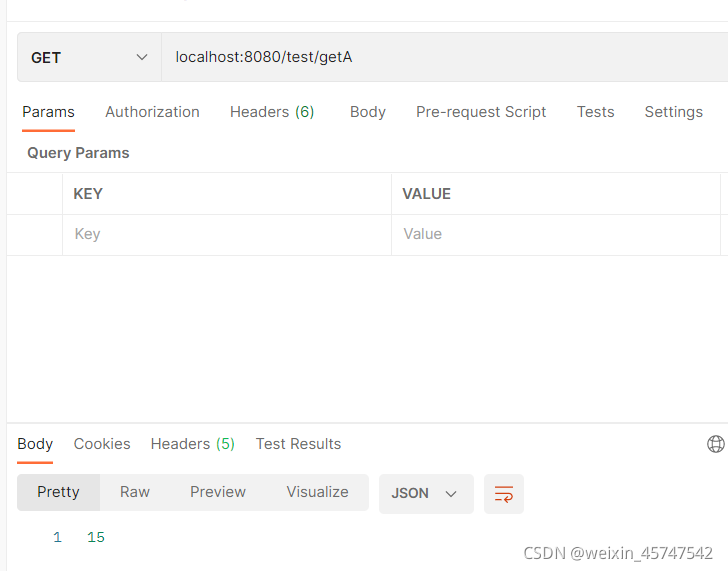
@RequestMapping("/getA")
public int getA()
{
return this.a;
}
@RequestMapping(value="/putA",method= RequestMethod.PUT)
public String putA(@RequestParam(value = "A") int A){
this.a=A;
return "success";
}
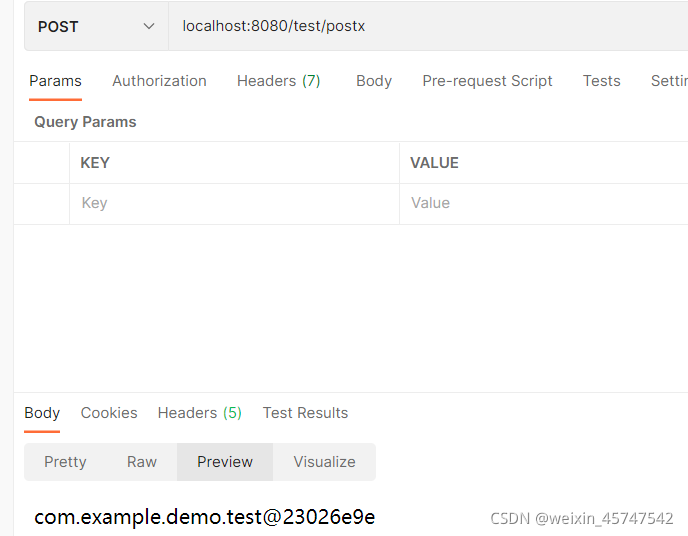
@RequestMapping(value="/postx",method=RequestMethod.POST)
public String postx(){
return this.toString();
}
}
然后进行测试