ZED双目立体相机
(一)ZED概述
待师弟填坑~
(二)安装ZED SDK与cuda
1.windows下安装ZED SDK、cuda与pyzed
待师弟填坑~
2.ubuntu16.04、18.04下安装ZED SDK、cuda与pyzed
待师弟填坑~
1.安装cuda(待师弟填坑)
参考ubuntu-cuda安装教程进行安装即可
2.安装SDK
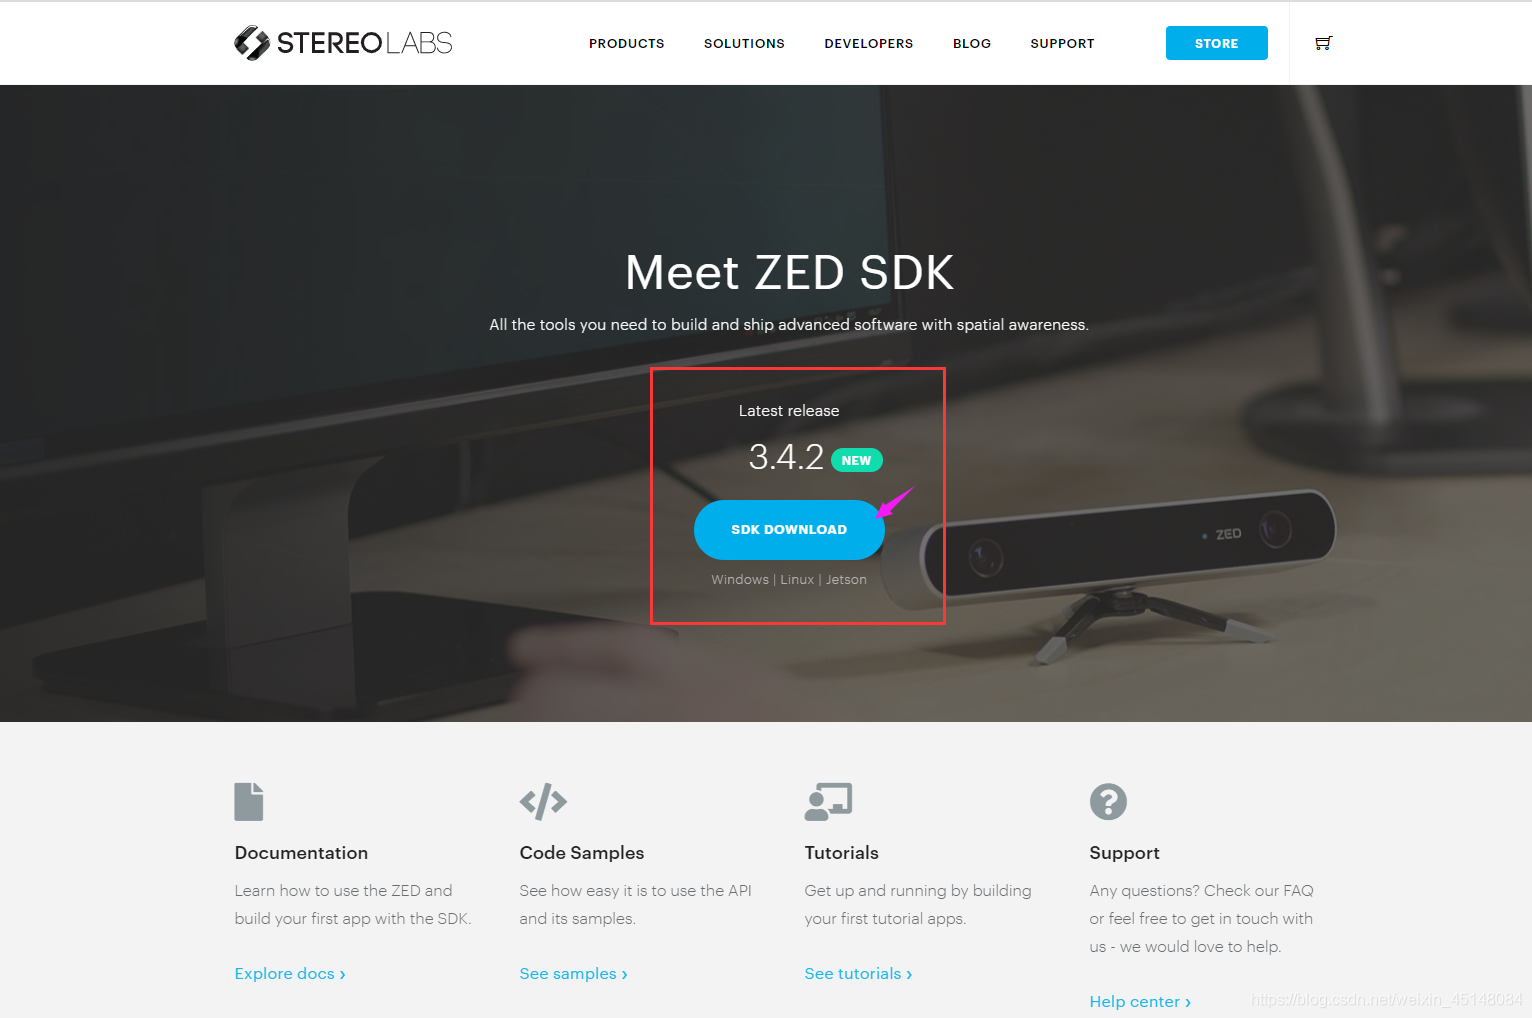
首先,进入ZED官网 ,点击SDK DOWNLOAD进行选择下载。
然后,根据本机cuda版本以及系统版本进行匹配下载
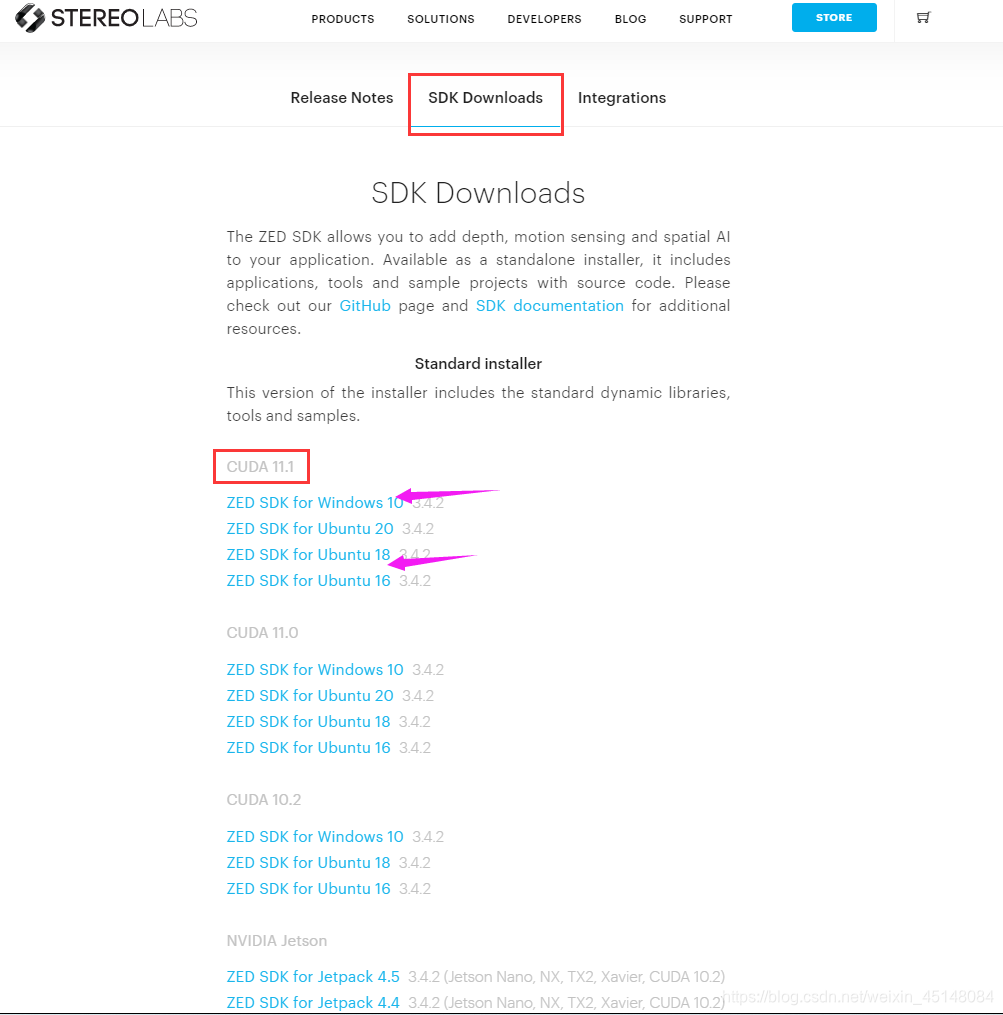
以cuda10.2,Ubuntu18.04,sdk3.4.2为例,进行下载
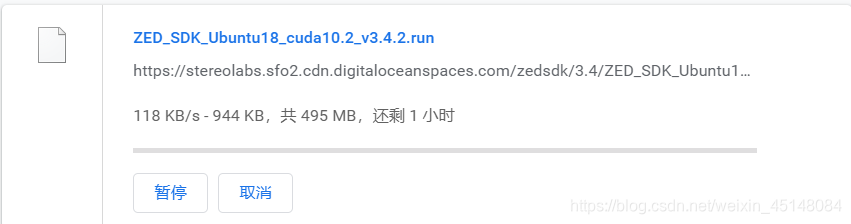
最后,正式安装下载好的sdk,即.run文件
 1.进入到.run文件所在目录下打开terminal
 cd path/to/download/folder

 2.使用 chmod +x 给个权限
 chmod +x ZED_SDK_Ubuntu18_cuda10.2_v3.4.2.run

 3.安装
 ./ZED_SDK_Ubuntu18_cuda10.2_v3.4.2.run
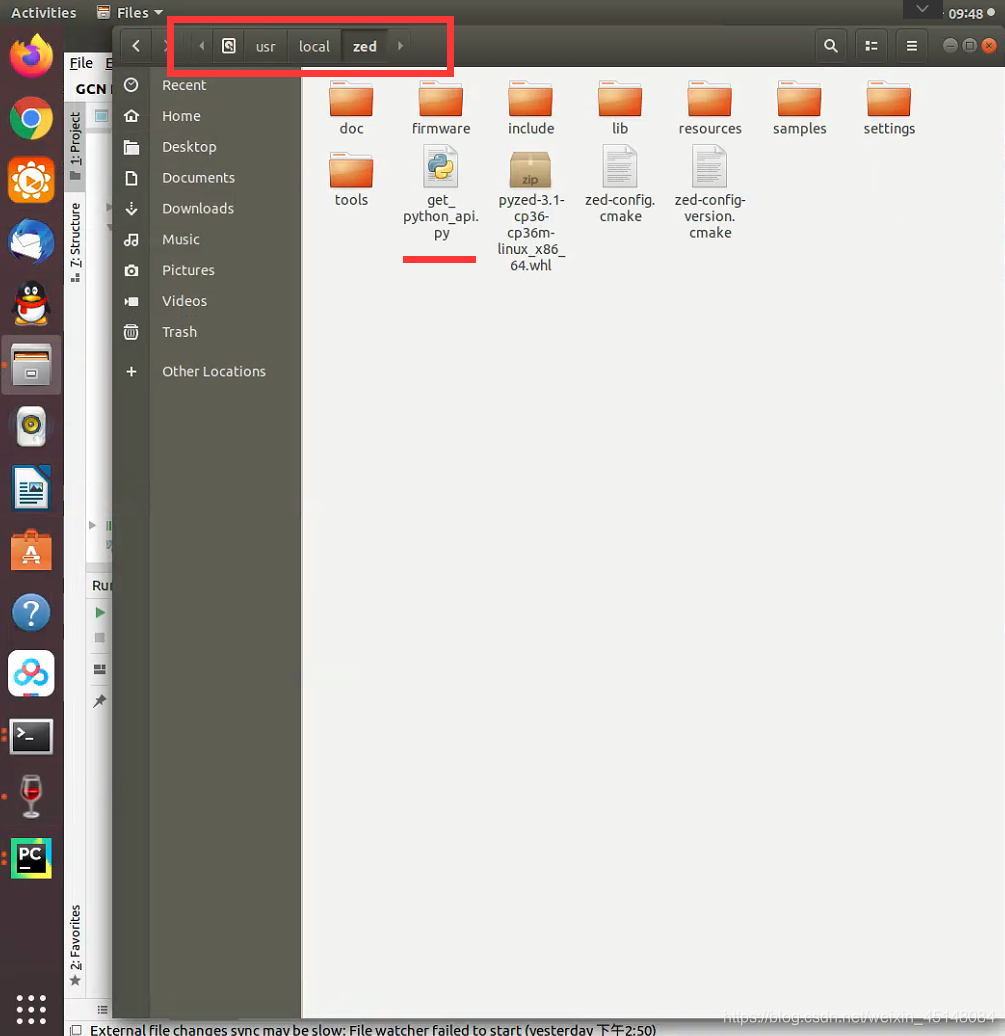
3.安装python-API pyzed
先进入SDK目录下,然后打开terminal输入 python3 get_python_api.py即可下载pyzed…whl文件
安装API
pip install pyzed......whl
即可完成安装
大功告成~
如有问题,欢迎评论区交流
(三)官方示例如何跑通
待师弟填坑~
(四)跟我学ZED-python
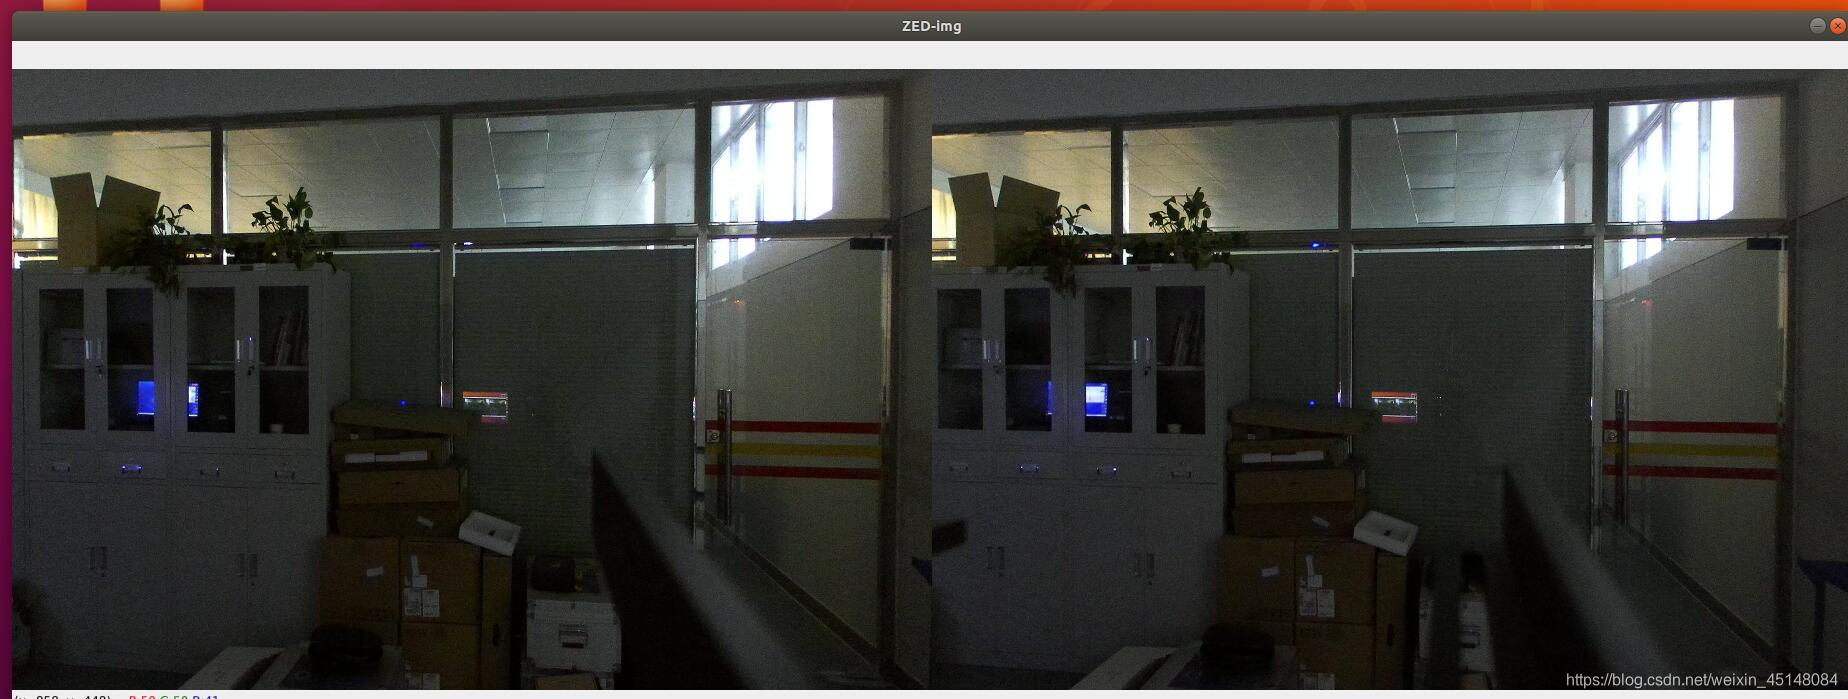
1.读取img
import numpy as np
import pyzed.sl as sl
import cv2

zed = sl.Camera()           # Create a ZED camera object
input_type = sl.InputType() # Set configuration parameters
init = sl.InitParameters(input_t=input_type) # Init Parameters
init.camera_resolution = sl.RESOLUTION.HD2K  # set resolution
init.coordinate_units = sl.UNIT.MILLIMETER
zed.open(init)  # Open the camera

image_size = zed.get_camera_information().camera_resolution  # retrieve half-resolution images
image_zed = sl.Mat(image_size.width, image_size.height, sl.MAT_TYPE.U8_C4)

while True:
    zed.grab()
    image_sl_left = sl.Mat()  # left_img
    zed.retrieve_image(image_sl_left, sl.VIEW.LEFT)
    image_cv_left = image_sl_left.get_data()
    image_sl_right = sl.Mat()  # right_img
    zed.retrieve_image(image_sl_right, sl.VIEW.RIGHT)
    image_cv_right = image_sl_right.get_data()

    ################# BGRA 转成 BGR #################
    image_cv_left = cv2.cvtColor(image_cv_left, 1)
    image_cv_right = cv2.cvtColor(image_cv_right, 1)
    ################# BGRA 转成 BGR #################

    img_sbs = np.concatenate((image_cv_left, image_cv_right), axis=1)
    img = cv2.resize(img_sbs, (int(image_size.width/1.2), int(image_size.height/2)))
    # print(111111,img)

    cv2.imshow("ZED-img", img)
    cv2.waitKey(10)
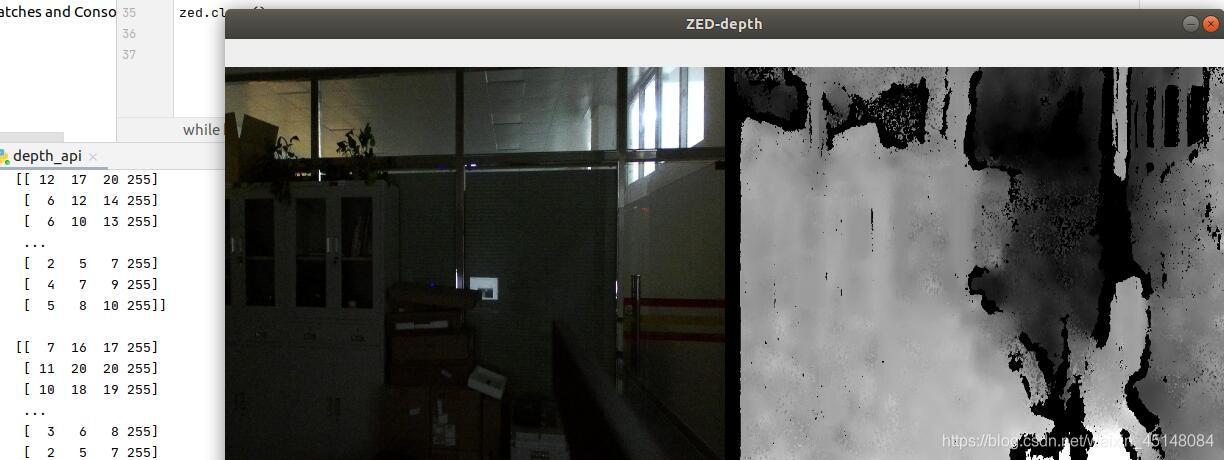
2.读取depth
import numpy as np
import pyzed.sl as sl
import cv2

zed = sl.Camera()           # Create a ZED camera object
input_type = sl.InputType() # Set configuration parameters

init = sl.InitParameters(input_t=input_type)  # 初始化
init.camera_resolution = sl.RESOLUTION.HD1080 # 相机分辨率(默认-HD720)
init.depth_mode = sl.DEPTH_MODE.ULTRA         # 深度模式  (默认-PERFORMANCE)
init.coordinate_units = sl.UNIT.MILLIMETER    # 毫米级    (默认-MILLIMETER)

zed.open(init)  # Open the camera

image_size = zed.get_camera_information().camera_resolution
image_size.width = image_size.width / 2   # retrieve half-resolution images
image_size.height = image_size.height / 2 # retrieve half-resolution images
image_zed = sl.Mat(image_size.width, image_size.height, sl.MAT_TYPE.U8_C4)
depth_image_zed = sl.Mat(image_size.width, image_size.height, sl.MAT_TYPE.U8_C4)
key = ''
while key != 113:
    zed.grab()
    zed.retrieve_image(image_zed, sl.VIEW.LEFT, sl.MEM.CPU, image_size)       # Retrieve the "left image, depth image" in the half-resolution
    zed.retrieve_image(depth_image_zed, sl.VIEW.DEPTH, sl.MEM.CPU, image_size)

    image_ocv = image_zed.get_data()
    print(image_ocv)
    depth_image_ocv = depth_image_zed.get_data()

    img = np.hstack([image_ocv, depth_image_ocv])
    img = cv2.resize(img, (800, 400))
    cv2.imshow("ZED-depth", img)
    key = cv2.waitKey(5)
cv2.destroyAllWindows()
zed.close()