前言:
本篇博客主要说明在SpringBoot项目中如何创建一个简单的定时器job。
1.首先创建一个定时器任务调度类CalendarScheduleJob:
package com.hdyanfa.interact.job;
import org.slf4j.Logger;
import org.slf4j.LoggerFactory;
import org.springframework.scheduling.annotation.Scheduled;
import org.springframework.stereotype.Component;
import java.text.SimpleDateFormat;
import java.time.LocalDateTime;
import java.util.Date;


/**
 * 日历活动定时任务
 **/
@Component
public class CalendarScheduleJob {


    private static final Logger logger = LoggerFactory.getLogger(CalendarScheduleJob.class);

    private static final SimpleDateFormat dateFormat = new SimpleDateFormat("yyyy-MM-dd HH:mm:ss");

    /**
     * 每分钟计时开始
     */
    @Scheduled(cron = "0 * * * * ?")
    public void minuteTime(){


        System.out.println("开始计时,现在是"+dateFormat.format(new Date()));
        System.out.println("开始计时,现在是"+LocalDateTime.now());
        System.out.println("-----------------------");
    }
}
实现原理是使用@Scheduled注解标注为定时任务,其中使用cron正则表达式来控制触发的时间。
(在线Cron表达式生成器网址:https://qqe2.com/cron)
再使用@Component注解注入到spring容器中,使得服务能够发现调用该任务调度类。
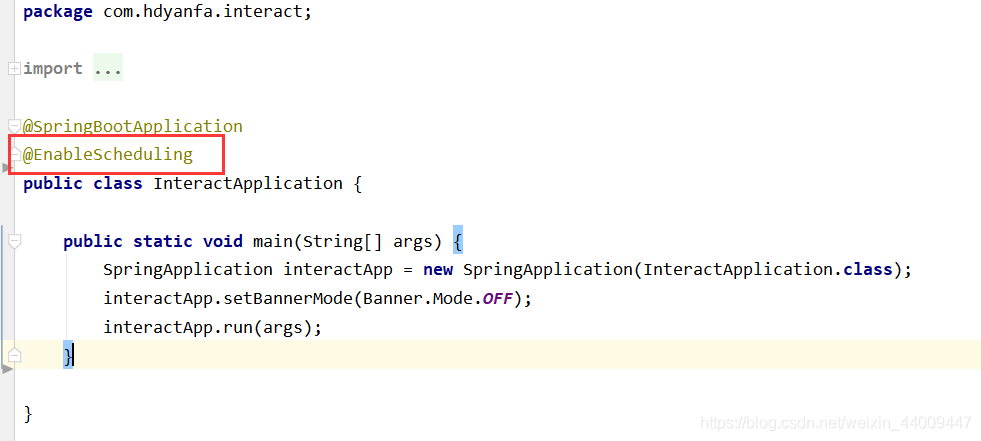
2.在springboot项目启动类中加上@EnableScheduling注解,开启定时任务调度功能:

3.启动项目,一分钟打印一次当前系统时间,等待一段时间后控制台显示如下:
