目录
1 Nginx访问控制
基于ip的访问控制 http_access_module模块
基于用户登录认证 http_auth_basic_module模块
1.1 Nginx基于ip访问控制
使用模块 http_access_module
1.1.1 允许配置语法
syntax: allow address | CIDR | unix: all;
Default: -
Context:http, server, location, limiti_except
1.1.2 拒绝配置语法
syntax: allow address | CIDR | unix: all;
Default: -
Context:http, server, location, limiti_except
1.1.3 代码使用方法
先写允许,默认拒绝所有;先写拒绝,默认允许所有。
访问控制配置示例,拒绝指定的IP,其他全部允许
vim /etc/nginx/conf.d/default.conf
location	/ {
		root /html;
		deny 192.168.1.1;
		deny 192.168.1.0/24;
		allow all;
}

访问控制配置示例,只允许谁能访问,其他全部拒绝
location	/ {
		root /html;
		allow 192.168.1.1;
		allow 192.168.1.0/24;
		deny all;
}
[root@nginx_web1 ~]# nginx -t
nginx: the configuration file /etc/nginx/nginx.conf syntax is ok
nginx: configuration file /etc/nginx/nginx.conf test is successful
[root@nginx_web1 ~]# systemctl reload nginx
1.1.4 测试
2.1 基于用户认证的访问
使用模块:http_auth_basic_module
2.1.1 配置语法
| Syntax: | auth_basic string | off; |
|---|---|
| Default: | auth_basic off; |
| Context: | http, server, location, limit_except |
| Syntax: | auth_basic_user_file file; |
|---|---|
| Default: | — |
| Context: | http, server, location, limit_except |
2.1.2需要安装依赖组建
[root@nginx_web1 ~]# yum -y install httpd-tools
[root@nginx_web1 ~]# htpasswd -b -c /etc/nginx/.auth_conf(file) oldboy(user) 12345(password) //创建用户名
2.1.3 代码使用方法
vim /etc/nginx/conf.d/default.conf
server {
listen 81;
server_name localhost;
location / {
root /html;
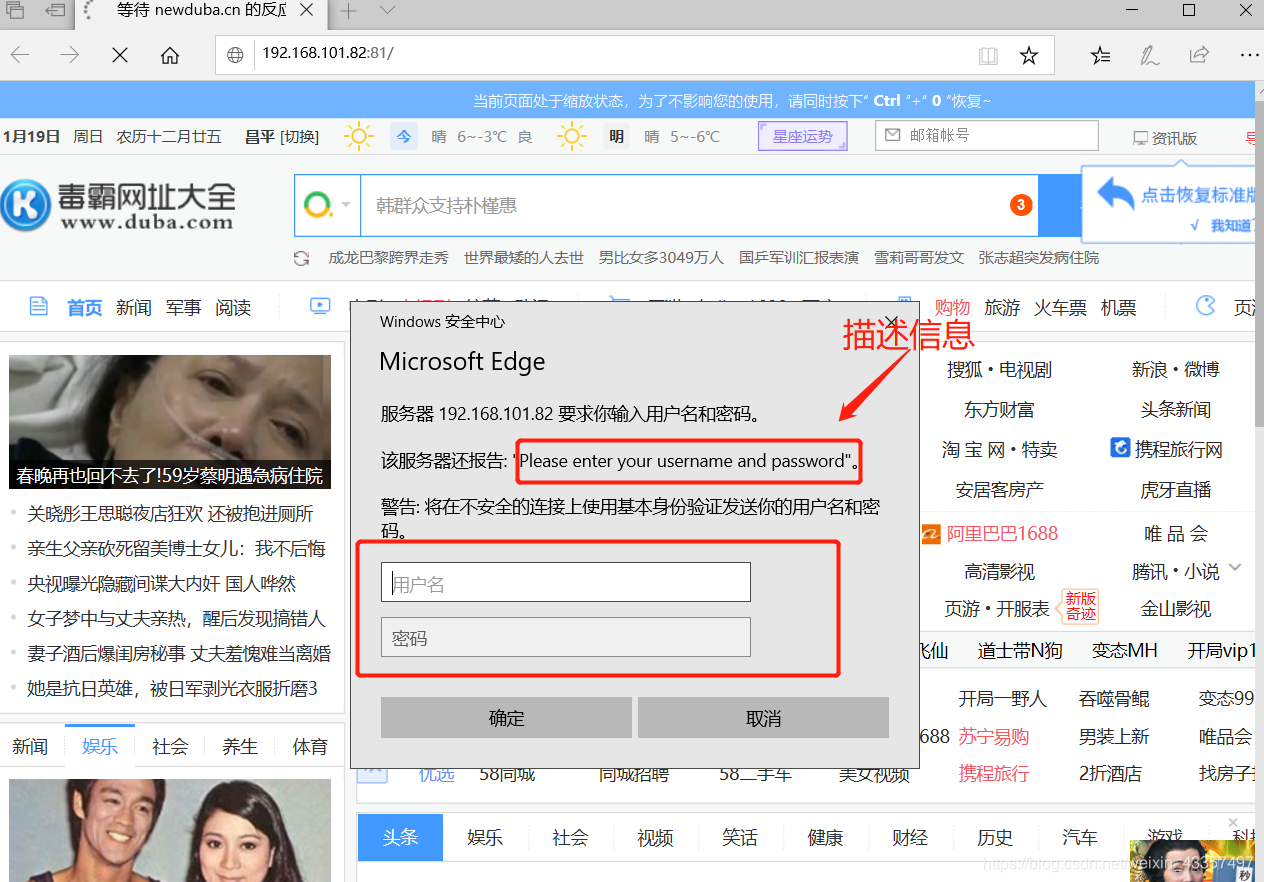
auth_basic "Please enter your username and password"; //添加描述信息
auth_basic_user_file /etc/nginx/.auth_conf; //指定认证文件路径
}
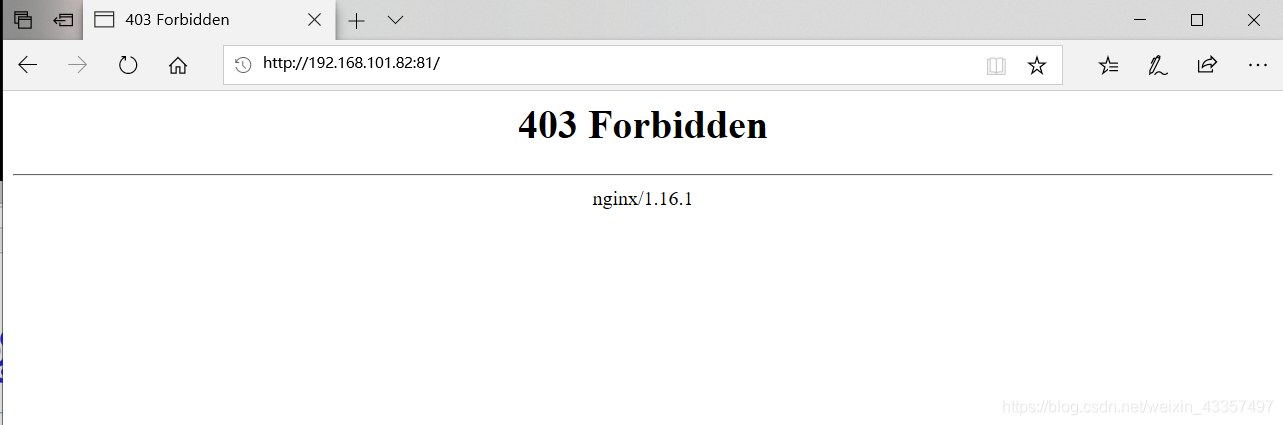
2.1.4 测试