最近有一个需求:上传图片。这里简要介绍一下核心代码。
//上传图片
public BaseResponse uploadPicture(MultipartFile file, HttpServletRequest request, 									   HttpServletResponse response) {


        File targetFile = null;
        String url = "";//存储路径
        String fileName = file.getOriginalFilename();//获取文件名加后缀
        if (fileName != null && fileName != "") {


            String path = "/root/container/nginx/data/dist_20201217/";
            //String path = "D:/data/file/";
            String fileF = fileName.substring(fileName.lastIndexOf("."), fileName.length());//文件后缀
            if (!(fileF.equals(".jpg") || fileF.equals(".jpeg") || fileF.equals(".png") || fileF.equals(".image"))) {


                return new BaseResponse(StatusCode.Fail, "只能上传jpg,jpeg,png,image格式");
            }
            //新的文件名
            fileName = new Date().getTime() + "_" + new Random().nextInt(1000) + fileF;
            //获取文件夹路径
            File file1 = new File(path);
            //如果文件夹不存在则创建
            if (!file1.exists() && !file1.isDirectory()) {


                file1.mkdirs();
            }
            //将图片存入文件夹
            targetFile = new File(file1, fileName);
            try {


                //将上传的文件写到服务器上指定的文件。
                file.transferTo(targetFile);
                //赋予权限
                String command = "chmod 775 -R " + targetFile;
                Runtime runtime = Runtime.getRuntime();
                Process proc = runtime.exec(command);
                //生成文件地址
                //url = "http://xxxxxx" + path + "/" + fileName;

                //这里的xxxxxxxxx是服务器的ip
                //我这里使用的服务器中,在nginx中配置了存放图片的路径,通过80端口qr_code映射服务				//器上的路径
                url = "http://xxxxxxxxx/qr_code"  + "/" + fileName;
                return new BaseResponse(StatusCode.Success, url);
            } catch (Exception e) {


                e.printStackTrace();
                return new BaseResponse(StatusCode.Fail, "系统异常,图片上传失败");
            }
        }
        return null;
    }
这是服务器上的nginx的配置文件:nginx.conf
![[外链图片转存失败,源站可能有防盗链机制,建议将图片保存下来直接上传(img-u3YnAthv-1615950622397)(C:\Users\程梦月\AppData\Roaming\Typora\typora-user-images\image-20210317110408561.png)]](https://img-blog.csdnimg.cn/20210317111102216.png?x-oss-process=image/watermark,type_ZmFuZ3poZW5naGVpdGk,shadow_10,text_aHR0cHM6Ly9ibG9nLmNzZG4ubmV0L2hlbGxvX2NteQ==,size_16,color_FFFFFF,t_70)
通过 /qr_code 来映射服务器上的路径 /root/container/nginx/data/dist_20201217/
这点不太理解的可以去看看nginx。
接口测试通了之后,会返回url地址,我们可以直接访问返回的url来查看图片。
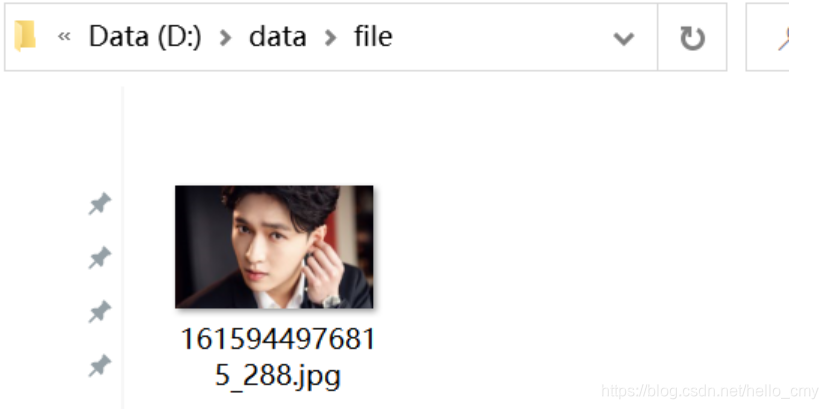
这里咱们测试一下将图片存放到本地路径。
1、将path改成你自己的本地目录。
String path = "D:/data/file/";
2、将赋予权限下面三行注释掉
      			//赋予权限
				//String command = "chmod 775 -R " + targetFile;
				//Runtime runtime = Runtime.getRuntime();
				//Process proc = runtime.exec(command);
                //生成文件地址
                url = path + "/" + fileName;
测试接口,查看你本地的路径下是否有图片。