废话在前:
昨天打王者,队友实在是太坑了,硬是卡在了星耀3。然后关闭游戏,打开王者荣耀助手,(王者营地),结果网络波动,界面一直在加载状态中,我就在想这个加载动画怎么能实现呢?


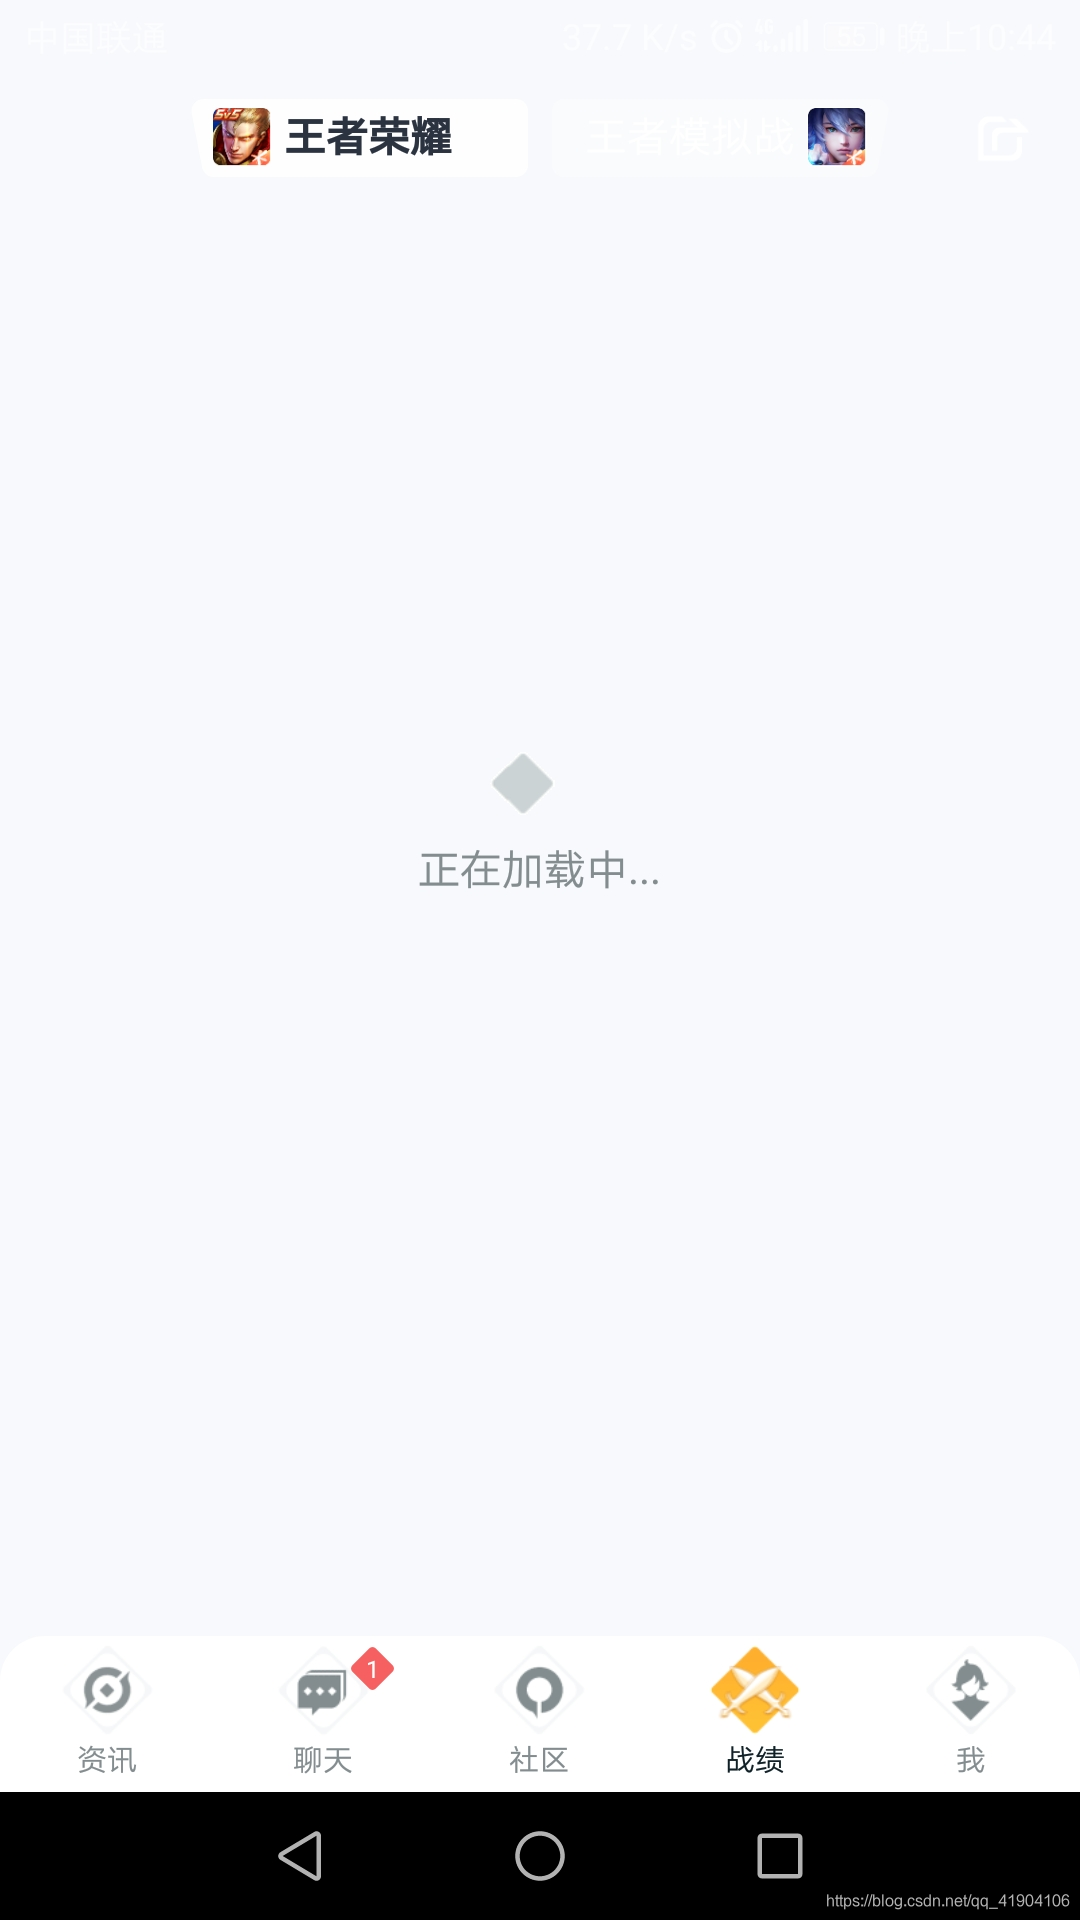
两个小正方形左右移动,一个中间大正方形大小随着小正方形靠近而变大,疏远而变小,”加载中“后面的点变化1,2,3,4。
废话不多说,直接上实现效果

实现效果和“王者营地”的差不多,小正方形运动速度可能有些差异,但大抵一致。
实现原理也很简单, 自定义view继承 TextView,因为有文字,所以继承Text View会好些。
5个画笔, 分别绘制左正方形,右正方形,中间大正方形,文字,点。
绘制左右正方形时,
画布先旋转(remote)45度,再移动(translate)
具体代码如下:
自定义View 的 属性注册 attrs.xml

<?xml version="1.0" encoding="utf-8"?>
<resources>
   <!--王者营地加载-->
    <declare-styleable name="WangZheLoad">
        <attr name="leftSmallRectColor" format="color"></attr>
        <attr name="rightSmallRectColor" format="color"></attr>
        <attr name="smallRectSize" format="dimension"></attr>
        <attr name="bigRectSize" format="dimension"></attr>
        <attr name="bigRectColor" format="color"></attr>
    </declare-styleable>
</resources>
自定义View WangZheLoad.class
public class WangZheLoad extends androidx.appcompat.widget.AppCompatTextView {


    //自定义控件的属性说明
    private int mLeftSmallRectColor = Color.GRAY;//左侧小正方形默认颜色
    private int mRightSmallRectColor = Color.GRAY;//右侧小正方形默认颜色
    private int mBigRectColor = Color.GRAY;//中间大正方形默认颜色
    private int mtextcolor = Color.GRAY;//“加载中”文字默认颜色
    private int mPointColor = Color.BLACK;//"..."点颜色
    private int mSmallRectSize = 7;//小正方形默认大小
    private int mBigRectSize = 15;//中间大正方形默认大小
    private float progress = 0;//进度,根据不同的进度,左右两小正方形左右移动,以及中间大小的变换
    private float pp = 0.4f;//命名可能不规范,这个是大正方形边长大小变换率
    //画笔声明
    private Paint mLeftPaint;//左侧小正方形画笔
    private Paint mRightPaint;//右侧小正方形画笔
    private Paint mBigPaint;//中间大正方形画笔
    private Paint mTextPaint;//“加载中”文字画笔,不能写死了,有些地方可能不叫“加载中”
    private Paint mPointPaint;//绘制点,这个点就是加载中后面闪动的点,当然你也可以把“加载中”和点在一个画笔绘制
                              //我分开来主要是怕需求变化,要是老板要求点要加粗、颜色为黑色,文字保持灰色,你就麻烦呀
    //三个基本构造函数,不多说
    public WangZheLoad(Context context){


        this(context,null);
    }
    public WangZheLoad(Context context, AttributeSet attrs){


        this(context,attrs,0);
    }
    public WangZheLoad(Context context,AttributeSet attrs, int defStyleAttr) {


        super(context, attrs, defStyleAttr);
        //初始化
        init(context,attrs);
    }
    //初始化方法
    public void init(Context context,AttributeSet attrs){


        //获得自定义属性,实例化,如果控件使用者未给明,就用默认的。
        TypedArray array = context.obtainStyledAttributes(attrs, R.styleable.WangZheLoad);
        mLeftSmallRectColor = array.getColor(R.styleable.WangZheLoad_leftSmallRectColor,mLeftSmallRectColor);
        mRightSmallRectColor = array.getColor(R.styleable.WangZheLoad_rightSmallRectColor,mRightSmallRectColor);
        mBigRectColor  = array.getColor(R.styleable.WangZheLoad_bigRectColor,mBigRectColor);
        mSmallRectSize = array.getDimensionPixelSize(R.styleable.WangZheLoad_smallRectSize,sp2px(mSmallRectSize));
        mBigRectSize = array.getDimensionPixelSize(R.styleable.WangZheLoad_bigRectSize,sp2px(mBigRectSize));
        //画笔初始化,对于抗锯齿,防抖动,颜色等封装成一个函数
        mLeftPaint = new Paint();
        initPaint(mLeftPaint,mLeftSmallRectColor);
        mRightPaint = new Paint();
        initPaint(mRightPaint,mRightSmallRectColor);
        mBigPaint = new Paint();
        initPaint(mBigPaint,mBigRectColor);
        mTextPaint = new Paint();
        mTextPaint.setTextSize(getTextSize());
        initPaint(mTextPaint,mtextcolor);
        mPointPaint = new Paint();
        mPointPaint.setTextSize(getTextSize());
        mPointPaint.setFakeBoldText(true);
        initPaint(mPointPaint,mPointColor);
    }
    //画笔初始化
    public void initPaint(Paint c_paint,int c_color){


        c_paint.setAntiAlias(true);
        c_paint.setColor(c_color);
        c_paint.setDither(true);
    }
    //sp  to  px  不多说,就是 sp转化为 px,要是控件使用者用dp怎么办,那就让他自己添加个dp转sp的函数,就你事多
    public int sp2px(int sp){


         return (int) TypedValue.applyDimension(TypedValue.COMPLEX_UNIT_SP, sp, this.getResources().getDisplayMetrics());
    }
    //测量函数
    @Override
    protected void onMeasure(int widthMeasureSpec, int heightMeasureSpec) {


        //获得 控件总宽度和总高度的模式
        int widthmode = MeasureSpec.getMode(widthMeasureSpec);
        int heightmode = MeasureSpec.getMode(heightMeasureSpec);
        //控件要是填 精确的值,就拿精确的值
        int widthsize = MeasureSpec.getSize(widthMeasureSpec);
        int heightsize = MeasureSpec.getSize(heightMeasureSpec);
        //要是填的是 wrap_content,就默认宽度70, 高度70
        if (widthmode==MeasureSpec.AT_MOST||heightmode==MeasureSpec.AT_MOST){


            widthsize = sp2px(70)+getPaddingLeft()+getPaddingRight();
            heightsize = sp2px(70)+getPaddingTop()+getPaddingBottom();
        }
        setMeasuredDimension(widthsize,heightsize);
    }
    // 绘制函数
    @Override
    protected void onDraw(Canvas canvas) {


        //画笔通过方法调用修改格式后,需要再次赋值
        initPaint(mLeftPaint,mLeftSmallRectColor);
        initPaint(mRightPaint,mRightSmallRectColor);
        initPaint(mBigPaint,mBigRectColor);
        mTextPaint.setTextSize(getTextSize());
        initPaint(mTextPaint,mtextcolor);
        mPointPaint.setTextSize(getTextSize());
        mPointPaint.setFakeBoldText(true);
        initPaint(mPointPaint,mPointColor);
        /*  move, 左右两正方形移动的距离, 从 最左边移动到最中间
         *  这个值的算法很简单,你画个图就明白了, 0.7是 根号2的一般,由于根号的值存在小数在取值乘除加减会有误差
         *  后面的0.73本来应该是0.7,但是误差导致小正方形移动到两边时距离不够,与默认值有差值,所以会有“闪现”的问题
         *  所以我试着调节,消除闪现,0.73是比较完美的,肉眼看不出问题,建议计算时使用math库
         */
        float move = (float)((getWidth()/2 -0.7*mSmallRectSize-getPaddingLeft())*0.73);

        canvas.save();//保存画布
        //画布旋转,第一个是角度, 第二个是旋转中心点的x坐标,第三个是旋转中心的 y坐标
        canvas.rotate(45,getPaddingLeft()+mSmallRectSize/2,getHeight()/2);
        //画布平移,x方向平移距离,y方向平移距离,注意小正方形是先顺时针旋转了45度,在进行平移,顺序不能反了
        //小正方形的移动距离与 progress有关的
        canvas.translate(move *progress,- move*progress);
        //这样就可以绘制左边小正方形了
        canvas.drawRect(getPaddingLeft(),getHeight()/2-mSmallRectSize/2,mSmallRectSize+getPaddingLeft(),getHeight()/2+mSmallRectSize/2,mLeftPaint);
        canvas.restore();//恢复画布

        canvas.save();//中间大的正方形绘制,大正方形会随着小正方形的靠近而变大,疏远而变小
        //大正方形的旋转,这个就简单多了,因为大正方形位置不变
        canvas.rotate(45,getWidth()/2,getHeight()/2);
        //要是左边小正方形从左边运动到中间阶段,大正方形的边长大小为基础的0.4*最大边长加上另外随小正方形运动距离改变而变动的0.6
        if (progress>=0&&progress<1) {


            pp = (float) 0.6*progress+0.4f;
        } else if(progress>=1&&progress<2){

    //要是左边小正方形从中间运动到右边,正方形的边长大小也是为基础的0.4*最大边长加上另外
            pp=(float)((2-progress)*0.6)+0.4f;
        }
        //绘制大正方形
        canvas.drawRect(getWidth()/2-(mBigRectSize/2)*pp,getHeight()/2-(mBigRectSize/2)*pp,getWidth()/2+(mBigRectSize/2)*pp,getHeight()/2+(mBigRectSize/2)*pp,mBigPaint);
        canvas.restore();
        //同理绘制右边小正方形
        canvas.save();
        canvas.rotate(45,getWidth()-mSmallRectSize/2-getPaddingRight(),getHeight()/2);
        canvas.translate(-move*progress,move*progress);
        canvas.drawRect(getWidth()-mSmallRectSize-getPaddingRight(),getHeight()/2-mSmallRectSize/2,getWidth()-getPaddingRight(),getHeight()/2+mSmallRectSize/2,mRightPaint);
        canvas.restore();

        //绘制文字    通过画笔测量“加载中”文字的宽度长度
        Rect bounds = new Rect();
        mTextPaint.getTextBounds(getText().toString(),0,getText().toString().length(),bounds);
        //文字的x坐标
        int x = getWidth()/2-bounds.width()/2;
        //基线的获取,网上有很多关于基线的资料,都是固定的样式,没啥好说的
        Paint.FontMetricsInt fontMetricsInt = new Paint.FontMetricsInt();
        int dy = (fontMetricsInt.bottom-fontMetricsInt.top)/2-fontMetricsInt.bottom;
        int baseline = getHeight()/2+dy;
        canvas.save();
        //开始绘制
        canvas.drawText(getText().toString(),x,(float)(baseline+1.4*mBigRectSize),mTextPaint);
        canvas.restore();
        //绘制跳动的点
        if ((progress>=0&&progress<0.5)){


            canvas.drawText(".",x+bounds.width()+4,(float)(baseline+1.4*mBigRectSize),mTextPaint);
        }else if (progress>=0.5&&progress<1){


            canvas.drawText("..",x+bounds.width()+4,(float)(baseline+1.4*mBigRectSize),mPointPaint);
        }else if (progress>=1&&progress<1.5){


            canvas.drawText("...",x+bounds.width()+4,(float)(baseline+1.4*mBigRectSize),mPointPaint);
        }else{


            canvas.drawText("....",x+bounds.width()+4,(float)(baseline+1.4*mBigRectSize),mPointPaint);
        }


    }
    public void setProgress(float c_progress){


        this.progress = c_progress;
        invalidate();//画布刷新
    }
     //接下来就是基本的属性外界修改方法,属性的值完全自由调用方法修改
    public void initStyle(int c_mLeftSmallRectColor,int c_mRightSmallRectColor,
                          int c_mBigRectColor,int c_mtextcolor,int c_mPointColor,int c_mSmallRectSize,int c_mBigRectSize){


        this.mLeftSmallRectColor = c_mLeftSmallRectColor;
        this.mRightSmallRectColor = c_mRightSmallRectColor;
        this.mBigRectColor = c_mBigRectColor;
        this.mSmallRectSize = c_mSmallRectSize;
        this.mtextcolor = c_mtextcolor;
        this.mBigRectSize = c_mBigRectSize;
        this.mPointColor = c_mPointColor;
    }
}
代码注释已经很详细了,我就不多b了
接下来就是要再Activity中使用了
activity_main.xml
<?xml version="1.0" encoding="utf-8"?>
<LinearLayout xmlns:android="http://schemas.android.com/apk/res/android"
    xmlns:app="http://schemas.android.com/apk/res-auto"
    xmlns:tools="http://schemas.android.com/tools"
    android:layout_width="match_parent"
    android:layout_height="match_parent"
    tools:context=".MainActivity">
    <LinearLayout
        android:gravity="center"
        android:orientation="horizontal"
        android:layout_width="match_parent"
        android:layout_height="match_parent">
        <com.ilikexy.zidingyiview.zidingyi.WangZheLoad
            android:id="@+id/wangzhe_view"
            android:layout_width="wrap_content"
            android:layout_height="wrap_content"
            android:padding="10sp"
            android:text="加 载 中"
            android:textSize="10sp"
            app:leftSmallRectColor="@color/colorPrimaryDark"
            app:rightSmallRectColor="@color/colorPrimaryDark"
            app:bigRectColor="@color/colorPrimaryDark"
            app:smallRectSize="8sp"
            app:bigRectSize="20sp"
            ></com.ilikexy.zidingyiview.zidingyi.WangZheLoad>
    </LinearLayout>

</LinearLayout>
MainActivity.class
public class MainActivity extends AppCompatActivity {


    private WangZheLoad wangzhe_view;
    @Override
    protected void onCreate(Bundle savedInstanceState) {


        super.onCreate(savedInstanceState);
        setContentView(R.layout.activity_main);
        init();
    }
    public void init(){


        wangzhe_view = (WangZheLoad)findViewById(R.id.wangzhe_view);
        //动画类,下面会给出这个类的定义
                ValueAmanitor.catoonShow1(wangzhe_view, 0, 8, 8000);
    }
}
动画类 ValueAmanitor
public class ValueAmanitor {


      public static void catoonShow1(final WangZheLoad wangZheLoad, float start, float end, int time){


        ValueAnimator valueAnimator = ObjectAnimator.ofFloat(start,end);
        valueAnimator.setDuration(time);//变化总体时间
       valueAnimator.setInterpolator(new LinearInterpolator());//匀速变化
        valueAnimator.addUpdateListener(new ValueAnimator.AnimatorUpdateListener() {


            @Override
            public void onAnimationUpdate(ValueAnimator c_animator) {


                float currentprogress = (Float) c_animator.getAnimatedValue();
                wangZheLoad.setProgress(currentprogress%2);//调用自定义view中 设置进度的方法,
                                                          //取余2是为了保证progress在 0----2之间变换
            }
        });
        valueAnimator.start();
    }
}
要是任何关于这个自定义View问题或建议,那就联系本菜鸡的qq
2569658002.