目录
- 一、常用的一些注解说明:
- 二、在案例中的具体用法
- (1)我们一般是先创建对象(这里由spring容器帮我们创建对象),然后才使用对象的。我们只需要在自定义类的上面用注解进行标记,spring容器就帮我们自动创建该类的对象。
- (2)创建完对象后,就要为对象的属性设置属性值(这里由spring容器帮我们为对象的属性赋值)。我们只需要在属性的上面用注解进行标记,spring容器就帮我们自动设置该属性的值。
- (2.1)先有javax.annotation-api的jar包依赖
- (2.2)为类创建对象和为对象的属性设置属性值的方式如下
- 三、注解的详细说明:
- 四、纯注解开发:(没有spring的applicationContext文件)
- 总结:
一、常用的一些注解说明:
(1)Spring针对bean管理中为 创建对象/实例化对象提供注解
@Component(组件,范围大,没有明确的角色,可以通用)
@Service在业务逻辑层使用(service层)
@Controller在展现层(web)使用,控制器的声明(C)
@Repository 在数据访问层使用(dao层)
上面四个注解的功能都是一样的,都可以用来创建bean 对象/实例。后三个更是见名知意,角色清晰。
(2)Spring针对bean 为对象的属性设置属性值也 提供注解
@Autowired:根据属性类型 进行自动注入/装配
@Qualifier :根据属性名称进行注入。必须和@Autowired一起使用,@Autowired在上,@Qualifier在下
@Resurce:可以根据类型注入,也可以根据名称注入。
二、在案例中的具体用法
(1)我们一般是先创建对象(这里由spring容器帮我们创建对象),然后才使用对象的。我们只需要在自定义类的上面用注解进行标记,spring容器就帮我们自动创建该类的对象。
(2)创建完对象后,就要为对象的属性设置属性值(这里由spring容器帮我们为对象的属性赋值)。我们只需要在属性的上面用注解进行标记,spring容器就帮我们自动设置该属性的值。
具体步骤
(2.1)先有javax.annotation-api的jar包依赖
<dependency>
    <groupId>javax.annotation</groupId>
    <artifactId>javax.annotation-api</artifactId>
    <version>1.2</version>
</dependency>
(2.2)为类创建对象和为对象的属性设置属性值的方式如下
(1):@Autowired:根据属性类型 进行自动注入/装配
第一步:把service实现类和dao实现类对象创建,在service实现类和dao实现类添加创建对象注解
第二步:在service注入dao对象,在service类添加dao类属性
在属性上面使用注解。
用法:直接写在属性名上面 ,后面啥都不写
以下代码直接在自己相应的文件下运行就可以:
Spring容器的配置app.xml文件:
下面展示一些spring的配置文件 app.xml。
<?xml version="1.0" encoding="UTF-8"?>
<beans xmlns="http://www.springframework.org/schema/beans"

       xmlns:xsi="http://www.w3.org/2001/XMLSchema-instance"
       xmlns:context="http://www.springframework.org/schema/context"
       xsi:schemaLocation="http://www.springframework.org/schema/beans http://www.springframework.org/schema/beans/spring-beans.xsd
        http://www.springframework.org/schema/context http://www.springframework.org/schema/context/spring-context.xsd
">
    <!--配置组件扫描的指令-->

    <context:component-scan base-package="com.fan"></context:component-scan>

</beans>
service接口的文件UserService :
下面展示一些 UserService接口。
package com.fan.service;

public interface UserService {
    public void save();
}
接口的实现类UserServiceImpl 文件:
下面展示一些 UserServiceImpl 实现类。
package com.fan.service.impl;

import com.fan.dao.UserDao;
import com.fan.service.UserService;
import org.springframework.beans.factory.annotation.Autowired;
import org.springframework.beans.factory.annotation.Qualifier;
import org.springframework.stereotype.Service;

import javax.annotation.Resource;

@Service("userService")
public class UserServiceImpl implements UserService {
    //容器内注入dao
   @Autowired//根据属性类型 进行自动注入
    private UserDao userDao;

    public void save() {
        System.out.println("service 层的保存");
        //注入引用类型UserDao 的属性的属性值 ,就要去使用它
        userDao.save();
    }
}
dao接口文件:
下面展示一些 dao接口。
package com.fan.dao;

public interface UserDao {
    public void save();
}
Dao接口实现类UserDaoImpl 文件:
下面展示一些 UserDaoImpl实现类。
package com.fan.dao.impl;
import com.fan.dao.UserDao;
import org.springframework.stereotype.Repository;

@Repository("userDao")
public class UserDaoImpl implements UserDao {
    public void save() {
        System.out.println("dao层 的保存");
    }
}
测试类文件:
下面展示一些 UserTest。
package com.fan.test;

import com.fan.service.UserService;
import org.junit.Test;
import org.springframework.context.support.ClassPathXmlApplicationContext;

public class UserTest {
    @Test
    public void test01(){
        //1.加载spring配置文件,applicationContext
        ClassPathXmlApplicationContext app = new ClassPathXmlApplicationContext("applicationsContext.xml");
        //实例化bean
        UserService userService = (UserService) app.getBean("userService");
        System.out.println(userService);
        userService.save();
    }
}
三、注解的详细说明:
注意:根据类型自动注入;这里的类型包括类类型和接口类型等。根据类型注入的时候,当这个接口有多个实现类的时候容器会不知道到底要注入哪一个具体的实现类。这时候只能用 by name(根据名字注入)的方式了。
(1):@Autowired:根据属性类型 进行自动注入/装配
第一步:把service实现类和dao实现类对象创建,在service实现类和dao实现类添加创建对象注解
第二步:在service注入dao对象,在service类添加dao类属性
在属性上面使用注解。
用法:直接写在属性名上面 ,后面啥都不写
(2)@Qualifier :根据属性名称进行注入。必须和@Autowired一起使用,
//容器内注入dao
@Autowired
@Qualifier(value=“userDao”)//和Autowired配合使用,放一起,()中放的是要注入的bean的id/name ,通过类名上的name注入,value =可以省略
private UserDao userDao;
(3)@Resurce:可以根据类型注入,也可以根据名称注入。
用法一:@Resource//单独写一个@Resource,是根据类型进行注入
private UserDao userDao;
用法二://容器内注入dao
@Resource(name = “userDao”)//根据类上面的 @Repository(“userDao”) userDao的 名称进行注入
private UserDao userDao;
(4)@Value:注入普通类型属性
@Value(“张三”)//功能和对象.setName(“张三”)一样
private String name;

四、纯注解开发:(没有spring的applicationContext文件)
使用配置类代替配置文件
第一步:在dao包的并列创建一个文件夹config,在其下面创建一个java类,我这里叫SpringConfig(配置类,类名自己定义),然后在类上面配置两个信息(基本的单词要记住),其他不用写,如下
@Configuration//让本类成为一个代替application.xml的类,成为一个配置类
@ComponentScan(basePackages = “com.fan”)//原先xmlzhong 组件扫描的代替
@Configuration//让本类成为一个代替application.xml的类,成为一个配置类
@ComponentScan(basePackages = "com.fan")//组件扫描的代替
public class SpringConfigration {

}
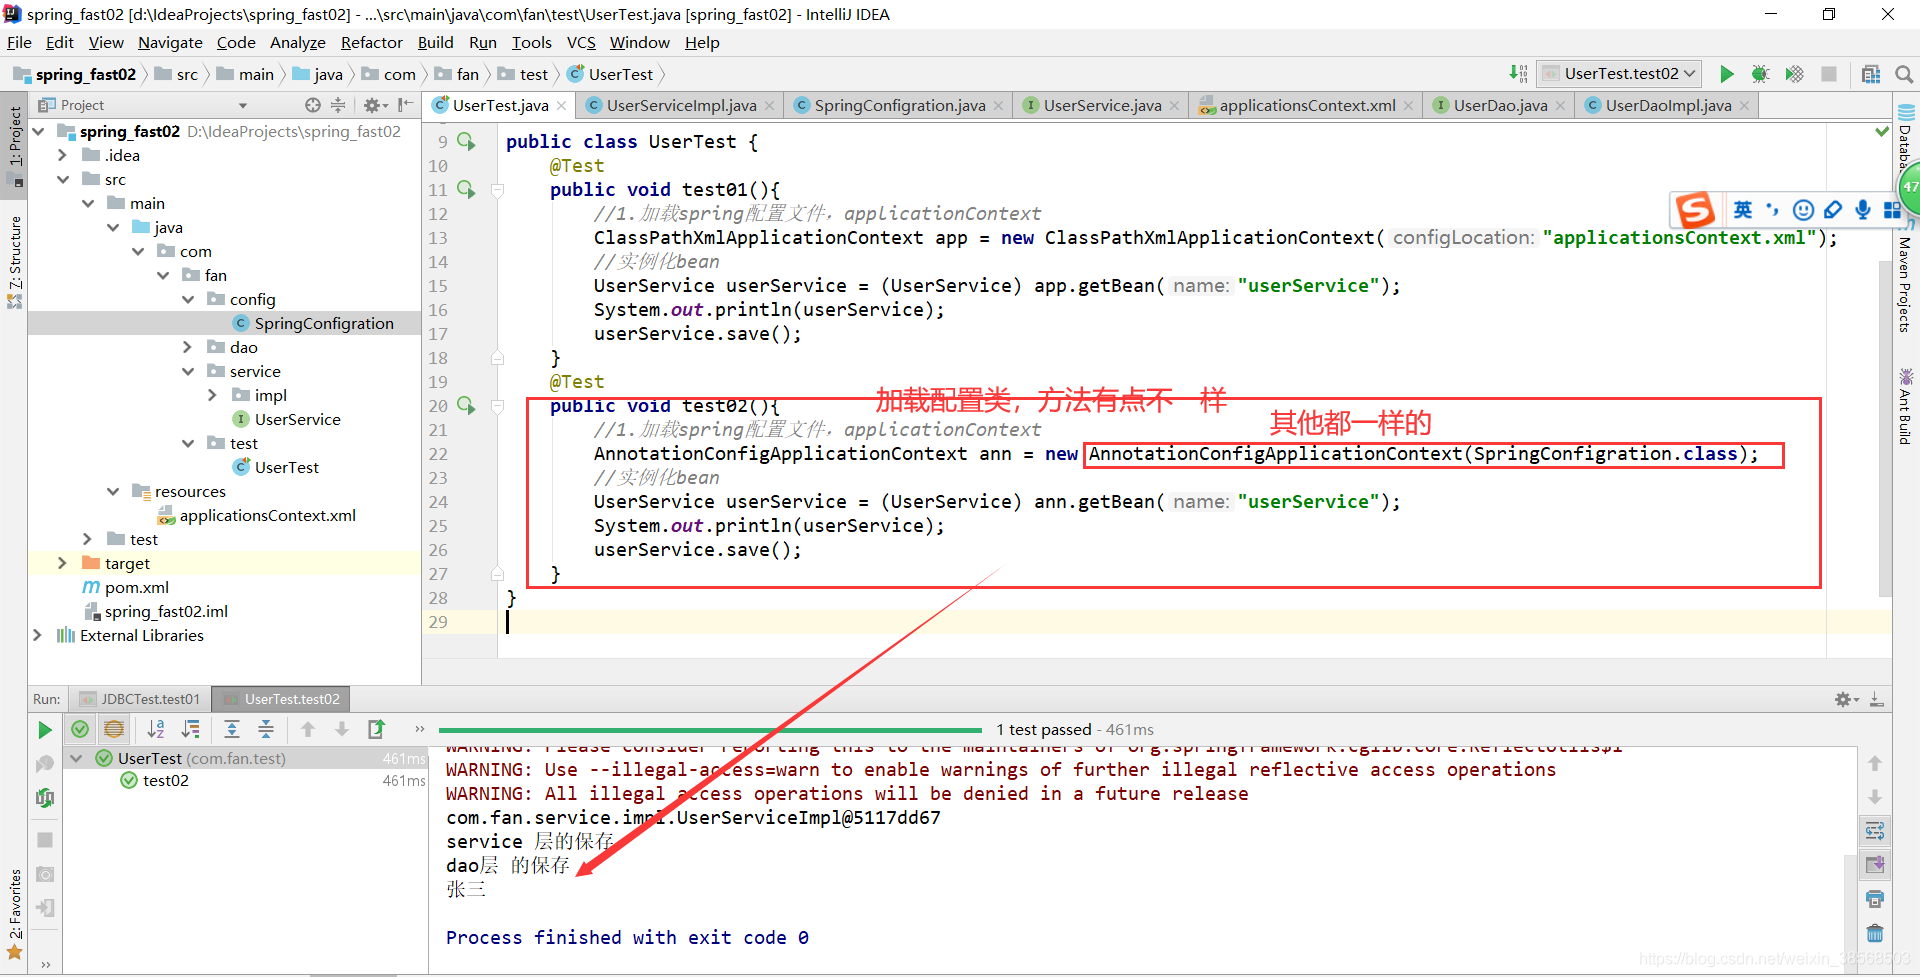
第二步:测试类有点不同:
package com.fan.test;

import com.fan.config.SpringConfigration;
import com.fan.service.UserService;
import org.junit.Test;
import org.springframework.context.annotation.AnnotationConfigApplicationContext;
import org.springframework.context.support.ClassPathXmlApplicationContext;

public class UserTest {
    @Test
    public void test01(){
        //1.加载spring配置文件,applicationContext
        ClassPathXmlApplicationContext app = new ClassPathXmlApplicationContext("applicationsContext.xml");
        //实例化bean
        UserService userService = (UserService) app.getBean("userService");
        System.out.println(userService);
        userService.save();
    }
    @Test
    public void test02(){
        //1.加载spring配置类,SpringConfigration
        AnnotationConfigApplicationContext ann = new AnnotationConfigApplicationContext(SpringConfigration.class);
        //实例化bean一样的。
        UserService userService = (UserService) ann.getBean("userService");
        System.out.println(userService);
        userService.save();
    }
}
springboot本质就是结合spring的纯注解开发的整合简化
spring test的集成测试:
@RunWith作用
@RunWith 就是一个运行器
@RunWith(JUnit4.class) 就是指用JUnit4来运行
@RunWith(SpringJUnit4ClassRunner.class),让测试运行于Spring测试环境
@RunWith(Suite.class) 的话就是一套测试集合,
@ContextConfiguration Spring整合JUnit4测试时,使用注解引入多个配置文件
单个文件
@ContextConfiguration(Locations=“classpath:applicationContext.xml”)
@ContextConfiguration(classes = SimpleConfiguration.class)
多个文件时,可用{}
@ContextConfiguration(locations = { “classpath:spring1.xml”, “classpath:spring2.xml” })
@RunWith(SpringJunit4ClassRunner.class) 使用说明
package testaop;

import com.fan.aop.User;
import com.fan.config.configAop;

import org.junit.Test;
import org.junit.runner.RunWith;
import org.springframework.context.support.ClassPathXmlApplicationContext;
import org.springframework.test.context.ContextConfiguration;
import org.springframework.test.context.junit4.SpringJUnit4ClassRunner;


import javax.annotation.Resource;

@RunWith(SpringJUnit4ClassRunner.class)//使用spring测试环境
@ContextConfiguration(classes=configAop.class)//方式二:使用注解加载配置类或者配置文件
public class TestAop {

    @Resource(name = "user")
    private User user;

    /*@Test//方式一:加载配置文件的方式,麻烦
    public void test01(){
        ClassPathXmlApplicationContext context = new ClassPathXmlApplicationContext("bean1.xml");
        User user = context.getBean("user", User.class);
        user.add();

    }*/

    @Test//测试注解形式
    public void test02(){
        System.out.println(user);
        user.add();

    }

}
五、spring配置文件的替换:
1.@Configuration//作用:使得当前类成为spring配置类:
从Spring3.0,@Configuration用于定义配置类,可替换xml配置文件,被注解的类内部包含有一个或多个被@Bean注解的方法,这些方法将会被AnnotationConfigApplicationContext或AnnotationConfigWebApplicationContext类进行扫描,并用于构建bean定义,初始化Spring容器。
2.@RunWith就是一个运行器
@RunWith(JUnit4.class)就是指用JUnit4来运行
@RunWith(SpringJUnit4ClassRunner.class),让测试运行于Spring测试环境
@RunWith(Suite.class)的话就是一套测试集合,
3.@ContextConfiguration Spring整合JUnit4测试时,使用注解引入多个配置文件
单个文件
@ContextConfiguration(locations=“classpath:applicationContext.xml”)
@ContextConfiguration(classes = SimpleConfiguration.class)
多个文件时,可用{}
@ContextConfiguration(locations = { “classpath:spring1.xml”, “classpath:spring2.xml” })
ContextConfiguration 参考:https://www.cnblogs.com/bihanghang/p/10023759.html
总结:
将spring的东西和java基础的类中的东西结合起来对比记忆,区分理解,springboot本质就是结合spring的纯注解开发的整合简化。