方法1.
创建网络
[root@ceph135 ~]# docker network create  test-network
5d9b8db2f22254bacdd3c920daf5736dd8831516b75583c4bc6b0a466b589a43
启动一个容器
docker run -it --name test01 --net test-network alpine:latest
再启动一个
[root@ceph135 ~]#  docker run -it --name test02 --net test-network alpine:latest
#直接ping第一个容器是互通的
/ # ping test01
PING test01 (172.19.0.2): 56 data bytes
64 bytes from 172.19.0.2: seq=0 ttl=64 time=0.221 ms
64 bytes from 172.19.0.2: seq=1 ttl=64 time=0.139 ms
#ping test01 容器的名都可以ping通
由于docker准备弃用–link 所以推荐使用 自定义桥接网络
方法2.
分配一个网段
docker network create --subnet=172.18.0.0/16 mynetwork
创建一个IP为172.18.0.99的容器test01
docker run -it --name test01 --net mynetwork --ip 172.18.0.99 alpine:latest
创建一个IP为172.18.0.88的容器test02
docker run -it --name test02 --net mynetwork  --ip 172.18.0.88  alpine:latest
/ # ping test01
PING test01 (172.18.0.99): 56 data bytes
64 bytes from 172.18.0.99: seq=0 ttl=64 time=0.070 ms
64 bytes from 172.18.0.99: seq=1 ttl=64 time=0.173 ms
#ping同样是通的
比如部署apache,php,mysql
php直接写上MySQL容器的名字是不是就可以了,就不必用过时–link了
也可以端口映射外部访问
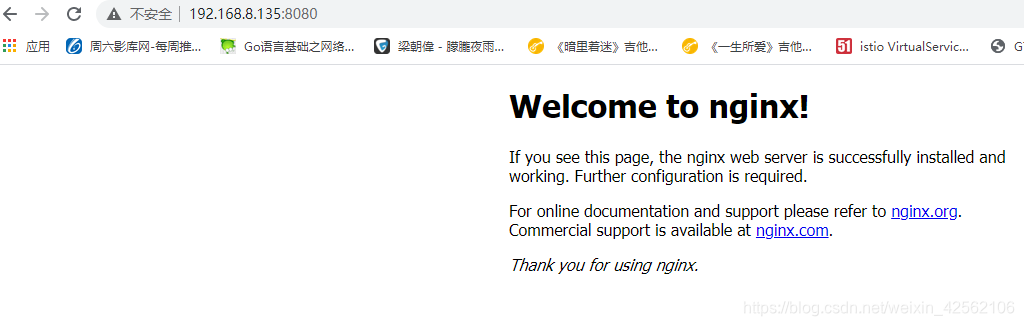
docker run -d -p8080:80 --name test02 --net mynetwork --ip 172.18.0.91 nginx:latest
内部访问
[root@ceph135 ~]# curl -I 172.18.0.91
HTTP/1.1 200 OK
Server: nginx/1.19.6
Date: Thu, 04 Feb 2021 14:02:45 GMT
Content-Type: text/html
Content-Length: 612
Last-Modified: Tue, 15 Dec 2020 13:59:38 GMT
Connection: keep-alive
ETag: "5fd8c14a-264"
Accept-Ranges: bytes
外部访问