1、下载axios依赖包
npm install axios --save
2、在main.js文件中引入
import axios from 'axios'
Vue.prototype.$axios = axios
3、新增vue.config.js文件(在与package.json同一目录下!!!)
module.exports = {


  devServer: {


      proxy: {


          '^/warningpushcenter/': {


            // 10.194.101.240
            // 10.194.107.95
            target: 'https://10.194.98.123/',
            changeOrigin: true
          }
      },
  }
}
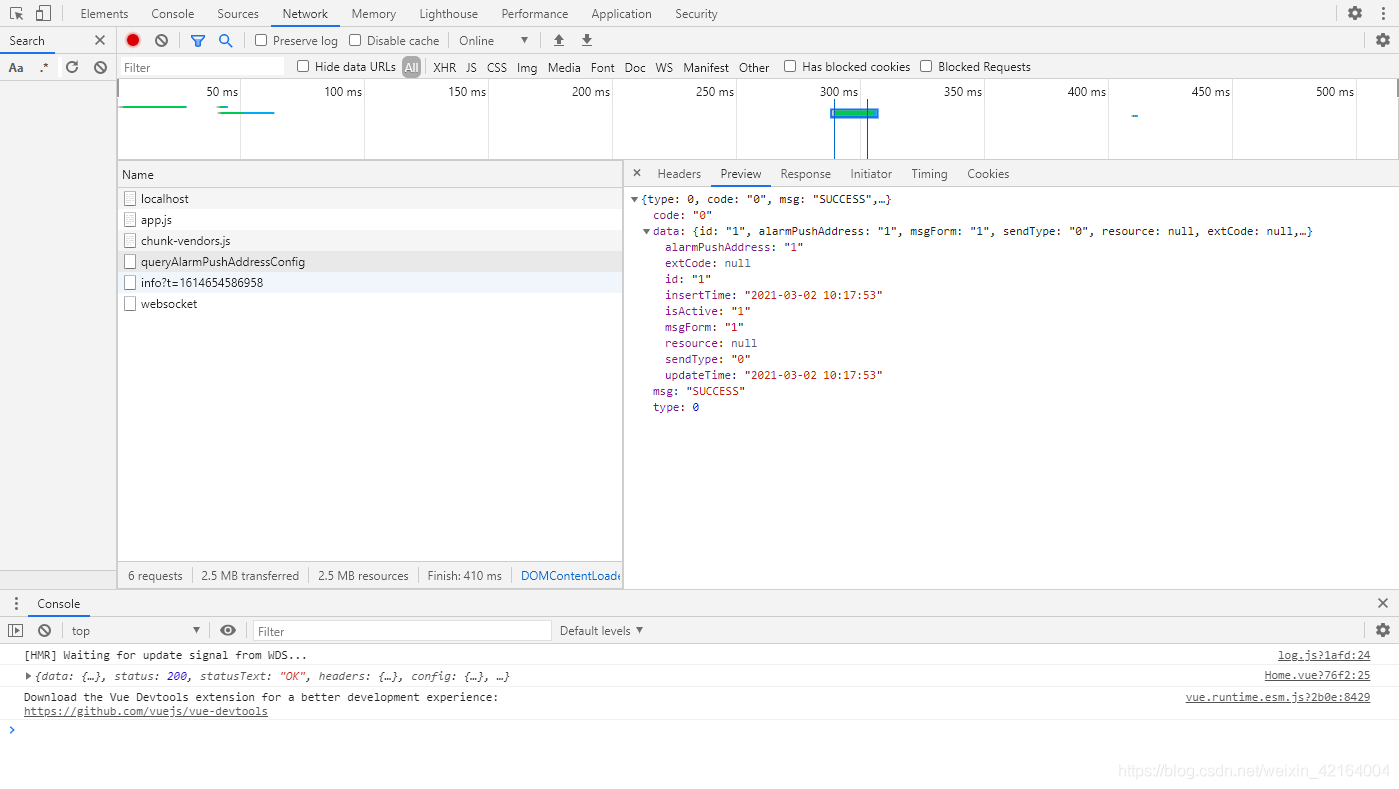
4、axios请求接口
请求接口时遇到warningpushcenter后,就会去proxy中匹配,真实请求地址为:https://10.194.98.123/warningpushcenter/pushAddress/queryAlarmPushAddressConfig
this.$axios({


        method: "post",
        url: "/warningpushcenter/pushAddress/queryAlarmPushAddressConfig",
        data: {

    },
      }).then((res) => {


        console.log(res)
      })