SprigCloud
前面做了那么多的铺垫,只为了让大家的基础能更加的扎实,因为面试不会只简单的问你框架怎么用,所以前面就啰嗦了那么几下,现在我们来正式进入Spring的学习
1.为什么SpringCloud在微服务中这么受喜爱
微服务是一种架构方式,最终肯定需要技术架构去实施。
微服务的实现方式很多,但是最火的莫过于Spring Cloud了。为什么?
**1.后台硬:**作为Spring家族的一员,有整个Spring全家桶靠山,背景十分强大。
**2.技术强:**Spring作为Java领域的前辈,可以说是功力深厚。有强力的技术团队支撑,一般人还真比不了
**3.群众基础好:**可以说大多数程序员的成长都伴随着Spring框架,试问:现在有几家公司开发不用Spring?
**4.Spring Cloud与Spring的各个框架无缝整合,对大家来说一切都是熟悉的配方,熟悉的味道。**使用方便:相信大家都体会到了SpringBoot给我们开发带来的便利,而Spring Cloud完全支持Spring Boot的开发,用很少的配置就能完成微服务框架的搭建
2.SpringCloud简介
Spring Cloud是Spring旗下的项目之一,官网地址:http://projects.spring.io/spring-cloud/
Spring最擅长的就是集成,把世界上最好的框架拿过来,集成到自己的项目中。
Spring Cloud也是一样,它将现在非常流行的一些技术整合到一起,实现了诸如:配置管理,服务发现,智能路由,
负载均衡,熔断器,控制总线,集群状态等功能;协调分布式环境中各个系统,为各类服务提供模板性配置。其主要
涉及的组件包括:
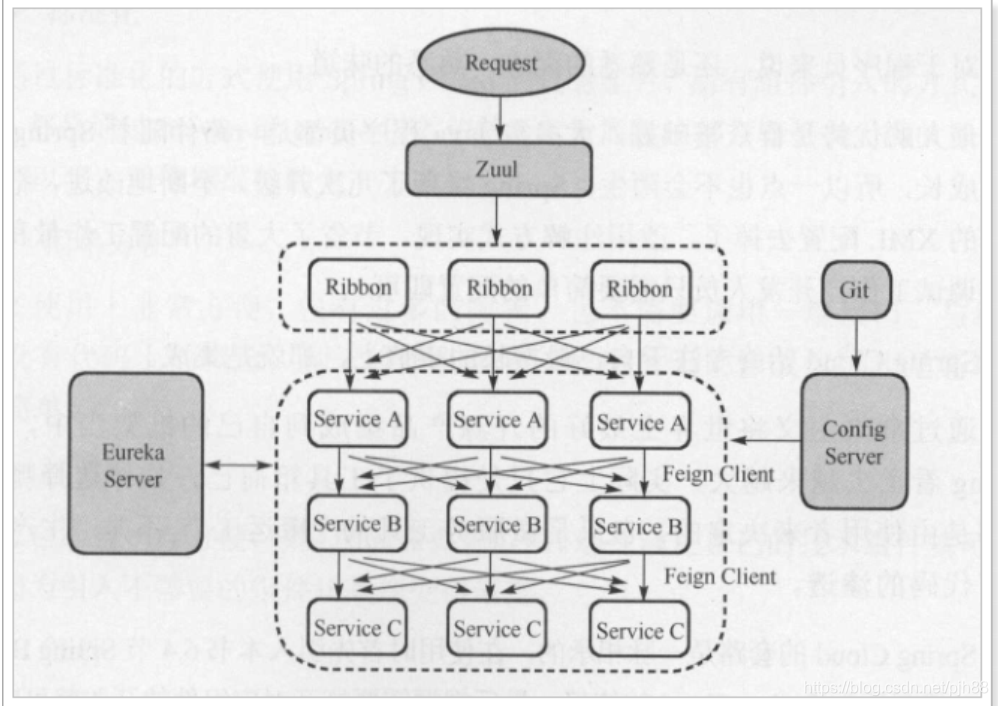
**Eureka:**注册中心
**Zuul、Gateway:**服务网关
**Ribbon:**负载均衡
**Feign:**服务调用
**Hystrix或Resilience4j:**熔断器
以上只是其中一部分,架构图:
2.2 版本
Spring Cloud不是一个组件,而是许多组件的集合;它的版本命名比较特殊,是以A到Z的为首字母的一些单词(其实是伦敦地铁站的名字)组成:
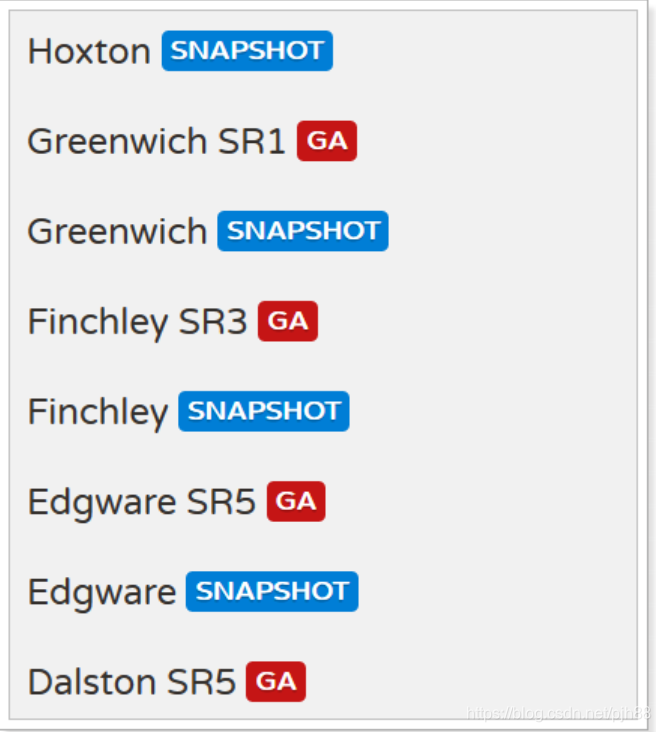
我们在项目中,使用最新稳定的Greenwich版本。
3.微服务场景模拟
此节我们将模拟一个服务调用场景,方便后面学习微服务架构
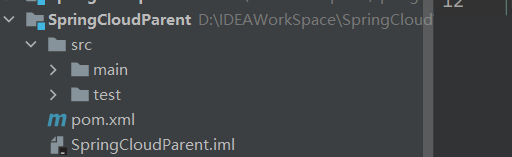
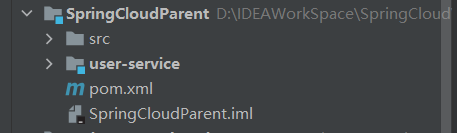
3.1创建一个父工程
微服务中需要同时创建多个项目,为了方便课堂演示,先创建一个父工程,然后后续的工程都以这个工程为父,实现maven的聚合。这样可以在一个窗口看到所有工程,方便讲解。在实际开发中,每个微服务可独立一个工程。
3.1.1需要导入的jar包
这里已经对大部分要用到的依赖的版本进行了 管理,方便后续使用
<?xml version="1.0" encoding="UTF-8"?>
<project xmlns="http://maven.apache.org/POM/4.0.0"
         xmlns:xsi="http://www.w3.org/2001/XMLSchema-instance"
         xsi:schemaLocation="http://maven.apache.org/POM/4.0.0 http://maven.apache.org/xsd/maven-4.0.0.xsd">
    <modelVersion>4.0.0</modelVersion>

    <groupId>org.example</groupId>
    <artifactId>SpringCloudParent</artifactId>
    <version>1.0-SNAPSHOT</version>
    <!--继承spring的父类工程-->
    <parent>
        <artifactId>spring-boot-starter-parent</artifactId>
        <groupId>org.springframework.boot</groupId>
        <version>2.1.5.RELEASE</version>
    </parent>
    <!--no-->
    <properties>
        <java.version>1.8</java.version>
        <spring-cloud.version>Greenwich.SR1</spring-cloud.version>
        <mapper.starter.version>2.1.5</mapper.starter.version>
        <mysql.version>5.1.46</mysql.version>
    </properties>
    <dependencyManagement>
        <dependencies>
            <!--spring-cloud-->
            <dependency>
                <groupId>org.springframework.cloud</groupId>
                <artifactId>spring-cloud-dependencies</artifactId>
                <version>${spring-cloud.version}</version>
                <type>pom</type>
                <scope>import</scope>
            </dependency>
            <!-- 通用Mapper启动器 -->
            <dependency>
                <groupId>tk.mybatis</groupId>
                <artifactId>mapper-spring-boot-starter</artifactId>
                <version>${mapper.starter.version}</version>
            </dependency>
            <!-- mysql驱动 -->
            <dependency>
                <groupId>mysql</groupId>
                <artifactId>mysql-connector-java</artifactId>
                <version>${mysql.version}</version>
            </dependency>
        </dependencies>
    </dependencyManagement>
    <dependencies>
        <dependency>
            <groupId>org.projectlombok</groupId>
            <artifactId>lombok</artifactId>
        </dependency>
    </dependencies>
    <build>
        <plugins>
            <plugin>
                <groupId>org.springframework.boot</groupId>
                <artifactId>spring-boot-maven-plugin</artifactId>
            </plugin>
        </plugins>
    </build>
</project>
3.2创建服务提供者工程
新建一个项目user-service,对外提供查询用户的服务
在前面父工程的工程下新建一个子工程
3.2.1所需依赖
**
<?xml version="1.0" encoding="UTF-8"?>
<project xmlns="http://maven.apache.org/POM/4.0.0"
         xmlns:xsi="http://www.w3.org/2001/XMLSchema-instance"
         xsi:schemaLocation="http://maven.apache.org/POM/4.0.0 http://maven.apache.org/xsd/maven-4.0.0.xsd">
    <parent>
        <artifactId>SpringCloudParent</artifactId>
        <groupId>org.example</groupId>
        <version>1.0-SNAPSHOT</version>
    </parent>
    <modelVersion>4.0.0</modelVersion>
    <artifactId>user-service</artifactId>
    <dependencies>
        <dependency>
            <groupId>org.springframework.boot</groupId>
            <artifactId>spring-boot-starter-web</artifactId>
        </dependency>
        <dependency>
            <groupId>mysql</groupId>
            <artifactId>mysql-connector-java</artifactId>
        </dependency>
        <dependency>
            <groupId>tk.mybatis</groupId>
            <artifactId>mapper-spring-boot-starter</artifactId>
        </dependency>
    </dependencies>

</project>
3.2.2编写配置文件
server:
  port:9091
spring:
  datasource:
    driver-class-name: com.mysql.jdbc.Driver
    username: root
    password: root
    url: jdbc:mysql://localhost:3309/test
mybatis:
  type-aliases-package: com.pjh.user.pojo
3.2.3编写启动类
package com.pjh;

import org.springframework.boot.SpringApplication;
import org.springframework.boot.autoconfigure.SpringBootApplication;
import tk.mybatis.spring.annotation.MapperScan;

@SpringBootApplication
@MapperScan("com.pjh.user.pojo")
public class Application {
    public static void main(String[] args) {
        SpringApplication.run(Application.class,args);
    }
}
3.2.4编写user实体类
package com.pjh.user.pojo;

import lombok.Data;
import tk.mybatis.mapper.annotation.KeySql;
import javax.persistence.Id;
import javax.persistence.Table;
import java.util.Date;
@Table(name = "tb_user")
@Data
public class User {
    @Id
    @KeySql(useGeneratedKeys = true)
    private Long id;
    private String userName; // 用户名
    private String password; // 密码
    private String name;// 姓名
    private Integer age;// 年龄
    private Integer sex;// 性别,1男性,2女性
    private Date birthday;// 出生日期
    private Date created;// 创建时间
    private Date updated;// 更新时间
    private String note;// 备注
}
3.2.5编写Mapper接口
package com.pjh.user.Mapper;

import com.pjh.user.pojo.User;
import tk.mybatis.mapper.common.Mapper;
public interface UserMapper extends Mapper<User> {

}
3.2.6编写UserService
package com.pjh.user.Service;
import com.pjh.user.Mapper.UserMapper;
import com.pjh.user.pojo.User;
import org.springframework.beans.factory.annotation.Autowired;
import org.springframework.stereotype.Service;
@Service
public class UserService {
    @Autowired(required = false)
    private UserMapper userMapper;
    public User queryForId(int id){
      return   userMapper.selectByPrimaryKey(id);
    }
}
3.2.7编写Controller
package com.pjh.user.Controller;

import com.pjh.user.Service.UserService;
import com.pjh.user.pojo.User;
import org.springframework.beans.factory.annotation.Autowired;
import org.springframework.web.bind.annotation.GetMapping;
import org.springframework.web.bind.annotation.PathVariable;
import org.springframework.web.bind.annotation.RequestMapping;
import org.springframework.web.bind.annotation.RestController;
@RestController
@RequestMapping("/user")
public class UserController {
    @Autowired
    private UserService userService;
    @GetMapping("/{id}")
    public User queryById(@PathVariable Long id){
        return userService.queryForId(id);
    }
}
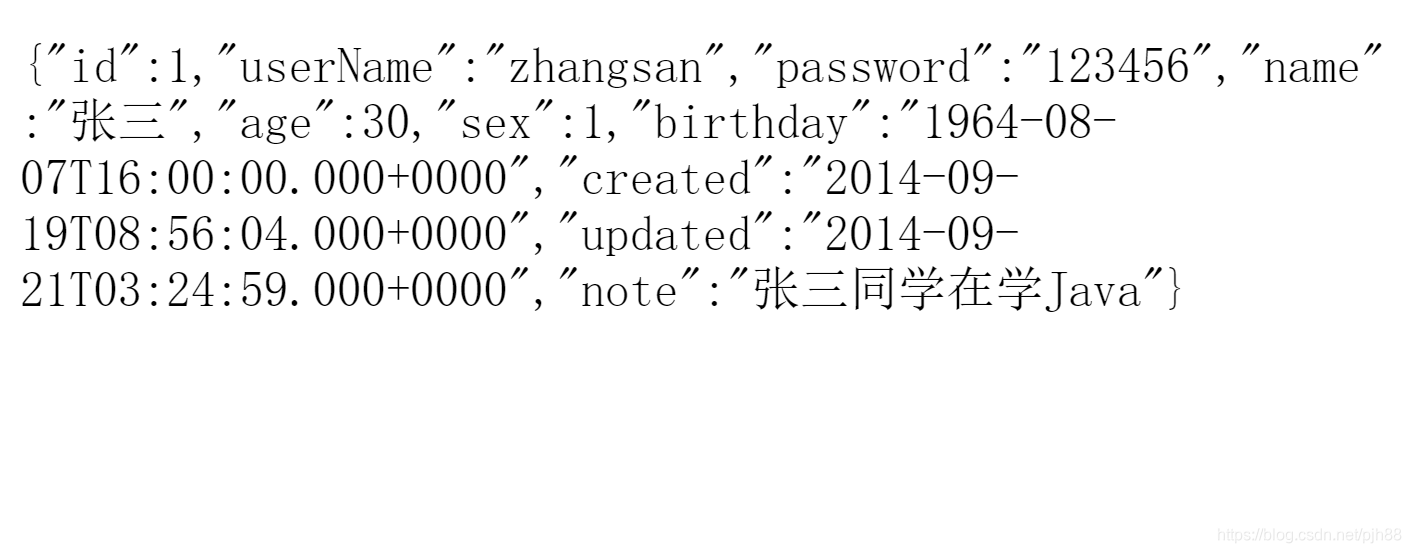
3.2.8启动并测试
3.3创建服务调用者工程
3.3.1需要导入的jar坐标
<?xml version="1.0" encoding="UTF-8"?>
<project xmlns="http://maven.apache.org/POM/4.0.0"
         xmlns:xsi="http://www.w3.org/2001/XMLSchema-instance"
         xsi:schemaLocation="http://maven.apache.org/POM/4.0.0 http://maven.apache.org/xsd/maven-4.0.0.xsd">
    <parent>
        <artifactId>SpringCloudParent</artifactId>
        <groupId>org.example</groupId>
        <version>1.0-SNAPSHOT</version>
    </parent>
    <modelVersion>4.0.0</modelVersion>
    <artifactId>user-consumer</artifactId>
     <dependencies>
         <dependency>
             <groupId>org.springframework.boot</groupId>
             <artifactId>spring-boot-starter-web</artifactId>
         </dependency>
     </dependencies>

</project>
3.3.2启动类
package com.pjh;

import org.springframework.boot.SpringApplication;
import org.springframework.boot.autoconfigure.SpringBootApplication;
import org.springframework.context.annotation.Bean;
import org.springframework.web.client.RestTemplate;

@SpringBootApplication
public class ConsumerApplication {
    public static void main(String[] args) {
        SpringApplication.run(ConsumerApplication.class,args);
    }
    @Bean
    public RestTemplate getRestTemplate(){
        return new RestTemplate();
    }
}
3.3.3创建实体类
package com.pjh.user.pojo;

import lombok.Data;

import java.util.Date;

@Data
public class user {
    private Long id;
    private String userName; // 用户名
    private String password; // 密码
    private String name;// 姓名
    private Integer age;// 年龄
    private Integer sex;// 性别,1男性,2女性
    private Date birthday;// 出生日期
    private Date created;// 创建时间
    private Date updated;// 更新时间
    private String note;// 备注
}
3.3.4创建Controller类
package com.pjh.user.Controller;

import com.pjh.user.pojo.user;
import org.apache.catalina.User;
import org.springframework.beans.factory.annotation.Autowired;
import org.springframework.web.bind.annotation.GetMapping;
import org.springframework.web.bind.annotation.PathVariable;
import org.springframework.web.bind.annotation.RequestMapping;
import org.springframework.web.bind.annotation.RestController;
import org.springframework.web.client.RestTemplate;

@RestController
@RequestMapping("/consumer")
public class ConsumerController {
    @Autowired
    private RestTemplate restTemplate;
    @GetMapping("/{id}")
    public user QueryForId(@PathVariable String id){
        String url = "http://localhost:8088/user/" + id;
        return  restTemplate.getForObject(url,user.class);
    }
}
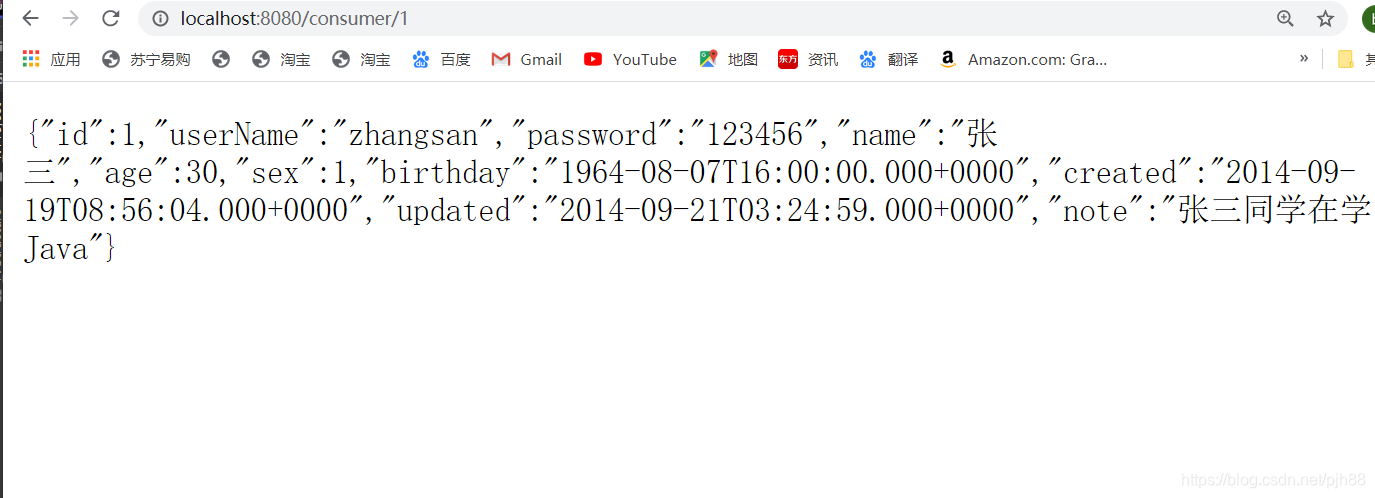
3.3.5测试