Vue前端开发流程
- 1.安装环境
- 2. 初始化项目--
- 3. 多组件和标准Vue页面
- 4. Vue组件之间的数据传递
- 5. VueBus( Vue事务总线)
- 6. 通过EventBus 实现组件之间数据传递
- 7. Axios与json
- 8. Vue第三方套件使用
- 9. Vue项目(前端)部署上线
1.安装环境
1.1 安装node
node与npm一起捆绑安装;
下载地址:
https://nodejs.org/en/
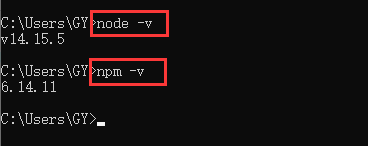
用以下命令检查是否安装好:
node –v
npm –v
1.2 安装Cnpm(中国 npm 镜像的客户端)
npm install -g cnpm --registry=https://registry.npm.taobao.org
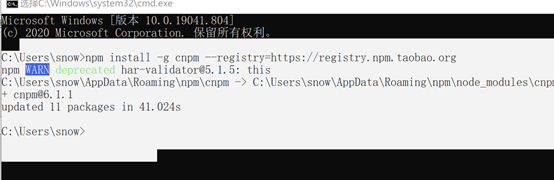
用以下命令检查是否安装好:
cnpm -v

2. 初始化项目–
2.1准备工作
2.1.1 安装Vue-cli
cnpm install -g @vue/cli
安装桥接工具(脚手架工具)
cnpm install -g @vue/cli-init
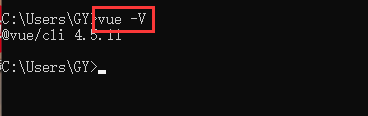
用以下命令检查vue是否安装好:
vue -V (v必须大写)
2.1.2 安装webpack
webpack 是一个模块打包器。它的主要目标是将 JavaScript 文件打包在一起,打包后的文件用于在浏览器中使用。
cnpm install -g webpack
2.2 创建项目
vue init webpack my-project (2.X)
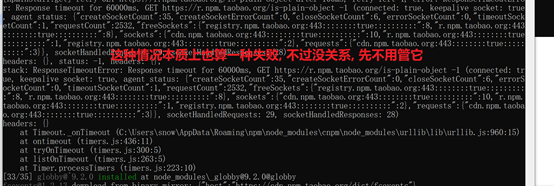
拒绝npm安装
cnpm install(国内下载)

成功下载安装


前端服务器成功启动
在浏览器中输入:
http://localhost:8080

3. 多组件和标准Vue页面
4. Vue组件之间的数据传递
4.1父组件向子组件传值
- 父传递: <.right :url=“url”><./right>
- 子接收: props: ['url’]
4.2子组件向父组件传值
- 父接收: <left @changeurl=“changeurl”><./left>
- 子抛出: this.$emit(‘changeurl’, url)
4.3同级关系的数据传递
通过介质传递,同一个字元素或者同一个父元素就是介质
this.$emit('数据名称',数据)
this.$on(res=>{


   // 数据监听,进行数据处理
})
5. VueBus( Vue事务总线)
5.1 概念
- vue bus可以实现不同组件间、不同页面间的通信,如在A页触发发点击事件,要B页面发生变化
- 一个中央事件总线bus,可以作为一个简单的组件传递数据,用于解决跨级和兄弟组件通信问题
5.2 Bus.js的操作
5.2.1创建bus.js
 import Vue from 'vue'
 const Bus = new Vue()
  export default Bus
5.2.2在main.js中引入bus.js ,并且设置为全局变量
import bus from './bus/bus'
Vue.prototype.$bus = bus
5.2.3使用bus.js
- 一个组件中:
this.$bus.$emit('传递的数据的名字', 传递的数据)
- 另一个组件中:
this.$bus.$on('传递的数据的名字', res => {


    // 对得到的数据的callback进行处理

    })
5.2.4回收bus
beforeDestroy () {


    this.$bus.$off('传递的数据的名字', {

     })
  }
5.3 使用 emit on off
import Bus from './Bus'
export default {
    data() {
        return {
            .........
            }
      },
  methods: {
        ....
        Bus.$emit('log', 120)
    },
  }
import Bus from './Bus'
export default {
    data() {
        return {
            .........
            }
      },
    mounted () {
       Bus.$on('log', content => {
          console.log(content)
        });
    }
}
5.4 其它注册方式
- Main.js中
import bus from './vuebus/Bus'
Vue.prototype.Bus = bus
- 使用
this.Bus.$emit('clickTest', '我在footer点击’)
this.Bus.$on('clickTest', content => {


      this.text = content
    })
6. 通过EventBus 实现组件之间数据传递
6.1定义 bus.js 一般在src目录下的utils的包中创建
import Vue from "vue"
export default new Vue()
6.2在main.js 中配置全局
Vue.prototype.bus = new Vue();
6.3基本使用
- from组件 ,在方法中添加如下所示,传递数据
this.$bus.$emit('row', row) // ‘row’随意取的名字,取数据要根据这个名字来取, row是data中的数据名
- to组件,在方法中进行接收数据
this.$bus.$on('row', res => {

     // 通过相同的名字,接收数据,并入callback的数据进行处理
      this.Province = res
    })
- to组件中记得销毁bus 不然会出现bug
 beforeDestroy () {


    this.$bus.$off('row', {

     })
  }
7. Axios与json
7.1什么是Axios
- axios 是一个基于 promise 的 HTTP 库,在浏览器和 node.js 中使用
- axios主要是用于向后台发起请求的,还有在请求中做更多是可控功能
7.1.1使用axios
npm install axios --save
main.js
import axios from 'axios’
Vue.prototype.$axios = axios
this.$axios.get('/terms')
      .then(this.res1Method).catch((err) => {


        this.catchMethod(err)
      })
7.2什么是json
- JSON 指的是 JavaScript 对象表示法(JavaScript Object Notation)
- JSON 是轻量级的文本数据交换格式
- JSON 独立于语言 *
- JSON 具有自我描述性,更易理解
- *JSON 使用 JavaScript 语法来描述数据对象,但是 JSON 仍然独立于语言和平台。JSON 解析器和 JSON 库支持许多不同的编程语言。
7.2.1 http
HTTP协议(HyperText Transfer Protocol,超文本传输协议)是因特网上应用最为广泛的一种网络传输协议,所有的WWW文件都必须遵守这个标准。
HTTP是一个基于TCP/IP通信协议来传递数据(HTML 文件, 图片文件, 查询结果等)。
7.2.2 前后台交互
7.2.3接口的概念
8. Vue第三方套件使用
8.1 V-Charts
8.1.1 先npm安装vue-echarts
cnpm install v-charts --save

8.1.2 开发:
除了全量引用echarts,我们还可以采用按需引入的方式
main.js
import VCharts from ‘v-charts’
创建VChartsDemo.vue(在原HelloWorld.vue中修改)
<template>
  <div id="vcharts-demo">
    <ve-line :data="chartData" ref="chart1"></ve-line>
  </div>
</template>
<script type="text/ecmascript-6">
// 引入提示框组件、标题组件、工具箱组件、图例组件。
import 'echarts/lib/component/tooltip'
import 'echarts/lib/component/title'
import 'echarts/lib/component/toolbox'
import 'echarts/lib/component/legendScroll'
// 引入v-charts折线图组件。
import VeLine from 'v-charts/lib/line'
import 'v-charts/lib/style.css'

export default {


  components: {


    VeLine
  },
  data () {


    return {


      chartData: {


        columns: ['日期', '销售额-1季度'],
        rows: [
          {

    '日期': '1月1日', '销售额-1季度': 1523},
          {

    '日期': '1月2日', '销售额-1季度': 1223},
          {

    '日期': '1月3日', '销售额-1季度': 2123},
          {

    '日期': '1月4日', '销售额-1季度': 4123},
          {

    '日期': '1月5日', '销售额-1季度': 3123},
          {

    '日期': '1月6日', '销售额-1季度': 7123}
        ]
      }
    }
  },
  created () {


    // 这是模拟动态数据用的
    setTimeout(() => {


      this.chartData = {

    }
      this.chartData = {


        columns: ['日期', '销售额-1季度'],
        rows: [
          {

    '日期': '1月1日', '销售额-1季度': 1523},
          {

    '日期': '1月2日', '销售额-1季度': 1223},
          {

    '日期': '1月3日', '销售额-1季度': 2123},
          {

    '日期': '1月4日', '销售额-1季度': 4123},
          {

    '日期': '1月5日', '销售额-1季度': 3123},
          {

    '日期': '1月6日', '销售额-1季度': 7123},
          {

    '日期': '1月7日', '销售额-1季度': 1583},
          {

    '日期': '1月8日', '销售额-1季度': 1273},
          {

    '日期': '1月9日', '销售额-1季度': 2163},
          {

    '日期': '1月10日', '销售额-1季度': 4523},
          {

    '日期': '1月11日', '销售额-1季度': 3323},
          {

    '日期': '1月12日', '销售额-1季度': 7223}
        ]
      }
    }, 2000)
  },
  mounted () {


  }
}
</script>

<style scoped>

</style>

完成效果:

8.2 ECharts(https://echarts.apache.org/examples/zh/index.html)
8.2.1 先npm安装echarts
cnpm install echarts --save
cnpm install [email protected] --save(建议安装低版本)

8.2.2 查看package.json中安装好的依赖

8.2.3 开发:
main.js
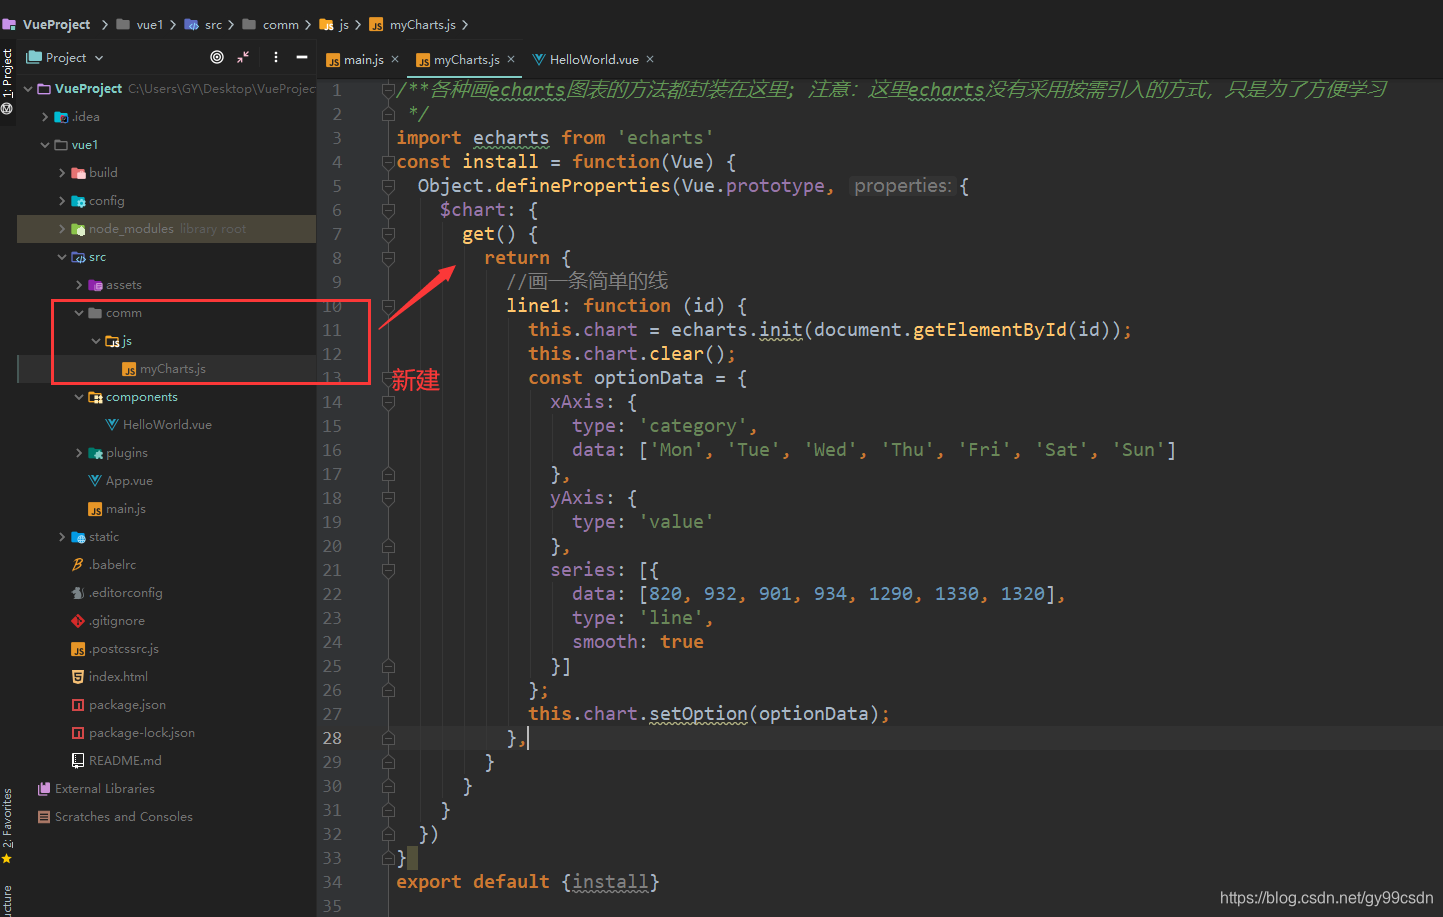
import myCharts from './comm/js/myCharts.js'
Vue.use(myCharts)

创建myCharts.js
/**
 * 各种画echarts图表的方法都封装在这里
 * 注意:这里echarts没有采用按需引入的方式,只是为了方便学习
 */

import echarts from 'echarts'
const install = function(Vue) {


    Object.defineProperties(Vue.prototype, {


        $chart: {


            get() {


                return {


                    //画一条简单的线
                    line1: function (id) {


                        this.chart = echarts.init(document.getElementById(id));
                        this.chart.clear();

                        const optionData = {


                            xAxis: {


                                type: 'category',
                                data: ['Mon', 'Tue', 'Wed', 'Thu', 'Fri', 'Sat', 'Sun']
                            },
                            yAxis: {


                                type: 'value'
                            },
                            series: [{


                                data: [820, 932, 901, 934, 1290, 1330, 1320],
                                type: 'line',
                                smooth: true
                            }]
                        };

                        this.chart.setOption(optionData);
                    },
                }
            }
        }
    })
}

export default {


    install
}
创建HelloWorld
<template>
  <div class="hello">
    <div id="chart1"></div>
  </div>
</template>

<script>
export default {


  name: 'HelloWorld',
  data () {


    return {


    }
  },
  mounted() {


    this.$chart.line1('chart1');
  }
}
</script>

<style scoped>
  #chart1 {


    width: 300px;
    height: 300px;
  }
</style>

完成效果:

注意与bug:
这里有一个坑:
直接报错"export ‘default’ (imported as ‘echarts’) was not found in ‘echarts’
重新更新echarts等各种方法都试了,还是解决不了问题
最后在Google 查出来一个问题说可能是版本问题,进行校验后发现第一次安装的为5.0,别人的4.9
经测试,echarts 不支持echarts最新版本5.0.0因此引入4.9.0
最后发现只能执行:
cnpm install [email protected] --save
才可以变更为4.9
8.3 Element(https://element.eleme.cn/#/zh-CN)
8.3.1 element插件的安装
vue 引入element-ui
vue add element
自动配置插件,只需要这一步即可
在这里插入图片描述

启动前端服务器vue
npm run dev


之后参照官方文档,选取自己需要的样式 ,全部复制(包括template , script , style 先保证可以运行),再进行微调。
9. Vue项目(前端)部署上线
npm run build
dist