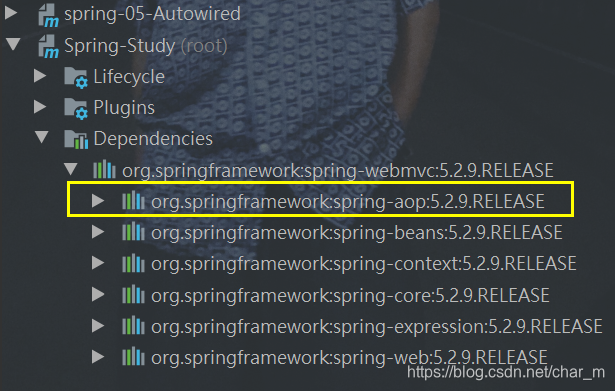
spring4之后要使用注解开发就必须保证AOP的包导入

使用注解需要导入context约束,增加注解的支持
<?xml version="1.0" encoding="UTF-8"?>
<beans xmlns="http://www.springframework.org/schema/beans"
       xmlns:xsi="http://www.w3.org/2001/XMLSchema-instance"
       xmlns:context="http://www.springframework.org/schema/context"
       xsi:schemaLocation="http://www.springframework.org/schema/beans
       http://www.springframework.org/schema/beans/spring-beans.xsd
       http://www.springframework.org/schema/context
       http://www.springframework.org/schema/context/spring-context.xsd">

       <!--指定要扫描的包,这个包下面的注解就会生效-->
       <context:component-scan base-package="com.my.pojo"/>
       <context:annotation-config/>


</beans>
注解说明
属性注入
@Value()

自动装配
- @Autowired:自动装配通过类型。名字如果Autowired不能唯一自动装配上属性,则需要通过@Qualifier(value=“xxx”)
- @Nullable字段标记了这个注解,说明这个字段可以为null;
- @Resource :自动装配通过名字。类型。
作用域
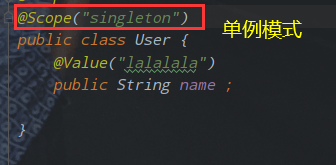
@Scope()

xml与注解
xml更加万能,适用于任何场合,维护简单方便
注解如果不是自己的类,不在同一个类下就无法使用,维护相对复杂
开启注解第一要有context约束,第二是要扫描到要添加注解的包下

