实现nginx+tomcat+redis实现session共享
环境准备
(1)虚拟机centos7(虚拟ip:192.168.168.130)
(2)redis
(3)java8
(4)tomcat8
(5)nginx
首先我们要安装java环境,网上资源很多,可以自行搜索
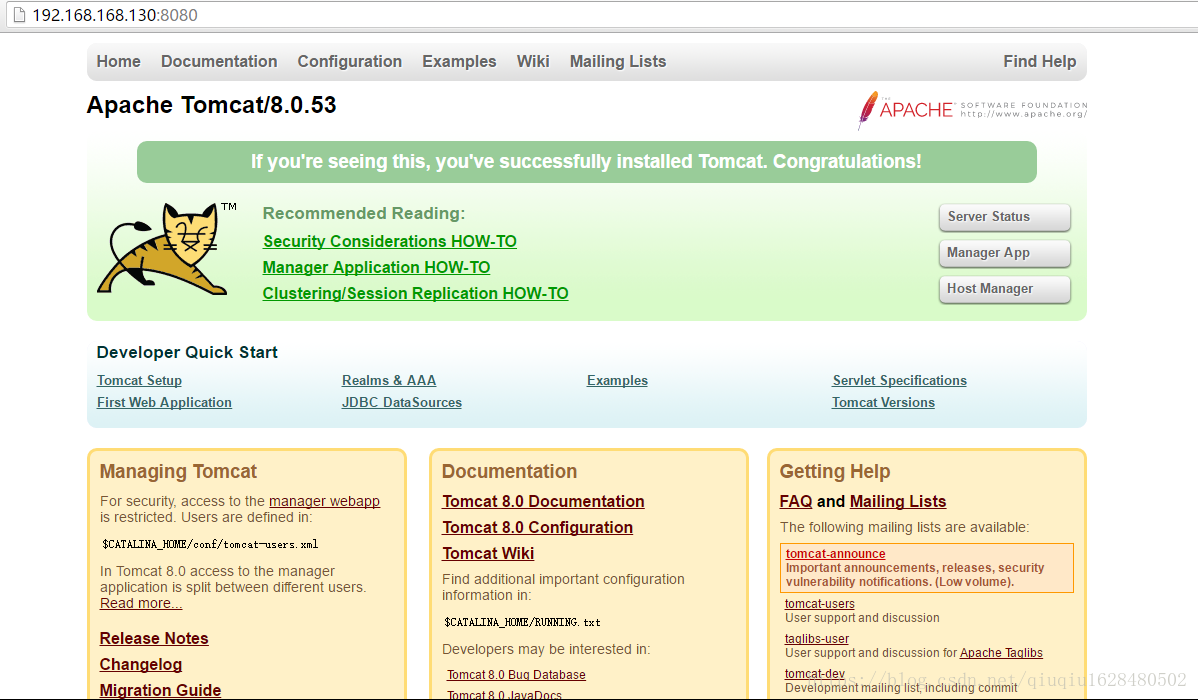
(1)下载tomcat
这里使用的是tomcat8,下载好之后,上传到我们的虚拟环境张,解压放在一个文件夹下,我的文件夹目录为:/opt/tomcat/apache-tomcat-8.0.53
解压命令:
tar xcf /opt/tomcat/apache-tomcat-8.0.53
启动tomcat,我们可以看到启动成功,并且成功访问
这是我们准备的第二步,成功访问之后,我们开始安装redis并与之进行互联
(2)下载redis-4.0.11.tar.gz(版本可能不一样)
将其上传至我们的虚拟环境,我的路径为:/opt/tomcat,执行解压命令
tar xcf redis-4.0.11.tar.gz
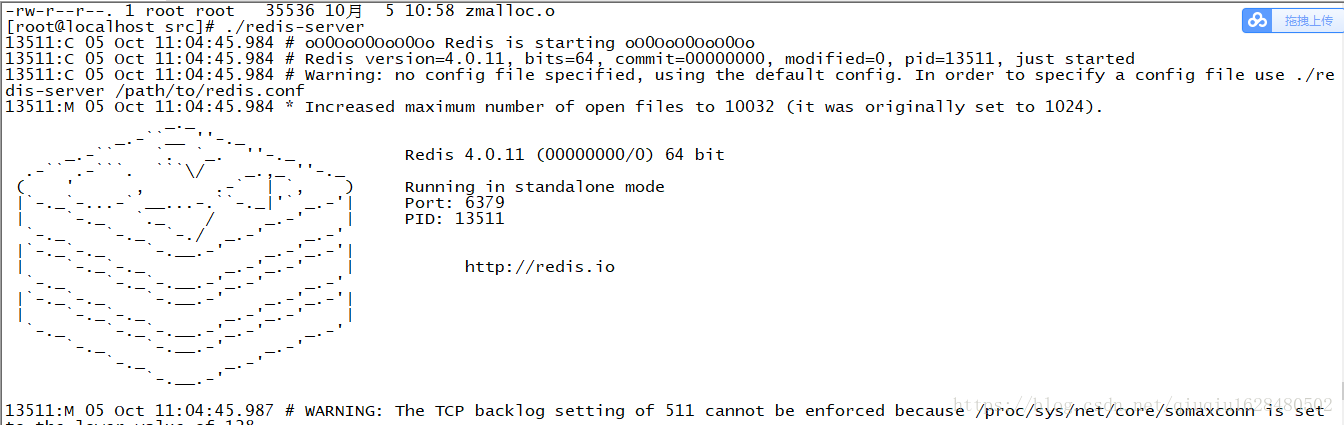
进入解压目录redis-4.0.11,执行make命令,之后进行make install,之后进入到src目录下:启动redis,可以看到成功启动。
[root@localhost src]# ./redis-server
(3)tomcat与redis的互联
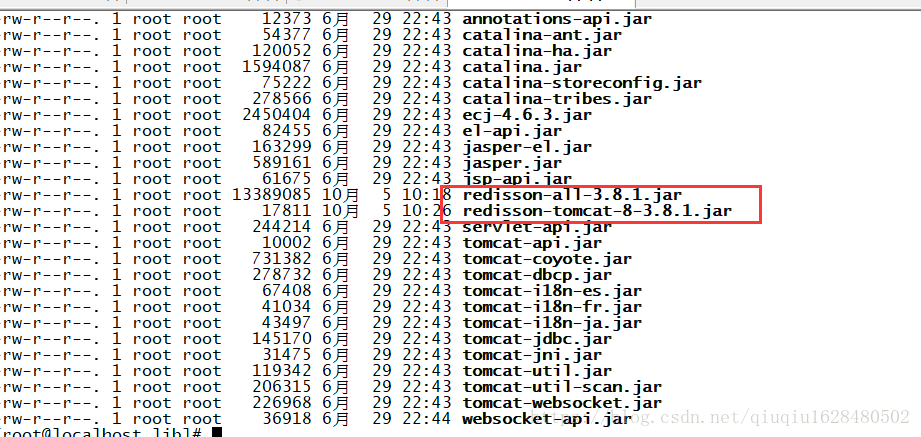
(1)下载两个jar包,下载完成之后,将其放入tomcat的lib目录下。
redisson-all-3.8.1.jar
redisson-tomcat-7-3.8.1.jar
(2)在tomcat的conf文件夹下创建json文件mySession.json(文件名可以是任意的,但是要与下边的与之照应,下边会说到的)
json内容为:
{
   "singleServerConfig":{
      "idleConnectionTimeout":10000,
      "pingTimeout":1000,
      "connectTimeout":10000,
      "timeout":3000,
      "retryAttempts":3,
      "retryInterval":1500,
      "reconnectionTimeout":3000,
      "failedAttempts":3,
      "subscriptionsPerConnection":5,
      "clientName":null,
      "address": "redis://127.0.0.1:6379",
      "subscriptionConnectionMinimumIdleSize":1,
      "subscriptionConnectionPoolSize":50,
      "connectionMinimumIdleSize":32,
      "connectionPoolSize":64,
      "database":0
   },
   "threads":0,
   "nettyThreads":0,
   "codec":{
      "class":"org.redisson.codec.JsonJacksonCodec"
   },
   "transportMode":"NIO"
}
(3)这一步完成之后,我们需要在context.xml中配置读取这个配置文件,所以:
vim /opt/tomcat/apache-tomcat-8.0.53/conf/context.xml
在context便签下添加内容:(注意:文件名称一定要写成刚才我们创建的文件名)
<Manager className="org.redisson.tomcat.RedissonSessionManager"
          configPath="${catalina.base}/conf/mySession.conf" readMode="REDIS" updateMode="DEFAULT"/>
(4)启动tomcat
这些准备工作完成了之后,我们开始启动tomcat,
cd /opt/tomcat/apache-tomcat-8.0.53/bin
./start.sh
启动完成之后,我们进行访问,可以看到与之前的小果一样,成功访问到,我们到redis的客户端进行查询,发现查询的session为空,所以,我们需要模拟一个获取session的方法。

vim /opt/tomcat/apache-tomcat-8.0.53/webapps/test/index.jsp
编辑内容为:
<%@ page language="java" import="java.util.*" pageEncoding="utf-8"%>
<%
String path = request.getContextPath();
String basePath = request.getScheme() + "://"
+ request.getServerName() + ":" + request.getServerPort()
+ path + "/";
%>
<!DOCTYPE HTML PUBLIC "-//W3C//DTD HTML 4.01 Transitional//EN">
<html>
<head>
<meta http-equiv="Content-Type" content="text/html; charset=utf-8" />
<title>tomcatB</title>
</head>
<body>
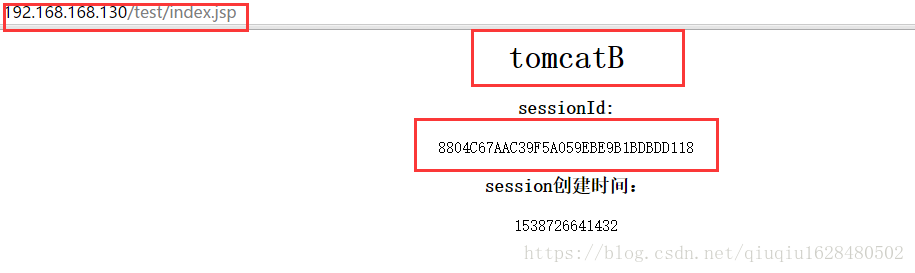
<center><h1>tomcatB</h1></center>
<center>
<h3>sessionId:</h3><%=session.getId()%>
<h3>session创建时间:</h3><%=session.getCreationTime()%>
<center>
</body>
</html>
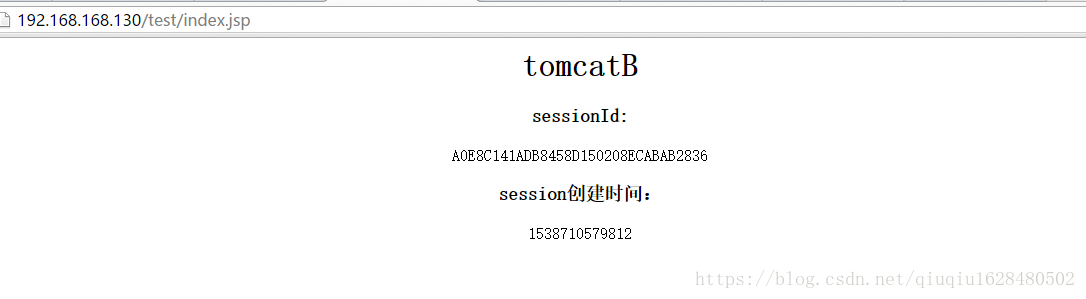
保存之后,重新访问:
192.168.168.130:8080/test/index.jsp
再去查询redis的键值情况:
此时,已经关联完毕

(4)安装另外一台tomcat,直接复制我们现在所运行的tomcat即可
(当然了,如果是两台机器的话也是可以的)
cp -r /opt/tomcat/apache-tomcat-8.0.53 /opt/tomcat/tomcat8090
之后修改端口:
vim /opt/tomcat/tomcat8090/
修改的地方有:
(1)由8009改为8010
  <!-- Define an AJP 1.3 Connector on port 8009 -->
    <Connector port="8010" protocol="AJP/1.3" redirectPort="8443" />
(2)由之前的8080改为8090
 <Connector port="8090" protocol="HTTP/1.1"
               connectionTimeout="20000"
               redirectPort="8443" />
(3)由8005改为8006
<Server port="8006" shutdown="SHUTDOWN">
修改index.jsp页面,方便与之前的区分开
vim /opt/tomcat/tomcat8090/webapps/test/index.jsp
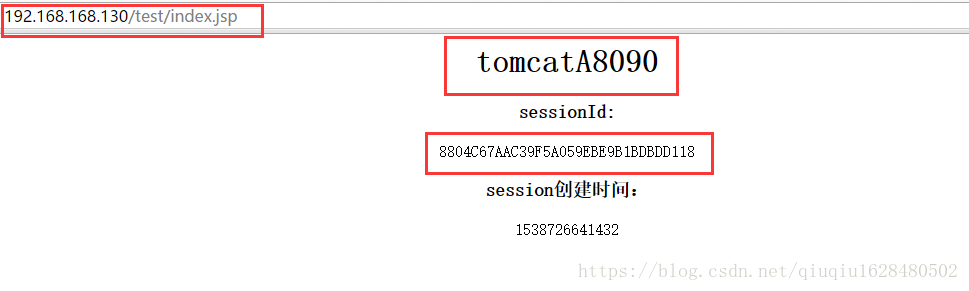
将tomcat修改为tomcat8090
 <center><h1>tomcatA8090</h1></center>
 <center>
         <h3>sessionId:</h3><%=session.getId()%>
         <h3>session创建时间:</h3><%=session.getCreationTime()%>
 <center>
启动开始访问:
访问第一个:
192.168.168.130:8080/test/index.jsp
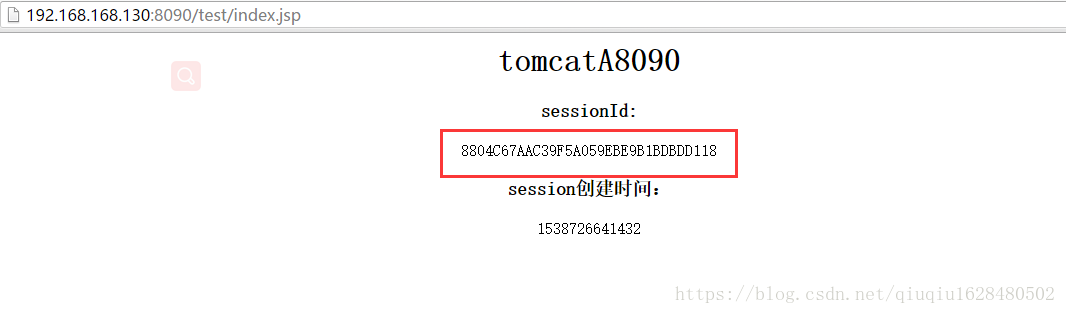
访问第二个tomcat

192.168.130:8090/test/index.jsp
可以看到我们访问的是不同的tomcat但是sessionId是一样的,这说明我们配置的通过redis实现tomcat之间session的共享已经完成
(5)安装nginx,实现最后一步
nginx的下载安装我们可以在网上自我搜索实现。
下载好nginx,解压,解压之后,进入到解压目录,,执行make && make install,之后信息会提示我们,nginx被安装到了/usr/local/nginx文件夹下:
编辑配置文件:
 upstream tomcat {
     server 192.168.168.130:8080 weight=1;
     server 192.168.168.130:8090 weight=1;
    }
    server{
         `````````
	     location / {
	           # root   html;
	           # index  index.html index.htm;
	           proxy_pass http://tomcat;
	        }
	        `````````
	   }
之后启动服务
启动成功之后,我们通过浏览器进行访问:

192.168.168.130/test/index.jsp
页面刷新
可以看到我们已经成功的访问到了不同的页面,但是sessionID是一样的,这说明我们已经成功的通过nginx+tomcat+redis实现了session的共享。
不建议在windows中使用,因为会出现各种奇怪的问题,当然了,如果小主没有出现问当然是最好的!!!
有什么问题望留言,大家一起学习一起进步。