本文目录
一、回顾之前利用json存储做的学生系统
1.效果回忆
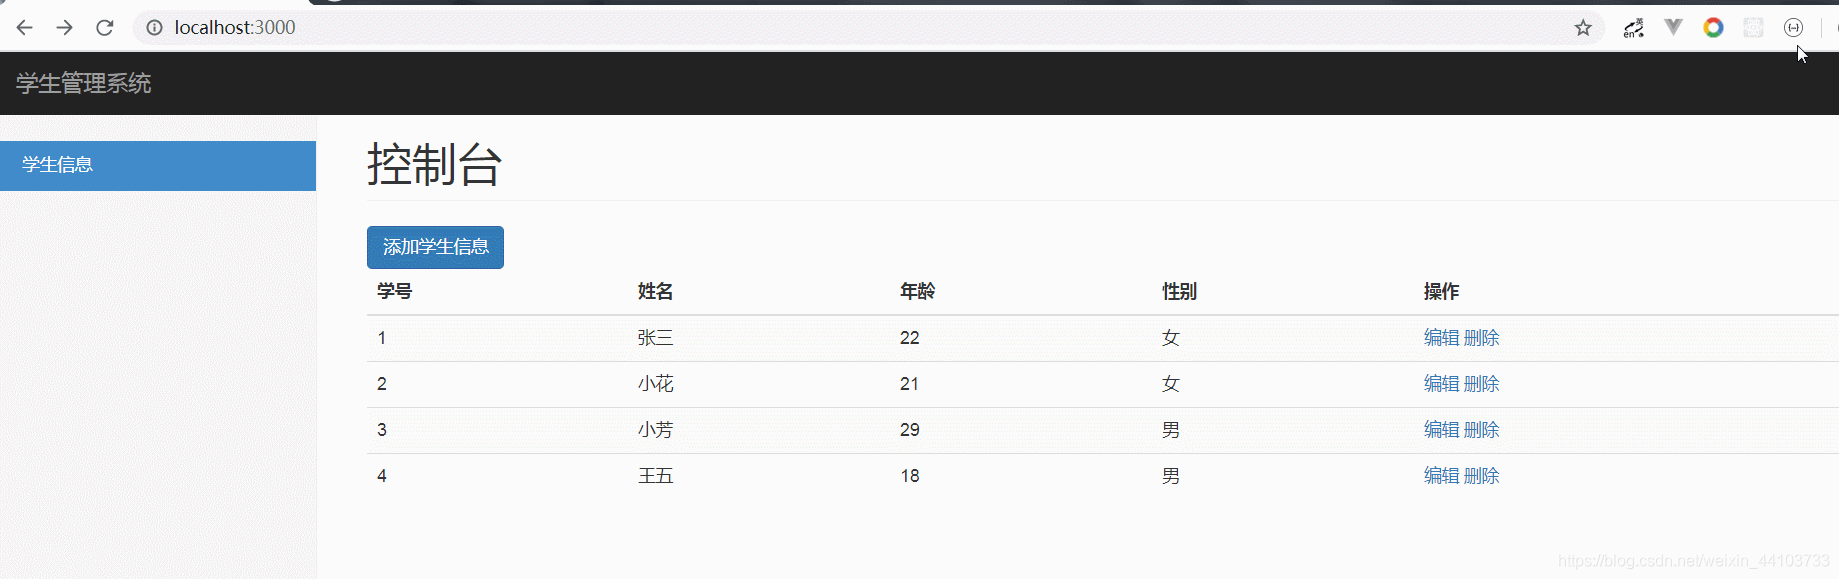
2.代码回忆
具体的代码,可以点我进行查看。
二、用MongoDB替代json文件进行存储
1.安装mongoose
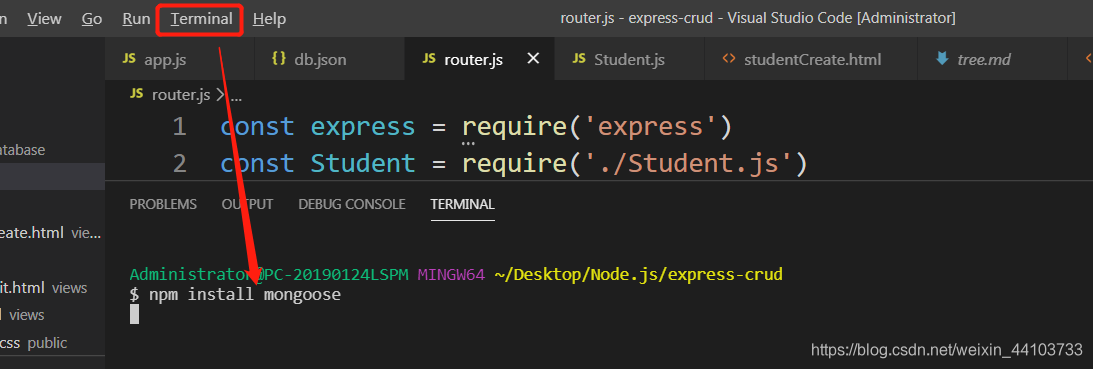
- 首先将我们项目文件夹
express-crud拖到vscode编辑器,然后在vscode编辑器里打开终端。输入命令npm install mongoose:
- 接着再在终端输入命令
mongod启动MongoDB:

如图所示就是连接成功。
2.重构代码
1.重构后效果演示

1.可以看到我们用了MongoDB数据库去存储我们的数据,并且用了robo 3t数据可视化工具展示出来我们实时存储进去的数据和更改后的数据以及删除数据。
2.真正开发是要用到数据进行存储的。
2.代码展示解读
- 文件目录:
express-crud
├── database
│   └── mongodb.js
│   └── Student.js
├── public
│   └── dashbord.css
├── views
│   ├── index.html
│   ├── studentCreate.html
│   └── studentEdit.html
├── app.js
├── router.js
- 可以看到我们新增了
database文件夹下两个文件,mongodb.js用来做数据库的连接,Student.js用来做数据模型的定义。
我们先来看看这新增的两个文件的代码。
mongodb.js代码如下:
const mongoose = require('mongoose')
mongoose.connect('mongodb://localhost:27017/students', {

    useNewUrlParser: true, 	useUnifiedTopology: true})
- 可以看到这个就是用来连接我本地启动的数据库。
Student.js代码如下:
const mongoose = require('mongoose')

const schema = mongoose.Schema({


    name: {


        type: String,
        require: true
    },
    age: {


        type: String,
        require: true
    },
    sex: {


        type: Number,
        require: true,
        enum: [0, 1]
    }
})

const Student = mongoose.model('Student', schema)

module.exports = Student
- 可以看到这里面的语法,我们之前也接触过,就是定义了数据模型,有
nameagesex,MongoDB数据库会自动生成id,然后导出了这个模型。 enum为枚举,数据只能是0或者1.
接下来我们只看需要改的部分的代码,其实也只是改router.js文件下的代码,因为这边每个路由当时处理的是json文件的增删改查,那我们用了MongoDB,就不用去自己去读文件然后操作文件,直接mongoose给的api去操控数据库的增删改查就可以了。
所以router.js代码修改如下:
const express = require('express')
// const Student = require('./Student.js')
const Student = require('./database/Student')

const router = express.Router()

router.get('/', (req, res) => {


    Student.find((err, array) => {


        if (err) {


            res
            .sendStatus(500)
            .send('SERVE ERROR')
        }
        else {


            // console.log(array)
            res.render('index.html', {

    array})
        }
    })
})

// 渲染学生添加页面
router.get('/students/create', (req, res) => {


    res.render('studentCreate.html')
})

// 添加学生信息
router.post('/students/create', (req,res) => {


    // 注意此处需要实例化对象
    const student = new Student(req.body)
    student.save((err) => {


        if (err) {


            res
            .sendStatus(500)
            .send('SERVE ERROR')
        }
        else {


            res.redirect('/')
        }
    })
})

// 渲染编辑学生页面
router.get('/students/edit', (req, res) => {


    Student.findById(req.query.id, (err, student) => {


        if (err) {


            res
            .sendStatus(500)
            .send('SERVE ERROR')
        }
        else {


            res.render('studentEdit.html', {


                student
            })
        }
    })
})

// 提交编辑学生页面
router.post('/students/edit', (req, res) => {


    // console.log(req.body)
    // 此处注意 参数
    Student.findByIdAndUpdate(req.body.id, req.body, (err) => {


        if (err) {


            res
            .sendStatus(500)
            .send('SERVE ERROR')
        }
        else {


            res.redirect('/')
        }
    })
})

// 删除学生信息
router.get('/students/delete', (req, res) => {


    Student.findByIdAndRemove(req.query.id, (err) => {


        if (err) {


            res.sendStatus(500).send('SERVER ERROR')
        }
        else {


            res.redirect('/')
        }
    })
})

module.exports = router
代码解读:
- 可以看到我们注销了之前的
Students.js因为之前的是我们自己去操控json文件。 - 然后引入了
mongoose定义的Student .js。 - 接着去修改
mongoose对应的增删改查的api更多api点我就完成了数据存储数据库的过程。
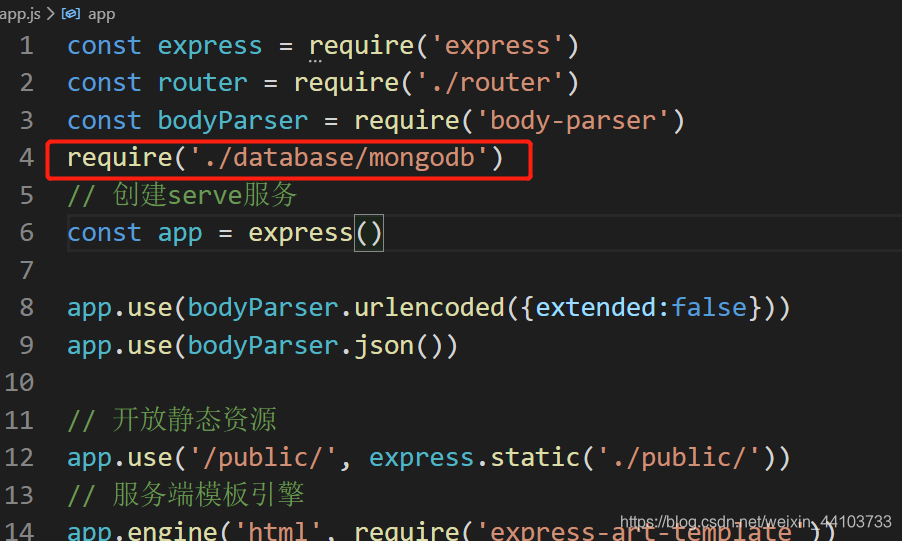
然后我们在app.js入口文件去引入连接数据的js:
打开vscode终端命令,输入命令nodemon appj.s,项目又跑起来,只不过这次我们用到了MongoDB数据库存储而不是自己写在json文件里了。