在平时如果我们看到好看的图片就想着把它下载下来,如果图片很多的话,这样我们一张一张的下载也非常费时间,这时候就可以用到python把图片批量爬取下载到本地文件夹了。
本文代码量很少,通俗易懂,非常适合入门学习,且文末会给出实操代码。
好了,话不多说,下面我们开始吧~
一、爬取的网站
我们打算爬取网站的首页如下https://www.vmgirls.com/
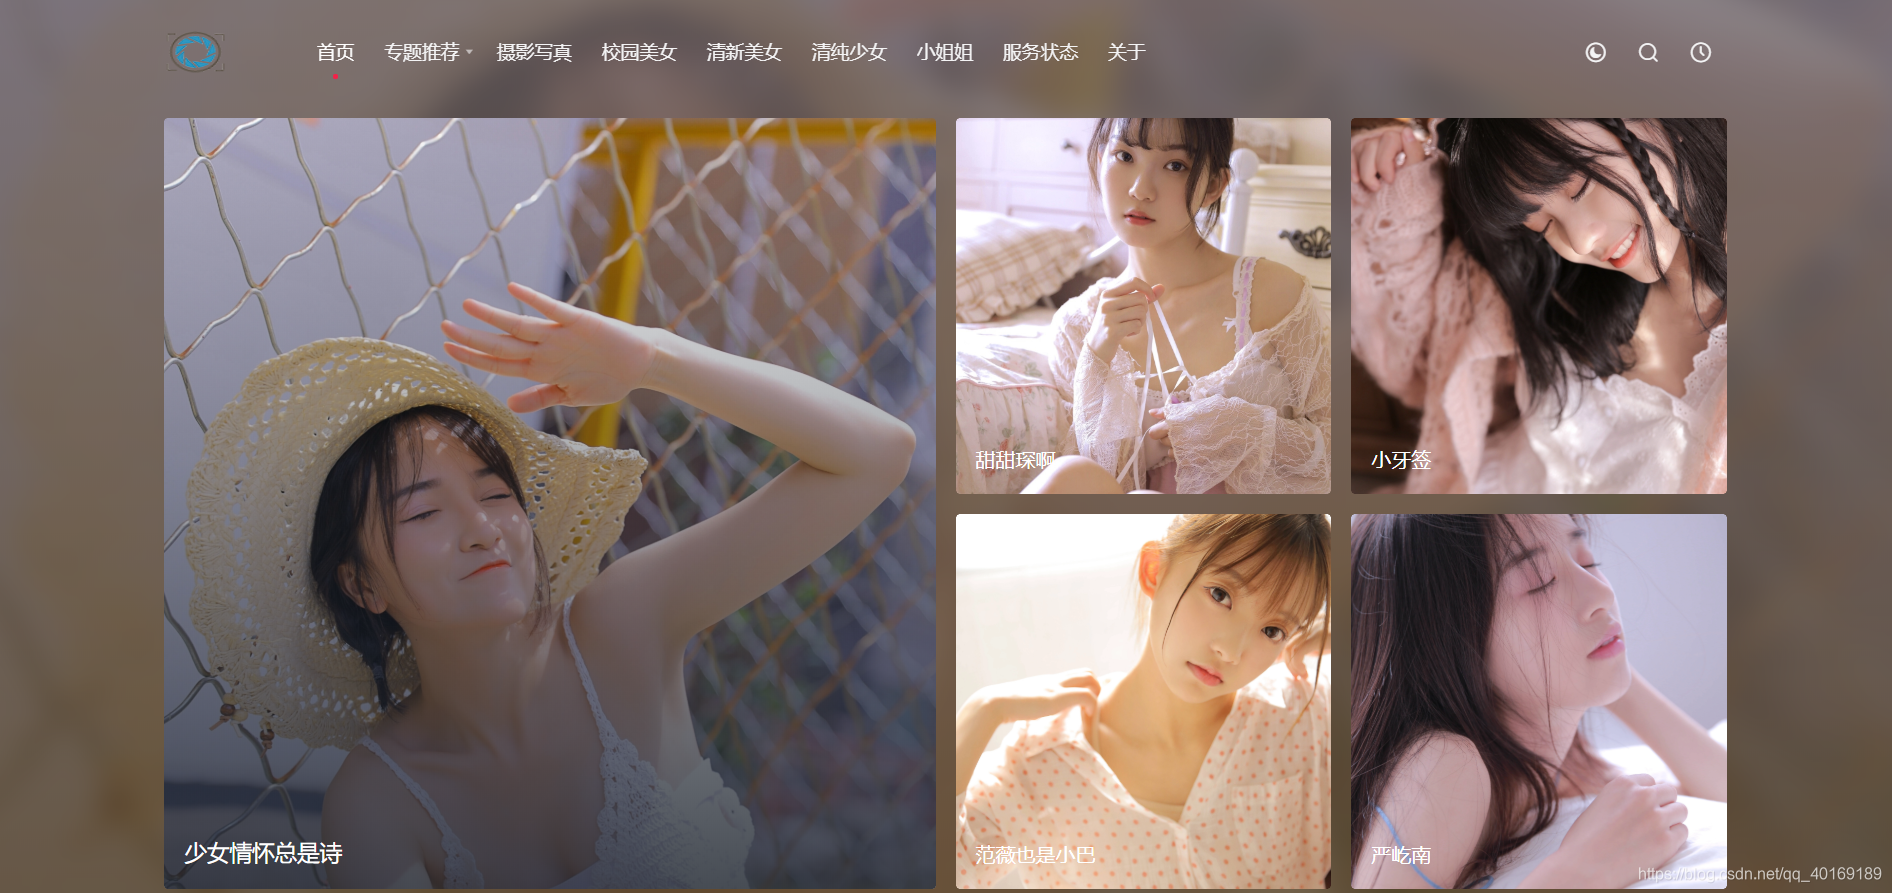
这是一个写真网站,里面有很多小姐姐的写真照,这里我们选择一个具体要爬取的页面https://www.vmgirls.com/14236.html
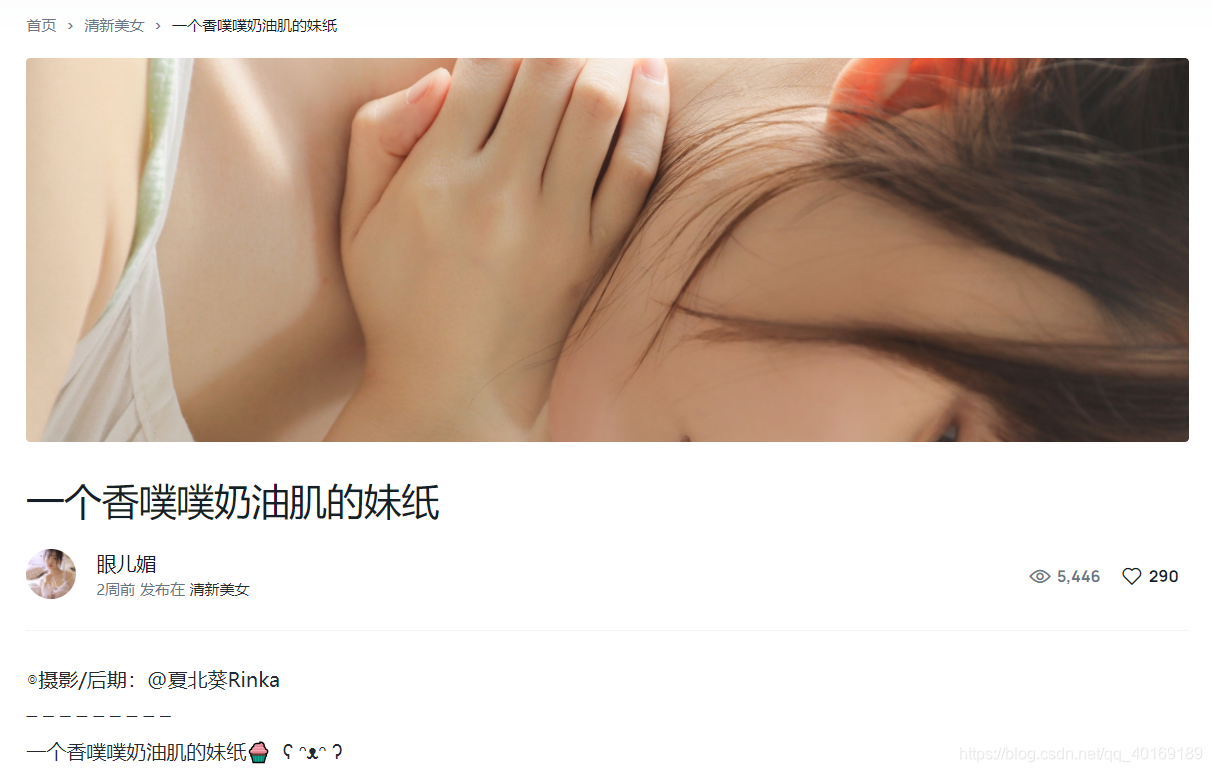
咋们就以这个页面为例批量抓取下载啦~
爬取的详细步骤
1、使用requests库获取访问地址的信息
通常而言,在我们使用python爬虫时,更建议用requests库,因为requests比urllib更为便捷,requests可以直接构造get,post请求并发起,而urllib.request只能先构造get,post请求,再发起。
	# 爬取图片的地址
	url = "https://www.vmgirls.com/14236.html"
	# 一个代理,如果不写的话,有的网站会识别出这我们是个python爬虫,触发反爬
	headers = {


    	"user-agent": "Mozilla / 5.0(Windows NT 10.0;Win64;x64)AppleWebKit / 537.36(KHTML, likeGecko) Chrome /84.0.4147.89Safari / 537.36Edg / 84.0.522.40"
	}
	response = requests.get(url, headers=headers)
    html = response.content.decode("utf-8")
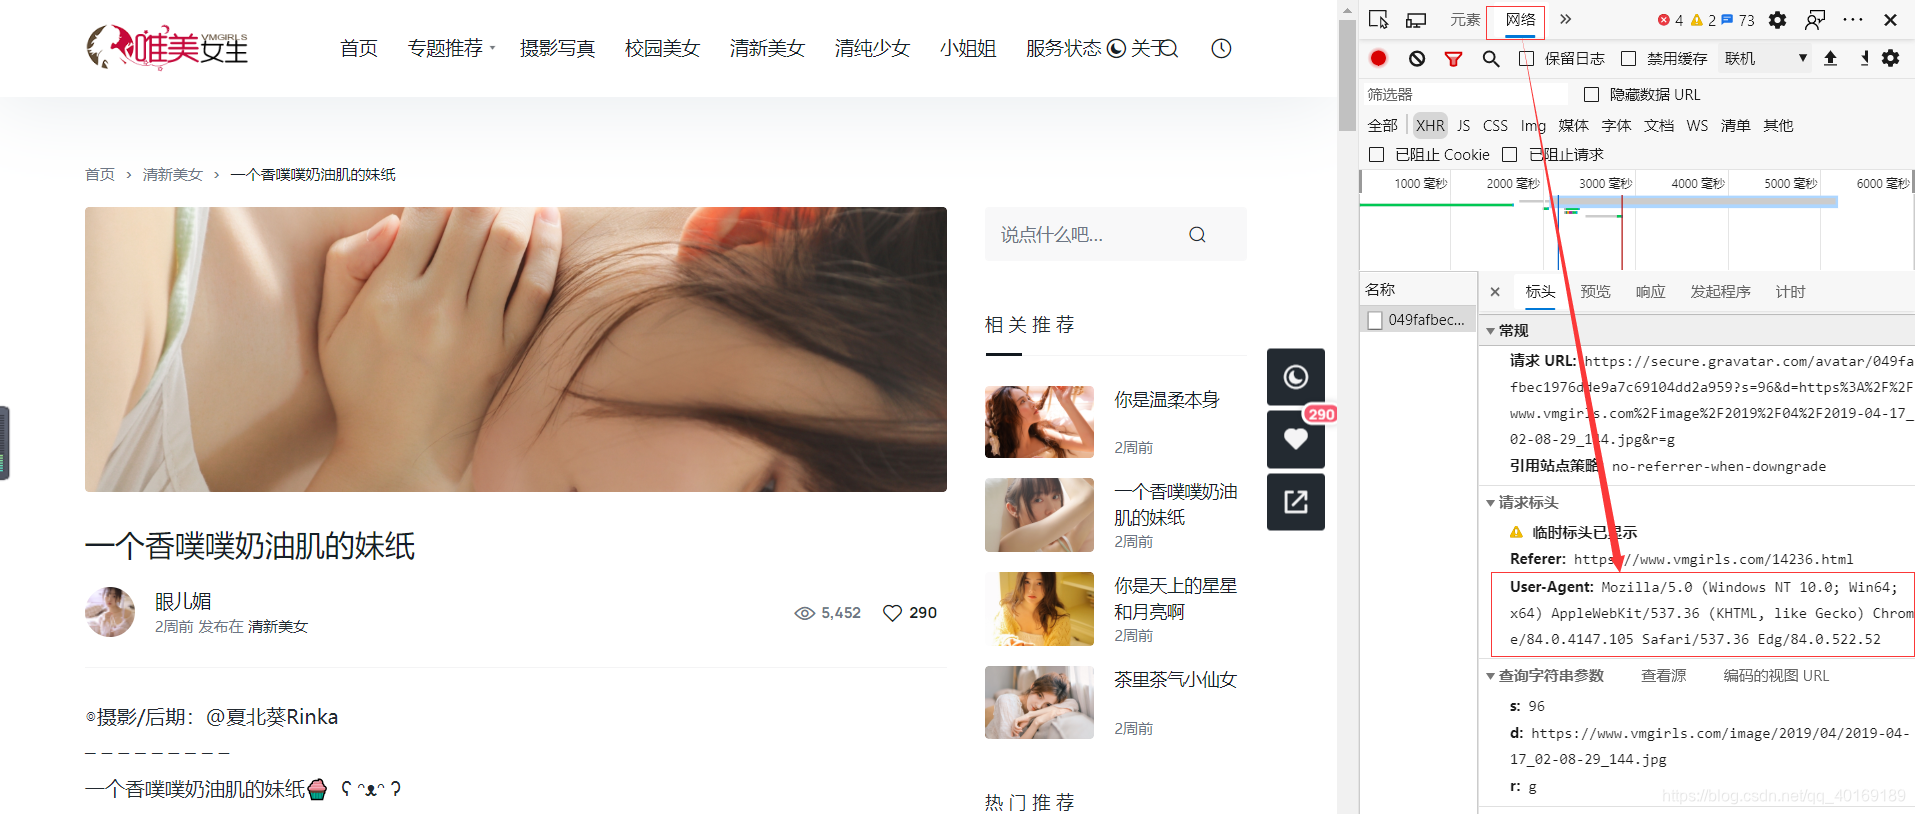
user-agent参数可以在爬取的页面按f12(笔记本得fn+f12)或者鼠标右键“检查”进入开发者调试页面,在“网络”的响应标题中可以看到。
2、解析页面获取图片链接地址并下载到本地
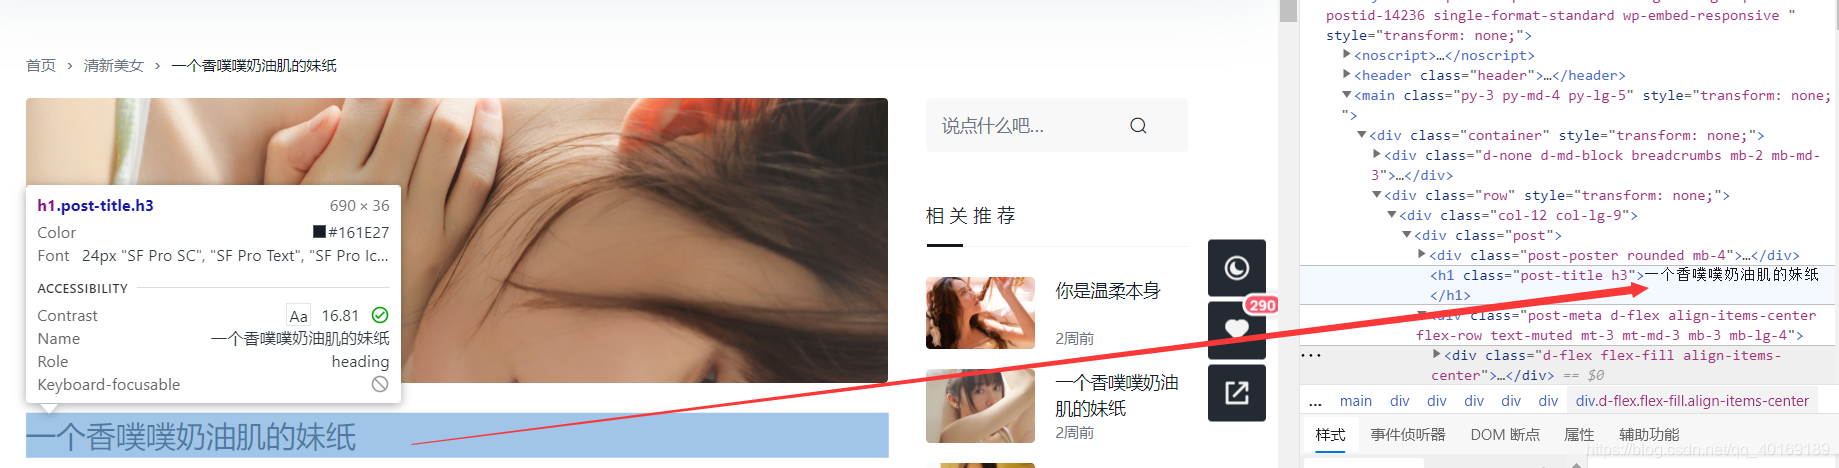
这里我们可以根据获取页面的标题在本地创建一个文件夹留存放待会下载的图片
接下来就是查看图片的格式了,利用正则表达式获取标签中的图片链接
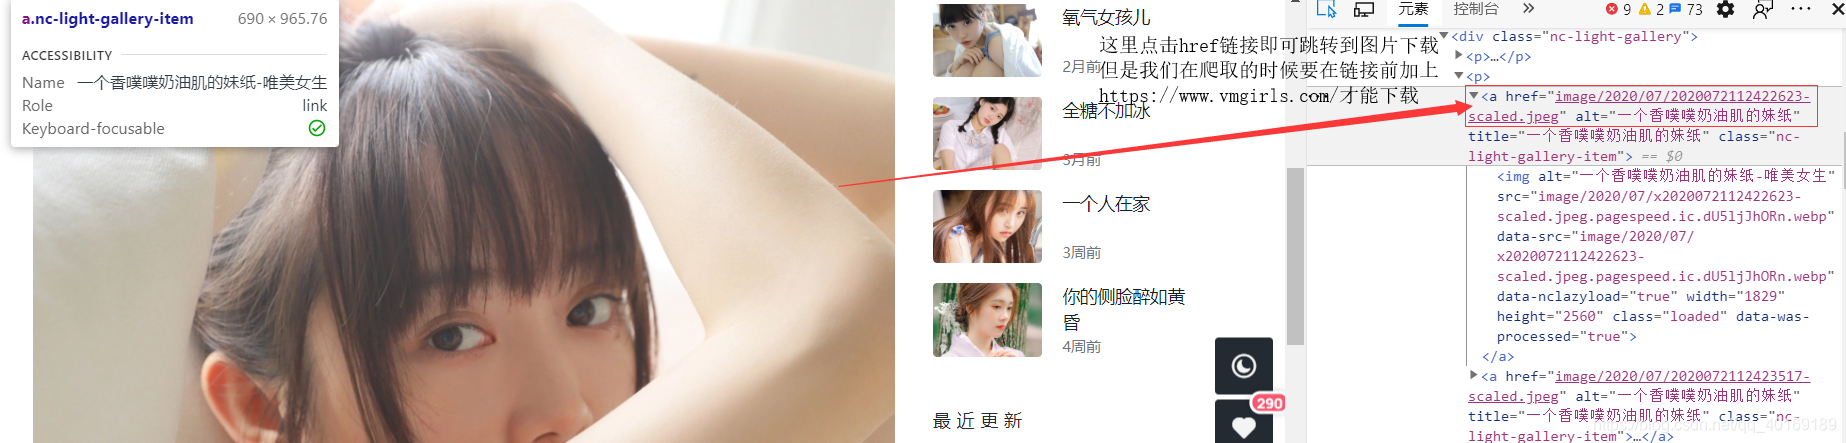
我们在上图可以看到,图片的链接地址在a标签的href属性中,这里可以用正则表达式获取链接地址。
当我们得到图片的链接地址时还需要再用requests访问一次,这次将得到的二进制数据写入到本地文件中完成下载即可。
具体代码如下:
	# 这里我们使用bs4库中的BeautifulSoup解析刚刚获取到的页面信息
	bs = BeautifulSoup(html, "html.parser")
	# 获取标题 用于创建文件夹存放图片
    titile = bs.find("h1").text
    # 调用os库 按照页面的标题创建文件夹留存放下载的图片
    if not os.path.isdir(titile):
        os.mkdir(titile)
    # 正则表达式获取<a>标签的href属性的内容。()是需要获取的内容
	findpics = re.compile(r'<a href="(.*?)" alt=".*?" title=".*?">')
    # 解析获取图片地址
    pics = re.findall(findpics, html)  # 取到的地址为image/2020/07/2020072112422623-scaled.jpeg
    # 需要自己拼接
    for pic in pics:
        # 图片连接
        pic = 'https://www.vmgirls.com/' + pic
        # 获取图片名称 2020072112422623-scaled.jpeg
        pic_name = pic.split('/')[-1]
        # print(pic_name,":",pic)
        # 保存到本地文件夹
        response = requests.get(pic, headers=headers)
        f = open(titile + "\\" + pic_name, 'wb')  # 二进制写入
        f.write(response.content)
        print(f"正在下载{pic_name}...")
    print(f"所有小姐姐图片下载完毕!保存在{os.getcwd()}\下")
	# os.getcwd()获取当前路径
运行程序,即可看到图片正在下载。

打卡本地文件夹,就可以看到刚刚下载的图片啦~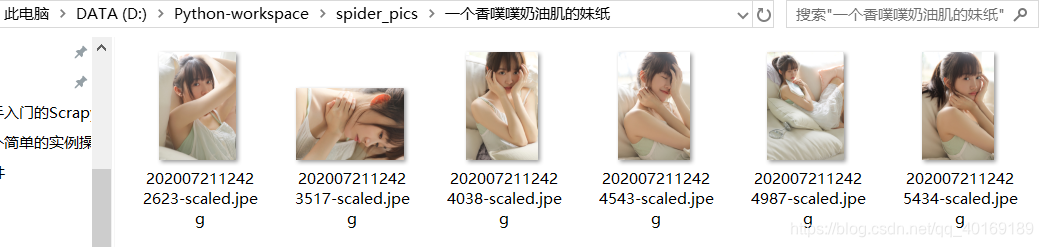
最后完整源码如下:
import requests, time, re, os
from bs4 import BeautifulSoup

findpics = re.compile(r'<a href="(.*?)" alt=".*?" title=".*?">')
headers = {


    "user-agent": "Mozilla / 5.0(Windows NT 10.0;Win64;x64) AppleWebKit / 537.36(KHTML, likeGecko) Chrome / 84.0.4147.89Safari / 537.36Edg / 84.0.522.40"
}


def main():
    url = "https://www.vmgirls.com/14236.html"
    html = askUrl(url)
    bs = BeautifulSoup(html, "html.parser")
    # 获取标题 用于创建文件夹存放图片
    titile = bs.find("h1").text
    if not os.path.isdir(titile):
        os.mkdir(titile)

    # 解析获取图片地址
    pics = re.findall(findpics, html)  # 取到的地址为image/2020/07/2020072112422623-scaled.jpeg
    # 需要自己拼接
    for pic in pics:
        # 图片连接
        pic = 'https://www.vmgirls.com/' + pic
        # 获取图片名称
        pic_name = pic.split('/')[-1]
        # print(pic_name,":",pic)
        # 保存到本地文件夹
        response = requests.get(pic, headers=headers)
        f = open(titile + "\\" + pic_name, 'wb')  # 二进制写入
        f.write(response.content)
        print(f"正在下载{pic_name}...")
    print(f"所有小姐姐图片下载完毕!保存在{os.getcwd()}\下")


# 访问url链接
def askUrl(url):
    time.sleep(1)  # 延迟一秒
    response = requests.get(url, headers=headers)
    html = response.content.decode("utf-8")
    return html


if __name__ == '__main__':
    main()
源码可以在这里下载里面一个是用正则表达式获取图片链接,一个是用xpath语法获取图片链接https://github.com/zmk-c/spider/tree/master/spider_pics