GitLab-CE 下载安装及使用(Ubuntu为例)
一、下载安装
1.安装须知
安装Gitlab需要在4Gb内存以上,否则会很卡,甚至出现502错误无法访问
下载gitlab下载地址gitlab-download
2.修改安装源
1)修改安装源
使用清华源
-
首先信任Gitlab的GPG公钥:
$ curl https://packages.gitlab.com/gpg.key 2> /dev/null | sudo apt-key add - &>/dev/null -
修改文件 /etc/apt/sources.list.d/gitlab-ce.list (Ubuntu 16.04LTS为例)
deb https://mirrors.tuna.tsinghua.edu.cn/gitlab-ce/ubuntu xenial main
其他linux版本访问Gitlab Community Edition 镜像使用帮助
2)安装gitlab-ce
-
更新源
sudo apt-get update -
安装依赖
$ sudo apt-get install -y curl openssh-server ca-certificates tzdata -
安装SMTP发送邮件软件(可选)
$ sudo apt-get install -y postfix -
添加GitLab包仓库
$ curl -sS https://packages.gitlab.com/install/repositories/gitlab/gitlab-ce/script.deb.sh | sudo bash -
安装GitLab
sudo apt-get install gitlab-ce
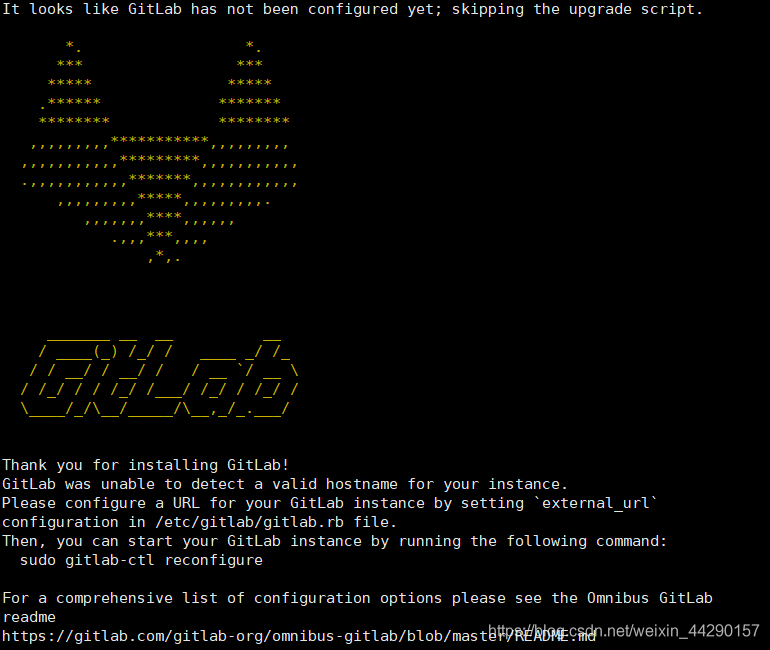
安装成功界面
-
配置 /etc/gitlab/gitlab.rb 文件
EXTERNAL_URL="https://gitlab.example.com" -
重新加载配置文件(等待时间稍长)
$ gitlab-ctl reconfigure
配置完成界面

若在配置过程中卡住不动,则
- 按住CTRL+C强制结束进程
- 运行
$ systemctl restart gitlab-runsvdir- 重新执行
$ gitlab-ctl reconfigure
- 重启GItLab服务
$ gitlab-ctl restart - 查看GitLab状态
gitlab-ctl status - 检查80端口号
$ netstat -an | grep 80 - 浏览器输入地址 https://gitlab.example.com 配置用户名和密码
3)其他(可选)
-
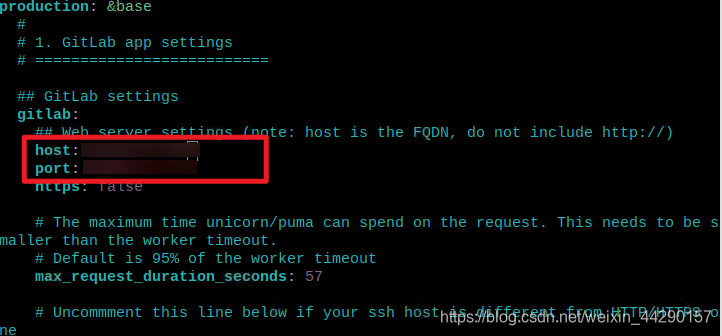
修改clone http地址
$ vim /opt/gitlab/embedded/service/gitlab-rails/config/gitlab.yml设置下图host & port 后 重启gitlab
$ gitlab-ctl restart
至此安装完成。