springboog整合nginx实现负载均衡(windows版)
很早以前就了解过nginx.一直也没有弄明白是怎么回事,准确来说这个"负载均衡"这四个字就没有懂什么意思,碰到项目中需要使用的也轮不到我来处理(其实我也处理不了…扎心了).最近又在学相关的知识.今天搭建了一个,终于搭成功了.hello world级别的.哎,记录下吧,以后万一用的着!!!
windows版的nginx在我另一篇博客中写过,下载,安装,启动,访问.可以看一下windows版nginx安装,启动,访问
这里是整合进了springboot项目,所以配置文件有些变化
nginx.conf配置
worker_processes  1;

events {


    worker_connections  1024;
}


http {


    include       mime.types;
    default_type  application/octet-stream;

    sendfile        on;
    #tcp_nopush     on;

    #keepalive_timeout  0;
    keepalive_timeout  65;

	# 服务器的集群 zjy:集群的名字 配置2个服务的ip和端口 weight=1:权重分配权重越大,分配的概率越大
	upstream zjy{


       server 127.0.0.1:2080 weight=1;
       server 127.0.0.1:2081 weight=2;
    }

    server {


		# 当前服务的端口
        listen       80;
		# 当前服务的域名
        server_name  localhost;

        location / {


            root   E:/work/nginx/src/main/resources/static;

			# 代理的路径
			proxy_pass http://zjy;
            proxy_connect_timeout 3s;
            proxy_read_timeout 5s;
            proxy_send_timeout 3s;

            index  nginx.html;
        }

        error_page   500 502 503 504  /50x.html;
        location = /50x.html {


            root   html;
        }
    }
}
upstream zjy: 服务器的集群 zjy:集群的名字
server 127.0.0.1:2080 : 配置的服务的ip和端口
weight=1: 权重分配权重越大,分配的概率越大
listen 80: 当前服务的端口
server_name localhost: 当前服务的域名
proxy_pass http://zjy: 代理的路径.我没有购买域名,所以这个不能用
其他的是过期时间
启动nginx服务
启动命令:start nginx
重启命令:nginx -s reload
停止命令:nginx -s stop
构建springboot项目
目录结构:

其实只有NginxController这个类和ResultBO使用到了
NginxController:
package com.zjy.nginx.controller;

import com.zjy.nginx.bean.ResultBO;
import io.swagger.annotations.Api;
import io.swagger.annotations.ApiOperation;
import lombok.extern.slf4j.Slf4j;
import org.springframework.beans.factory.annotation.Value;
import org.springframework.validation.annotation.Validated;
import org.springframework.web.bind.annotation.GetMapping;
import org.springframework.web.bind.annotation.RequestMapping;
import org.springframework.web.bind.annotation.RestController;

/**
 * @PackgeName: com.zjy.nginx.controller
 * @ClassName: NginxController
 * @Author: zjy
 * Date: 2020/6/20 17:21
 * project name: nginx
 * @Version:
 * @Description:
 */
@Api(value = "Nginx负载均衡", tags = {

    "Nginx负载均衡"})
@Slf4j
@Validated
@RestController
@RequestMapping("/nginx")
public class NginxController {


    @Value("${server.port}")
    private String serverPort;

    @ApiOperation("Nginx负载均衡")
    @GetMapping("/request")
    public ResultBO request() throws Exception {


        log.info("将请求打到了端口为: {} 的服务上", serverPort);
        return ResultBO.success();
    }
}
ResultBO:
package com.zjy.nginx.bean;

import lombok.Data;

import java.io.Serializable;

/**
 * @PackgeName: com.mini.demo.yinlian.unionpay
 * @ClassName: ResultBO
 * @Author: zjy
 * Date: 2020/4/23 12:22
 * project name: mini
 * @Version:
 * @Description:
 */
@Data
public class ResultBO<T> implements Serializable {


    private boolean succeed = true;
    private int code = 0;
    private String msg;
    private T content;

    public ResultBO(T content) {


        this.content = content;
    }

    public ResultBO(boolean succeed, int code, String msg, T content) {


        this.succeed = succeed;
        this.code = code;
        this.msg = msg;
        this.content = content;
    }

    public ResultBO(boolean succeed, int code, String msg) {


        this.succeed = succeed;
        this.code = code;
        this.msg = msg;
    }

    public ResultBO() {


    }

    public static <T> ResultBO<T> success(T content) {


        return new ResultBO<T>(content);
    }

    public static ResultBO success() {


        return new ResultBO();
    }

    public static ResultBO fail(int code, String msg) {


        return new ResultBO(false, code, msg);
    }

    public static ResultBO fail(String msg) {


        return new ResultBO(false, -1, msg);
    }

    public static ResultBO fail() {


        return fail("fail");
    }
}
application.properties
就是配置了一个端口
server.port=2081
测试
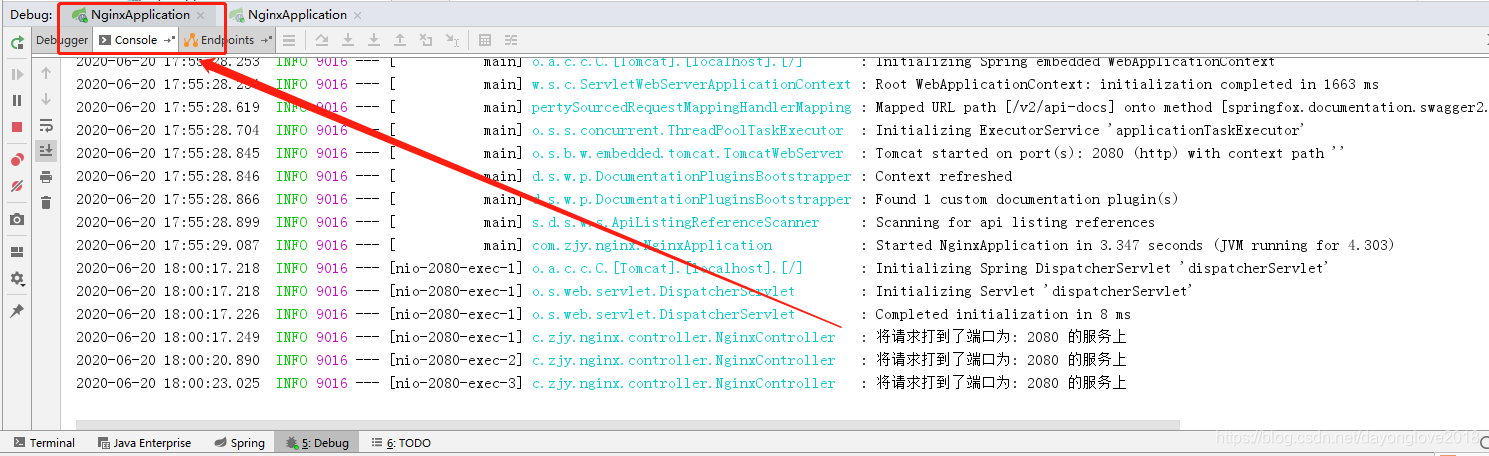
将端口改为2080启动服务
再将端口改为2081再次启动服务.只需要一个项目即可
启动方法:
1.选择Edit Configurations
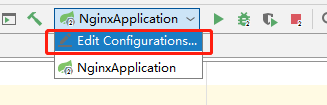
2.勾选Allow parallel run
 访问链接:http://localhost/nginx/request
直接ip加请求路径即可
我连着请求了10次.看下结果:
2080服务的结果
2081服务的结果
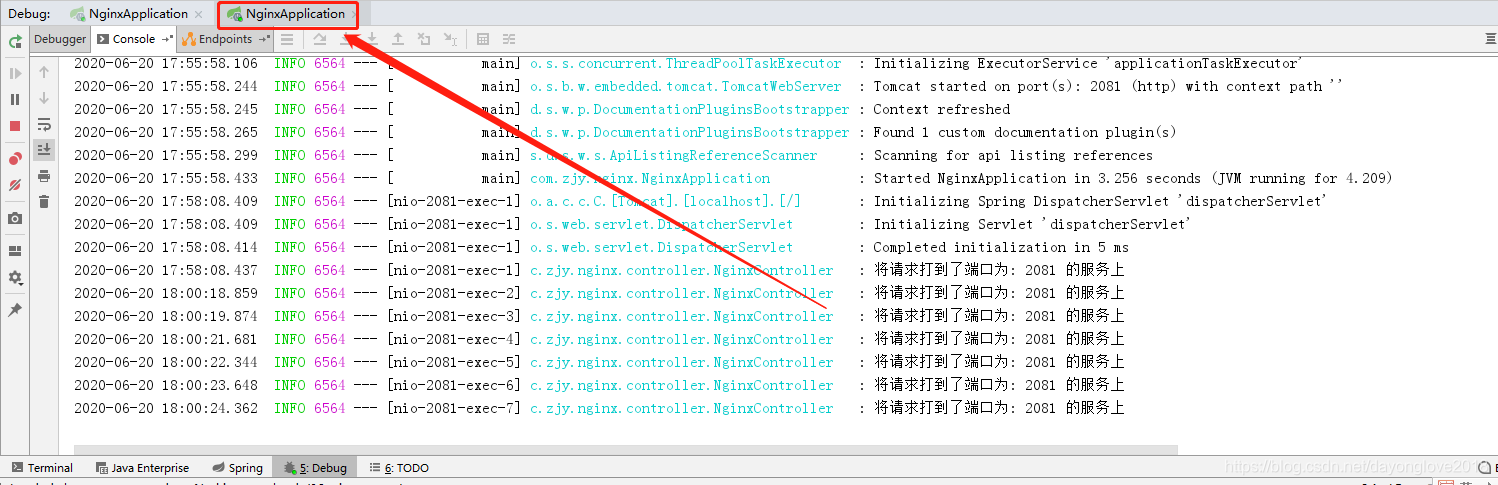 因为配置的权重是2080为1;2081为2.所以这个符合预期结果.
测试OK!
欢迎大佬们留言评论,共同学习!!!感谢!!!
===========================
原创文章,转载注明出处!