全网最详细Vue-cli + springboot + mybatis搭建前后端分离项目保姆级教程
Vue+springboot+mybatis一直是非常适合新人练习的搭建前后端的框架、技术,本篇文章将详细讲解如何搭建出两个独立的项目来实现完全的前后端分离,并且在文章最后附上事例的源码。
搭建Vue脚手架
安装node.js和npm
从node官网下载并安装node,安装步骤很简单,只要一路“next”就可以了。
下载完成后,通过命令行node -v判断是否安装成功。

npm包是集成在node中的,同样可以通过命令行npm -v判断是否安装成功。

安装cnpm
由于海外项目npm经常下载速度缓慢,所以我们可以引入淘宝镜像cnpm,cnpm会每10分钟同步一次npm,以保证数据最新。
通过命令行安装。
npm install -g cnpm --registry=https://registry.npm.taobao.org
安装完成后通过命令行cnpm-v判断是否安装成功。

使用方法就是将npm转换为cnpm,例如cnpm install vue
安装Vue
通过命令行安装Vue。
cnpm install vue
安装vue-cli脚手架构建工具
cnpm install --global vue-cli
创建项目
切换到项目目录,创建模版项目。
//project-name-front为项目名称
vue init webpack project-name-front
vue init webpack-simple project-name-front
根据提示有修改的修改,没有就一路回车。

安装完成。

通过Intellij打开项目,Edit Configuration。
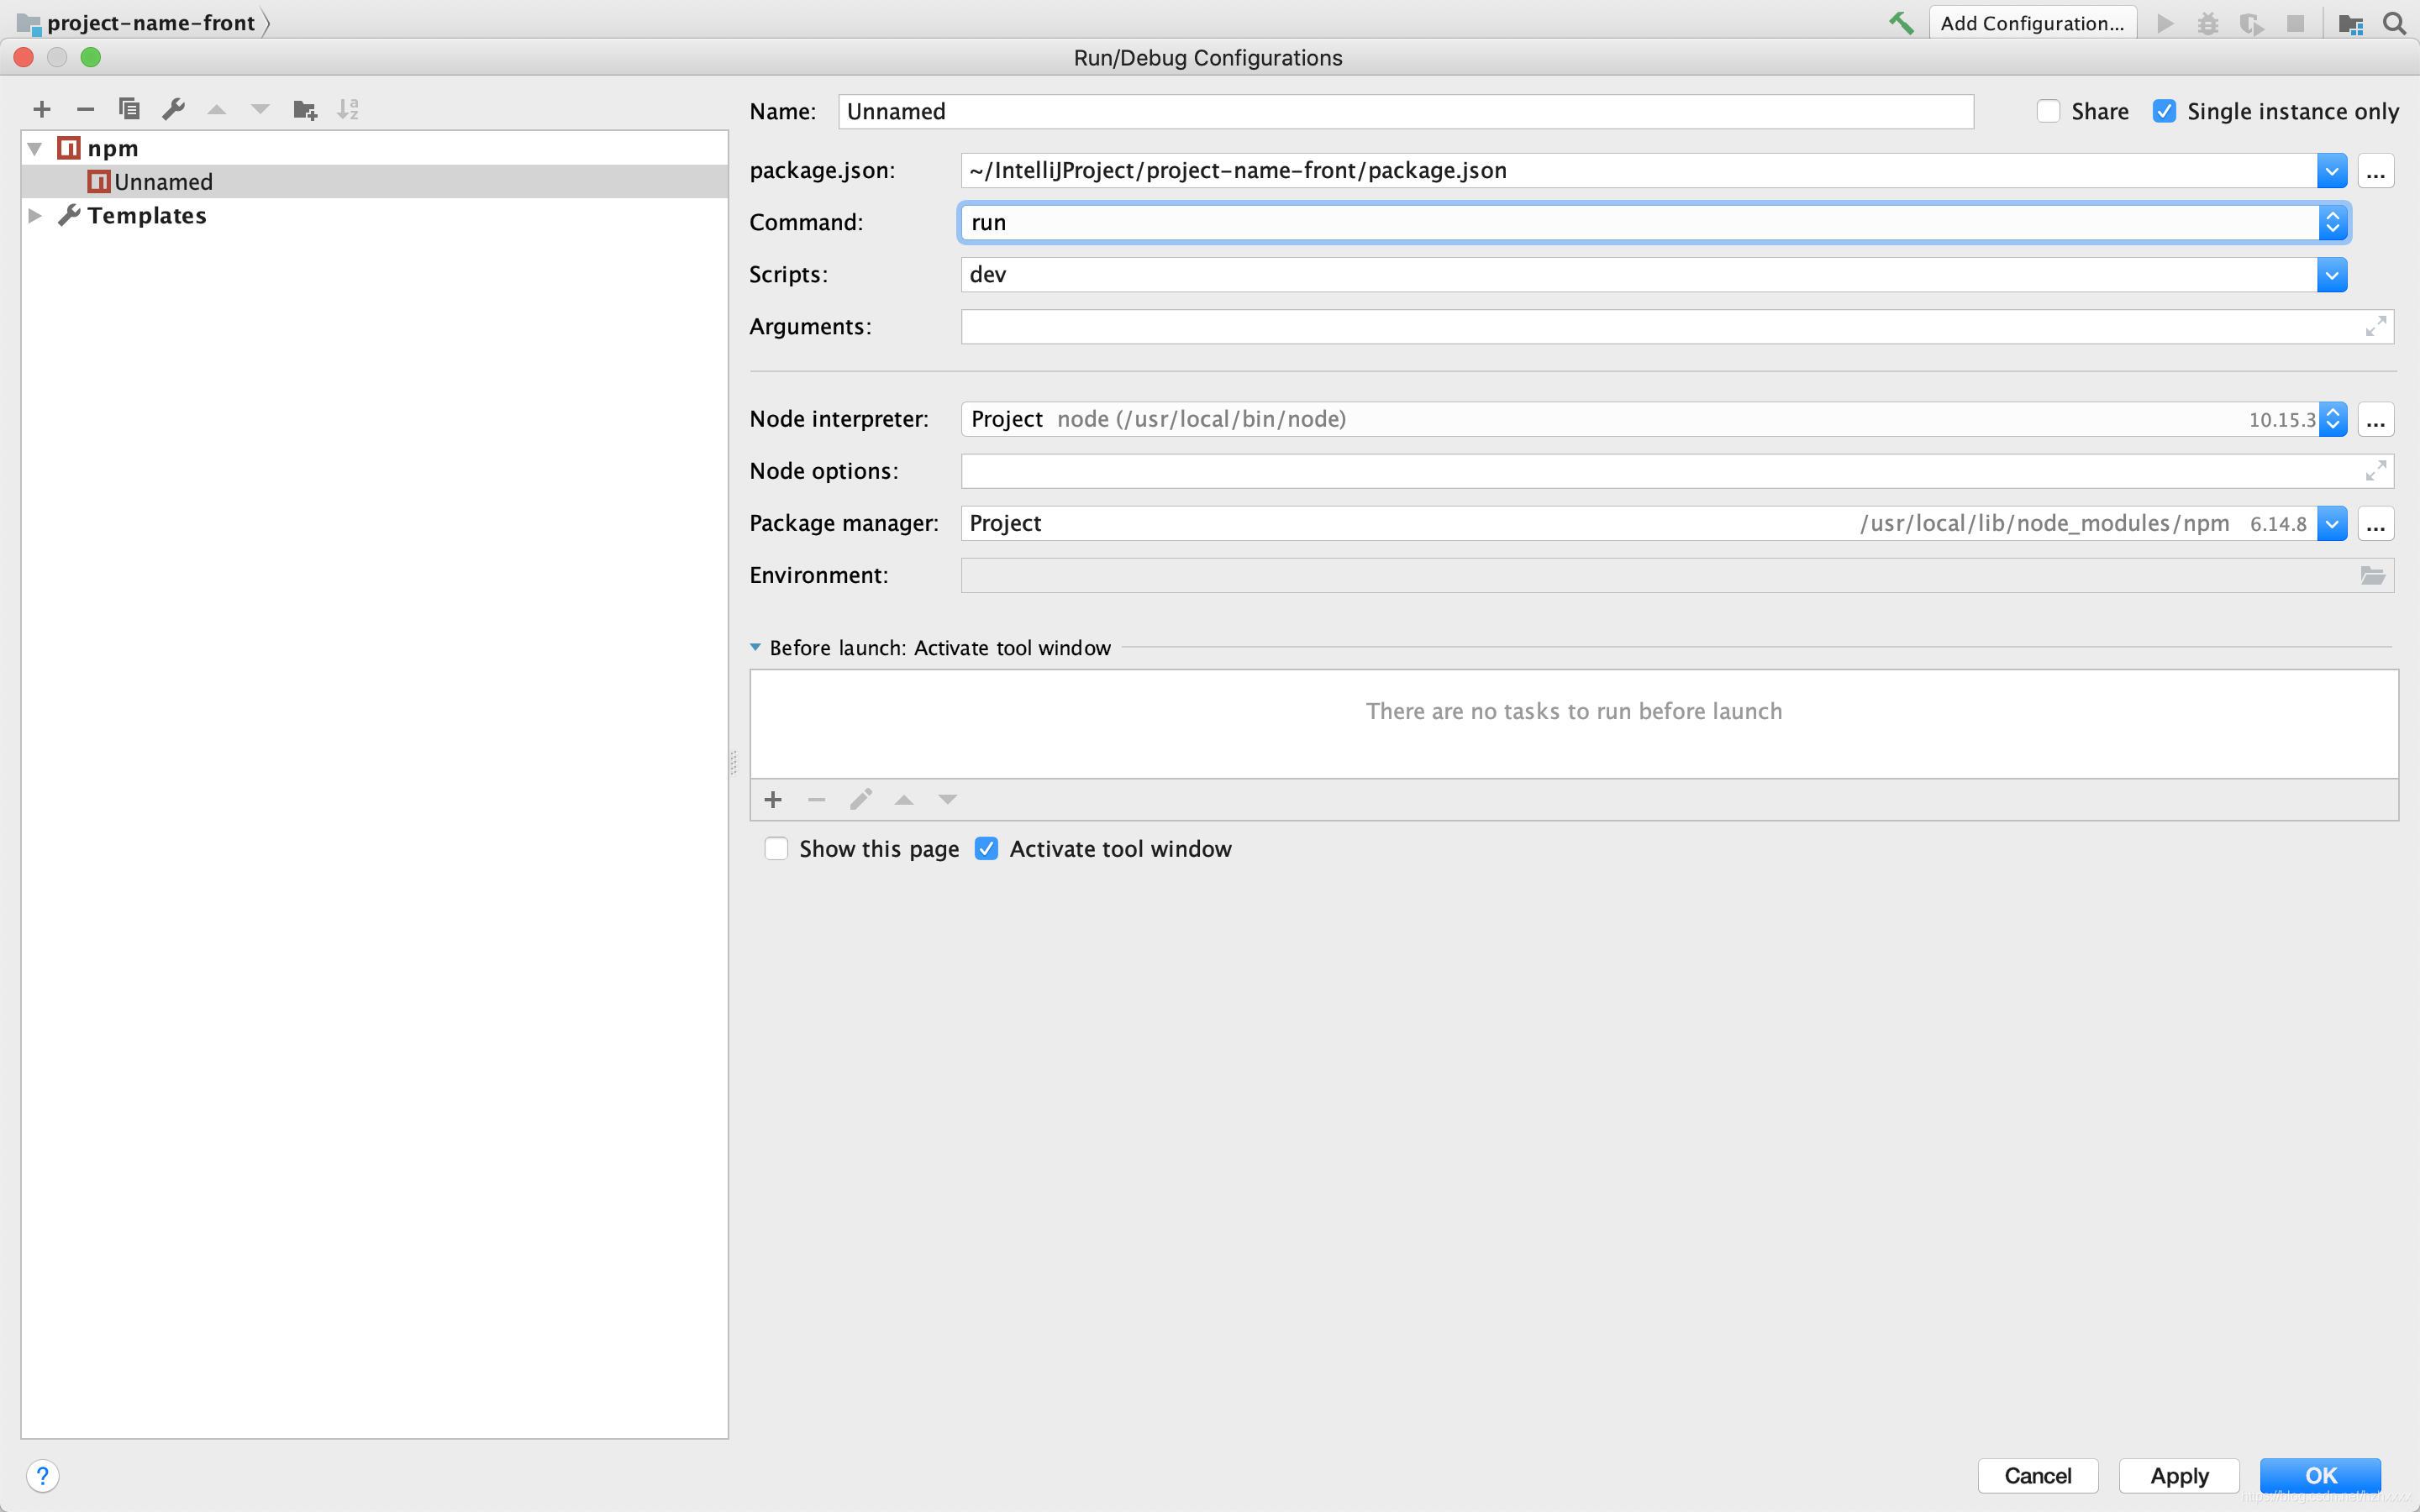
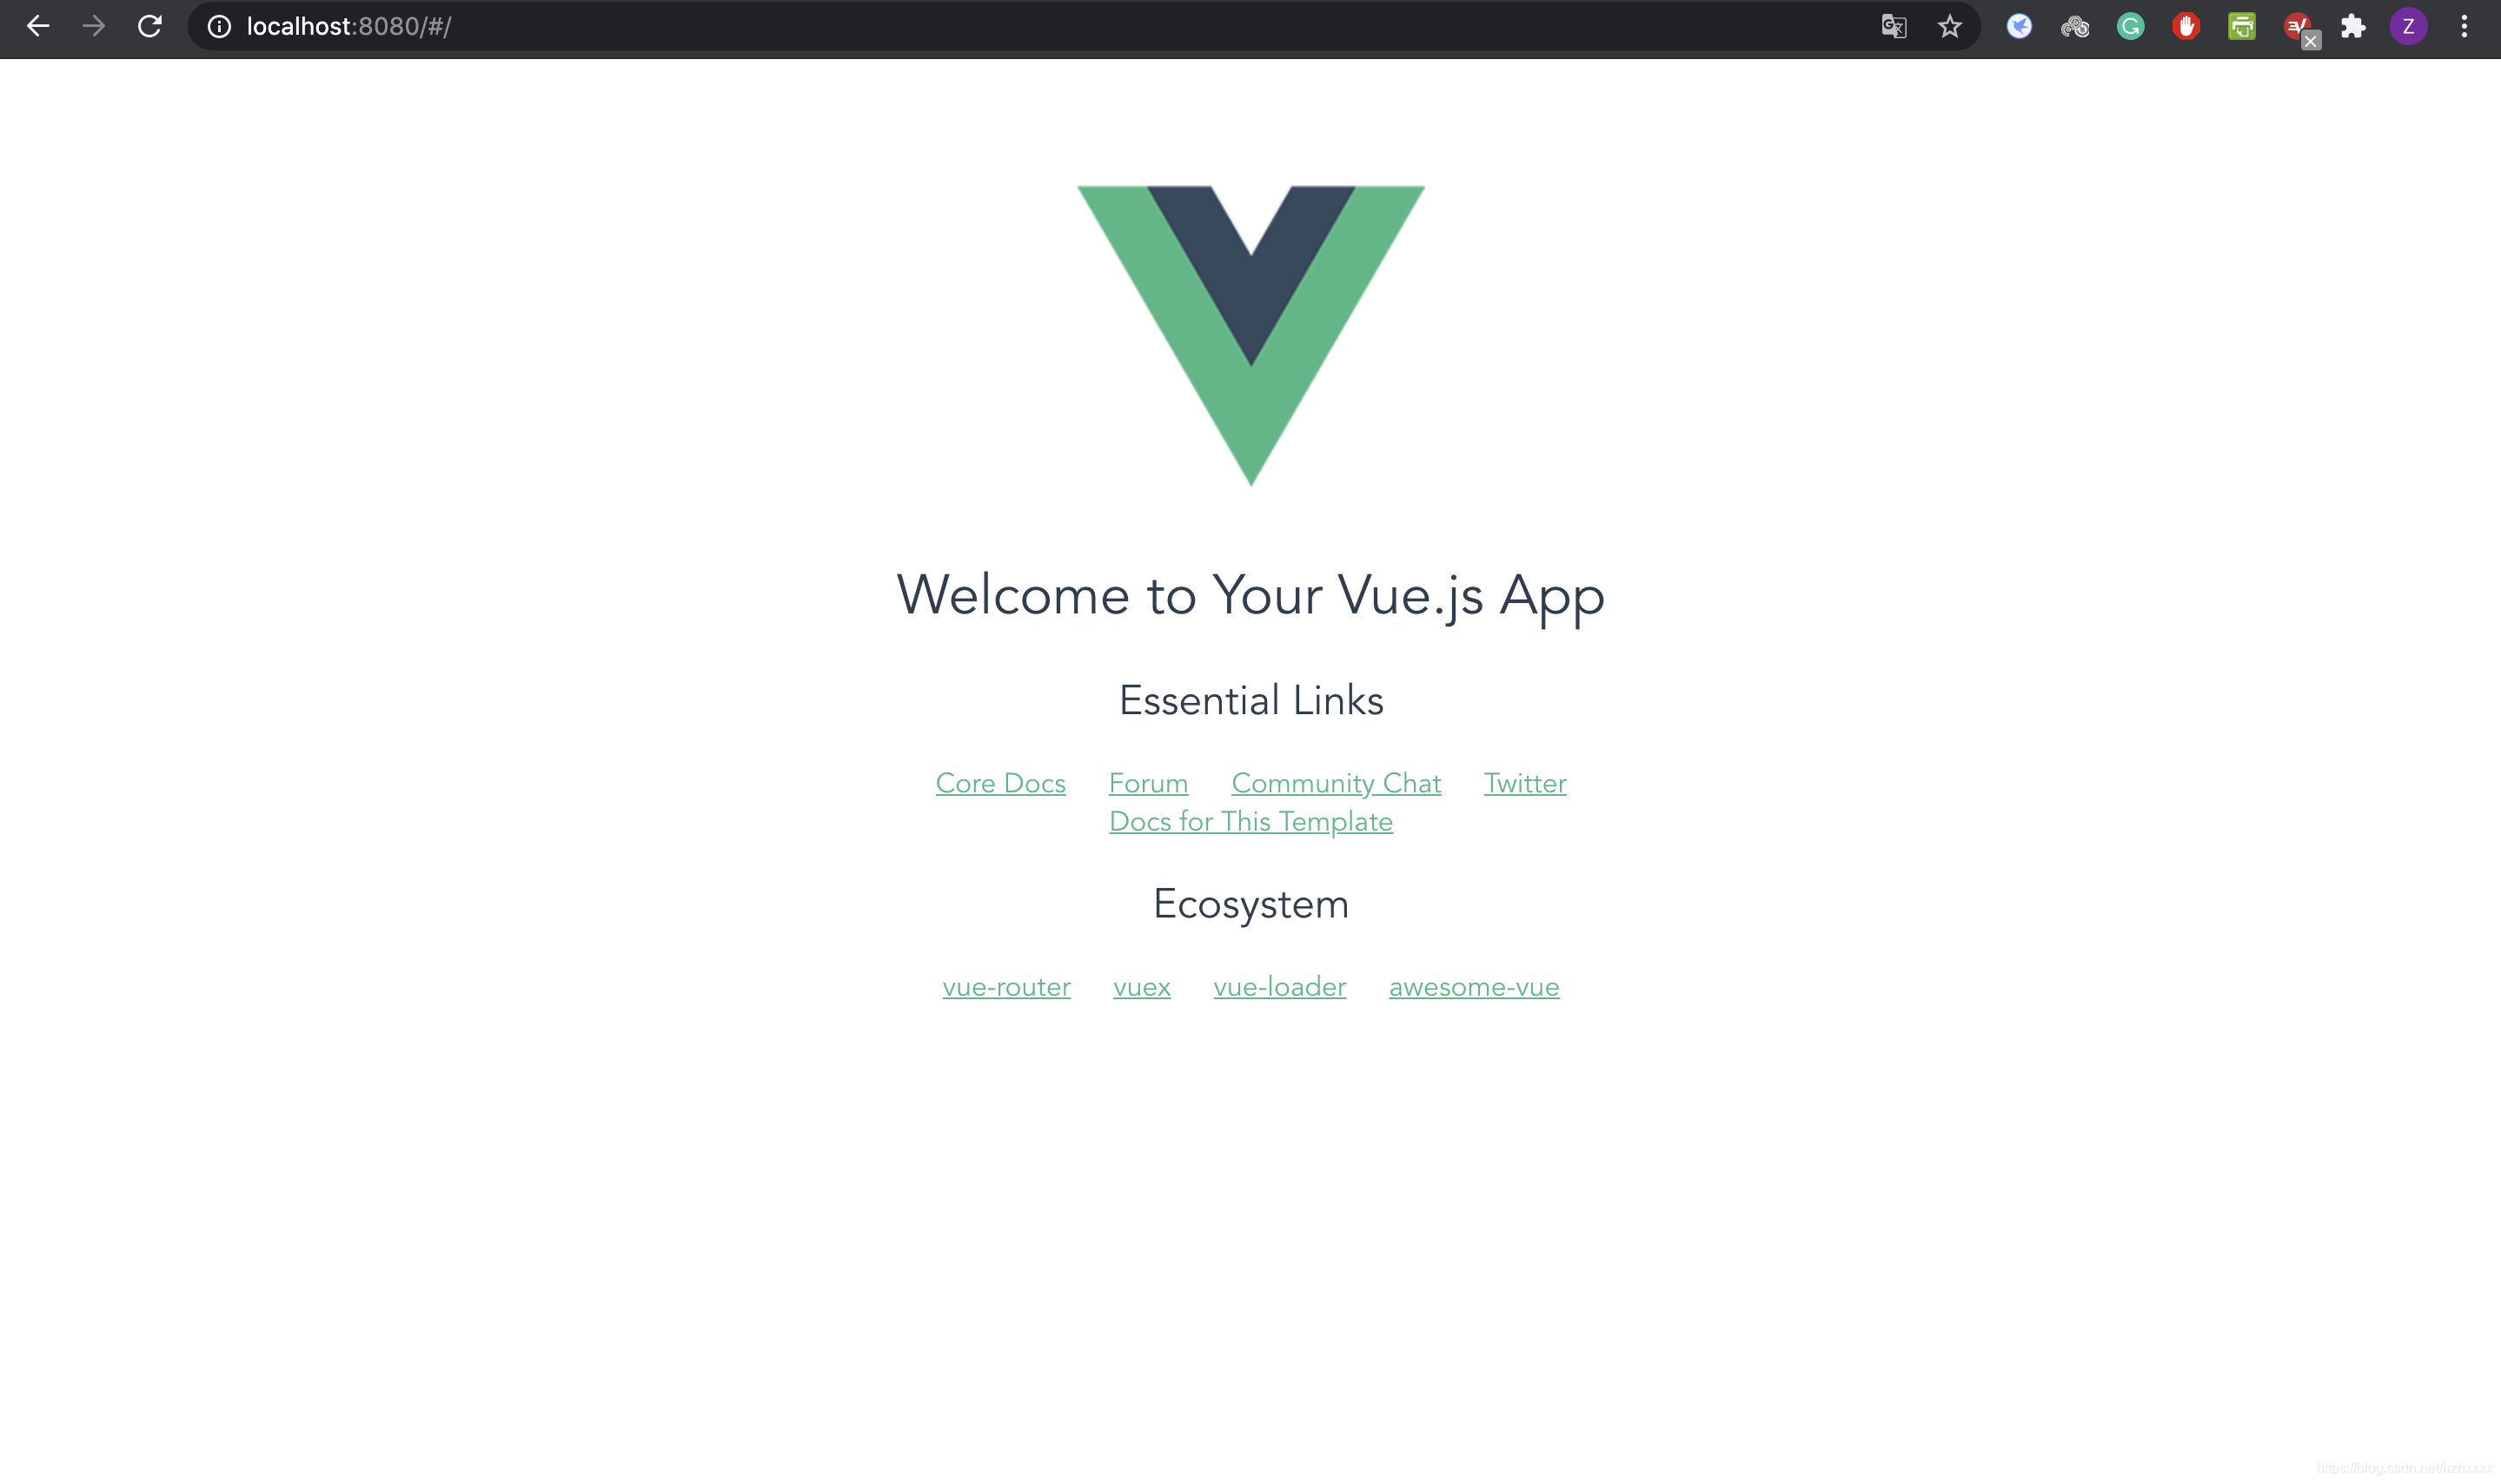
运行项目,打开localhost:8080,查看是否配置成功。
引入ElementUI
ElementUI是一款前端开发非常实用的开源工具,非常适合配合Vue使用。通过命令npm i element-ui -S安装,并在main.js文件里添加以下代码。
import ElementUI from 'element-ui';
import 'element-ui/lib/theme-chalk/index.css';
Vue.use(ElementUI);
然后在HelloWorld.vue文件中随便引入一个ElementUI组建,在页面上看是否导入成功。

引入BootstrapVue
从2019年底,ElementUI团队就停止了维护,在这里推荐另一个开源的工具可以和ElementUI一起使用,这个就是BootstrapVue。根据开发文档,我们需要引入以下几个包。
Vue.js, Bootstrap, Popper.js, PortalVue

Vue.js之前已经安装完成了,所以我们只需安装下面三个包,分别执行一下几个命令。
npm install --save popper.js
npm install --save-dev bootstrap
npm install --save portal-vue
根据教程,安装bootstrap-vue
npm install vue bootstrap-vue bootstrap
在main.js文件中加入一下代码。
import {

     BootstrapVue, IconsPlugin } from 'bootstrap-vue'
import 'bootstrap/dist/css/bootstrap.css'
import 'bootstrap-vue/dist/bootstrap-vue.css'
// Install BootstrapVue
Vue.use(BootstrapVue)
// Optionally install the BootstrapVue icon components plugin
Vue.use(IconsPlugin)
同样在HelloWorld.vue文件中随便引入一个ElementUI组建,在页面上看是否导入成功。

搭建Springboot+mybatis后端
创建项目
通过Intellij创建springboot项目,并在pom文件中添加mybatis依赖。
		<!--mybatis-->
        <dependency>
            <groupId>org.mybatis.spring.boot</groupId>
            <artifactId>mybatis-spring-boot-starter</artifactId>
            <version>1.3.2</version>
        </dependency>

        <!--mysql-->
        <dependency>
            <groupId>mysql</groupId>
            <artifactId>mysql-connector-java</artifactId>
        </dependency>
修改application.properties文件, 记得将端口改为8081,与前端项目不同。
server.port=8081
spring.datasource.driver-class-name=com.mysql.jdbc.Driver
spring.datasource.url=jdbc:mysql://localhost:3306/test?useUnicode=true&characterEncoding=utf-8&useSSL=true&serverTimezone=UTC
spring.datasource.username=userName
spring.datasource.password=password
mybatis.mapper-locations=classpath:mapper/*Mapper.xml
添加测试数据库

编写后端方法
Test.java
package com.example.projectnameback.pojo;

public class Test {


    private String test;

    public String getTest() {


        return test;
    }

    public void setTest(String test) {


        this.test = test;
    }
}
TestMapper.java
package com.example.projectnameback.mapper;

import com.example.projectnameback.pojo.Test;
import org.apache.ibatis.annotations.Param;
import org.springframework.stereotype.Repository;

@Repository
public interface TestMapper {


    Test getTest(@Param("test") String test);
}
TestMapper.xml(namespace一定要对应到mapper接口)
<?xml version="1.0" encoding="UTF-8" ?>
<!DOCTYPE mapper
        PUBLIC "-//mybatis.org//DTD Mapper 3.0//EN"
        "http://mybatis.org/dtd/mybatis-3-mapper.dtd">
<mapper namespace="com.example.projectnameback.mapper.TestMapper">
    <select id="getTest" parameterType="java.lang.String" resultType="com.example.projectnameback.pojo.Test">
        select  * from test where test = #{test}
    </select>
</mapper>
TestService.java
package com.example.projectnameback.service;

import com.example.projectnameback.mapper.TestMapper;
import com.example.projectnameback.pojo.Test;
import org.springframework.beans.factory.annotation.Autowired;
import org.springframework.stereotype.Service;

@Service
public class TestService {


    @Autowired
    TestMapper testMapper;

    public Test getTest(String test){


        return testMapper.getTest(test);
    }
}
TestController.java
package com.example.projectnameback.controller;

import com.example.projectnameback.pojo.Test;
import com.example.projectnameback.service.TestService;
import org.apache.ibatis.annotations.Param;
import org.springframework.beans.factory.annotation.Autowired;
import org.springframework.web.bind.annotation.CrossOrigin;
import org.springframework.web.bind.annotation.GetMapping;
import org.springframework.web.bind.annotation.RestController;

@RestController
public class TestController {


    @Autowired
    TestService testService;

    @CrossOrigin
    @GetMapping("/test")
    public Test getTest(@Param("test") String test){


        return testService.getTest(test);
    }
}
ProjectNameBackApplication.java
package com.example.projectnameback;

import org.mybatis.spring.annotation.MapperScan;
import org.springframework.boot.SpringApplication;
import org.springframework.boot.autoconfigure.SpringBootApplication;

@MapperScan("com.example.projectnameback.mapper")
@SpringBootApplication
public class ProjectNameBackApplication {


    public static void main(String[] args) {


        SpringApplication.run(ProjectNameBackApplication.class, args);
    }

}
整个项目结构

后端测试

前后端相连
安装axios
通过命令行安装axios。
npm install axios
配置axios
在main.js文件中添加
// axios
// 引用axios,并设置基础URL为后端服务api地址
var axios = require('axios')
axios.defaults.baseURL = 'http://localhost:8081/'
// 将API方法绑定到全局
Vue.prototype.$axios = axios
Vue.config.productionTip = false
测试
通过b-button标签的click属性,绑定函数进行发送请求,并用{
{属性名}}将结果显示在页面上。

测试代码:
test () {


      this.$axios({


        method: 'get',
        url: 'test',
        params: {

    'test': 'test'}
      }).then(res => {


        this.result = res.data
        console.log(res.data)
      })
    }