悟空crm-spring开源版本环境搭建
安装步骤
JDK需要预先安装,下载后执行install.sh
链接: link.
硬件配置
因为只有一台机器所以安装在一台机器上了
|
| cpu | 内存 | 硬盘 | 系统 |
|---|---|---|---|
| 8核 | 32G | ssd100G | centos7 |
基础软件
mysql安装
1.卸载mariadb
rpm -qa | grep mariadb
rpm -e --nodeps mariadb-libs-5.5.56-2.el7.x86_64
2.安装mysql
rpm -ivh mysql-community-common-5.7.29-1.el7.x86_64.rpm
rpm -ivh mysql-community-libs-5.7.29-1.el7.x86_64.rpm
rpm -ivh mysql-community-client-5.7.29-1.el7.x86_64.rpm
rpm -ivh mysql-community-server-5.7.29-1.el7.x86_64.rpm
如果此步出现错误:libaio.so.1()(64bit) is needed by MySQL-server 执行命令安装:yum install libaio
3.启动mysql
systemctl start mysqld
4.获取登录密码并登录
grep “password” /var/log/mysqld.log
mysql -uroot -p
输入上面的密码
5.修改密码并授权可远程登录
ALTER USER ‘root’@‘localhost’ IDENTIFIED BY ‘123456’;
set global validate_password_policy=0;
set global validate_password_length=1;
GRANT ALL PRIVILEGES ON . TO ‘root’@’%’ IDENTIFIED BY ‘123456’ WITH GRANT OPTION;
FLUSH PRIVILEGES;
6.修改group by报错
vi /etc/my.cnf
[mysqld]
sql_mode=STRICT_TRANS_TABLES,NO_ZERO_IN_DATE,NO_ZERO_DATE,ERROR_FOR_DIVISION_BY_ZERO,NO_AUTO_CREATE_USER,NO_ENGINE_SUBSTITUTION
7.创建数据库
- 初始化gateway模块数据库:新建数据库 `nacos` 在`nacos`数据库中运行` DB/config_info_route.sql`
- 初始化其余模块数据库:新建数据库 `wk_crm_single` 在`wk_crm_single`数据库中运行 `DB/wk_crm_single.sql`
- 初始化定时任务模块数据库:新建数据库 `xxl_job` 在`xxl_job`数据库中运行 `DB/xxl_job.sql`
- 初始化seata数据库:新建数据库 `seata` 在`seata`数据库中运行 `DB/seata.sql`
mysql安装链接: link.
Elasticsearch 6.8.6安装
1.解压
tar -zxvf Elasticsearch 6.8.6.tar.gz
cd elasticsearch-6.8.6/config
2.修改内存
vi jvm.options里-Xms512M 和 -Xmx512M
3.创建ES的用户与组和权限
groupadd es
useradd esuser -g es -p elasticsearch
chown -R esuser:es (es安装路径)
su esuser(切换用户)
- 安装插件
cd (es安装目标)/plugins
mkdir analysis-icu
cd analysis-icu
wget https://file.72crm.com/project/analysis-icu-6.8.6.zip
unzip analysis-icu-6.8.6.zip
- 运行
./elasticsearch -d (后台启动命令:)
Elasticsearch下载链接: link.国内镜像下载很快
Redis安装
wget https://download.redis.io/releases/redis-6.0.8.tar.gz
tar -zxcf redis-6.0.8
cd redis-6.0.8
make && install
cd src
nohup ./redis-server &&
./redis-cli
redis 127.0.0.1:6379> requirepass “123456”
OK
redis 127.0.0.1:6379> AUTH 123456
Nacos安装
1.下载并解压
wget https://github.com/alibaba/nacos/releases/download/1.3.2/nacos-server-1.3.2.tar.gz
unzip nacos-server-1.3.2.tar.gz
2.初始化数据库
将 nacos-mysql.sql导到nacos数据库中(上面mysql安装第7步)
3.修改nacos配置文件
cd 安装目标/conf
vi application.properties
spring.datasource.platform=mysql

### Count of DB:
db.num=1

### Connect URL of DB:
db.url.0=jdbc:mysql://127.0.0.1:3306/nacos?characterEncoding=utf8&connectTimeout=1000&socketTimeout=3000&autoReconnect=true&useUnicode=true&useSSL=false&serverTimezone=UTC
db.user=root
db.password=123456
4.启动nacos
startup.sh -m standalone
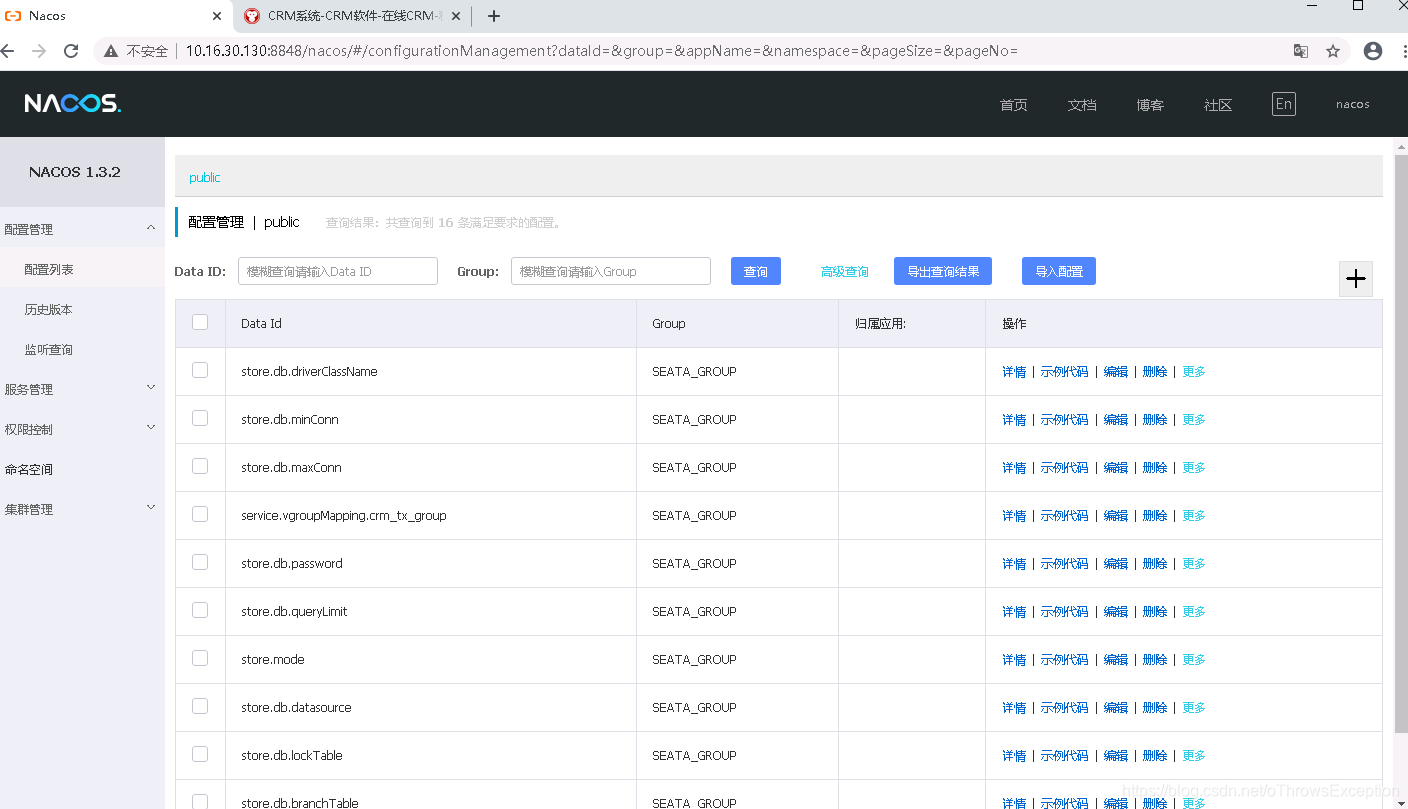
5.访问web控制台
Seata安装
1.下载解压
wget https://github.com/seata/seata/releases/download/v1.3.0/seata-server-1.3.0.zip
unzip seata-server-1.3.0.zip
cd seata/conf
2.修改registry.conf配置为nacos
vi registry.conf
registry {


  # file 、nacos 、eureka、redis、zk、consul、etcd3、sofa
  type = "nacos"

  nacos {


    application = "seata-server"
    serverAddr = "127.0.0.1"
    namespace = ""
    cluster = "default"
    username = ""
    password = ""
  }

config {


  # file、nacos 、apollo、zk、consul、etcd3
  type = "nacos"

  nacos {


    serverAddr = "127.0.0.1"
    namespace = ""
    group = "SEATA_GROUP"
    username = ""
    password = ""
  }

}
3.起动
./bin/seata-server.sh
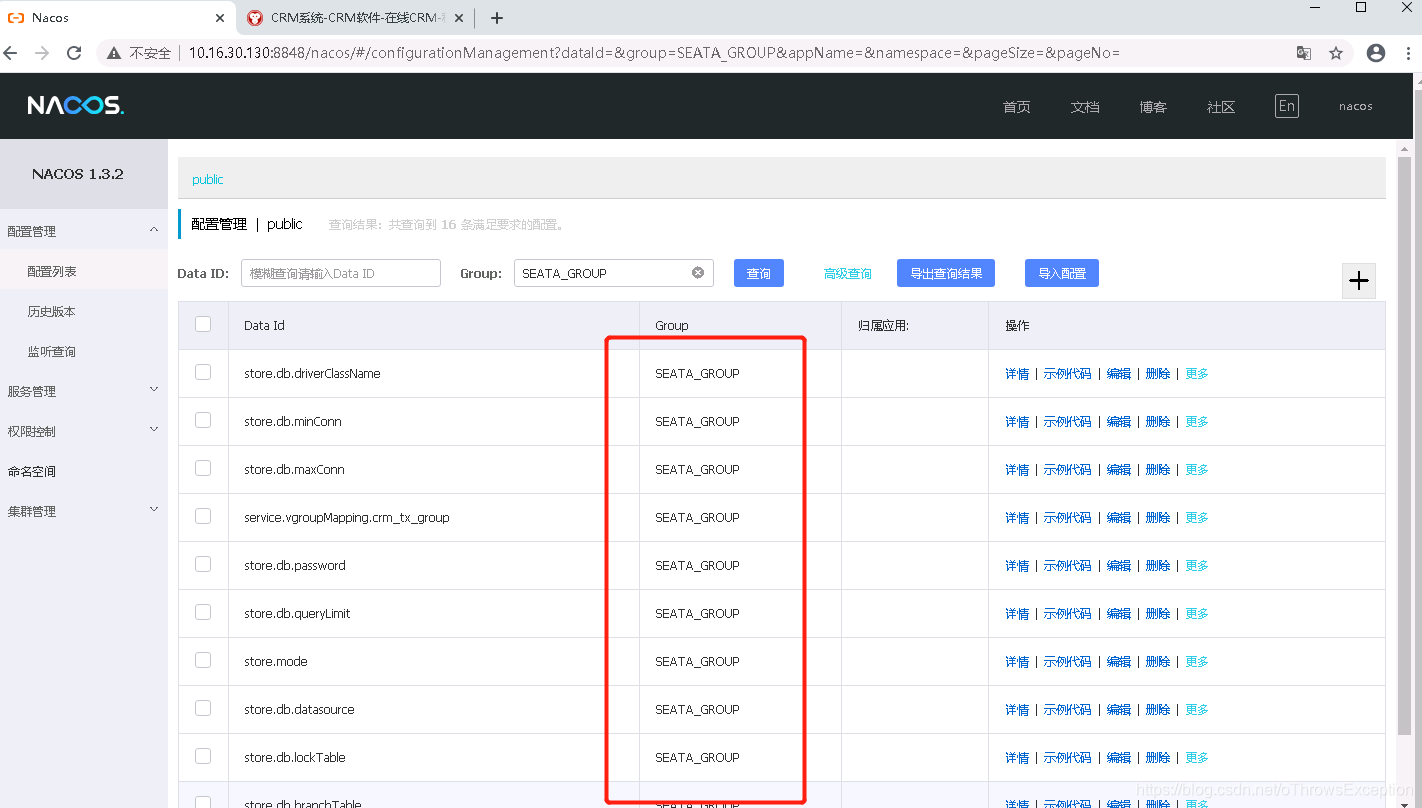
4.查看nacos,如图说明注册成功
Sentinel安装
1.下载解压
wget https://github.com/alibaba/Sentinel/releases/download/v1.8.0/sentinel-dashboard-1.8.0.jar
unzip sentinel-dashboard-1.8.0.jar
cd sentinel
2.启动
nohup java -Dserver.port=8079 -Dcsp.sentinel.dashboard.server=localhost:8079 -Dproject.name=sentinel-dashboard -jar sentinel-dashboard-1.8.0.jar &
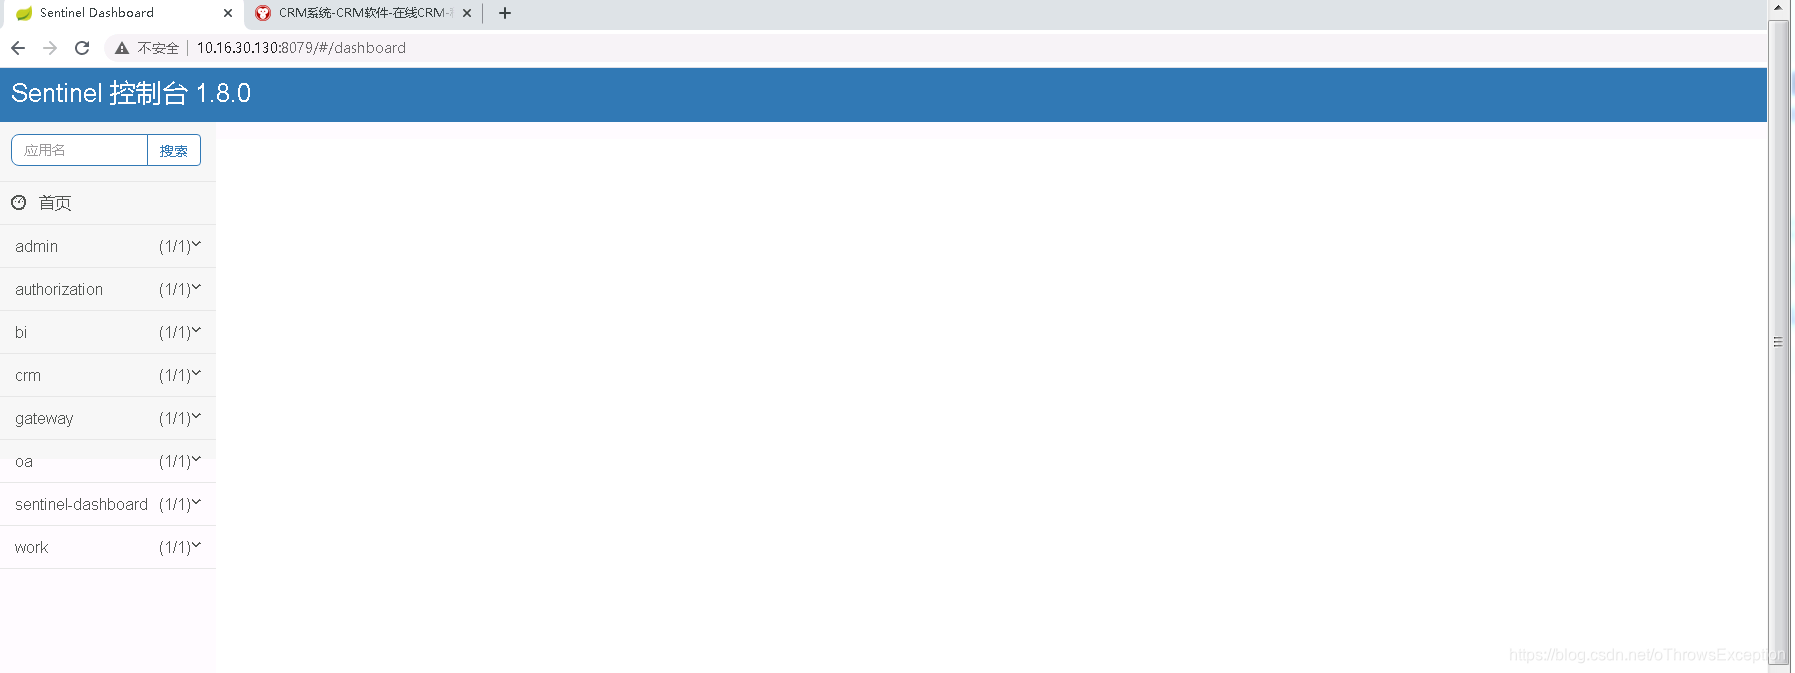
开开浏览器:http://10.16.30.130:8079/#/dashboard
编译CRM
1.修改maven settting.xml的镜像mirrorOf为central,不改的话wk_update下载不了
	<mirror>
			 <id>nexus</id>
			<mirrorOf>central</mirrorOf>
			<name>Nexus Mirror</name>
			<url>http://192.168.0.114:8081/nexus/content/groups/public</url>
        </mirror>
2.修改源码中的hibernate-validator版本为6.0.8,因为我运行时出现
The Bean Validation API is on the classpath but no implementation could be found
because no Jakarta Bean Validation provider could be found. Add a provider like Hibernate Validator (RI) to your classpath.
1).项目根pm.xml添加
	<properties>
        <hibernate-validator.version>6.0.8.Final</hibernate-validator.version>
    </properties>
	<dependency>
			<groupId>org.hibernate</groupId>
			<artifactId>hibernate-validator</artifactId>
			<version>${

    hibernate-validator.version}</version>
	</dependency>
2).修改gateway 下pom.xml
<dependency>
            <groupId>org.springframework.cloud</groupId>
            <artifactId>spring-cloud-starter-gateway</artifactId>
            <exclusions>
                 <exclusion>
                <artifactId>hibernate-validator</artifactId>
                 <groupId>org.hibernate.validator</groupId>
                </exclusion>
                </exclusions>
        </dependency>
3).修改core下pom.xml
<!--web依赖包-->
        <dependency>
            <groupId>org.springframework.boot</groupId>
            <artifactId>spring-boot-starter-web</artifactId>
            <exclusions>
                <exclusion>
                    <groupId>org.springframework.boot</groupId>
                    <artifactId>spring-boot-starter-tomcat</artifactId>
                </exclusion>

                 <exclusion>
                	<artifactId>hibernate-validator</artifactId>
                 	<groupId>org.hibernate.validator</groupId>
                </exclusion>

            </exclusions>
        </dependency>
4).将所有的resources\application-test.yml中的连接修改成自己的实际连接
3.编译
mvn clean -Dmaven.test.skip=true package

4.将打包的包上传到服务器并解压
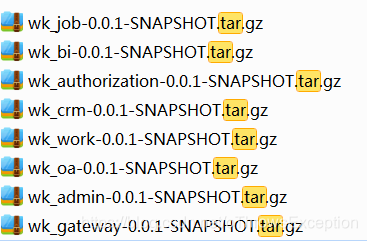
5.解压
tar -zxvf xxxxx -C xxxx
运行CRM
1.cd到各个模块中执行
./72crm.sh start
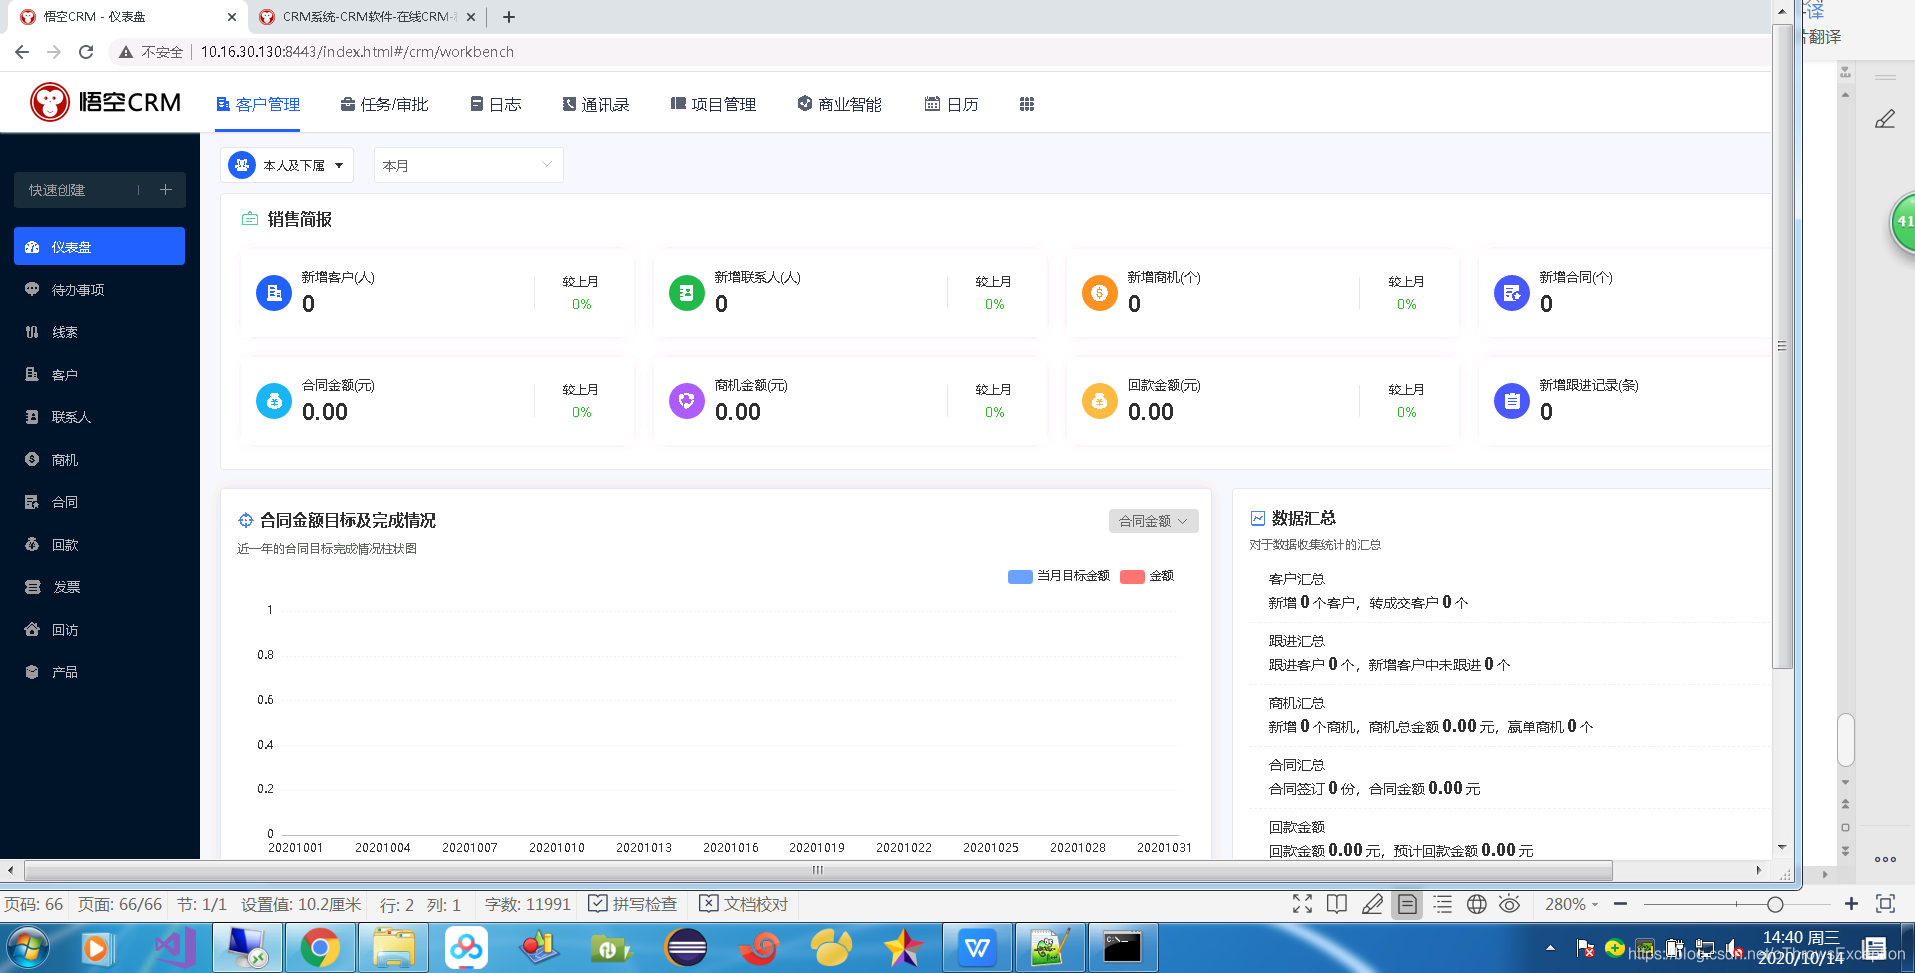
2.打开网址初始化官里员密码
登录官网注册进到个人中心中查看安装序列号
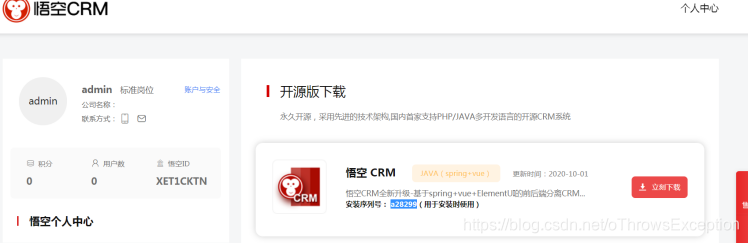
将序列号填入
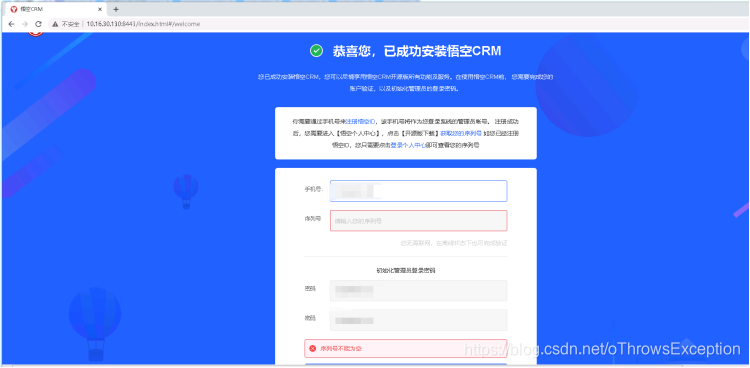
验证通过到登录