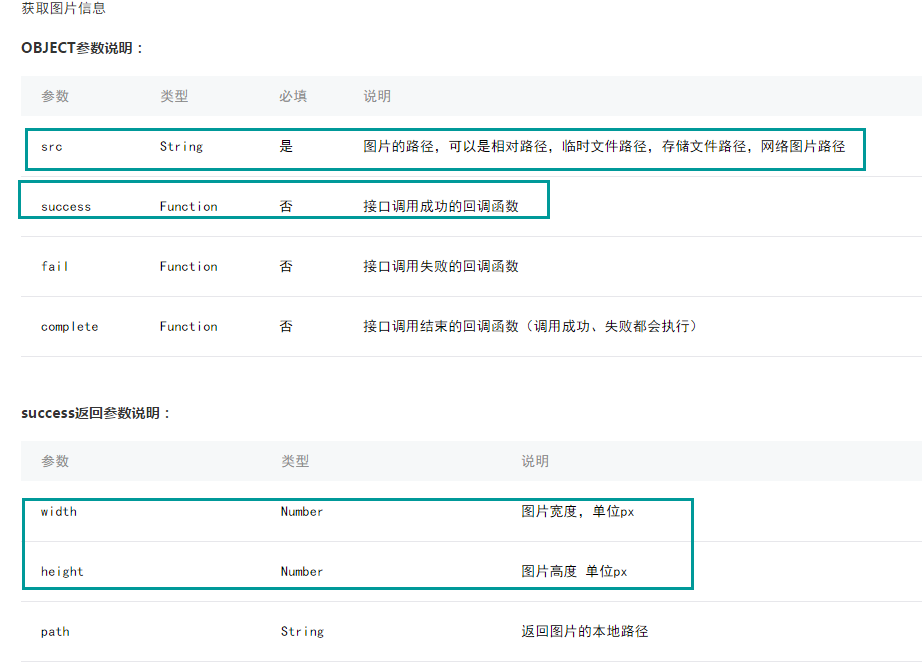
一.知识点
二.列子
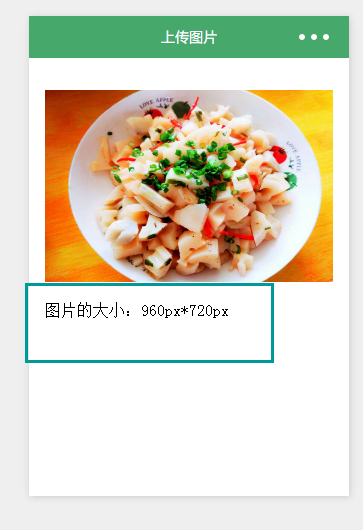
(1).加载时
<view class="zn-uploadimg">
	<image src="{{tempFilePaths}}" mode="aspecFill" style="width: 100%; height: 450rpx" />
	<text>图片的大小:{{imgwidth}}px*{{imgheight}}px</text>
</view>
var app = getApp()
Page({
	data: {
       tempFilePaths: '../uploads/foods.jpg',
       imgwidth:0,
       imgheight:0,
	},
	onReady:function(){
	    // 页面渲染完成
		var _this = this;
		wx.getImageInfo({
	      	src: _this.data.tempFilePaths,
	      	success: function (res) {
	      		_this.setData({
			      	imgwidth:res.width,
			      	imgheight:res.height,
			    })
	      	}
	    })
	}
})
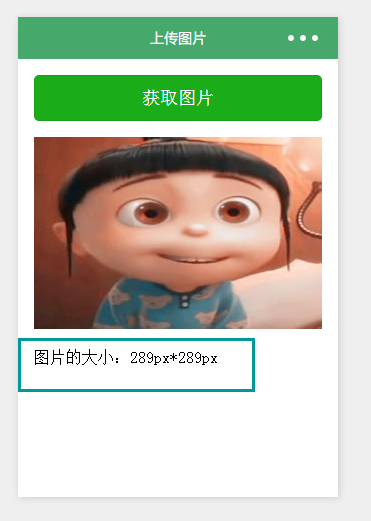
(2).上传图片时
扫描二维码关注公众号,回复:
119036 查看本文章

<view  class="zn-uploadimg">
	<button type="primary"bindtap="chooseimage">获取图片</button>
	<image src="{{tempFilePaths}}" mode="aspecFill" style="width: 100%; height: 450rpx"/>
	<text>图片的大小:{{imgwidth}}px*{{imgheight}}px</text>
</view>
.zn-uploadimg{
	padding:1rem;
}
.zn-uploadimg image{
	margin:1rem 0;
}
var app = getApp()
Page({
	data: {
       tempFilePaths: '',
       imgwidth:0,
       imgheight:0,
	},
	/**
	 * 上传图片
	 */
	chooseimage: function () {
		var _this = this;
		wx.chooseImage({
			count: 1, // 默认9
			sizeType: ['original', 'compressed'], // 可以指定是原图还是压缩图,默认二者都有
			sourceType: ['album', 'camera'], // 可以指定来源是相册还是相机,默认二者都有
			success: function (res) {
				// 返回选定照片的本地文件路径列表,tempFilePath可以作为img标签的src属性显示图片
				_this.setData({
				    tempFilePaths:res.tempFilePaths
				})
				wx.getImageInfo({
			      	src: res.tempFilePaths[0],
			      	success: function (res) {
			      		_this.setData({
					      	imgwidth:res.width,
					      	imgheight:res.height,
					    })
			      	}
			    })
			}
		})
	}
})