前言:有一个还在上大学的小学弟问博主有没有啥屏幕适配简单的方法,把鸿洋大神的帖子发给他,他说看不懂,鉴于其学Android的时间很短,所以自己出一篇比较容易的简单方法的帖子(百分比适配)。
博主准备的例子是csdn的启动页:效果图如下

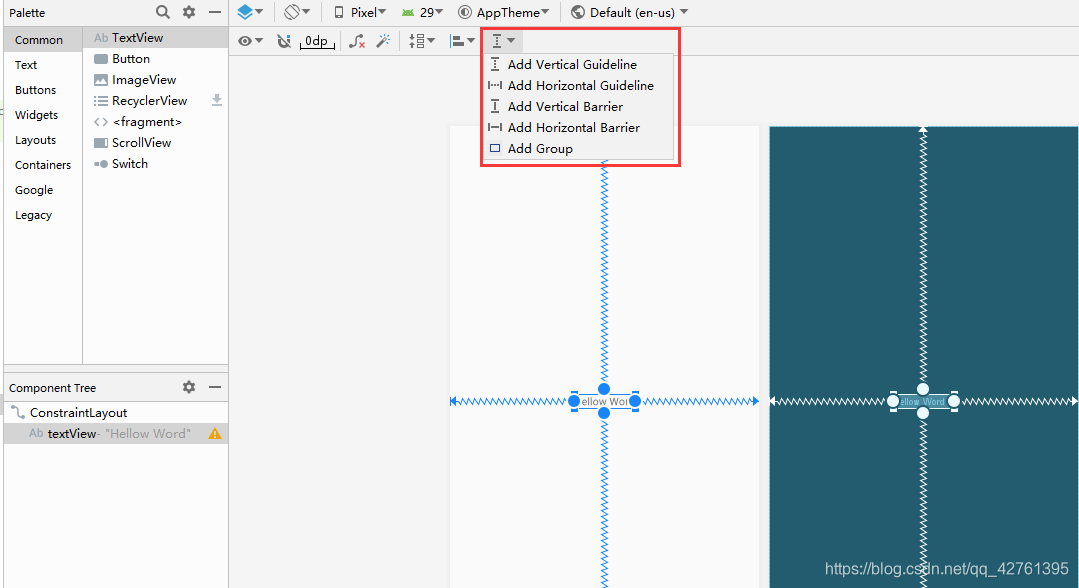
现在用AS新建一个项目,都会默认用到一个布局–ConstraintLayout,而博主主要给大家介绍一下下图红框内的部分的前两种(类似于ps的参考线)
首先要会对位置进行设置–以前有写过一个博客——Android约束布局ConstraintLayout
点击Add Vertical Guideline后会出现一条类似ps的参考线:
左右拖动可以设置其位置,紫框内就是重点了
纵向参考线默认是居左计算
点击一次紫框内三角形可变为局右
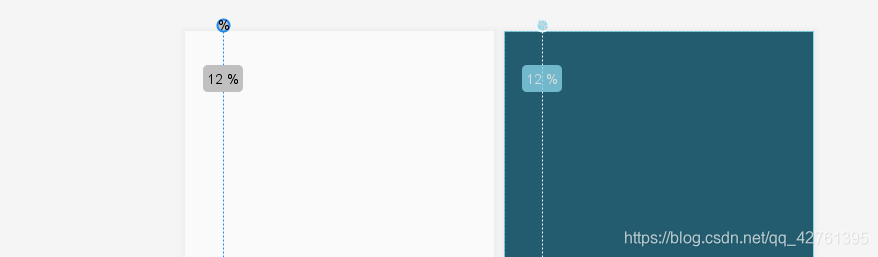
再点一次就能变为百分比
点击Add Horizontal Guideline后类似,为横向参考线。
教程如下:
1.拉两根横向参考线分别定在20%,65%(博主计算所得)

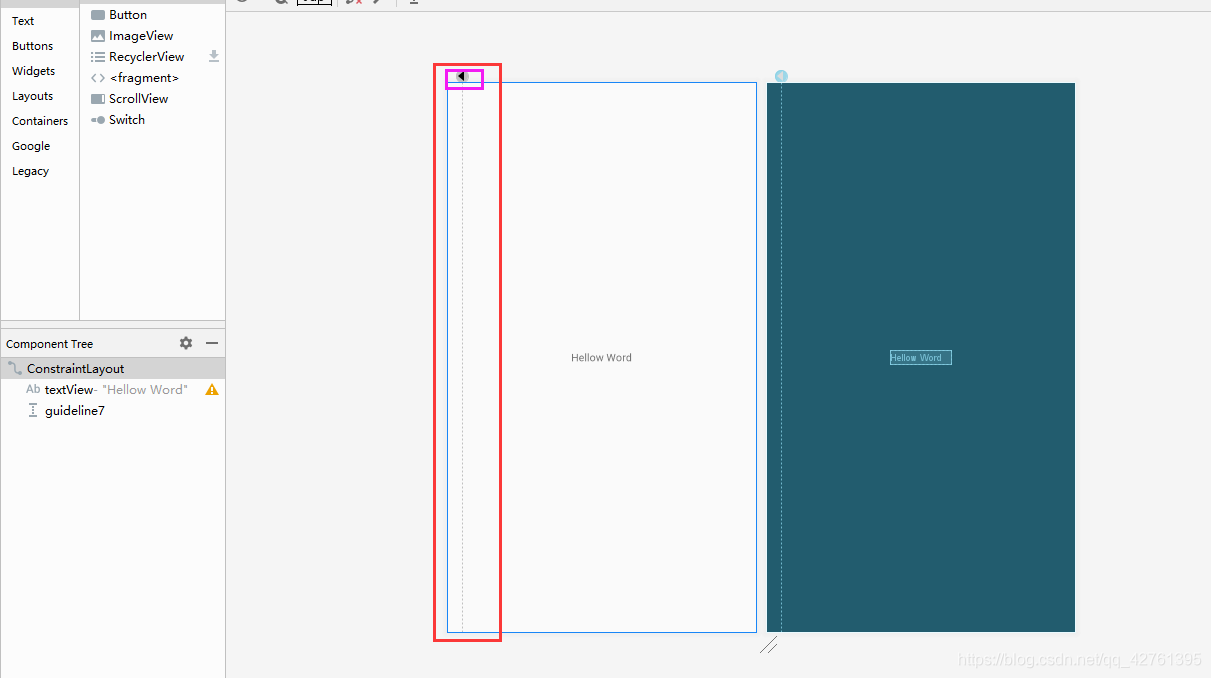
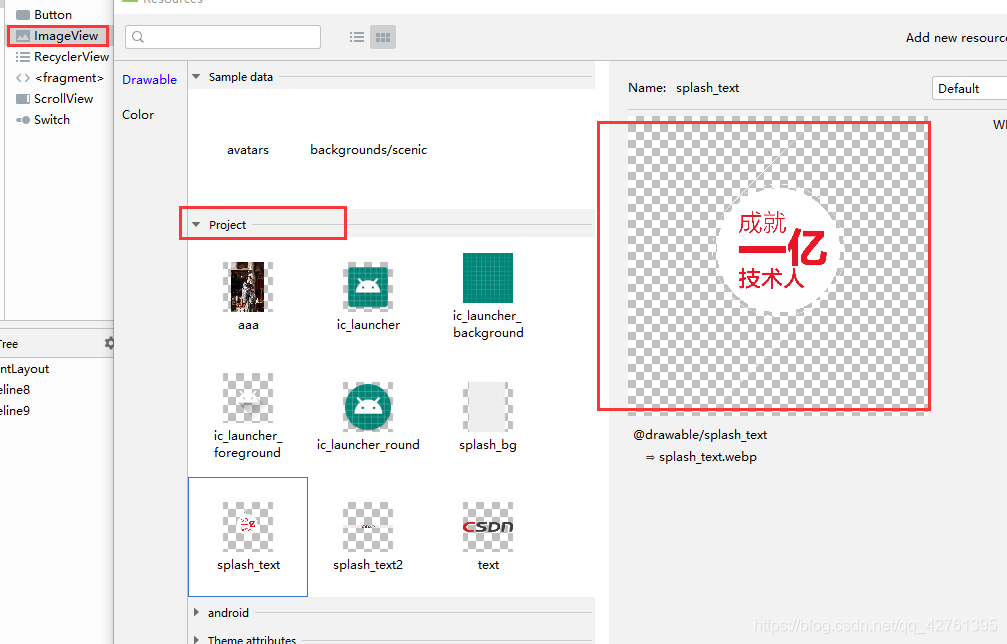
2.然后拉一个imageView进入布局,选择自己要显示的图片
3.将此imageView的上下参照物设置为两参照线,并将左右参照物设置为父容器。将其宽设置为wrap_content,高设置为mach_constraint(也就是0dp)。
这张图就适配好位置了。
同理:适配第二张图
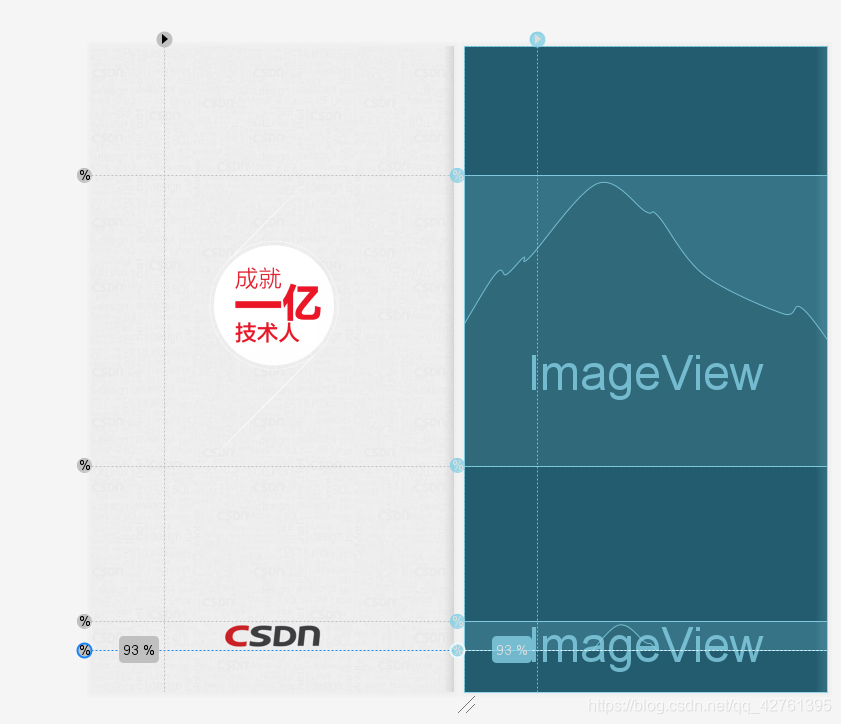
- 新建两线,将两线位置分别定在%89,%93.5。
- 拉一个imageView进入布局,选择自己要显示的图片
- 将此imageView的上下参照物设置为两参照线,并将左右参照物设置为父容器。将其宽设置为wrap_content,高设置为mach_constraint(也就是0dp)。
最后:为ConstraintLayout布局设置一个背景
两款手机以及平板运行效果图如下

xml代码如下
<?xml version="1.0" encoding="utf-8"?>
<androidx.constraintlayout.widget.ConstraintLayout xmlns:android="http://schemas.android.com/apk/res/android"
    xmlns:app="http://schemas.android.com/apk/res-auto"
    xmlns:tools="http://schemas.android.com/tools"
    android:layout_width="wrap_content"
    android:layout_height="match_parent"
    android:background="@drawable/splash_bg"
    tools:context=".MainActivity">

    <androidx.constraintlayout.widget.Guideline
        android:id="@+id/guideline1"
        android:layout_width="wrap_content"
        android:layout_height="wrap_content"
        android:orientation="horizontal"
        app:layout_constraintGuide_percent="0.65" />

    <androidx.constraintlayout.widget.Guideline
        android:id="@+id/guideline"
        android:layout_width="wrap_content"
        android:layout_height="wrap_content"
        android:orientation="horizontal"
        app:layout_constraintGuide_percent="0.2" />

    <androidx.constraintlayout.widget.Guideline
        android:id="@+id/guideline2"
        android:layout_width="wrap_content"
        android:layout_height="wrap_content"
        android:orientation="horizontal"
        app:layout_constraintGuide_percent="0.89" />

    <androidx.constraintlayout.widget.Guideline
        android:id="@+id/guideline3"
        android:layout_width="wrap_content"
        android:layout_height="wrap_content"
        android:orientation="horizontal"
        app:layout_constraintGuide_percent="0.935" />

    <ImageView
        android:id="@+id/imageView"
        android:layout_width="wrap_content"
        android:layout_height="0dp"
        android:src="@drawable/splash_text"
        app:layout_constraintBottom_toTopOf="@+id/guideline1"
        app:layout_constraintEnd_toEndOf="parent"
        app:layout_constraintStart_toStartOf="parent"
        app:layout_constraintTop_toTopOf="@+id/guideline" />

    <ImageView
        android:id="@+id/imageView2"
        android:layout_width="wrap_content"
        android:layout_height="0dp"
        app:layout_constraintBottom_toTopOf="@+id/guideline3"
        app:layout_constraintEnd_toEndOf="parent"
        app:layout_constraintStart_toStartOf="parent"
        app:layout_constraintTop_toTopOf="@+id/guideline2"
        app:srcCompat="@drawable/splash_text2" />

</androidx.constraintlayout.widget.ConstraintLayout>
如需要图片素材可私信博主,或者自己反编译csdn的apk,如果有帮助的话,记得点赞!!!!!!